Even the most beautiful hardwood floors can fall victim to life’s little accidents. A heavy sofa leg drags across the room. A dropped pan leaves its mark. Or perhaps years of sunlight and traffic wear a spot thin. These dents and scratches may feel inevitable, but they don’t have to be permanent.
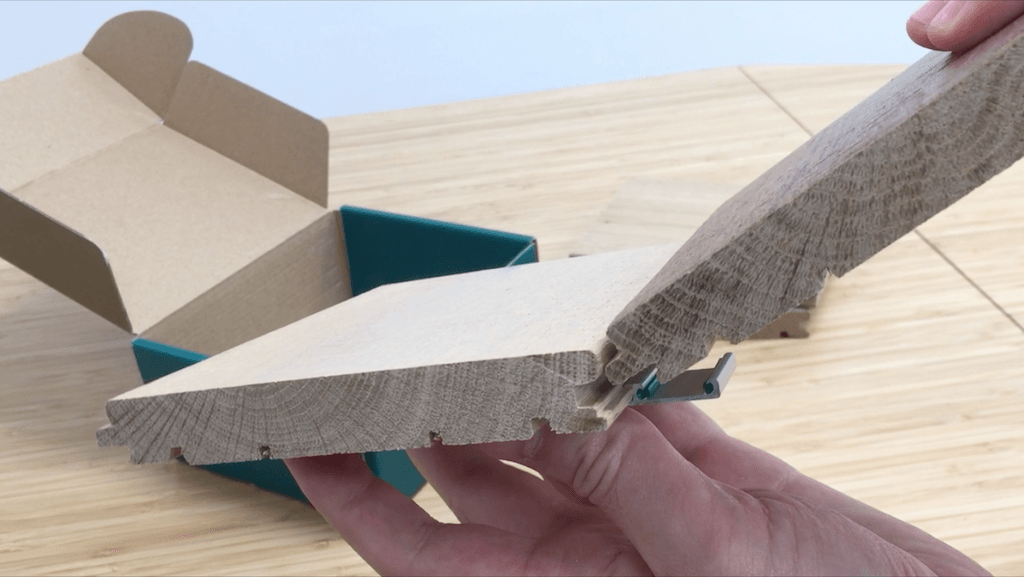
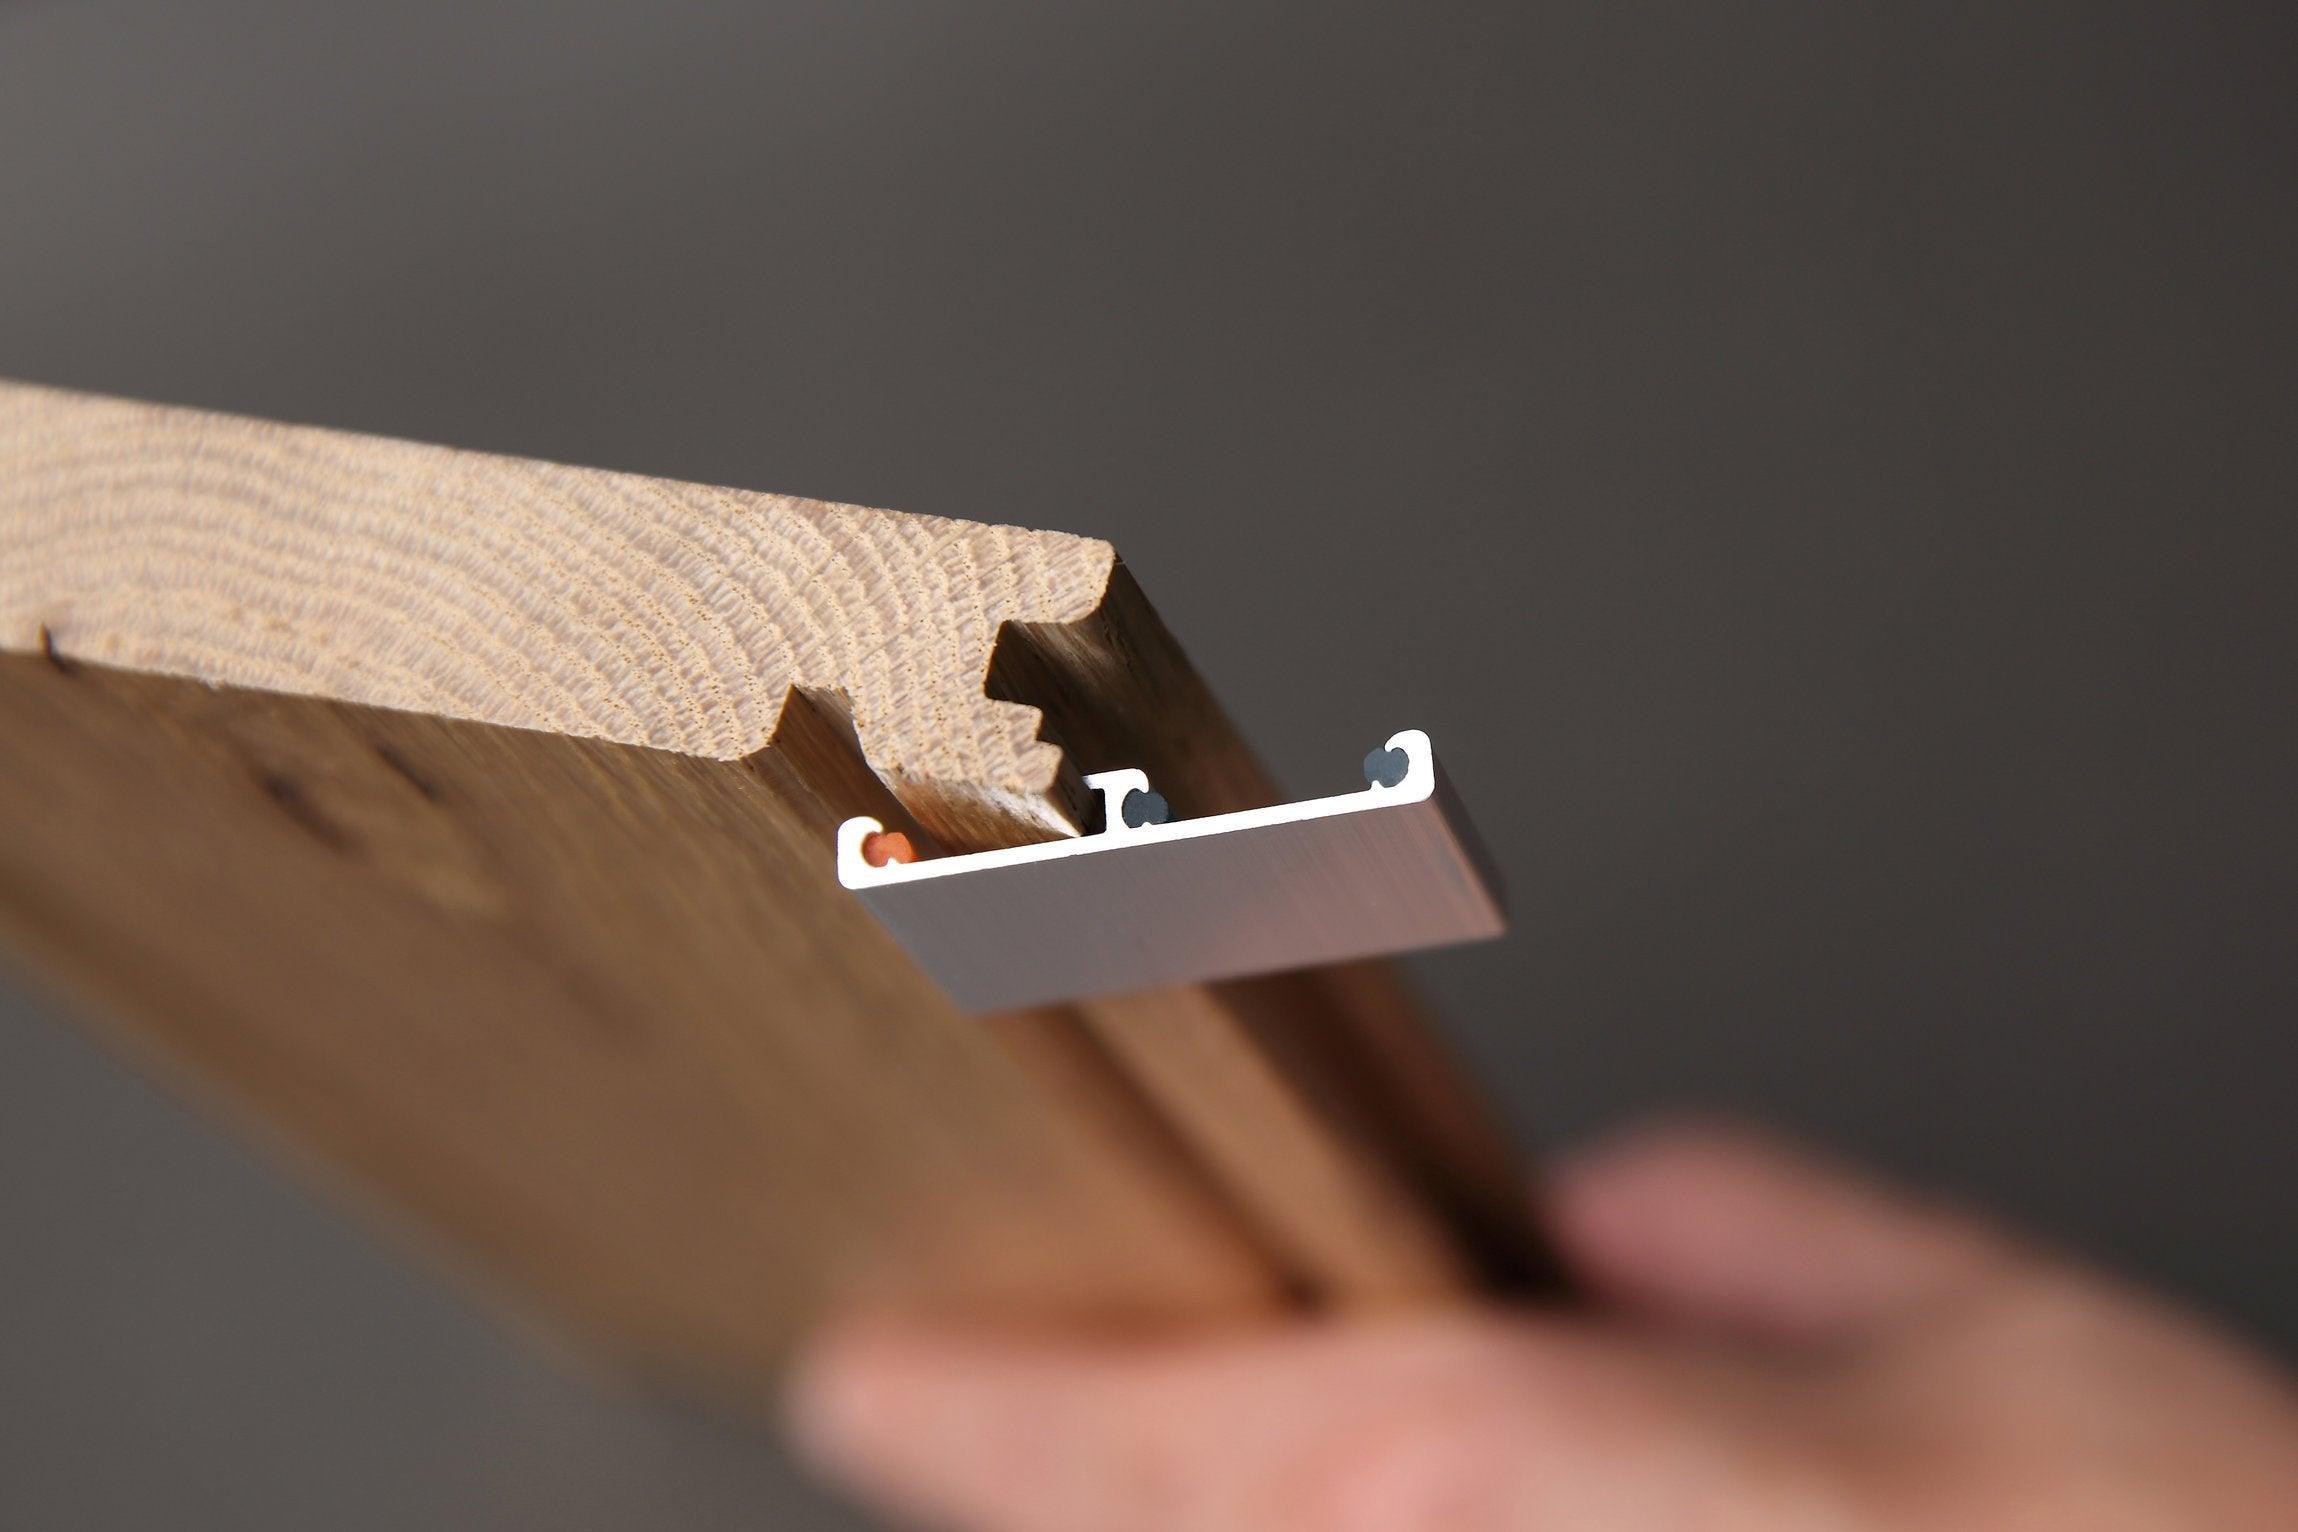
With Easiklip’s floating hardwood system, repairing your floors is refreshingly simple. Unlike traditional wood floors that are nailed, glued, or stapled into place, Easiklip boards clip together and can be unclipped just as easily. That means you don’t need to live with damage — you can restore your floor to like-new condition with minimal effort.

Make sure that you follow these basic guidelines to keep your floor safe from any future damage:
- Use wood filler so that you can move shelves, refrigerators, sofas, etc. without damaging the hardwood.
- Install rugs along foot traffic paths to absorb the wear but to also catch dirt and debris. Rugs will also protect from pet paws.
- Rearrange furniture regularly to reroute foot traffic and so that the entire floor wears at a relatively even pace.
- If your flooring sits near a large bay window on the South facing side of the house, install blinds, curtains, window tint, or a rug to avoid the 'sun square' worn down look.
- See a spill – wipe it up with wet cloth. Notice dirt – sweep it up. Use caution when moving piece of furniture and for the last time, take off your shoes indoors!
Ok, now on to the part you came for.
Why Easiklip Makes Repairs Simple
Easiklip is just as easy to uninstall as it is to install.
The process is simple: Since Easiklip is not a glued, nailed, screwed or otherwise permanently secured system, you can simply lift up the boards and unclip them from one another.
You'll need to work in reverse to how you installed the floor. So don't forget which corner of the room you finished your installation in. The last board you laid is the first board you'll take up.
Step-by-Step: Replacing Damaged Boards
Here's what you'll need to do:

- Identify the affected area of your floor and which boards will need to be replaced. Measure the lengths of the damaged boards.
- Using new Easiklip boards (you may need to order an extra box with your initial purchase so you're prepared!), cut the new boards to match the lengths of the boards you will replace.
- Next you will uninstall the floor boards up to the damaged boards. Remove any baseboards from that area of the floor and clear any furniture or obstacles.
- As you remove boards, life them slowly and pop them out. Number each board on the underside (with a jiffy marker or similar) in an ascending order so as to remember the sequence in which to reinstall them. This will save you having to re-cut any boards later.
- Once you have lifted all the boards up to the affected area, replace the damaged boards with your pre-cut replacement boards.
- Re-lay all the previous boards in the order you removed them in.
- Replace baseboards and furniture.
And you're done. It's that easy!
Did you know: Easiklip is Your Easiest Hardwood Flooring To Install with No Experience?

Hardwood flooring is considered to be longer-lasting and more durable than softwood floors or laminates. That's why so many homeowners are willing to invest in a floor that they know will last for years to come.
So there you have it. Sometimes life happens and your lovely hardwood floors get a little bit of punishment. Now you don't need to worry.
Although your Easiklip hardwood floor can't withstand absolutely everything life throws at it, the repair process is so simple that you won't have to live with your unsightly reminders of past floor abuse for very long.

Repair Without the Stress
A hardwood floor should be a long-term investment, not a constant worry. With Easiklip, scratches and dents don’t spell disaster. A quick replacement of a damaged board keeps your floor looking flawless without calling in professionals or redoing an entire room.
Life happens — kids run, pets play, furniture shifts — but your floors don’t have to show the scars. Easiklip’s repair-friendly system ensures your space remains beautiful and resilient for decades to come. And when it’s time for a bigger change, whether a renovation or a move, your floors can come with you.
See How Easy It Is to Repair and Install
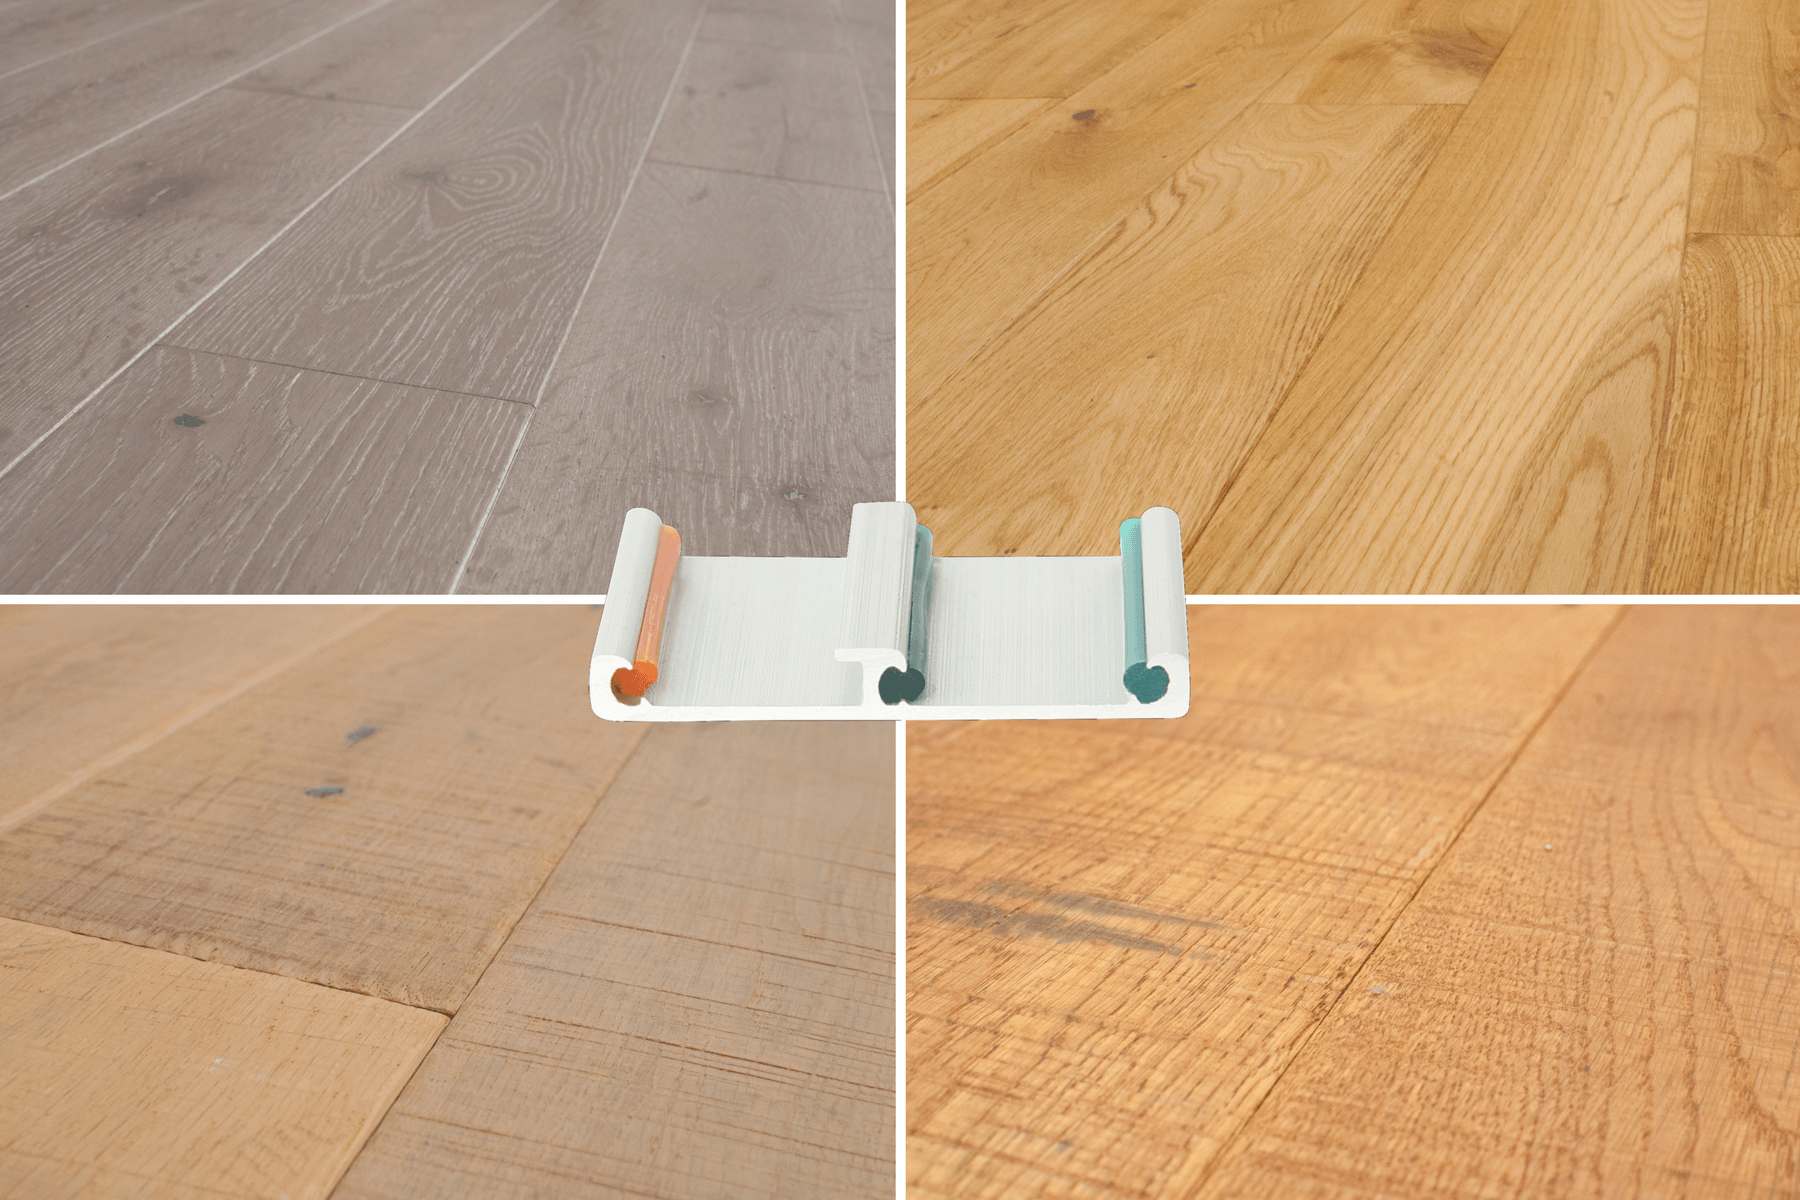
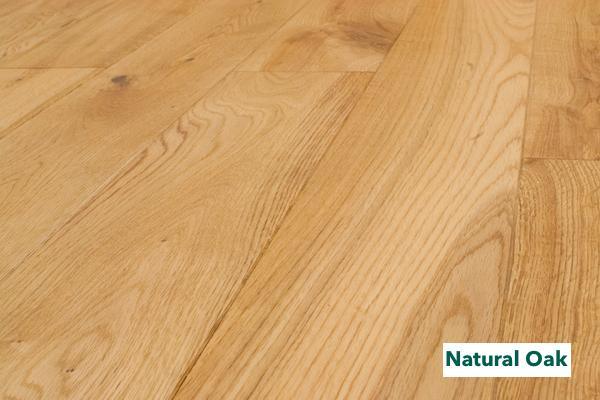
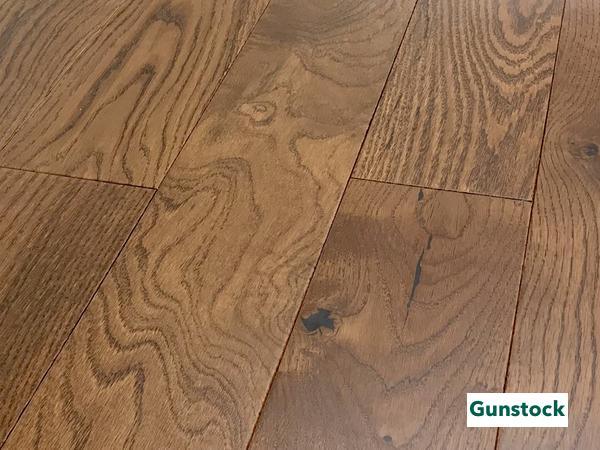
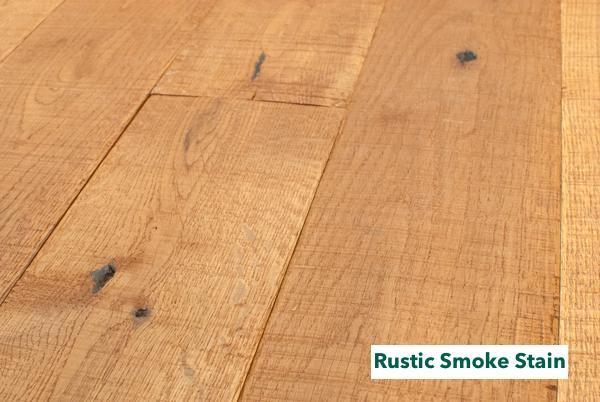
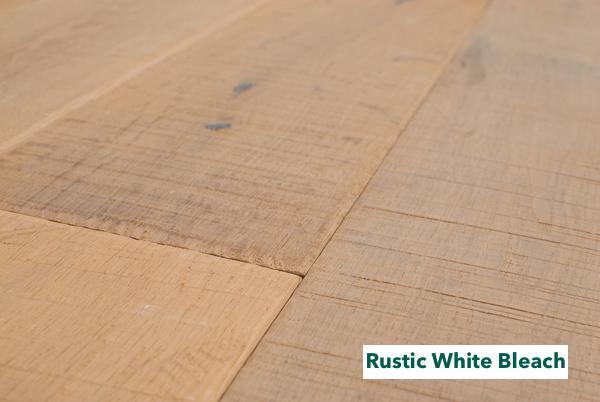
Order your free Easiklip sample pack today and experience the world’s easiest solid oak floating floor for yourself. Four beautiful finishes, durable boards, and patented clips that make every step simple.
