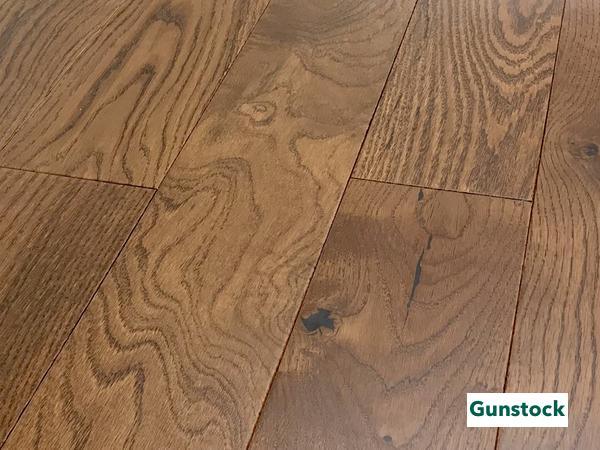
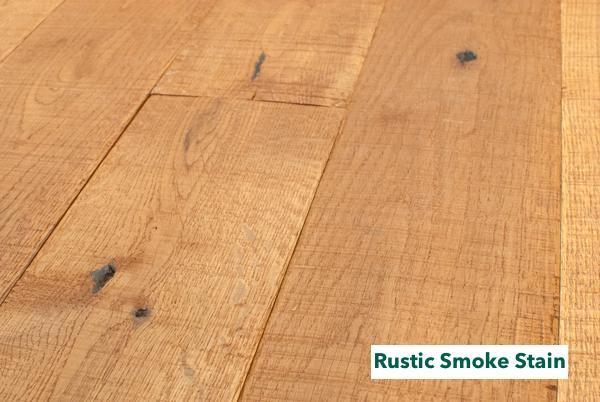
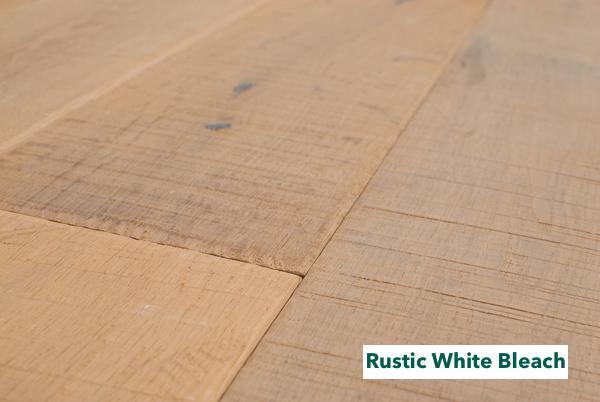
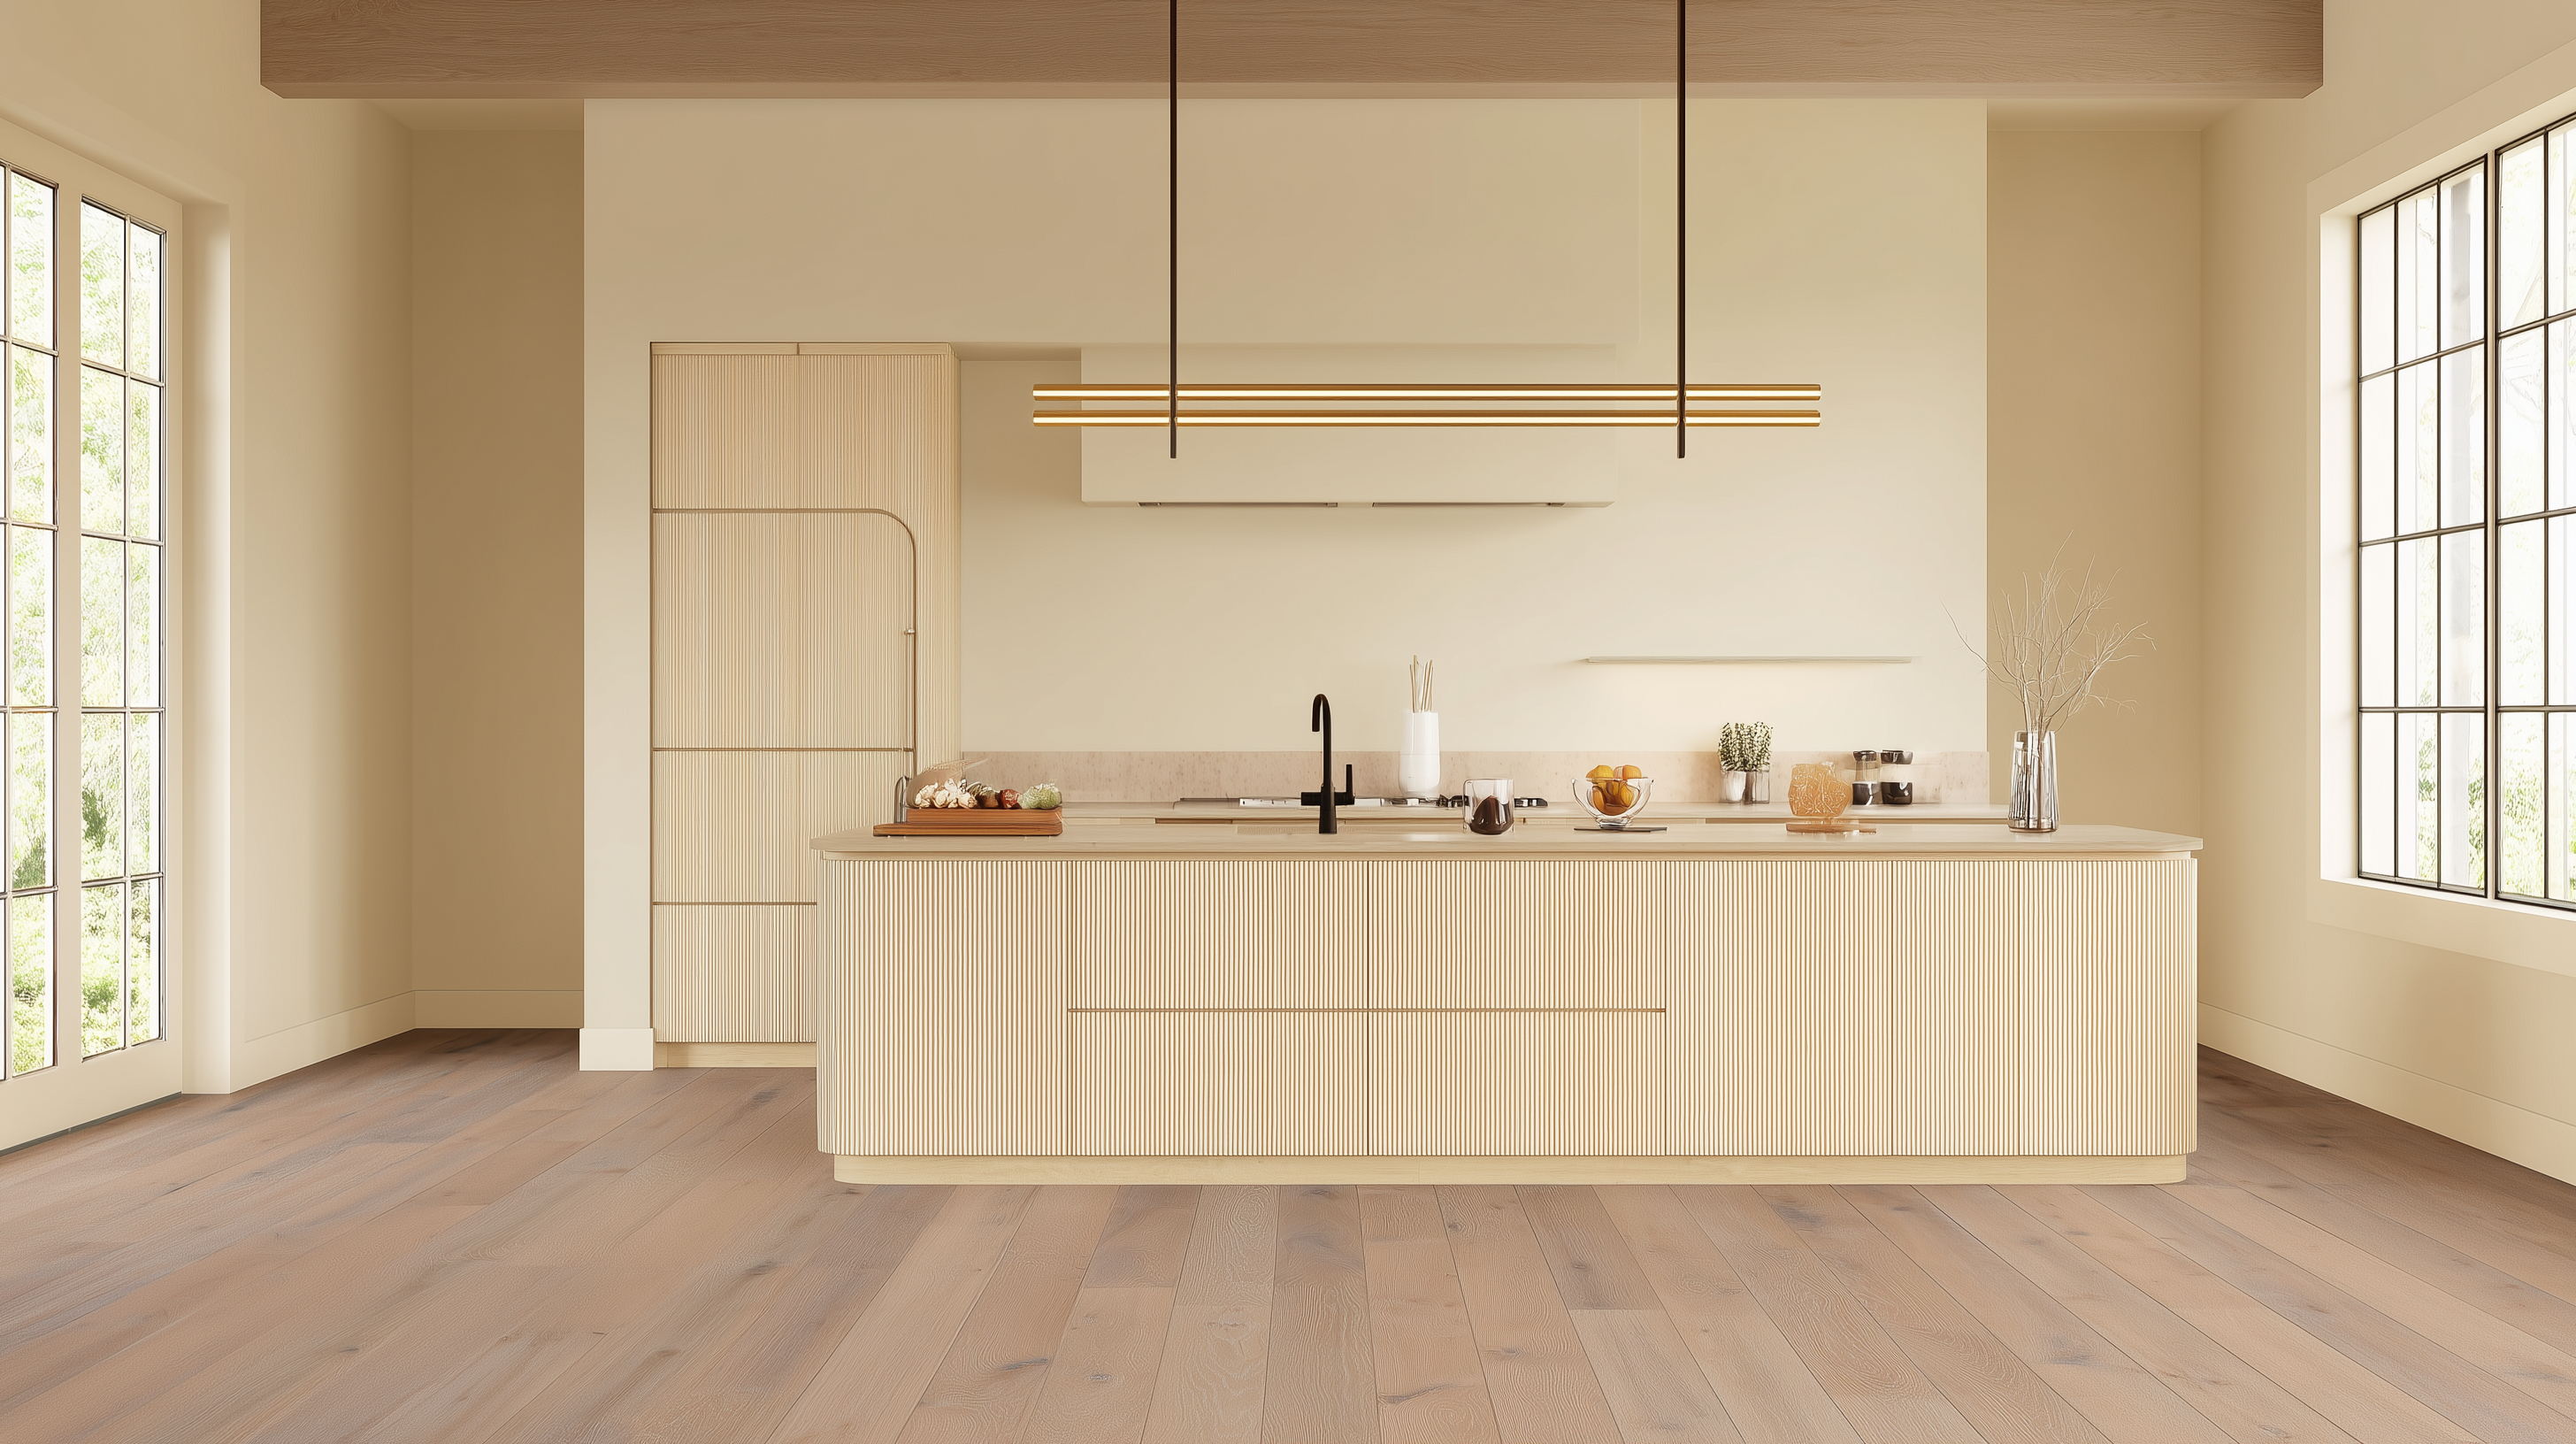
Basements are no longer the dark, damp afterthoughts of a home. Today’s lower levels are being reimagined as bright home gyms, moody media lounges, or quiet escapes — and nothing anchors that transformation like wood flooring. But can you install hardwood directly over a concrete basement floor? Yes, you can — and with the right prep, it’s not just doable, it’s game-changing.
In this guide, we’ll walk you through how to install wood flooring over a concrete basement and explore eight design-smart options to elevate your space. Whether you’re finishing a basement apartment, workshop, or weekend den, a solid wood floor can turn it into something exceptional.

Once you handle those issues, it’s time to install a quality hardwood floor. There are three good reasons why:
- Wood looks so much better than bare concrete - Do you want your man cave to look like a cave? Imagine how beautiful real wood will look when you have your buddies over for the big game. You’ll see the envy in their eyes as your basement transforms from an ugly cement crypt into a warm, wood cabin resort.
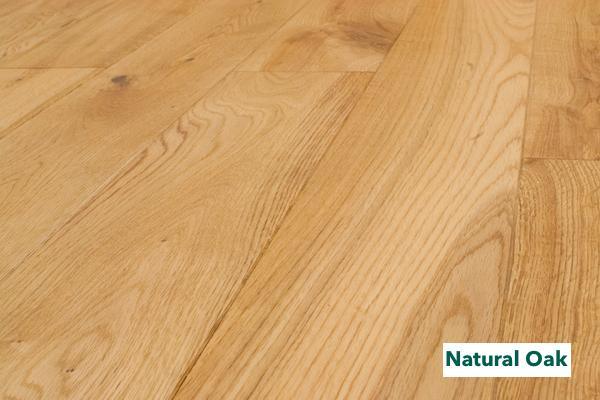
- Wood is a natural insulator - You can comfortably walk around in stocking feet instead of hard soled shoes on concrete. The R-value of solid oak (like an Easiklip solid Oak floor) is 0.91. Compare that to bare concrete at .08; wood insulates over 11 times better than concrete. It makes the living space much more cozy and comfortable.
- Finished basements add value - Nothing says “finished” as a solid wood floor. Finishing a basement can return up to 70% in resale value compared to its cost according to HGTV. Wood provides a certain warmth to the appearance of a basement that’s impossible to get with a concrete floor.
Hardwood flooring will bring life into your once dreary basement. But make sure that the concrete slab is in good condition and dry for your wood floor installation.
Remember to take a few extra steps before installing a wood floor on a concrete basement. Wood tends to buckle, cup, warp or crack from expansion and contraction due to the changes in moisture levels.

Four Steps to Installing Wood Flooring on Concrete Basement
 In the flooring industry, they call floors at ground level, “at grade” and anything lower, like your basement floor, “below grade.”
Installing floors below grade on a concrete slab takes a few precautionary steps to ensure success.
1. Check for Moisture Content
One of the easiest methods is to tape down a 1-foot square piece of clear plastic wrap and leave it for 12 hours. If you see condensation or darkening of the concrete, that indicates an excessive amount of moisture seeping up through the concrete slab. We’ll talk about fixing this condition below.
For more qualitative analysis you’ll need a probe or other type of moisture meter. This video gives you an idea of the different types of concrete moisture testing devices.
2. Smooth Out Any Cracks or Imperfections
Basement slabs tend to settle and crack over time. You’ll want to seal any cracks and level the concrete as much as possible before installing any floor.
You’ll find many products and videos on how to repair cracks in the slab. And if you want to try to level a concrete floor yourself check out the handy tip in this video.
Be sure to sweep or vacuum all debris.
3. Install a Moisture Barrier
A moisture barrier prevents moisture and water vapor from wicking up through the cement slab into the floor or room. A barrier can be liquid or a sheet of plastic that keeps moisture away from the floor above. We’ll go into more details later in the article.
4. Install a Subfloor (If Required)
A subfloor is a supplemental floor that keeps your hardwood from contacting the concrete directly and give you something to glue or nail into. Subfloors can act as both sound and heat insulators. Some subfloors combine water barrier features.
Keep in mind that every wood floor manufacturer has specific installation guidelines. Check the manufacturer’s recommendations when it comes to concrete and moisture.
Not all wood floors are suitable for basements, and not all basements are ideal for hardwood floors.

Below-Grade Pitfalls to Avoid (and How to Fix Them)
Basement hardwood floors must address two issues, moisture, and cold air. The fact that the basement is below the ground means you have natural air conditioning. The chilly air can create condensation on humid days. Also, it’s uncomfortable to walk on bare concrete.
Concrete is very porous and can act as a wick drawing moisture up from the ground. It’s one of the reasons basements have issues with water. And, then there is the matter of poor drainage from a badly constructed foundation. The soil outside should slope away from the basement walls at a minimum of 4 inches for every 10 feet. Downspouts should not drain any closer than five feet from the basement wall.
Before you install any floor in your basement, you need to consider the basement floor thickness, how to create a moisture barrier for basement floor, and basement subfloor options.
Depending on the severity of your moisture problem, there are some solutions.
2. Use a high capacity dehumidifier
3. Total basement waterproofing for severe cases
For our discussion, #1 and #2 are DIY options for the least amount of money. If you’re experiencing heavy moisture issues that require option #3, wood flooring is not a good choice for your basement. It requires heavy equipment to dig the foundation, experience, and lots of money to fix the problem of a wet basement.

Moisture Barriers That Actually Work
Before you put down any floor, you want to prevent moisture from coming up through the slab and ruining the flooring. By controlling the water vapor and using other means for reducing moisture, you want to maintain between 45% to 55% humidity for the maximum life of your new hardwood floor basement.
For most below grade applications, install a moisture barrier on the basement floor. There are a few choices such as:
- 6-mil poly sheeting
- Trowel on or paint on products designed to seal concrete slabs
- Underlayment with a built-in vapor barrier
Poly sheeting or other plastic products create a vapor barrier over the entire surface of the concrete, quickly. The downside to poly sheeting is that the seams require taping and may deteriorate over time. Also, you can poke holes in the material if you’re not careful and you can’t install floors with glue or nails over plastic.
Here is one example of a liquid product that you can trowel on over wet or new concrete even with 100% humidity.
Liquid products offer excellent sealing capabilities but require a longer installation time due to curing or drying. They can be a single product or an epoxy type where you mix the components.
Some liquid moisture barrier products require a process called “shot blasting” to prepare the concrete surface for painting. A shot blast machine shoots steel pellets at the concrete making the surface more porous so the liquid sealer will adhere better. Here's what shot blasting looks like:
With liquid sealers, you can glue flooring over it or use screws. If you use screws or nails, you’ll want to fill each hole with sealer as you go to help keep the moisture barrier intact.
Some underlayment or “pads” have a built-in moisture barrier. If your flooring does not come with a pad attached, like solid hardwood floors, you need both a moisture barrier and a pad or underlayment. The underlayment insulates and cushions, but is not designed to keep out moisture by itself.
A few manufacturers you can compare are Roberts, DRIcore, and DMX.
Before you install a basement hardwood floor, check to see that the basement floor thickness in residential construction is a minimum of four inches. Once you have a solid floor and a proper moisture barrier, it’s time to choose your floor type. Some floors require a subfloor instead of installing a wood floor on concrete basement

Basement Subfloor Options
Most wood floor over concrete basement remodels benefit by installing a subfloor over the watertight membrane or underlayment. The subfloor provides support for floating floors like the Easiklip white oak floor. They add strength and offer some insulation value for both heat and sound. Here is a video if you are looking to save money by installing a subfloor yourself.
There are quite a few products designed just for basement floors. Some rigid panels use synthetic materials either on the bottom or all the way through. The idea is to keep a portion of the subfloor off the cement to allow excess moisture to channel toward the edges and out. With synthetic materials, there is no issue of rot or mold build up.
Some of the underlay products mentioned above are also basement subfloor options. For example, one product designed for basement applications is called DRIcore. It’s a system that uses interlocking plastic tiles on the bottom and oriented strand board (OSB) on top. The elevated grids create an air space below the floor that helps to dissipate moisture and acts as an insulator because it’s not in direct contact with the concrete. Products like this are cheap insurance that protects your solid basement hardwood floor investment.
For the same reason you don’t want holes in your umbrella, don’t use this system with a nail-down type of flooring.
Now that you have your moisture barrier for basement floor and basement subfloor options, it’s time to choose your hardwood floor.
Worried about paying someone else TOO MUCH MONEY to install your hardwood floor?
Do you want to know how much it REALLY costs to install hardwood? Check out this case study of a DIY hardwood installation with costs, timeline and list of materials:
8 Best Basement Wood Flooring Brand and Options
Here are eight different methods of installing or re-creating a hardwood floor basement.
1. Glue Down Method
With this method of installation, you would not use a subfloor. Instead, you would glue directly to the concrete slab. It’s not a method recommended for any hardwood floor. You could use this for some laminates and engineered hardwood flooring, but if there is an issue with moisture, it will create warping and possibly rot the wood.
Watch this video to see what a pain it is to glue hardwood floors to concrete.
2. Nail or Staple Method
This requires installing a subfloor of plywood over the concrete first to have something for the nails to go into. If you want to nail or screw directly into concrete, you must buy or rent a hammer drill to predrill holes. Each hole and nail must be driven by hand, making this a time-consuming process.
It’s uncommon and not recommended to nail hardwood floors directly to concrete without a moisture barrier and plywood subfloor.
3. Using Mini Joists (a.k.a. Sleepers or battens)
This method uses 2x3, or 2x4 boards laid flat on the concrete and spaced about 16 inches apart like regular floor joists. Then you lay down 3/4-inch plywood or dense particle board as a subfloor to keep the hardwood floor off the cement slab.
Unfortunately, if you use regular wood, it will get damp, moldy and eventually decay. It also takes up 2 ¼ inches of valuable ceiling space in the basement. It’s best to use pressure treated lumber if it is in direct contact with concrete.
Here's a quick video that shows what this process installing hardwood flooring over concrete slab with battens looks like when done right:
4. Engineered Wood
Engineered wood floors combine the beauty of hardwood with the durability of plywood. Typically, it is permanently fastened to the concrete floor with glue or nailed to a subfloor.
In this video of how to install a pre-finished engineered floor over concrete, you’ll notice that gluing takes a lot of skill, proper technique and timing. They don’t mention if they would use this method below grade. Check with your flooring and glue manufacturers for guidelines.
5. Laminate wood
Laminate wood flooring is not wood at all. Also called “floating wood tile,” it simulates wood using a photographic process that laminates the image to synthetic layers. This is thin flexible material, not rigid like solid hardwood. You glue it to the concrete floor. To see some samples, check out Home Depot’s selection.
Laminates and some engineered flooring use a fiberboard core not treated for moisture resistance. They will absorb moisture, warp and eventually disintegrate as the glue loses its strength. It can also harbor dangerous mold.

6. Wood patterned tile or linoleum
These products do their best to mimic wood grain. In fact, they barely resemble wood. But, if you dim the lights you might fool a few people for a few minutes. Unfortunately, it won’t add any value to the home like a solid wood floor over concrete basement.
A significant drawback to linoleum and vinyl tiles is that they form to fit the exact shape of the concrete floor. You’ll see every dimple, hump and crack in the underlying concrete. Solid hardwood creates a smooth surface, provided the cement is level, clean and smooth.
7. Make Concrete Look Like Wood
This is another “trick” when it comes to looking like wood but not using real wood. This is a labor-intensive process that takes specialized equipment and plenty of elbow grease if you’re going to do it yourself. Here is a video explaining the process.
They don’t mention how long the process takes, but they do say it requires multiple coatings. Given the drying times of epoxy coatings, this job probably took at least a week.
8. Easiklip Floating Method
Easiklip solid hardwood floor basement installations are fast and easy. You’ll want to install over a moisture barrier and foam underlay. You can use a subfloor, but it’s not necessary. You can install right over the concrete, moisture barriers and underlay if they’re level.
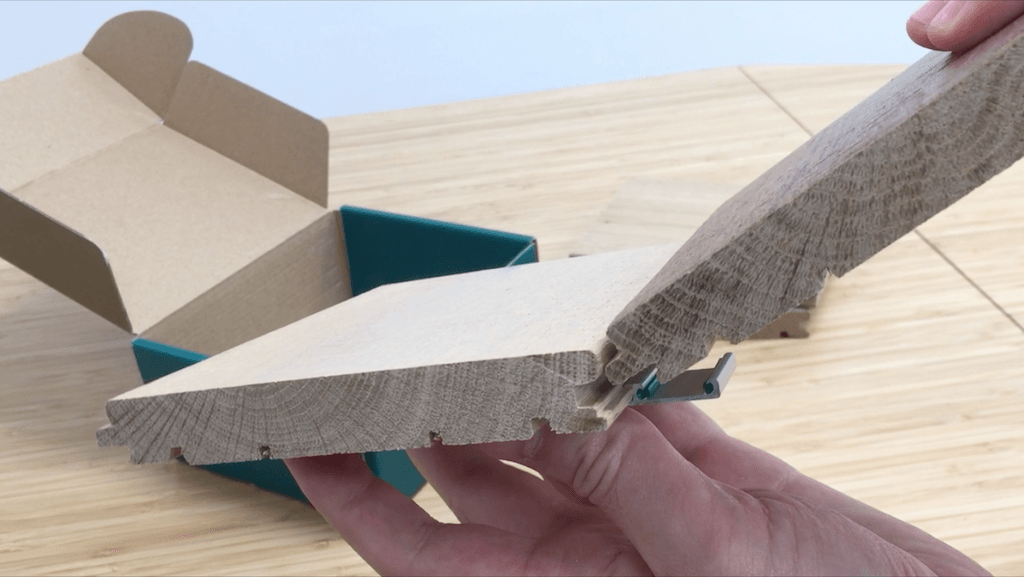
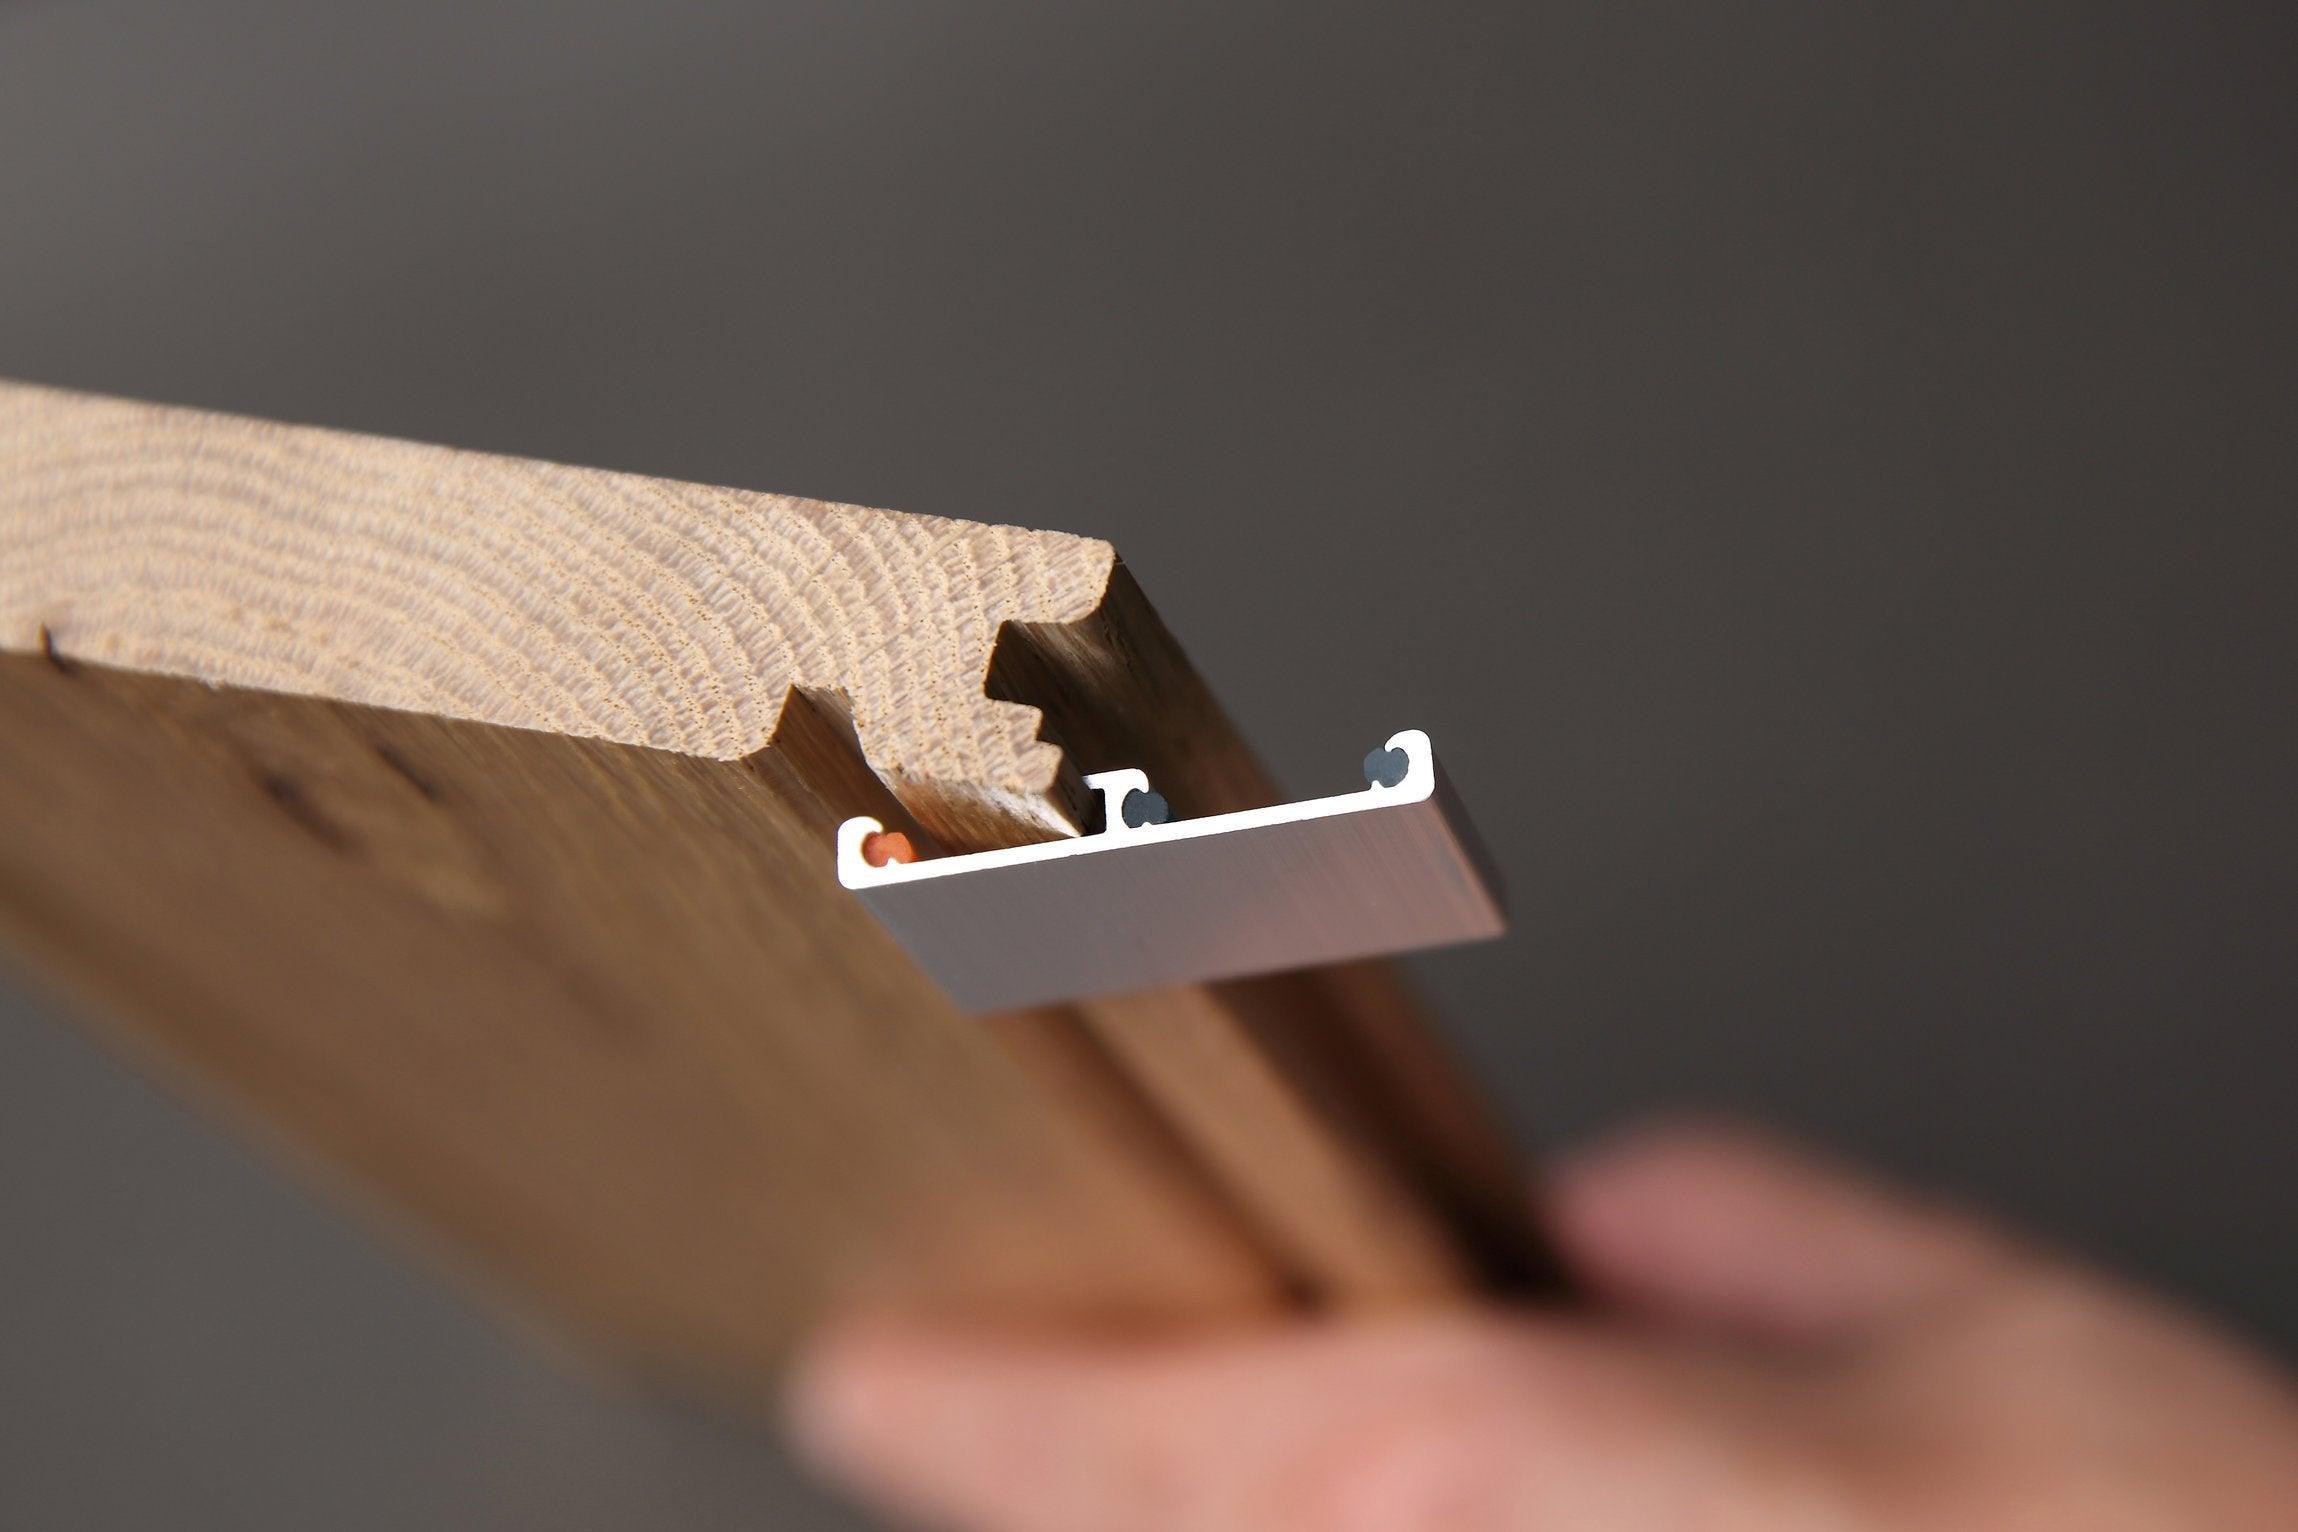
The specially finished white oak boards clip together without special tools. You can remove and relocate the entire floor without damage to the hardwood or subfloor.
In the time it takes to make one artificial wood-like cement floor, you could install five basement hardwood floors using Easiklip’s solid hardwood floor installation system.

You Can Put a Solid Wood Floor Over Concrete Basement
As we’ve explained above, you first need to mitigate any moisture issues using a vapor barrier and possibly a dehumidifier if your basement has problems with water. Keep in mind that if you have a bathroom and shower in the basement and there is inadequate ventilation, this will create high humidity. Unless you control it with a dehumidifier between to 45% and 55% relative humidity, there will be too much moisture, and you shouldn’t install a hardwood floor basement.
Use a proper moisture meter to measure the water coming through the slab. It should be less than 3%.
If you’ve conquered the moisture levels, Easiklip solid hardwood flooring is a viable option. They will honor the warranty for a below-grade installation when no other hardwood manufacturers will.
You can install Easiklip solid hardwood floors on top of the underlay, moisture barrier, and concrete. No subfloor, glue, screws or nails required. It floats on top keeping your basement floor insulated and comfortable under your feet. See how easy it is to install here.
Permanently gluing or screwing flooring to concrete means you will destroy the floor should you need to remove parts of it for repair. Screwing through the moisture barrier is like putting screws in the bottom of a boat. Each hole is an opportunity for moisture to wick up into the floor.
Easyklip is the best choice for a solid hardwood floor because it floats above any moisture barrier. It gives you the insulating warmth of real wood and adds value to the home if you want to sell it. And, you can bring it with you to your next home if you do sell.
A hardwood basement floor is beautiful, durable and easy to clean. If correctly installed, Easiklip floors are highly resistant to damage from moisture and mold.

Wood flooring in the basement isn’t just a design choice — it’s a statement. With the right systems in place, even a concrete sublevel can feel like an elevated living space. Easiklip’s solid oak flooring floats above moisture barriers with ease, offering warmth, durability, and effortless elegance.
Forget cold tile or synthetic laminates. With Easiklip, your basement becomes part of the home — not just the floor below it.
Order your free Easiklip Oak Flooring Sample Kit
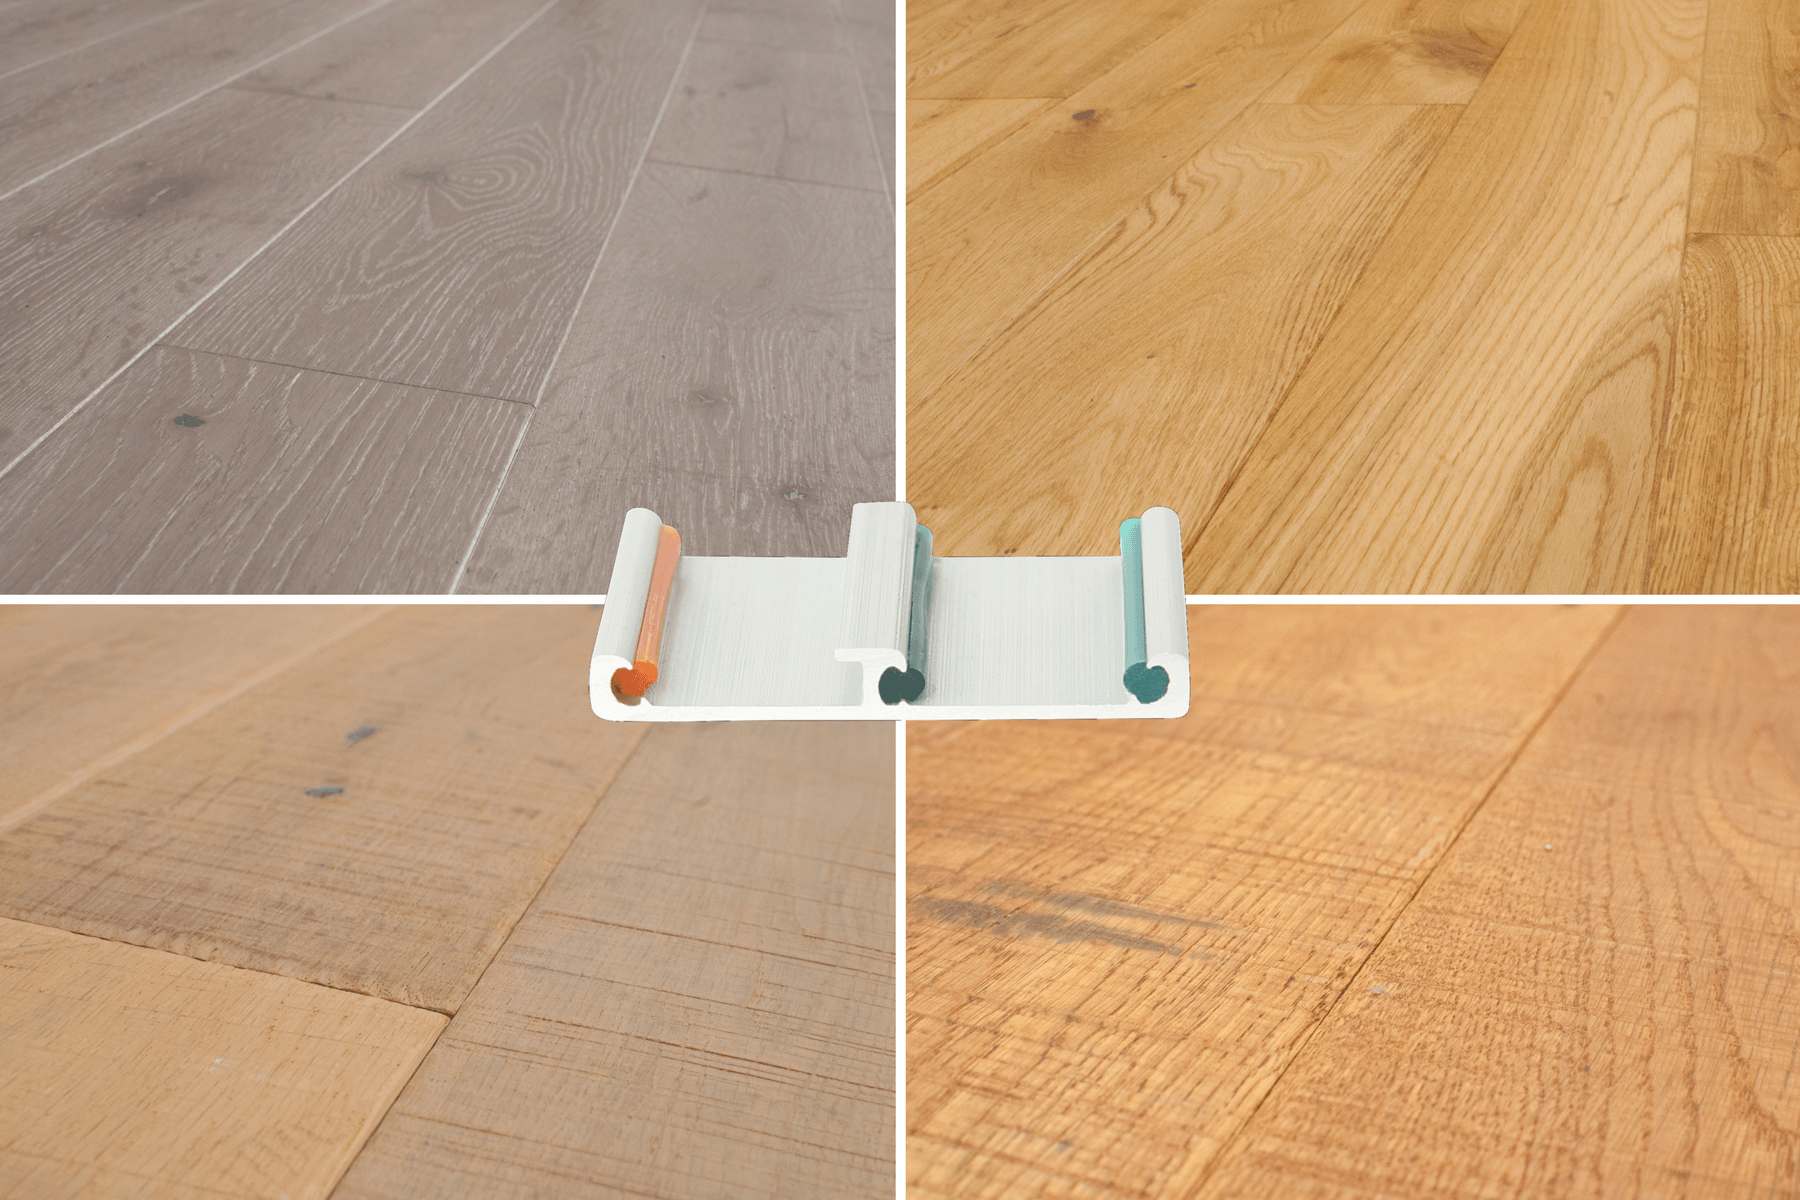
Want to feel it for yourself? Touch, see, and test the quality before you commit. Each kit includes four oak finishes and two patented clips that show you just how easy our flooring system really is.
