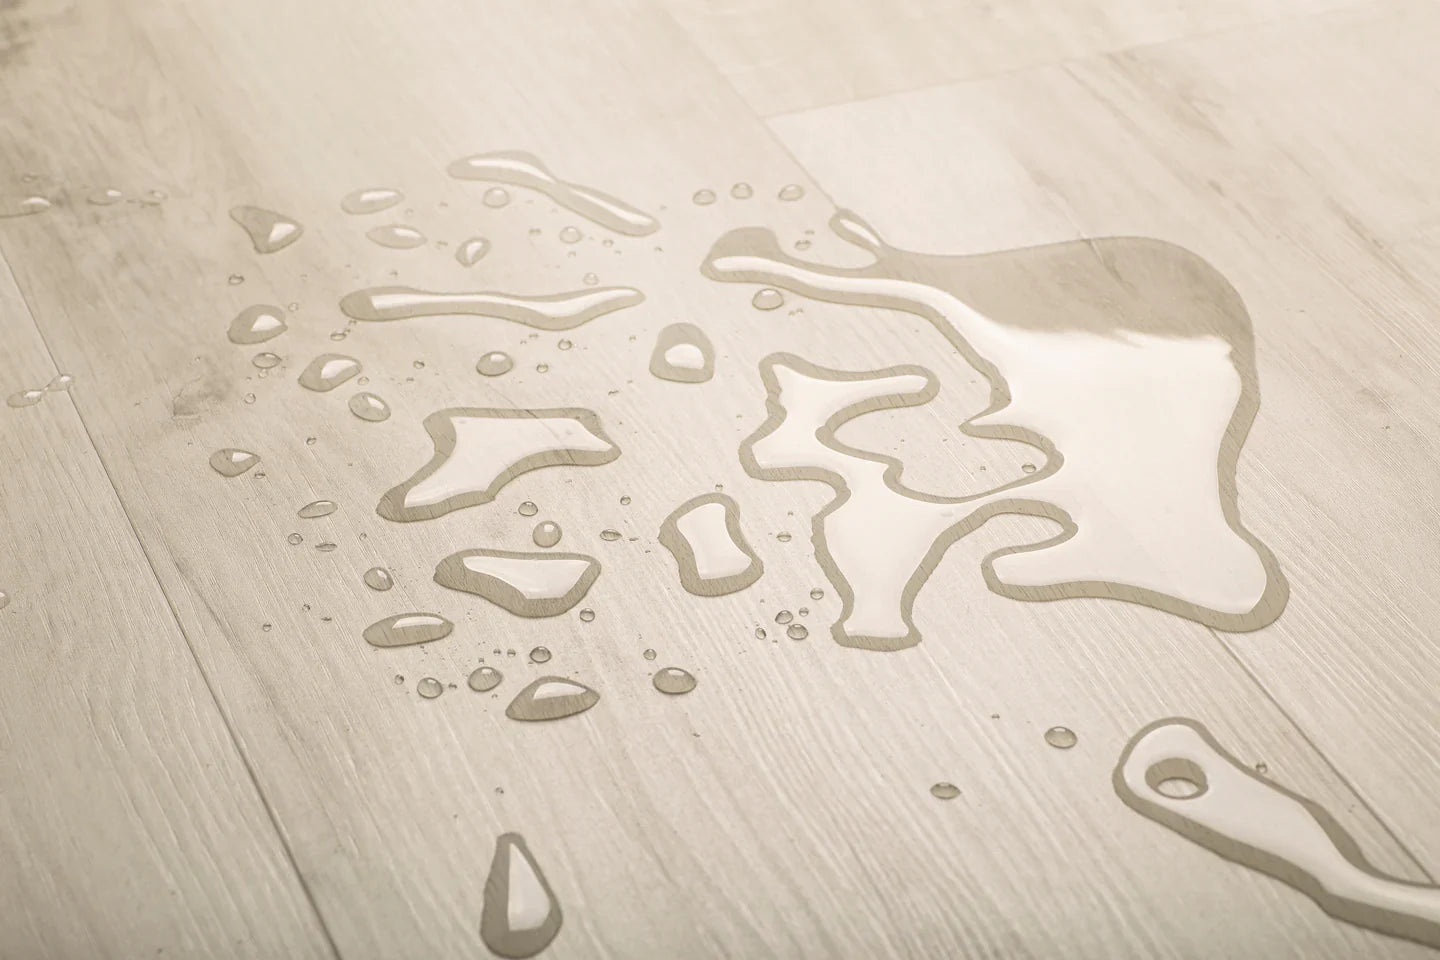
Hardwood is timeless, but it is not invincible. While we carefully seal the surface with oils or polyurethane, the true threat often comes from below. Like the hull of a wooden ship, a floor needs protection against rising moisture. Without it, water can seep upward, causing cupping, warping, or mildew that undermines even the most beautiful installation. The best moisture barrier for hardwood floors not only safeguards your investment but also determines how well they perform over time. Whether you are installing over concrete or wood, floating or fastening, knowing which barrier to choose ensures your hardwood floor remains elegant for decades.
What Is a Moisture Barrier?
A moisture or vapor barrier prevents water from wicking up from the ground, through the sub-floor and absorbing into the hardwood floor. A moisture barrier for hardwood floors can be as simple as a roll of plastic sheeting. However, there are liquid solutions that you can apply by brush, roller, or trowel. There are also moisture barriers combined with foam or felt to act as an underlayment. We'll discuss underlayments shortly.

When Do You Need One?
A common question that DIYers ask is, "I'm installing new hardwood floors on-grade, a cement slab. Do I need a moisture barrier for hardwood floors?" The answer is YES!
Moisture can destroy hardwood floors. It causes cupping, warping, and even mildew if not treated. You must install a moisture barrier to protect your flooring from water wicking up from below.
Even with an epoxy coating over the concrete, it's best to lay down a waterproof membrane. Should a crack develop in the slab sometime in the future, the hardwood floor remains protected.
There are times when you don't want to use a moisture barrier. If you're installing a hardwood floor over a wood subfloor, a moisture barrier can trap moisture causing the subfloor to warp and rot.
Protecting Hardwood Floors: Top and Bottom
You should not need a vapor barrier for hardwood floors on the second floor. Unless there is some water feature, steam room, or other moisture sources on the first floor, the moisture barrier for hardwood floors under the first floor should suffice for the rest of the home.
How Do I Protect My Hardwood Floors from Moisture?
To protect the top of the floor from moisture, use an oil-based or polyurethane finish. For floors installed at or below grade, preserve the hardwood floors underside by investing in a quality moisture barrier. The two considerations are:
- The floor installation method
- The type of subfloor
There are three methods to installing a hardwood floor, nailing it, gluing it, or letting it float. Keep in mind that nails or screws will pierce any moisture barrier when attaching to the sub-floor. For cement slab or below-grade installations, consider a floating floor like Easiklip. You can create a continuous moisture barrier for hardwood floors that will protect the wood flooring and prevent leaks. Let's look at the three types of installation and the associated moisture barriers.
1. Moisture Barriers for Floating Wood Floors
As the name implies, a floating wood floor lies on top of the subfloor, using its weight to hold it in place. There are no nails or screws to pierce the barrier, so a continuous sheet of 6 mil plastic works well. Be sure to overlap and seal the seams between the sheets.
Combining an underlayment with a moisture barrier for wood floors offers protection from moisture and helps reduce sound. If you plan to install a floating hardwood floor, Easiklip provides a moisture barrier for hardwood floors that reduces sound. Click here to see the new Premium Floor Underlayment. It works well with other floating floors, such as engineered or laminate floors.
2. Moisture Barriers for Nailed Hardwood Flooring
It may seem odd to lay down plastic sheets and then drive hundreds of staples or nails through them. However, some manufacturers still recommend it as the large area of unpunctured plastic will decrease moisture significantly.
To avoid puncturing the moisture barrier, install it under the subfloor to protect both the sub and finished floors. For example, you would lay the plastic sheeting directly on the dirt, gravel, or cement slab before building the sub-floor.
If the home's first hardwood floor sits above a crawl space, you should place a 6 mil plastic barrier directly over the dirt in the crawl space. It will prevent excess moisture from coming up into the house even with a few feet of open space between the floor joists and the ground. This video will show you how to install a moisture barrier in a crawl space.
3. Moisture Barriers for Glued or Glue-Assist Floors
Wide-planked wood floors are becoming increasingly popular. The problem is that the area between the nails is wide. The greater available width creates an increased chance for cupping or warping if the subfloor moisture level is too high.
Some floors use nails with glue to increase the hold. Sometimes, the adhesive works alone. There are products that combine a barrier with glue. For concrete, use a moisture barrier for hardwood floors that combines with an adhesive. You apply the product with a trowel, and it does both jobs well. Once it's applied, it creates a uniform barrier that holds the floor planks in place. You can see how it works in this video.
Before deciding upon a moisture mitigation solution, test your subfloor moisture content. This video, "Subfloor Moisture & Hardwood," describes the various moisture testing methods along with moisture barrier options for solid and engineered wood flooring.
When Should I Use a Vapor Barrier on the Floor?
Manufacturers of solid hardwood, engineered, or laminate floors require it as part of the warranty conditions.
Concrete acts like a sponge, wicking water up from the ground and out through the surface. A moisture barrier for wood flooring directs the water vapor toward the floor's sides and vents up through the walls.
Do You Need an Underlayment for Hardwood Floors?
Don't confuse underlayment with a moisture barrier. Although an underlayment and vapor barrier can combine into one product, they are different.
Underlayments act as a thin cushion between a floating floor and the subfloor. Its primary purpose is to allow the wood floor to move naturally without squeaking. A quality underlayment also helps deaden the sound of footsteps and other ambient room noises. Most building codes require that floors above the ground level have an underlayment as sound insulation.
A moisture barrier for hardwood floors prevents water from damaging the floor, especially if it is on a concrete slab or exposed below like an open crawl space. It does not provide any sound-proofing unless it's combined with an underlayment product.
Is Underlayment Necessary for Hardwood Floors?
Budget-conscious DIYers often ask, "Do I need an underlayment for hardwood floors?" Yes! While an underlayment will increase the project's cost, it installs quickly and is worth the price in the long-term.
There are five good reasons to put down a quality underlayment before installing a hardwood floor.
- A level subfloor, whether wood or concrete, is critical to a beautiful, finished floor. However, even the best sub-floors may contain slight imperfections. A quality underlay smooths over minor subfloor defects, providing a flat, stable base for your new floor.
- Noise reduction is the most significant benefit of an underlayment. One of the issues with floating floors is the noise from footsteps. Using an underlayment makes a cushion, keeping the wood floor from slapping on the sub-floor. Most building codes require an underlayment on the second floor or above to reduce noise from footfalls, squeaks, and creaks.
- An underlay adds some insulation value, keeping your flooring warmer. A warm floor is comfortable, and a quality underlay helps to shield the floorboards from a cold sub-floor.
- An underlay can provide moisture resistance if it comes with an attached vapor barrier. Underlayment is not a moisture barrier unless it combines with one like this Premium Floor Underlayment.
- Underlay acts as a cushion for the hardwood. The slight cushioning effect makes walking on the floor more comfortable. Additionally, underlayment allows the wood to move naturally, expanding and contracting with the humidity's seasonal changes.
Adding underlay can increase the life of the hardwood flooring and the comfort of the room.
What is The Recommended Underlayment for Solid Hardwood Flooring?
Some installers say that you may not need an underlayment beneath the hardwood floor if you already have a smooth and level plywood subfloor. It's true that plywood has some moisture resistance and allows for the movement of floating floors. However, underlayments improve the flooring system in a variety of ways, as we saw above.
Check with the hardwood floor manufacturer regarding their choice of underlayment to avoid any issues with the warranty.
There are four categories of underlayments:
-
Standard – This basic underlayment is typically a 1/8-inch thick foam. It is not a moisture barrier, just a slight cushion. Foam is the most affordable type of underlayment, and it's easy to install. Foam underlayment provides some sound insulation too.

-
Combination Film and Foam – A combination of foam and a moisture barrier is perfect for damp sub-floors like concrete or floors over crawl spaces. This combination of membrane and underlayment comes in rolls. It features an adhesive strip to join and seal the seams.

-
Modified –Modified underlayments are thicker than combination types. They use a denser foam, rubber, synthetic fiber, or felt paper. Hardwood floor installers use a modified underlayment for hardwood floors above the first floor in homes and high-rises. Most of these have increased sound abatement qualities like cork but are less expensive.

-
Cork – Cork is the underlayment of choice for higher floors when codes call for maximum sound reduction. Installers choose cork for condominiums and other dwellings where local rules and regulations call for specific sound reduction. Cork offers both thermal and sound insulation. Since it's made from tree bark, cork underlayment is the most eco-friendly underlayment option.

For more information, go to our blog, "Hardwood Floor Underlayment Options and Installation."
What Do You Put Between a Tile and a Wood Floor?
The easiest way to bridge the void between the floor tile and hardwood of different heights is to use a transition strip. Transition strips are usually made from the same wood as the floor or can be stained to match. The transition strip covers the gap while allowing the wood floor to move naturally. If both floors are the same height, then you'll need a T-moulding.
To learn more about transitions, check out our blog, "Floor Transition Strips."
What is The Best Moisture Barrier for Hardwood Floors?
The best moisture membrane for hardwood floors depends on the sub-floor and how the finished floor gets installed.
For concrete slabs, opt for an epoxy-type coating that will seal the entire slab. When it's dry, add a layer of plastic sheeting as insurance if the slab cracks in the future.
Before installing floors over a crawl space, lay down 6 mil plastic to cover the entire area. To provide extra moisture protection, insulate the floor's underside with fiberglass batt insulation. Then create a water-resistant membrane for hardwood floors by stapling plastic sheeting to the joists.
For the ultimate in moisture protection, combine a floating hardwood floor with a moisture barrier and underlayment combo. You have a beautiful, solid 3/4-inch hardwood floor with no staples or nails to pierce the vapor barrier.
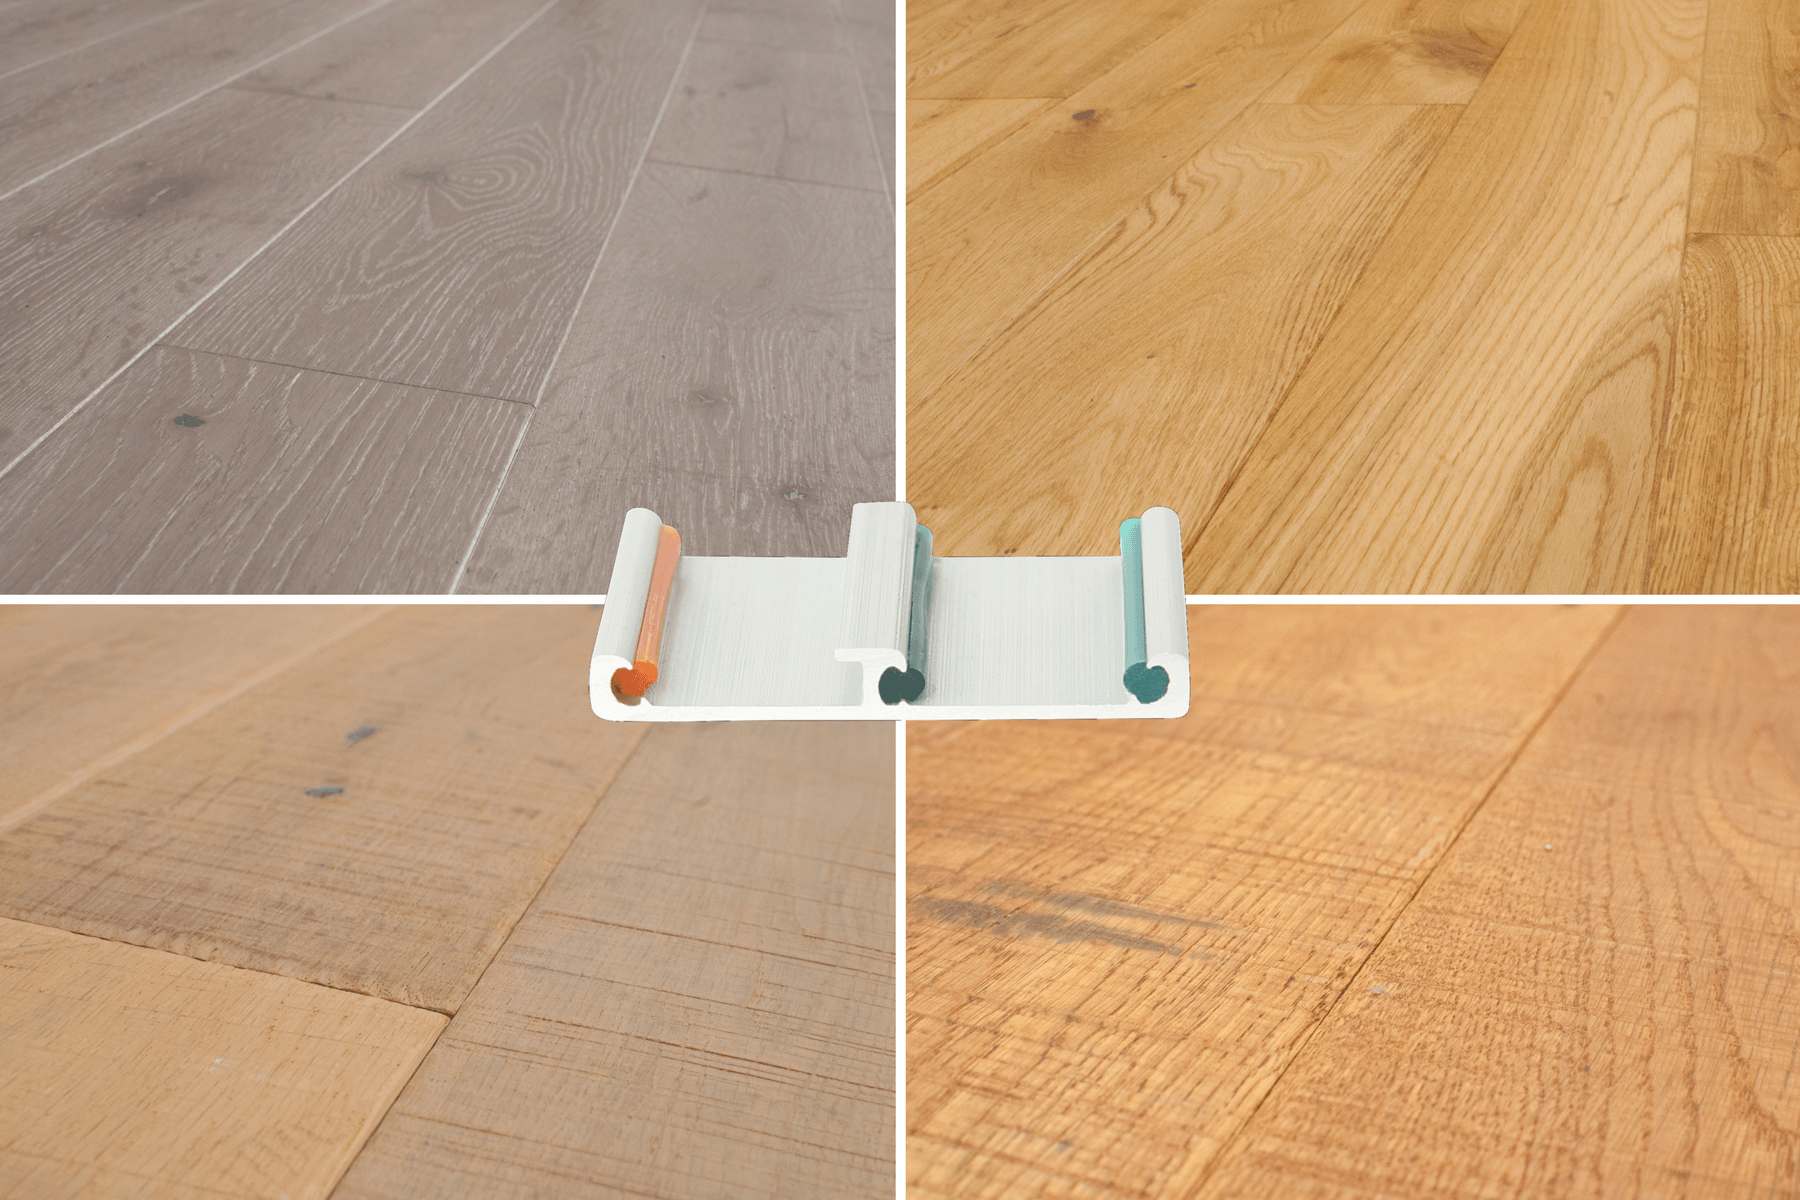
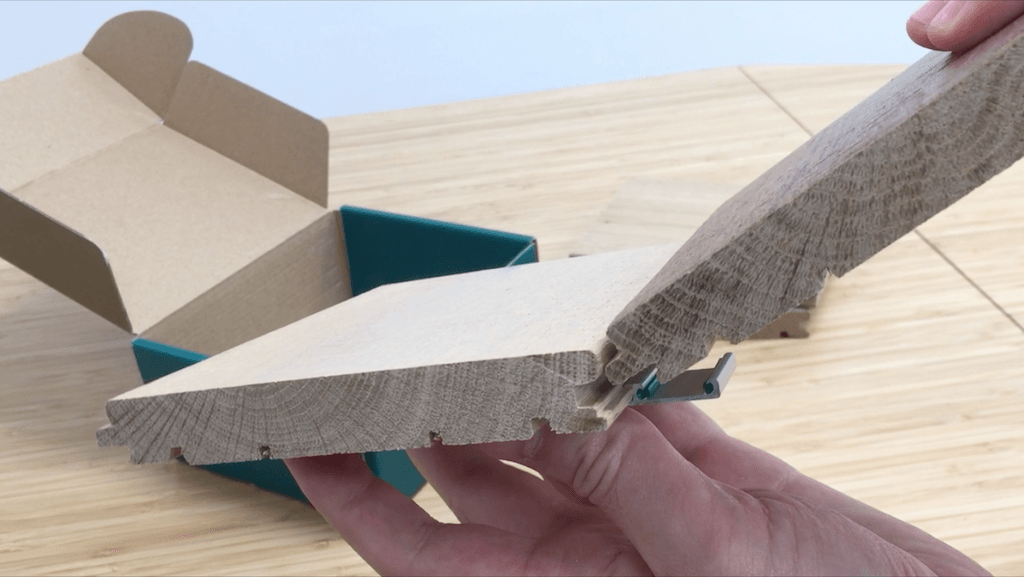
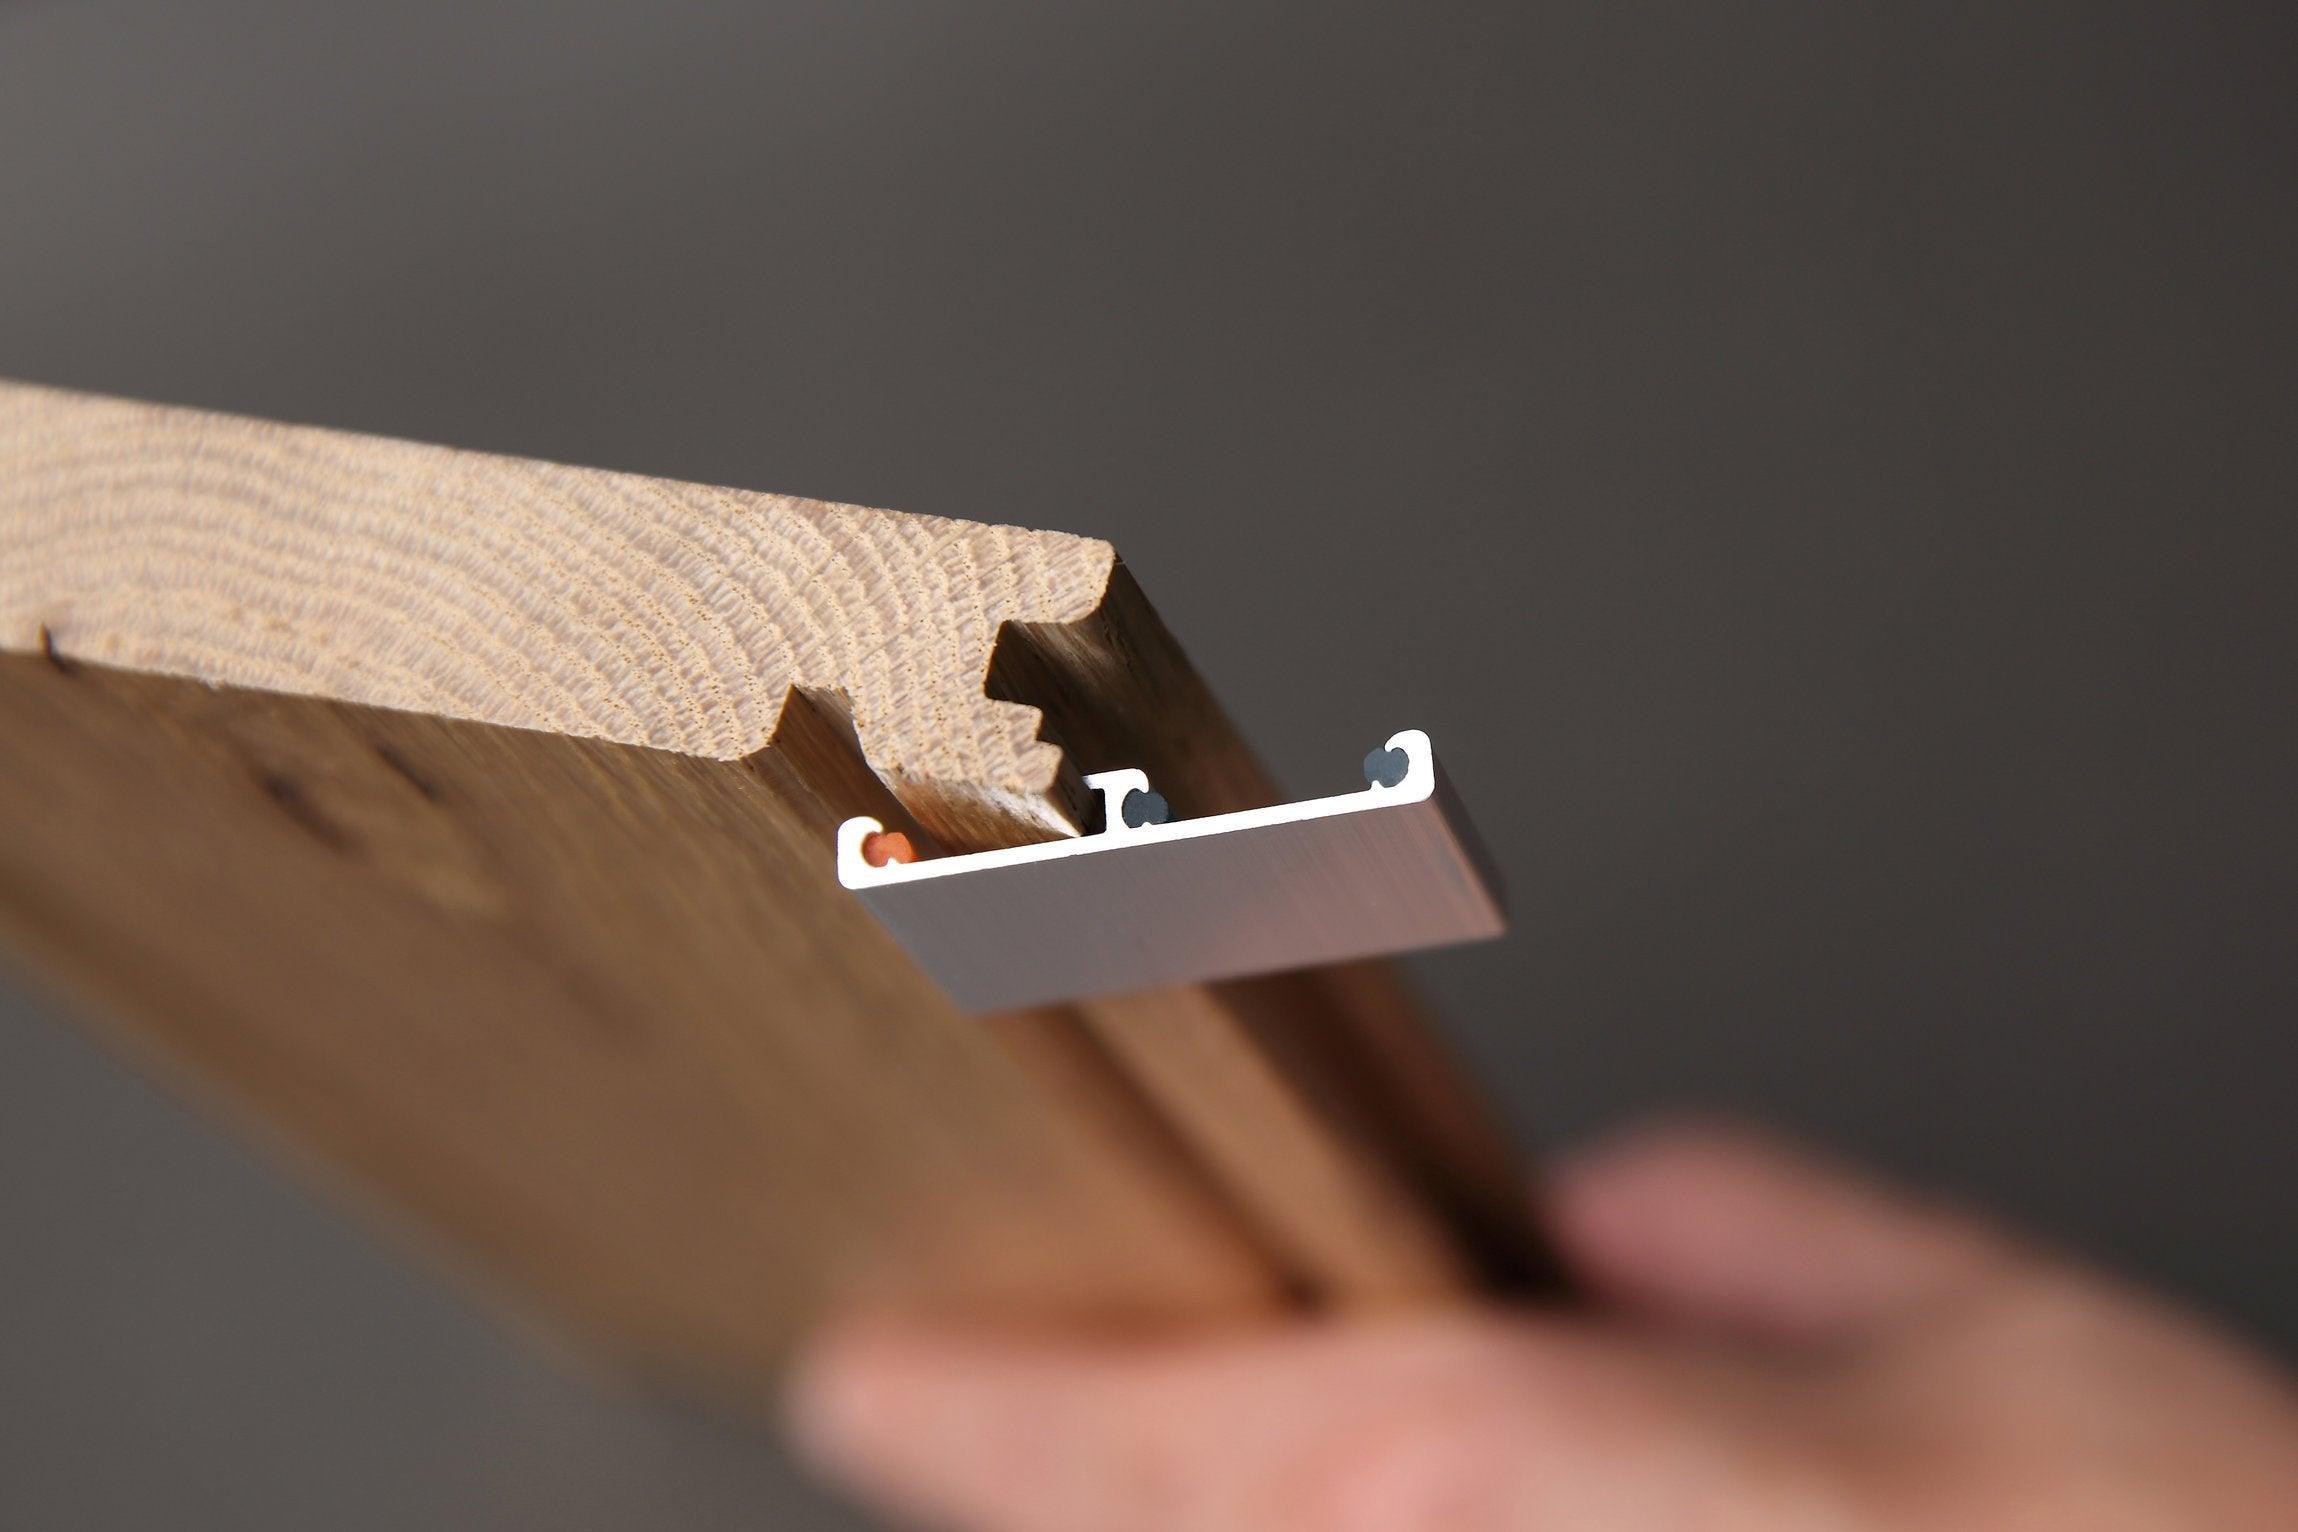
Easiklip floors use a patented aluminum clip to hold the 3/4-inch solid oak floorboards together. This floating floor system will not damage the moisture barrier, and it is the easiest way for DIYers to install a beautiful hardwood floor without glue or nails.
Protecting Craft and Character
Hardwood is more than a finish—it is an architectural material that breathes with your home. Protecting it from unseen moisture ensures the surface remains smooth, resilient, and true to its grain. A well-chosen barrier does more than prevent damage; it preserves design intent, comfort, and longevity. With the right underlayment and installation system, your floors are free to be what they were meant to be: a foundation of beauty and permanence.
Bring Natural Elegance Home
For solid oak floors designed to last, pair Easiklip’s floating hardwood system with the right moisture barrier and underlayment. The result is a resilient, quiet, and beautiful floor that is easy to install and built to endure.
Order your free sample today: https://easiklip.ca/pages/order-samples
Explore pricing here: https://easiklip.ca/pages/pricing
