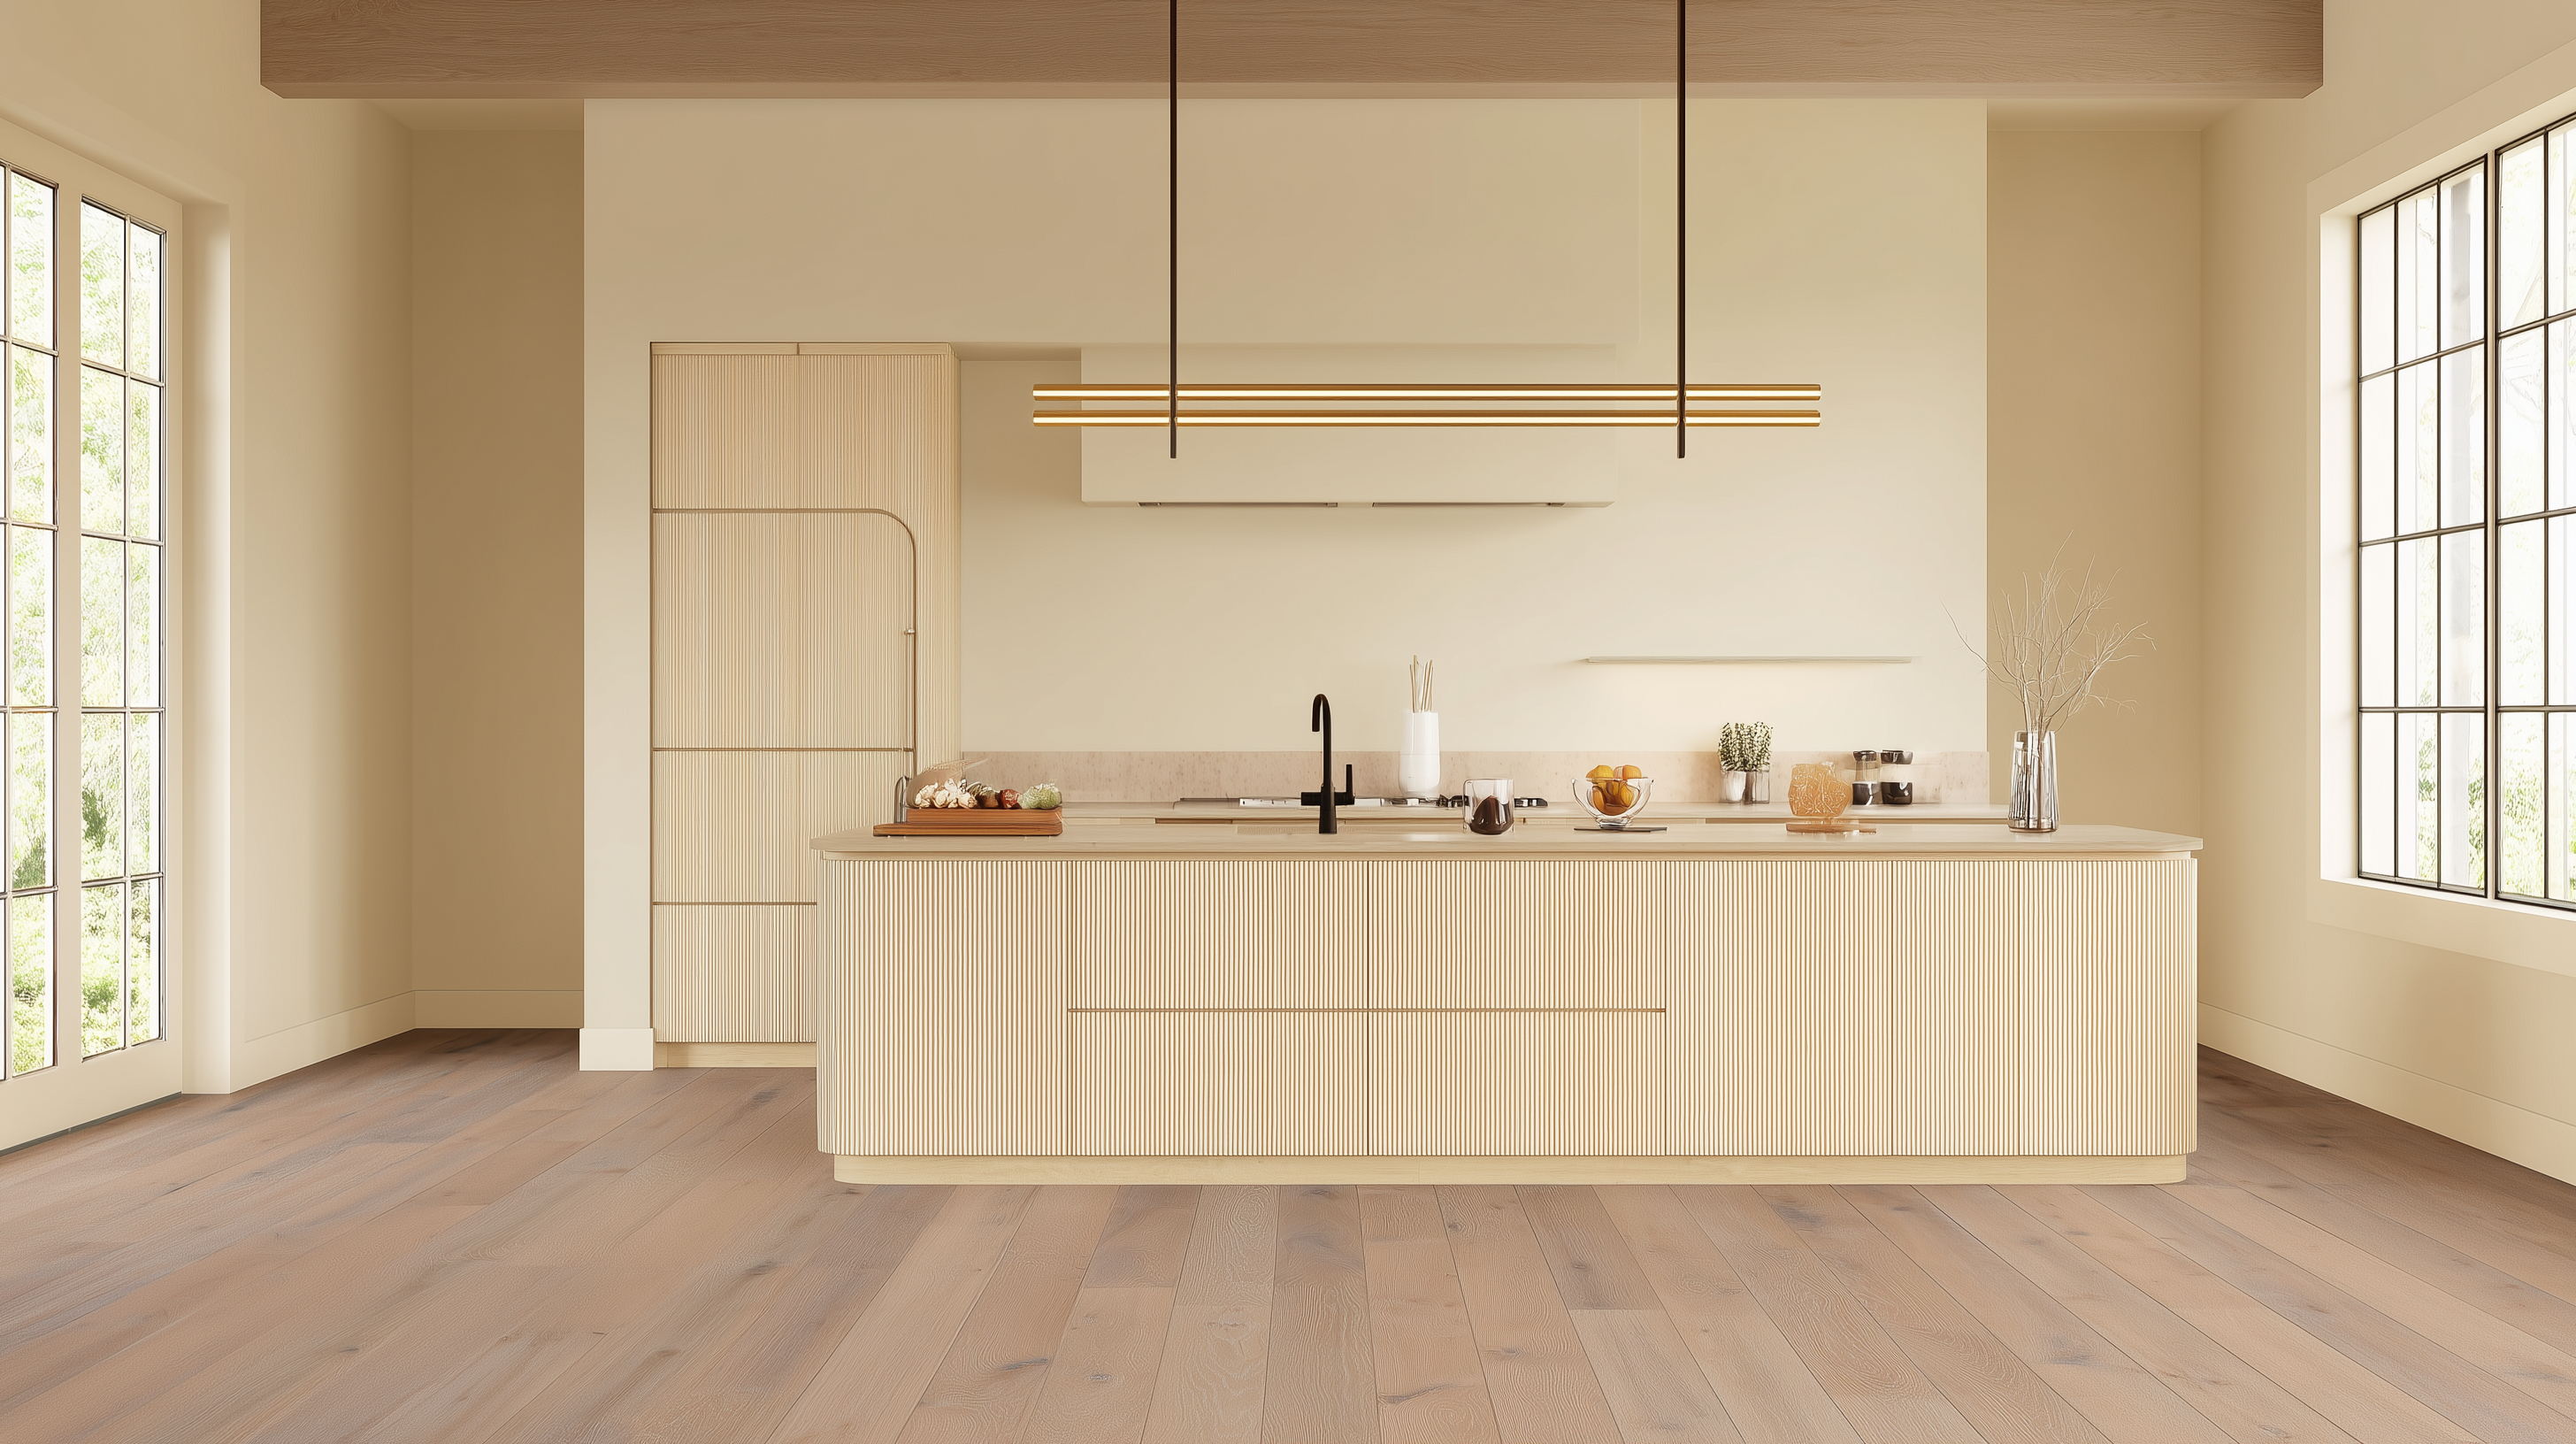
When great design is at work, you don’t notice where one room ends and the next begins. The floors simply flow. Whether you’re moving from hardwood to tile, or laminate to carpet, the transition should feel natural—intentional. With the right planning and the right materials, floor transitions strips can enhance your space, not interrupt it.
Before you install your new flooring, let’s talk about what most people overlook: the humble transition strip. It may be small, but it holds your rooms together—visually and structurally. Think of it as the punctuation mark in your design language. Here’s how to get it right.
What Is a Floor Transition and Why Does It Matter?
Whenever you walk into a home or building, notice where one floor type changes to another. At the point where one floor meets another is the transition. A flooring transition strip covers the seam between the two floors.
The floor transition makes a clean looking seam and protects the edges of your wood flooring from wear and tear and foot traffic. A transition strip for wooden floors allows for the natural movement of the wood while covering the gap. Transition strips are a crucial part of any flooring installation, ensuring a seamless and professional finish.
The Role of Transition Strips in Interior Flow
The best example of a floor transition strip is the thin piece of wood or metal on the floor that you see in the doorway of most bedrooms. A transition strip may bridge the gap from wood to wood, wood to carpet, tile, or other various flooring materials.
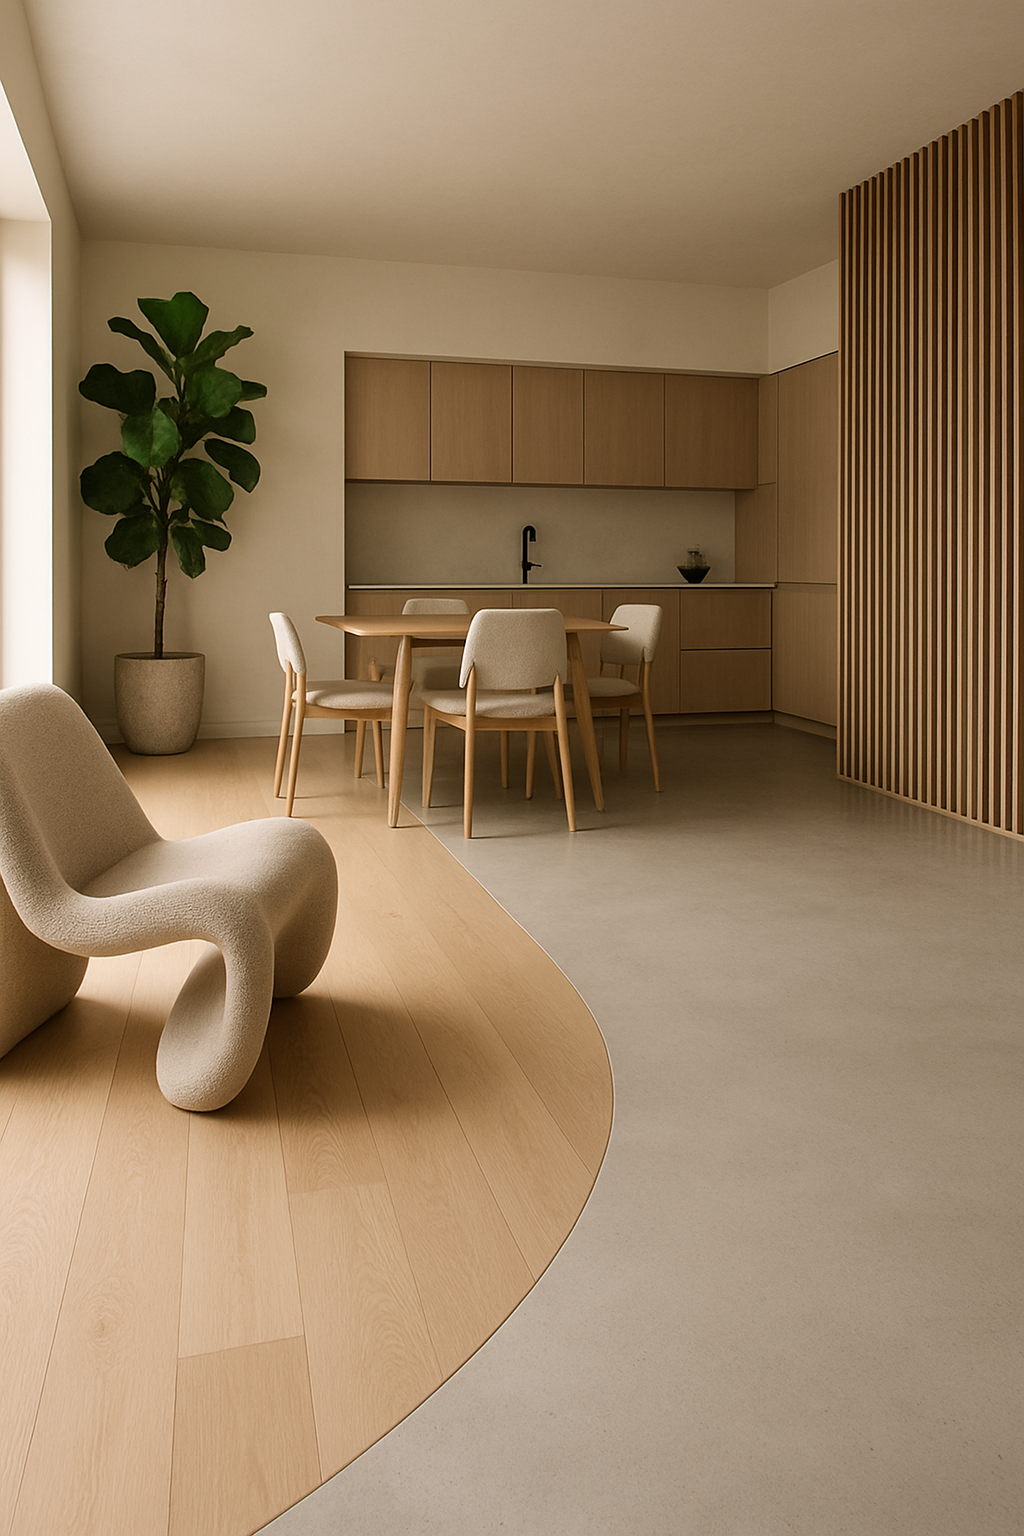
A transition strip doesn’t have to run in a straight line. It can follow a curve of modern flooring designs found in open spaces between living rooms and kitchens, adding a touch of style to the transition. It has a dual purpose of covering an unsightly gap and allowing for the expansion of wood flooring. It helps provide a visual break between the two floors.
Creative Ways to Bridge the Gap Between Floors
Designers use four methods to make beautiful floor transitions that flow from one room to the next. For instance, transitioning from vinyl plank flooring to tile can be achieved using various methods.
1. Make an Accent Border
An accent border helps blend two dissimilar floors perfectly. Although the borderline can of the same material as one of the floors, using some accent tiles or highly contrasting material creates an attractive focal point on the floor.
2. Make an Irregular Transition
The irregular transition creates a unique flooring pattern. For example, going from a hexagonal ceramic tile in the kitchen toward the wood planks of a hardwood floor of the living room, you can interspace separate tiles into the wood to create a gradual transition. It delineates distinct zones without a boring straight line.

3. Use Furniture to Split the Line
Today's homebuyers want an open concept floor plan. That usually means a big kitchen opening to a big family or dining room. Rather than having one long transition stripline, break up the border by designing kitchen islands or substantial furniture pieces to create a transition.


4. Create a Buffer Zone
Sometimes, designers don't want the floors to meet at a thin transition strip. Instead, they build a buffer zone between them using a third flooring material. The idea is to prevent different materials from clashing with one another. The buffer adds character to the floor and visually separates the two floors.


Are Transition Strips Optional? (Hint: They’re Not)
The answer is, "Yes," you do need floor transition strips. Most homes and offices have more than one type of flooring. That's because there is more than one type of room. Kitchens, bathrooms, and bedrooms all have different looks, functions, and flooring requirements.
Transition strips create a smooth look throughout your home as you walk from one room to another. It also prevents you from tripping. Let's look at how to make and install flooring transition strips.
DIY Guide: How to Build Your Own Wood Transition
Solid wood floors are usually 3/4 inch thick and higher than other adjoining flooring materials such as tile or carpet. If you have some essential woodworking tools and skills, you can create a beautiful wood floor transition from leftover flooring matching color and wood grain. Here's how:
Step 1 - Measure the door jamb's opening and add 2 inches to the measurement for cutting. For landing transitions or one in the middle of an open floor, measure the length, add the transition board's width for each miter joint and then add the extra 2 inches. Cut a piece of flooring to size. If you use two boards, cut each one to a length that places the joint in the transition's approximate center.
Step 2 – Using a table saw, remove the tongue from the flooring. Cut the board with the finished side down.
Step 3 - Place the straightedge of the transition piece on the higher floor hanging over the lower floor, then measure the floors' height difference. Use this measurement to set the fence. Measure from the blade tooth edge farthest from the rip fence and put the blade height to 3/4-inch. Rip the transition piece on edge and be sure the finish side is away from the rip fence. This will create a saw groove through the transition piece.
Step 4 - To complete the cutout, set the saw blade height using the same height difference from Step 3. Reset the rip fence to 3/4 inch from the outside blade tooth edge and saw the transition piece with the finished edge up. Test-fit the rough transition piece. It should fit level with no gap on either floor surface. Adjust and recut if necessary.
Step 5 - Adjust the saw blade to a 45-degree angle and the saw's fence to cut about 1/4 inch of the finish surface corner. Saw with the finished surface down and remove the corner of each side. You'll need two passes, one pass on each edge.
Step 6 - Using a sanding block, sand the transition reducer starting with 80-grit and finishing with 220-grit sandpaper. Stain and apply the matching finish. Double-check the door opening and cut the transition reducer to final length using a miter saw. Be sure one end of the reducer is square before measuring and cutting. Install the transition reducer.
This video, "Building a Custom Floor Transition Threshold," shows you how to measure and saw a threshold transition.


How Do You Transition a Floor in a Doorway?
Wherever the two floors transition from one room to another or a hallway, you'll want to keep the transition line centered under the door. It looks cleaner when the door is closed. People tend to step over the threshold in a doorway, so it's a bit safer if the transition is not flush with the floor.
T-Molding and Other Transition Types to Know
When it comes to creating smooth transitions between different types of flooring, there are several types of transition strips to consider. Each type serves a specific purpose and can help you achieve a seamless look in your home. Here are some of the most common types of transition strips:
T-Molding
T-Molding is a popular type of transition strip used to connect two floors of similar height. It’s an excellent choice for bridging the gap between different flooring types, such as a bathroom with ceramic tiles and a bedroom with laminate flooring. T-Moldings create a smooth transition, ensuring a cohesive look and feel in the room.
Available in various styles and materials, including vinyl, hardwood, and laminate, T-Moldings can match different flooring types and decor. They are easy to install and can be used in various rooms, including living rooms, bedrooms, and basements. Their durability makes them a long-lasting solution for high-traffic areas like hallways and entryways.
By using a T-Molding, homeowners can create a seamless transition between different flooring types, enhancing the overall aesthetic of their home. Whether you’re working on a residential or commercial flooring project, T-Moldings offer a versatile and cost-effective solution for achieving a smooth transition between floors.

How Do You Replace a Transition Strip on a Floor?
Although most people tend to step over thresholds, they still sustain damage from wear and tear, water, or accidents and may need to be replaced.
There are some things to consider when removing a transition strip.
-
Are you replacing the flooring or keeping the existing flooring?
-
If you don't want to damage the floor, place a thin piece of wood or cloth under the pry bar when lifting out the transition piece.
-
Is the subfloor wood or concrete?
-
If you have a wood subfloor, most likely, you'll only need to pry up nails. For concrete, it may be adhesive or screws. You'll need to take time to back out the screws without damaging the surrounding floor.
Once you've removed the threshold, replace it with a new one. This video, How to Remove a Metal Carpet Transition Strip, shows you how easy it is.
If you need to repair a wood to tile transition strip, watch How to Fix or Repair Floor Transition Between Tile and Laminate Flooring.
How Do You Transition Between Two Hardwood Floors?
If you need to transition between two different wood floors, use your creativity, especially in an open area. It's simple if you're transitioning under a doorway. For room-sized transitions, use one of the creative ideas mentioned earlier in the "How Do You Transition a Floor" section to make the space look more cohesive.
For some quick tips, take a look at Transitioning Hardwood Flooring Between Rooms: Part 1 and Part 2. These short videos show how to transition if the gap is too wide for a floorboard.
Quite often, you'll use T-molding. This blog, Install Your T-Moldings Like A Pro, will give you all the details.

How Do You Transition from Hardwood to Tile?
The most significant challenge of creating a tile to wood transition is the height difference. It can be as much as a 1/2-inch drop from tile to wood. You'll need a reducer transition strip covering the gap and slopes from one height to the other without a sharp edge.
This video, "How to transition from tile to hardwood with a custom flooring reducer," shows you how to make and install a custom floor reducer. The second video on this topic shows a grout transition in an open room - Tile to Wood Transition.
Can You Grout Between Wood and Tile?
There are two ways of thinking when it comes to using grout between the wood floor and tile. One side feels that grout will crack over time as the wood moves. Other people say there are no problems, mostly when used with engineered hardwood floors. Engineered wood has less expansion and contraction properties than solid wood.
If you aren't sure whether to use grout or not, this guy shows off his flawless grout job two and a half years later in this video. (Caution - The language can be a bit salty at times.) He reveals one interesting tip. Sanded grout stays smooth and easy to clean while the poly-caulk or ceramic tile caulk stays rough, absorbs dirt, stains and is impossible to clean.
So, you can use grout between a floating wood floor and tile, provided that the wood floor is secured to the sub-floor at the transition point.

Two Tiles, One Transition: How to Handle the Shift
There are two popular techniques when transitioning from tile to tile. One approach uses the tiles to cut an "Indian Blanket" pattern. You merely cut tiles in half diagonally and set them in an alternating triangular pattern between the two floors.
The other method uses aluminum floor transition strips made for tiles. It's like a T-molding for wood floors and covers the gap at the transition. You'll use this type mostly for straight transitions such as a doorway or hall.
Vinyl Plank to Tile: Clean Solutions for Uneven Surfaces
Vinyl floors typically don't have floor transition strips like wood or laminate floors do. The tile can be up to 1/2 inch higher than the vinyl floor, so the only way to transition is to use a reducer. Commercial reducers can be wood, aluminum, or rubber. Check to see which may look best for your flooring design.
For more info about floor reducers, read our blog on wood floor reducers.
Trim vs. Molding: Understanding the Final Touches
Floor trim is the frosting on your flooring cake. If you’ve ever seen where a new floor meets the walls, you’ll notice an ugly gap. Floor trim bridges and covers the gap to make a professional, finished look.
The most common floor molding is baseboard.
Baseboards, Shoe Molding, and Quarter Rounds Explained
A baseboard protects the lower part of the wall from foot damage. Typically, it's less than 1/2 inch thick by 3 1/4 inches tall. It will have a curved section at the top to give it some character.
Shoe molding is much smaller and installs in front of the baseboard. Because it's more flexible, it covers and seals any remaining gaps between the baseboard and the floor. It measures 1/2 inch thick by 3/4 inch tall and features a rounded edge. It has a taller profile than a quarter round. Quarter round is an arc, one-quarter of a circular wooden dowel.
For most flooring applications, shoe molding is a more desirable choice.
What is the Difference Between Trim and Molding?
Trim is a generic term used to describe the materials used to finish and seal around doors and windows. Molding is a kind of trim. Molding comes in a variety of enhanced profiles depending on its final location and purpose. Crown molding, chair rails or wainscoting, and shoe molding are considered trim, but a specific type of molding.
What is the Molding on the Floor Called?
There are three categories of floor molding. They are baseboard, shoe molding, and quarter-round. Within each category of floor molding, you'll find a variety of shapes, materials, or sizes from which to choose for your project.
Final Thoughts: The Small Detail That Elevates Everything
Many homeowners overlook transition strips, only to regret it later when they realize their floors don’t flow as seamlessly as they imagined. Don't make that mistake! A little planning now will save you time, money, and frustration down the road.
So, as you pick out your hardwood flooring, don’t forget this crucial step—your future self will thank you!

