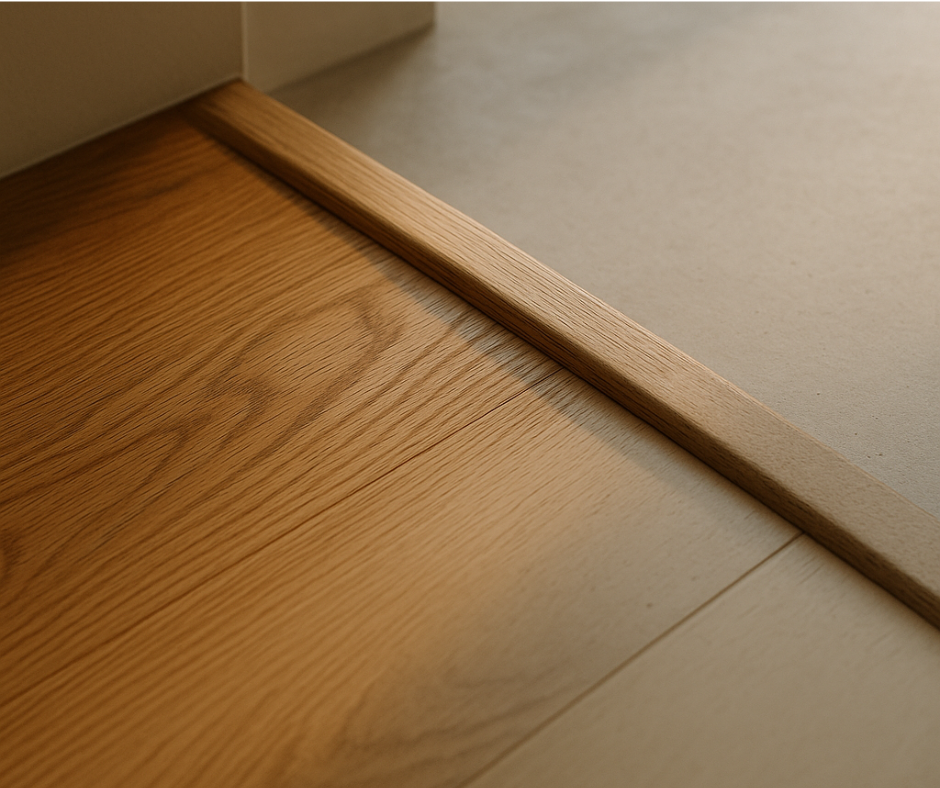
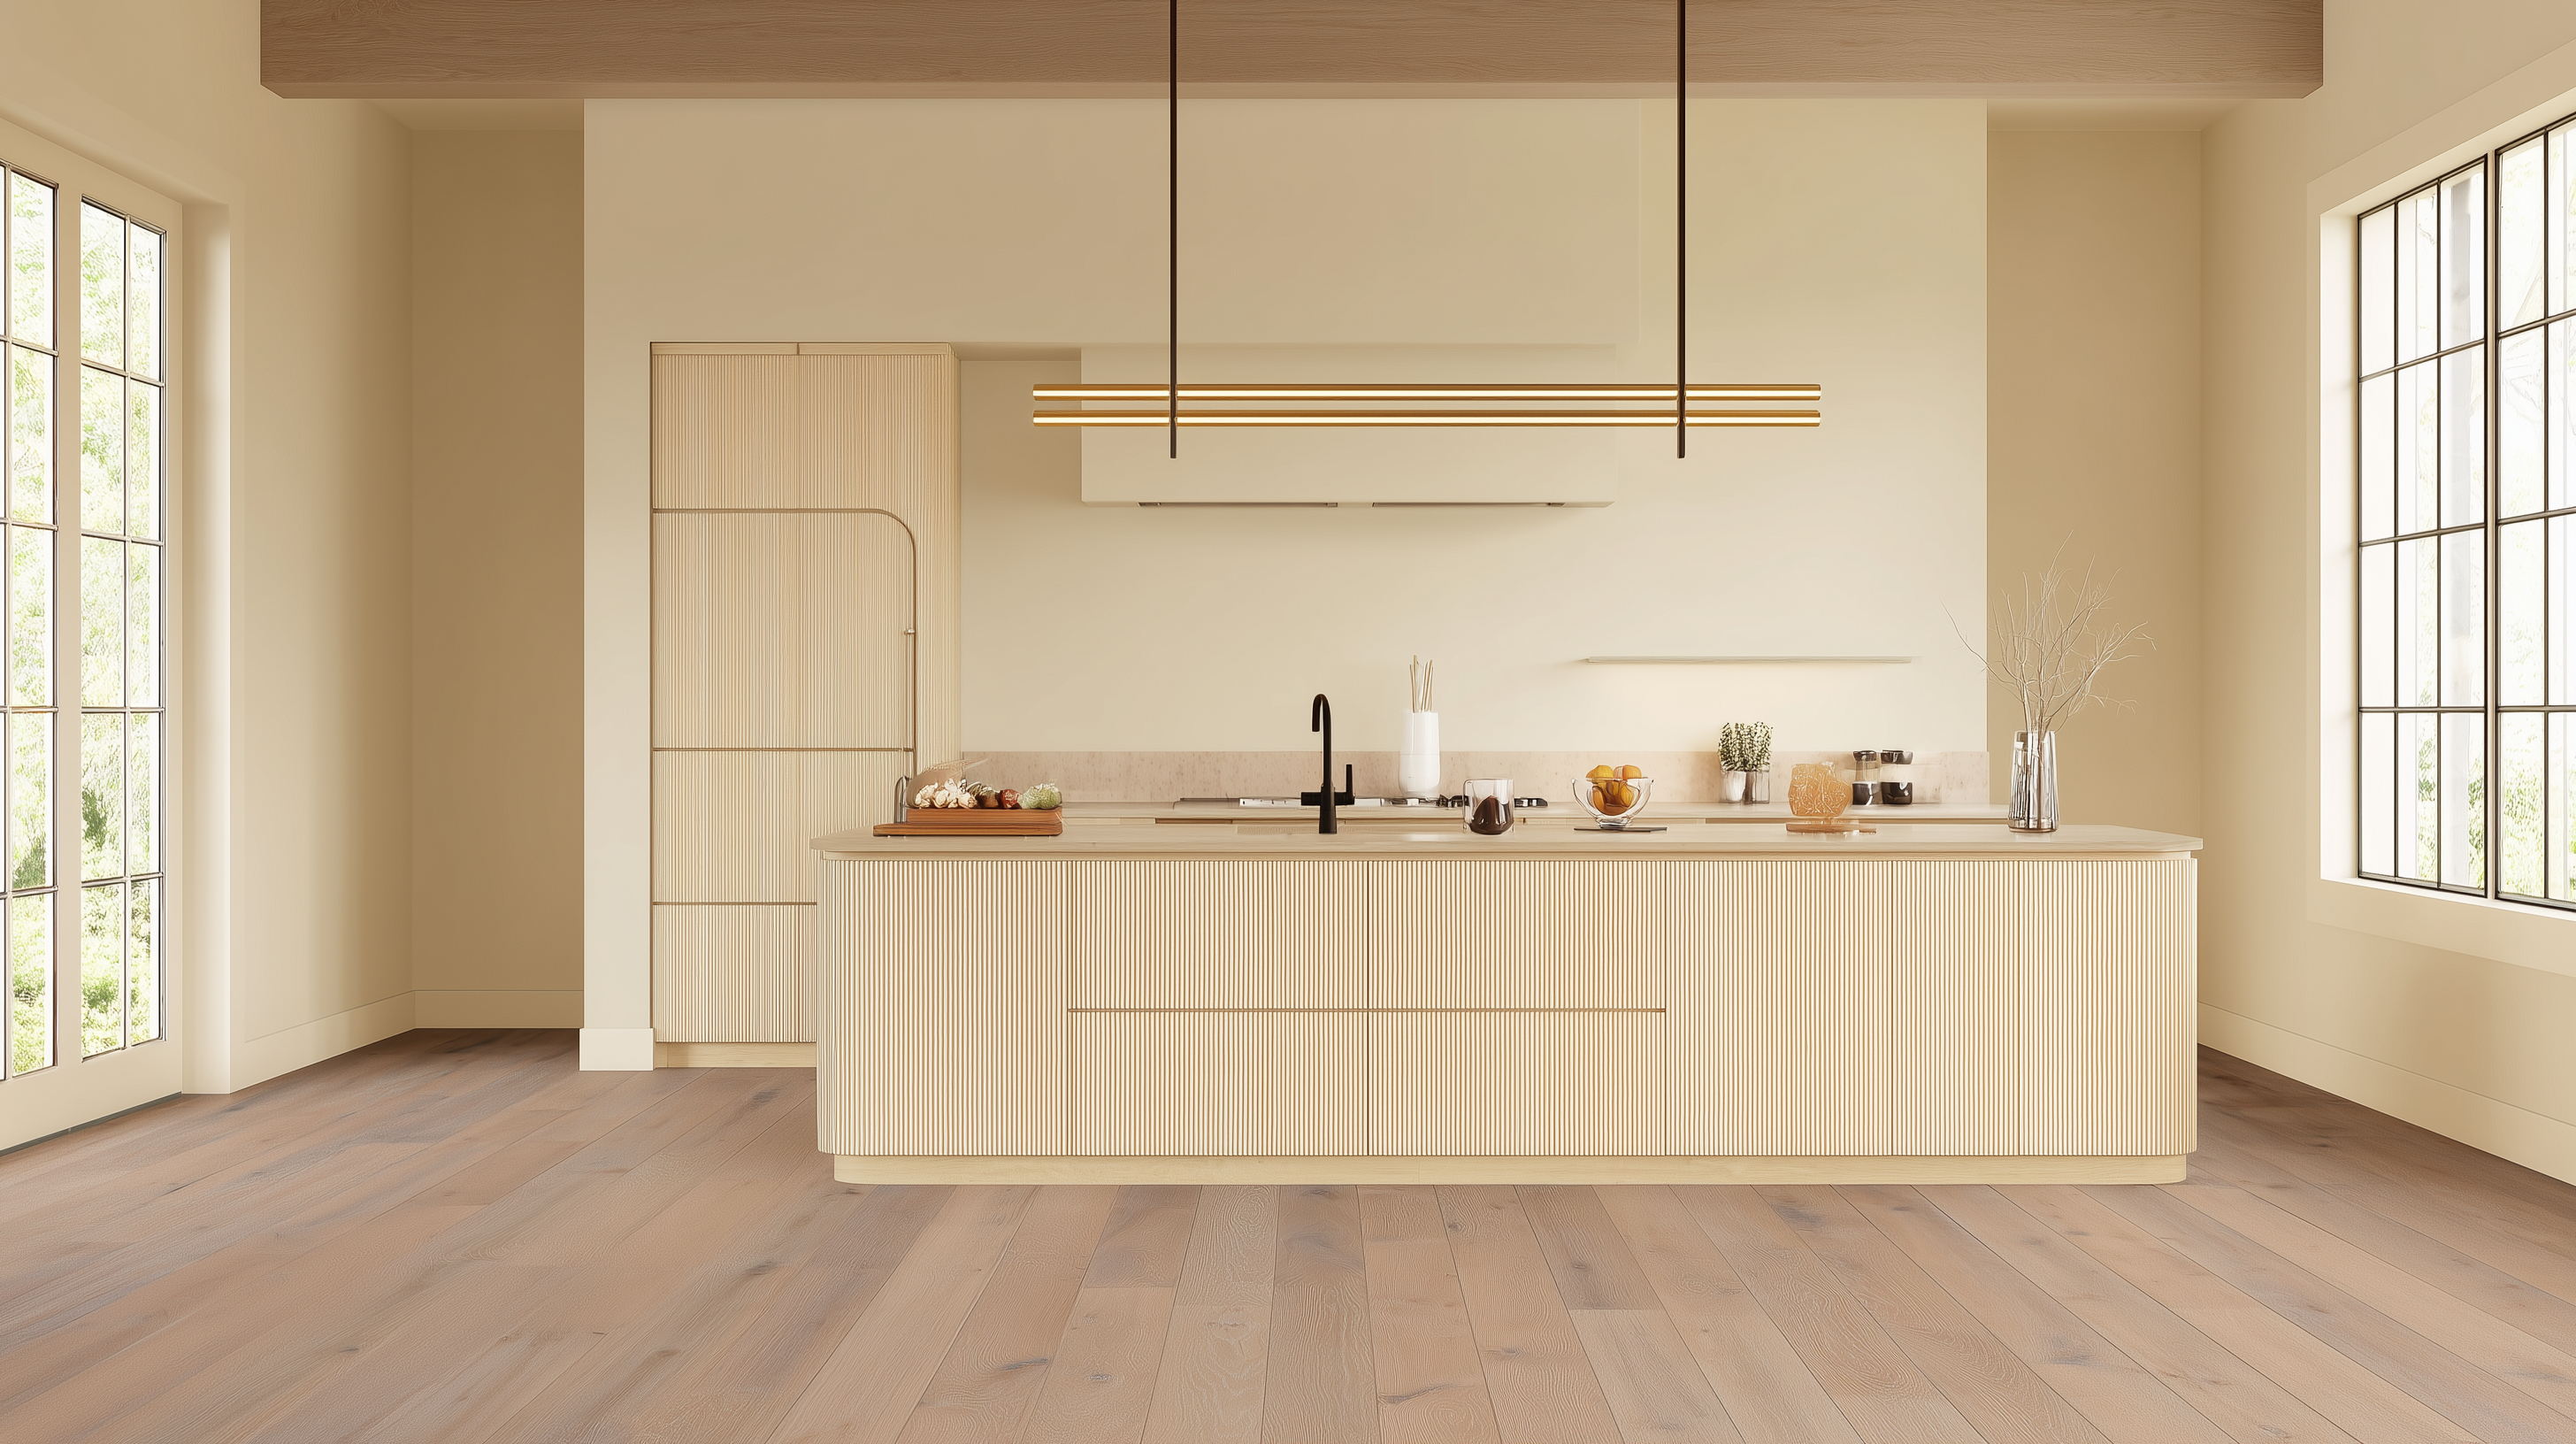
There is a moment—often unnoticed—when you step from one room into another and feel only continuity. The floors align, the materials change, but the transition is smooth, effortless. That’s the quiet magic of a well-placed floor reducer.
Whether bridging solid hardwood and tile or creating a gentle slope between engineered wood and low-profile vinyl, a reducer molding is the unsung hero of thoughtful flooring design. It softens contrast, guides the eye, and eliminates the jarring drop or rise that can interrupt both footfall and visual flow.
Design with Purpose: The Role of Reducers
Wherever two different flooring materials meet, there must be a transition to fill the gap. If both floors are equal height, you will use a T-molding to fill the void. The profile looks like a capital “T” and makes a level bridge across the gap.

If you need to transition a gap across floors of two different heights, that’s where a floor reducer comes in. The top portion of the reducer will butt up against or overlap the higher floor and then slope down to the lower floor level.

Floor reducers or wood reducers come in various profiles depending on their specific transition from a wood floor to tile, carpet, stone, or other flooring material. They reduce tripping hazards and provide a smooth finishing touch to the floor.
Here is why you need a floor reducer:
- To transition from one flooring to another flooring type.
- To change the direction of the planks, such as in an L-shaped hallway.
- To cover up the expansion gap between the floor and walls, fireplaces, and exterior doors.
- When the floor ends at a step, you’ll need a reducer.
There are different names for the various reducers depending on their specific installations, as you are about to learn. Fortunately, reducers have logical names based on their specific purpose or installation method.
Flush vs. Overlap: Which Profile Fits?
A flush reducer or flush mount reducer makes a smooth, arcing transition from nail-down hardwood flooring to a low-profile surface such as vinyl or concrete. It makes a flush ramp down to the lower floor. The advantage is that it mounts flush to the floor’s surface, butting up against the wood. There is no overlap or raised portion as with other transitions.
Watch this 6 minute Wood Multi-Purpose Reducer Flush Installation Video to see how it works.
What is an Overlap Reducer?
Like a flush reducer, an overlap reducer also transitions from a higher wood floor down to a lower surface. The difference is that it’s used for a floating floor. The top edge overlaps the floorboard, leaving an expansion gap between the board’s edge and the molding.
Navigating Tile, Concrete, and Hard Surfaces
Wherever ceramic tile and wood floors meet, they are rarely the same height. Ceramic tile is thicker than vinyl, some engineered wood floors, and carpets. Solid hardwood floors are typically 3/4-inch-thick, and tiles run about 1/2 inch thick.
In most cases, a tile reducer is just another name for a door threshold that transitions from a tiled bathroom or kitchen floor to hardwood or other surfaces. Thresholds are the strip you see under doors where one floor changes to another type. They also enhance the beauty of floors as an added decorative element.
What is a Hard Surface Reducer?
It can be flush or overlap depending on the two surfaces. You use a hard surface reducer when both sides of the floors are hard such as wood, tile, or concrete.
This is not something you will use when transitioning from wood or tile to a soft material like carpeting.
Thoughtful Installation: How to Add a Wood Floor Reducer
Installing a hardwood floor reducer is an easy job for a DIYer. You’ll need the following tools to install any floor reducer:
- Measuring tape
- Saw – Power or a miter box and saw combo
- Rubber mallet
- Silicone or floor adhesive
- Caulk gun
If you only plan to install one reducer, we recommend that you purchase a plastic tube of adhesive rather than a commercial-sized tube and gun combination.
5 Steps to Installing a Wood Reducer to Vinyl:
Step 1 - Measure the gap between the two floors very carefully. The gap measurement determines what size and type of reducer molding you need to bridge the space.
Step 2 - Measure and cut the reducer molding to size. If necessary, stain the reducer molding to match the existing floor and let it dry before installing.
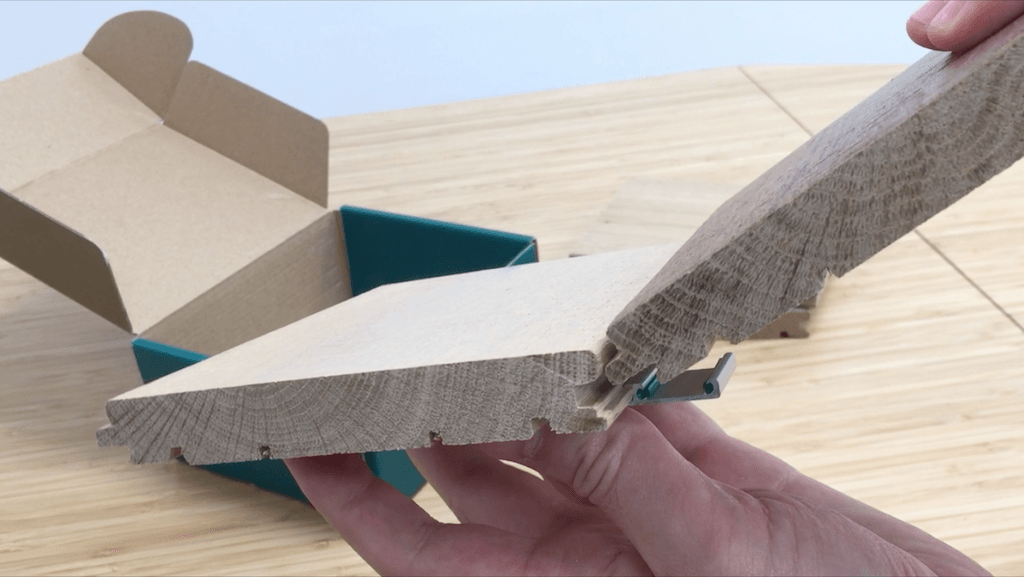
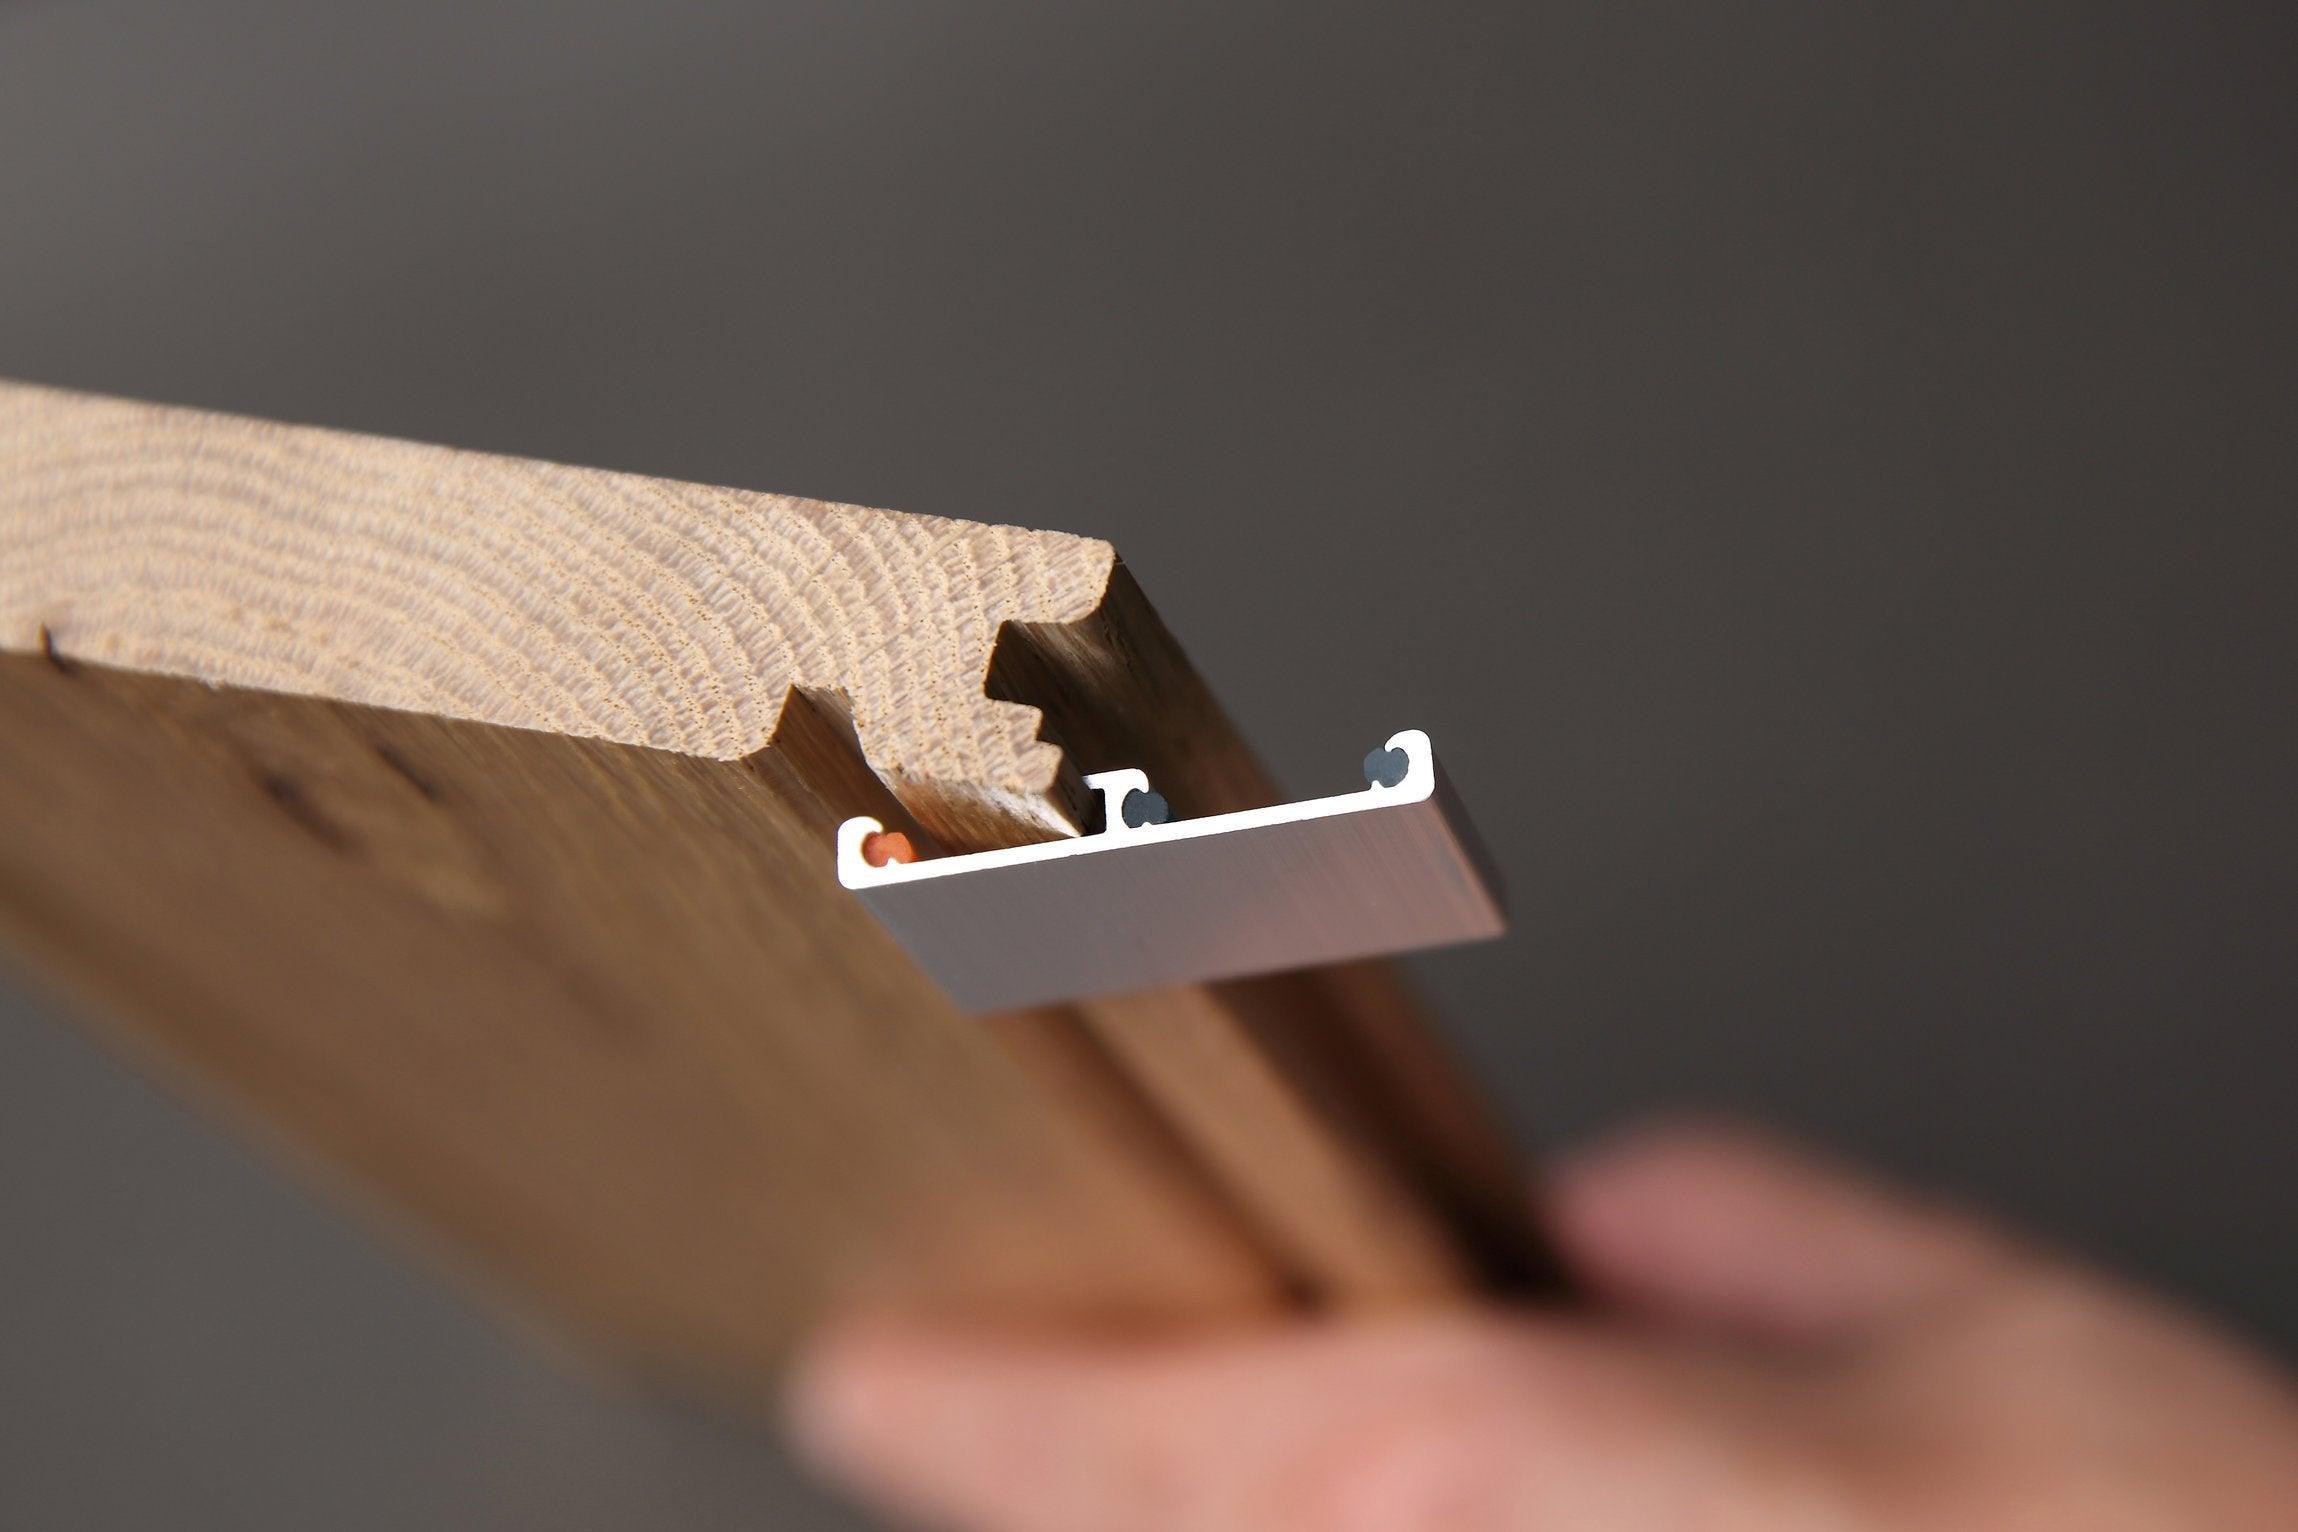
Step 3 – If the wood floor has an exposed groove, insert the reducer’s tongue edge into it using a rubber mallet if needed to slide the reducer molding fully into position. If both the floor and reducer edges are flat, butt them together.
Step 4 - To seal the gap between the reducer space and the vinyl flooring, apply a small bead of silicone before installing it. This prevents water from seeping under the reducer molding when mopping the vinyl floor.
Before installing the transition piece, stain the wood to match the wood floor and use the same finish. Avoid high gloss if possible as it will show scuff marks.
In this video, How to Transition Vinyl Floors to Hardwood Floors, he uses a metal reducer instead of wood because it’s a low-cost rental property. Where the appearance is essential, use a wood reducer.
Carpet Transitions: Soft Meets Structured
The difference with a carpet to hardwood transition is that you need a tack strip to hold the carpet along with a track to hold the transition strip. There are two types of carpet tack strips. One is for installation on concrete, and the other for wood subfloors. Concrete tack strip uses hardened steel concrete nails.
One way to ensure a clean install and avoid a tripping hazard is to tuck the carpet under itself where it meets the reducer. This video demonstrates the Turn and Tack technique.
Here is what you need to do.
Step 1 - Measure the exact length where you need to install the transition. Measure and cut the metal channel and the T-molding or reducer to this length. You’ll only use T-molding if the carpet and wood floor are the same height.
Step 2 - Roll up the edge of the carpeting and pad to get it out of your way. Secure temporarily with electrical tape.
Step 3 - Measure and cut a tack strip leaving a 1/4-inch gap between the door frame or wall. The tack strip has small metal hooks that grip the carpet in place.
Step 4 – Screw or nail the tack strip onto the exposed subfloor. Leave a gap of approximately 1/2-inch between the tack strip and the hardwood flooring edge for the reducer track.
Step 5 - Roll the carpet pad lightly back onto the tack strip, but don’t press on it. Trim off the excess pad along the edge of the tack strip with a utility knife. Be sure the tack strip is exposed to hold only the carpet.
Step 6 - Stretch the carpet over and onto the tack strip using the carpet kicker. Work along the doorway or hallway, stretching the carpet over the tack strip. If you are not familiar with a carpet kicker, watch this demonstration, How to Install Carpet With a Knee Kicker.
Step 7 - Tap the hammer lightly over the carpeting to press the carpeting securely onto the strip.
Step 8 - Cut away the extra carpeting that extends beyond the tack strip’s edge. Remember to keep a gap of 1/2 inch of exposed subflooring between the carpeting and the hardwood flooring edge for the reducer track.
Step 9 - Attach the metal track to the subfloor, leaving a 1/4-inch gap between the two floors. This is an expansion gap necessary for all hardwood floors. Screw the metal track to the subfloor using every other screw hole. It’s not necessary to use them all.
Step 10 - Snap one end of the reducer molding into one end of the metal track. Press down firmly or use a rubber mallet to ensure the molding fits snugly along the channel.
When finished, you should have a tight-fitting reducer and carpet transition.
Wood to Tile: A Delicate Elevation
Bridging the gap from tile to wood requires a tile to hardwood transition reducer. Most modern floor tile is 3/8 inch to 3/4 inch thick, and most hardwood flooring is 3/4 inch thick. It’s not often where a tiled bathroom floor and a wood hallway floor have the same height. If they are, you can use a T-molding straight across. If they’re different heights, use a reducer.
To install a wood to tile reducer, you’ll attach a metal track to the subfloor in the gap between the two floors. Then you snap or glue in a wood molding.
Watch a pro tackle this problem, How To Make A Transition Between Floor Heights From Tile And Wood.
Suppose there is a long transition with a curve, such as an open area between a large kitchen and living room? To make a curved transition from tile to wood, check out this video, How to Transition Wood Floors to Curved Tile Floor.
Handcrafted Finishes: Making Your Own Reducer
To build wood floor transitions, you need some woodworking skills and a table saw. Flush thresholds are straight forward. The video below demonstrates the following steps:
Step 1 - First, measure the width of the threshold from the wood to the tile. Next, measure the width of the gap between the floorboard and tile.
Step 2 – Cut the board to length, then cut out the notch that drops into the gap and keeps the board from moving once installed
Step 3 – Use a T-square to measure the corners you need to cut out to fit around the door frame. Use a jigsaw to make the cuts.
Step 4 – Sand and finish the wood to match the floor. After it’s dry, use a brad nailer or quality floor adhesive to attach the reducer to the subfloor.
Here is the video demo about making a custom transition piece from wood to a tiled bathroom floor - Building a Custom Floor Transition Threshold.
If you need more information about cutting and shaping a wood floor reducer, this video will help -Make Your Own Transition Molding for Laminate Flooring.
A Subtle Signature
Transition moldings or reducers make walking in your home safer by covering up that ugly gap between two floors so that there are no abrupt or unfinished edges. More than that, reducers allow expansion gaps to work as designed, keeping wood floors smooth all year long.
As a review, this comprehensive video, How to Install Transitions From a Higher Floor to a Lower Floor, demonstrates the various reducer moldings and how they install on different floors. It’s an easy DIY job if you need to make a sturdy and beautiful transition from one room to another.
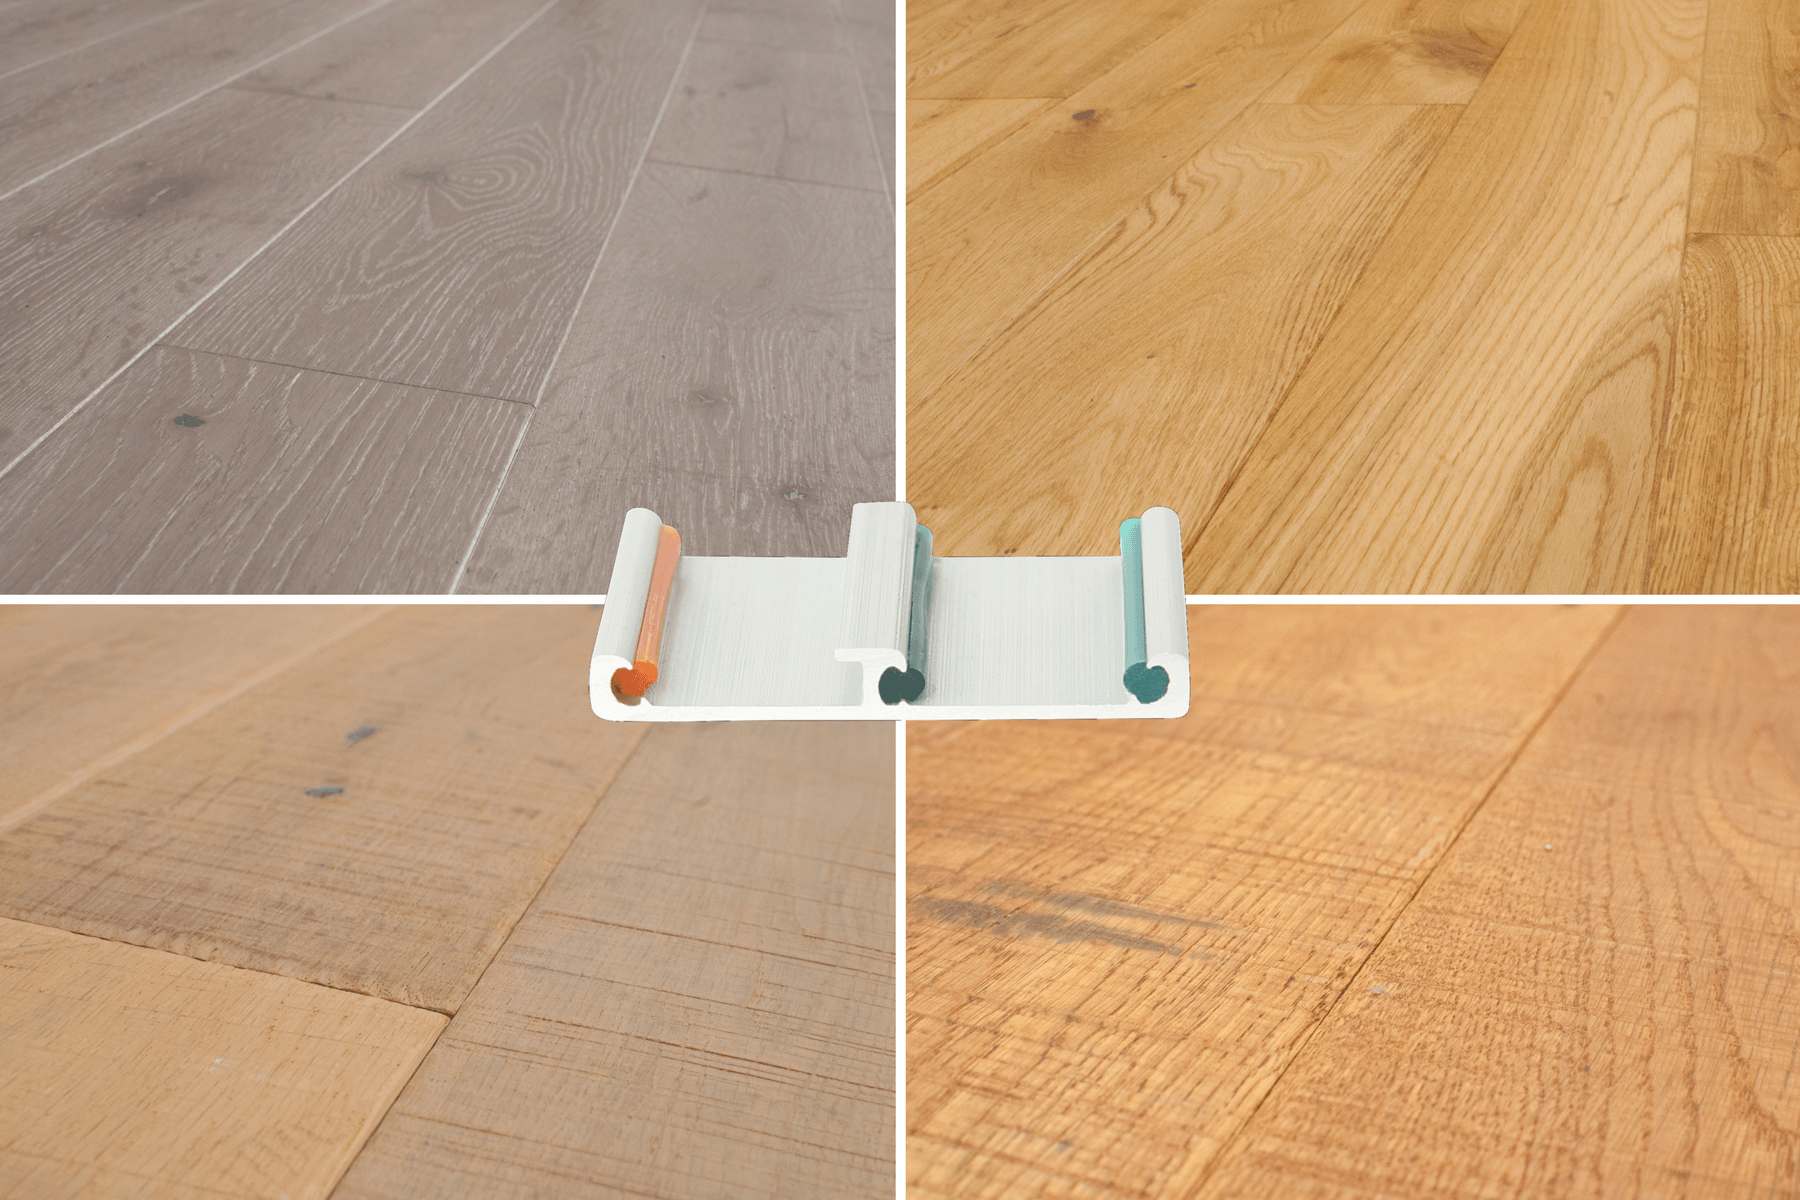
Check with your wood floor manufacturer to see if they sell matching reducer molding. For example, Easiklip sells flush mount molding that perfectly fits the tongue and groove of our flooring. It comes prefinished to match any of our wood flooring finishes.

