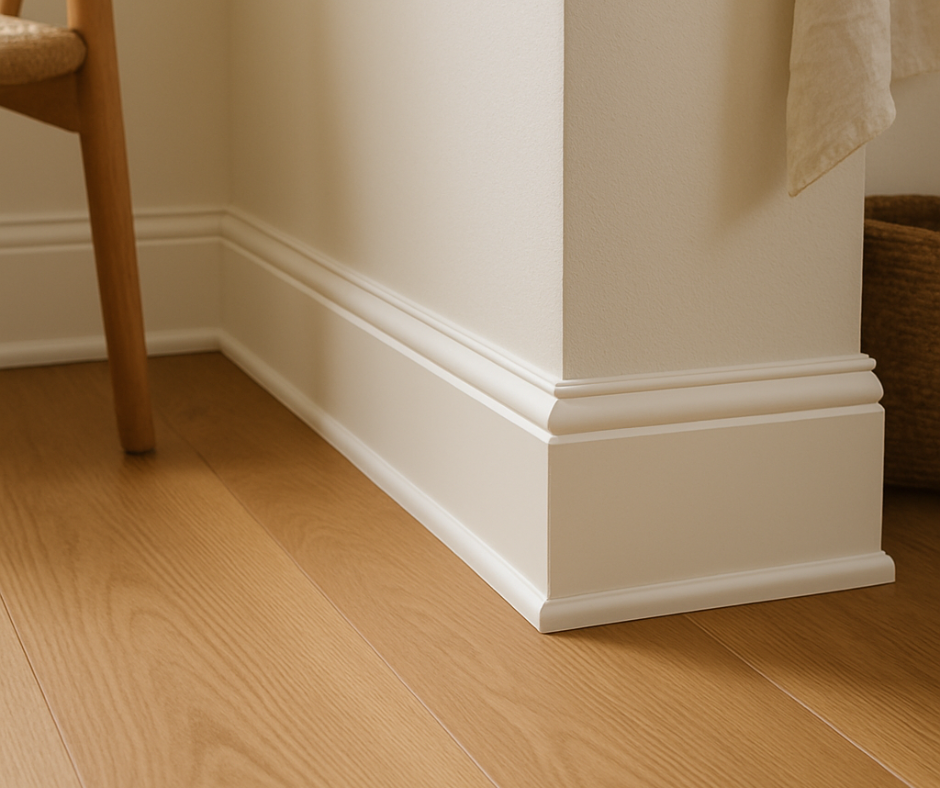
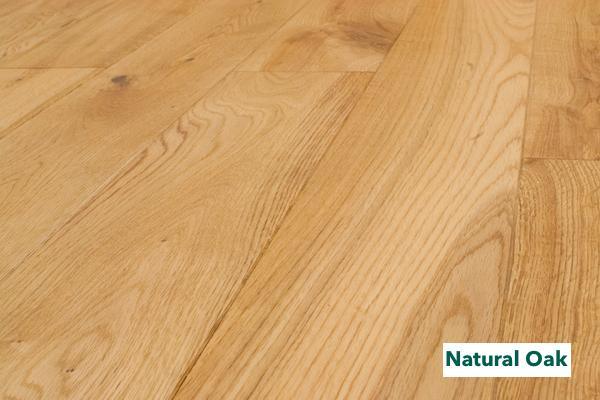
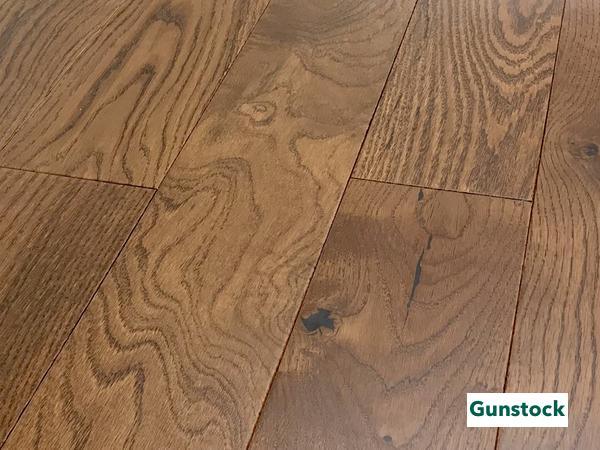
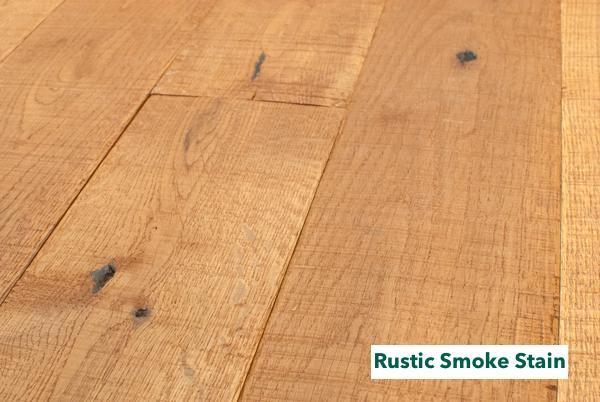
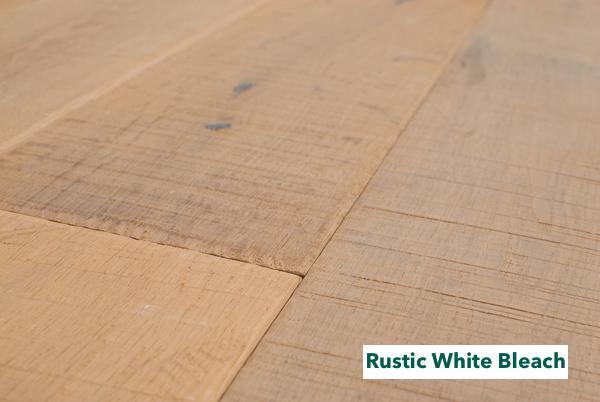
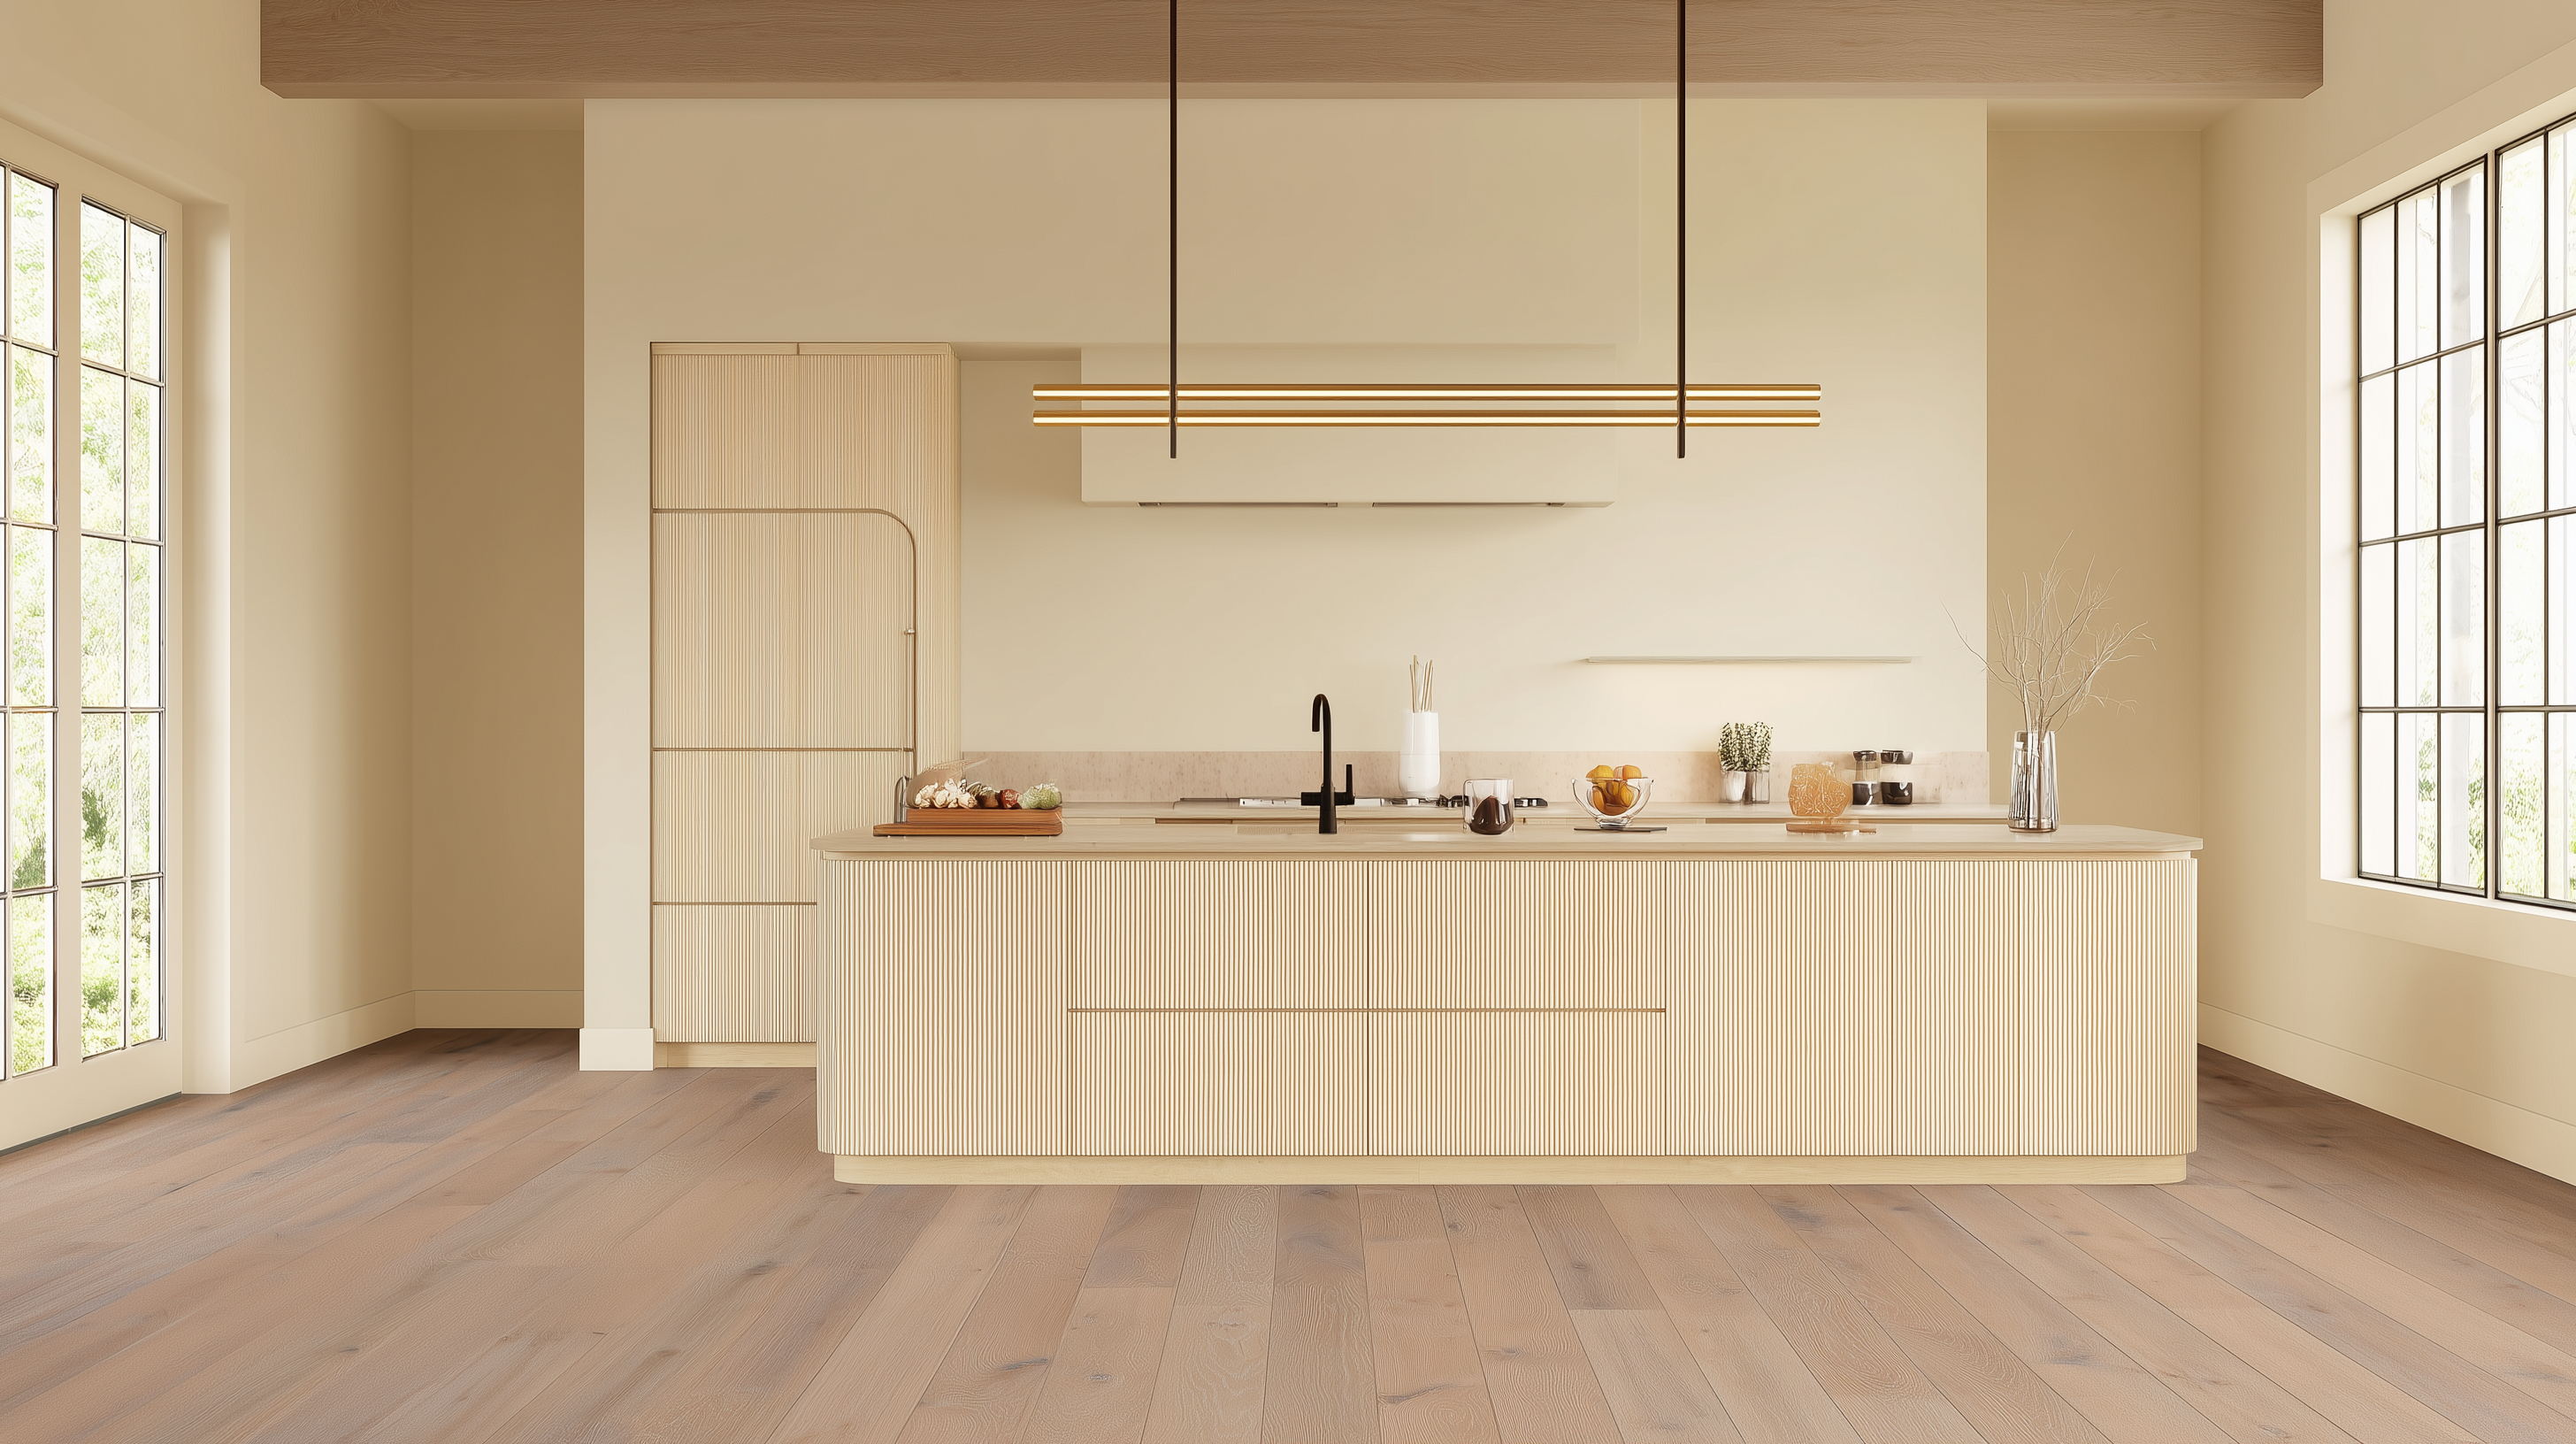
The floor is laid. Light drifts across the grain, and the space begins to breathe. But without trim at the base of the wall, the room feels unfinished—like a photograph without its frame. Baseboard is not simply a capstone; it is the final refinement. A quiet architectural line that gathers the wall and the floor into one complete thought.
That last detail—a slender board precisely mitered, tight to the corners, clean at the thresholds—does more than hide the expansion gap. It elevates. It frames. It allows the room to speak clearly.
Whether you're working around door casings or navigating imperfect corners, the process can be learned. With the right tools, patience, and an eye for proportion, even first-time installers can achieve a professional result.
Here’s what you’ll want on hand:
-
A miter saw
-
A nail gun (or hammer and nail set)
-
A utility knife
-
Wood filler
-
A pry bar
With care and preparation, the result is more than a tidy edge. It’s a detail that carries the weight of craftsmanship—and completes the room with clarity and calm.
The Art of Preparation: Beginning with Intention
Before you pick up that nail gun, there’s some crucial groundwork to cover. A smooth installation process doesn’t start with cutting trim—it starts with preparation. Rushing this step? That’s how you end up with uneven lines, visible gaps, or a crooked fit around door casings and outside corners. Not the look we’re going for.
Here’s what to do first:
-
Remove any old baseboards using a pry bar—gently, so you don’t wreck the drywall.
-
Clean the walls and floor thoroughly. Dust, debris, or leftover caulking can mess with the fit.
-
Check your floor level. If the surface isn’t even, you’ll struggle to get that perfect tight fit.
-
Measure the room’s perimeter accurately. Make sure you account for every corner, doorway, and irregular wall.
-
Don’t forget the golden rule: buy a little more material than you think you need. You’ll thank yourself when it’s time to fix a miscut miter.
Once you’ve got your baseboard plan mapped out, use a pencil line or chalk line to mark the wall where the top edge of the trim will sit. This gives you a clean, visual guide for consistency around the room.
Keep a utility knife nearby for trimming excess material, and make sure you’ve got your nail gun ready for action.
Once this prep is done? You’re not just ready—you’re set up for a pro-level installation that looks clean around every door, tile edge, and quarter round detail.
Removing Old Baseboards Without Damaging Your Walls
Let’s be honest—ripping out old baseboards can be a pain. But if you want a clean, tight fit with your new trim, this step is non-negotiable.
Start by scoring along the top edge of the old baseboard with a sharp utility knife. This cuts through any stubborn caulk, paint, or buildup that’s bonded it to the wall—and more importantly, helps you avoid tearing up your drywall.
Once that seal is broken, grab your pry bar. Slide it in carefully and begin to lift the baseboard away from the wall, working your way along slowly and evenly. The goal is controlled force—not brute strength. You’re aiming to preserve both the wall and the trim in case you need to reuse it somewhere.

After removal, clear away leftover nails, glue, or excess material. Then, wipe everything down. A clean surface is the foundation of a smooth installation process—especially if you're upgrading with a new molding that deserves to sit flush against the wall.
And here’s the thing—this isn’t just about function. A professionally installed baseboard trim is like a tailored suit for your hardwood floor. It covers the gaps, protects the walls from everyday bumps and scuffs, and finishes the space with a sense of luxury.
So how do you pick the right trim—and how do you get it installed with the precision it deserves? Keep reading. We’re about to show you how it’s done.
Selecting Trim with Purpose
Not all baseboard molding is created equal—and picking the right type can make or break your installation. Whether you’re covering small gaps, dealing with uneven walls, or matching a period-correct home, the right material and shape of trim is everything.
Walk into any home improvement store or scroll online, and you’ll find dozens of molding styles—quarter round, shoe molding, base caps, and more. Some are sleek. Some are decorative. Some are just there to do a job: cover the gap and make your hardwood floor look finished.
Here’s the deal:
Solid hardwood flooring expands and contracts with changes in temperature and humidity. That’s why Easiklip (and most flooring pros) recommend leaving a 15mm (½ inch) gap between the floor and the wall. Your baseboard trim sits on top of the floor and flush against the wall to cover this expansion space. Sometimes, you’ll need to stack two or three types of molding—especially if the gaps are wide or you want a more custom look.
Common Baseboard Molding Materials (And When to Use Them)
-
Jointed Pine – The go-to for most homes. Affordable, reliable, and easy to work with for a clean, tight fit—as long as your walls and corners are straight.
-
MDF (Medium Density Fiberboard) – Soft, pre-primed, and resistant to mold. Great for DIYers. Easy to paint and smooth to cut. But don’t drop it—it can dent.
-
PVC (Vinyl Trim) – Perfect for bathrooms and wet areas. Water-resistant but a pain to work with—brittle, hard to paint, and every nail hole needs pre-drilling.
-
Hardwoods & Exotic Woods – Expensive but stunning. Use when you want to match a high-end flooring material or you’re restoring something classic.
Popular Trim Shapes and Profiles
-
Quarter Round – The classic. Covers the seam where floor meets wall. Standard sizes include ¾" x ¾" or ¾" x ½". Clean and versatile.

- Base Cap Molding – Want to get fancy? Stack a flat board (like 1x6 or 1x8) with a decorative cap on top. Elegant and dramatic.

- Shoe Molding – Sleek and slightly tapered, this trim is narrower and curvier than basic baseboards. Ideal if you want a refined, built-in look with fewer hard edges.

Pro tip: If your baseboard isn’t quite tall or thick enough to cover the expansion gap, add a piece of quarter round or shoe molding to the bottom. Instant upgrade.
According to HGTV, molding and trim aren’t just functional—they make a room look dramatically more upscale. Done right, they elevate your entire installation from “good enough” to “designer-approved.”
And that’s exactly what you’re here for, right?
Choosing the Right Baseboard
Picking the right baseboard isn’t just about looks—it’s about coverage, balance, and a clean, tight fit that ties the room together. Your first job? Cover the gaps between the hardwood floor and the wall without making the room feel chopped up or out of proportion.
Start by taking accurate measurements from the top of the flooring material to the bottom of the drywall. If you’ve got a large gap, you might need to stack two pieces of molding—like a base cap over a taller board or a bit of quarter round to fill in the bottom. And if you’re dealing with flooring transitions, make sure your baseboard trim aligns neatly with any T-molding or door casings nearby.
Baseboard Sizing Tip:
Use the 12:1 rule. For every 12 inches of wall height, go for 1 inch of baseboard height. So in a room with 8-foot ceilings, a 6–8 inch molding will feel just right. Have carpet? Install it after the baseboard. Laying tile? Grout it first, then install the baseboard so water doesn't sneak behind and ruin your hard work.
What Style Should You Choose?
That depends on your budget, taste, and the vibe of the room. In modern homes, a 3¼-inch baseboard is standard. But in homes with high ceilings or older architecture, you might see 6–8 inch trim—and it looks amazing.
Just remember: whatever you pick should line up cleanly with door casings, corners, and flooring edges to keep everything looking deliberate and polished.

Your Essential Baseboard Installation Tool Kit
There’s nothing worse than starting a project, then making five trips to the hardware store. Here’s your no-fluff checklist of tools that’ll help you get the job done right—without breaking your rhythm:
Tools:
-
Miter box or power miter saw for those crisp, corner-perfect cuts
-
Utility knife to trim excess material or score old caulk
-
Pry bar (if removing previous trim)
-
Coping saw and half-round file for inside corner joints
-
Tri-square and combination square for precise cuts
-
Pneumatic nail gun or a good old hammer and nail punch set
-
Screw gun for extra hold
-
Tape measure, pencil, and safety glasses—don’t skip these
-
180-grit sandpaper and a damp cloth for prep and cleanup
Materials:
-
Baseboard molding (plus a bit extra—you’ll thank yourself later)
-
Wood filler for smoothing small gaps or holes
-
Caulk for sealing joints
-
Wood glue for securing seams
-
Finish nails or brads, spaced every 18 inches for ¾-inch molding (use 1¼ to 1½-inch nails to go through the drywall and into the base plate)
Once you’ve got your gear laid out and your trim picked, it’s time for the fun part—installing. In the next section, we’ll walk you through how to get those boards on the wall clean, tight, and professional-looking.
Laying the Line: Installing with Precision
When it comes to baseboard installation, the devil’s in the corners. Whether you’re working with a crisp 90-degree inside corner, a rounded bullnose, or a tricky radius cut, the goal is the same: a clean, tight fit with zero gaps.
Most homes have standard 90-degree corners—but you’ll still need the right cuts and some finesse to get those moldings sitting flush. Let’s walk through the four key steps to mastering floor trim installation like a pro.
Step 1: Start with the Longest Wall
Always begin with the longest run of baseboard—and if the wall’s longer than a single board, you’ll need a scarf joint. Instead of butting two ends together, cut both ends at 45 degrees with your miter saw. This creates a stronger, cleaner seam with more surface area for wood glue.
Pro tip: Try to place the scarf joint over a wall stud for extra holding power. Use an electric stud finder to make it quick.
Before nailing anything down, test the fit of your corner trim. Make the 45-degree corner cuts first, then dry fit one piece with a straight cut at one end and the 45 at the other. Line it up with the door casing or outside corner, mark where it hits the stud, and use your utility knife or sander to clean up any excess material.
Once both boards are cut and aligned, apply a small bead of wood glue along the joint, press the pieces together, and secure with finish nails. If you’re using a hammer, a nail set will help sink the nails cleanly below the surface—no dents, no splinters.
Step 2: Mastering Inside Corners with Miter or Coping Techniques
There are two ways to create a tight inside corner. The quick fix is the classic mitered joint—cut both ends of the trim at 45 degrees and fit them together. But if your walls are even slightly off-angle (which they usually are), those miter joints can split or leave gaps.
That’s where coping comes in.
Here’s how it works:
-
Make a square cut on one board and butt it against the wall.
-
Take the second board and trace the profile of the first using a scrap piece.
-
Cut along that traced profile with a coping saw, keeping a slight back bevel.
-
Use a half-round file or wood rasp to fine-tune until the board sits snug—no gap, no guesswork.
It takes a bit more time, but a coping joint won’t open up as your wood flooring expands and contracts. The result? A pro-level finish that stays tight.

Step 3: Cutting Clean Outside Corners and Door Transitions
For outside 90-degree corners, reverse your miter saw angles so the outside edges of the trim are the longest part of the cut. You want the two pieces to meet at a crisp point. Always test the fit before nailing.
Around doorways, you’ll likely run into molding. You can either butt the baseboard right into it or get fancy and cope the trim to follow the curve. Either way, plan your cuts carefully to avoid awkward transitions.
If you’re dealing with bullnose corners or angles under 30 degrees, it’s best to reference a visual guide or video. These corners often require an extra middle piece to bridge the gap—a small detail that makes a big difference in appearance.

Step 4: Final Fit Check Before Nailing
Before you commit to nailing everything down, do a final pass. Check every seam, every joint, every edge. Are the cuts flush? Are there any gaps under the baseboard or around the corners?
If something’s off, don’t force it. Trim a hair more off with your utility knife, or sand the edge. A few extra minutes here can save hours of frustration later.
Once it’s all lined up, drive in your nails—preferably into studs—and prep for the final finish. In the next section, we’ll cover how to fix common issues, hide seams, and apply wood filler for that flawless, high-end look.
Working with Door Casings: How to Nail the Perfect Trim Transition
Here’s where attention to detail pays off big time: the area around door casings. This is one of the most visible places in the room—and if the baseboard doesn’t meet the casing cleanly, your whole installation starts to look sloppy.
The key to a smooth, high-end finish? Work from the door casing outward.
Start by making sure your door casings are already installed, level, and plumb. They set the benchmark for the entire wall. Don’t even touch your baseboard molding until the casings are in place.
Then it’s time for accurate measurements. Measure the distance from the edge of the casing to the nearest corner. Use a miter saw for precise cuts, and if the fit is even slightly off, don’t hesitate to fine-tune with a coping saw or a bit of sandpaper. The goal? A tight fit that looks like it was milled in place.
If the floor isn’t perfectly level—or the trim needs a bit of finesse around irregular walls—use your utility knife to shave off any excess material or adjust for snug alignment.
Once cut, press the baseboard into place so it sits flush against the door casing. Check both top and bottom edges for gaps—you want that seamless transition where no light shows through. When everything lines up, secure it with a nail gun into the wall’s base plate or stud.
The result? A clean, custom-fitted look that enhances both the door frame and your new floor trim molding—and adds serious polish to the entire room.

Using Quarter Round Molding to Finish Strong
Think of quarter round molding as the final touch that takes your baseboard installation from “almost done” to magazine-worthy. It hides small gaps, protects the edge of your flooring material, and delivers that crisp, finished edge where your baseboard meets the floor.
Start by measuring the length of each wall where the quarter round will go. Use accurate measurements here—guessing leads to gaps or uneven joints, especially in tight corners. Cut each piece using a miter saw, angling the ends at 45 degrees to form clean, corner-ready joints that look built-in.
Next, line up the molding along the bottom of your baseboard, making sure it sits flush to both the floor and the trim. The positioning matters—this isn’t just a decorative touch, it’s a functional detail that covers expansion gaps and shields your floor edges from dings and dirt.
Secure it using a nail gun, aiming the nails at a slight downward angle to catch the wall without splitting the trim. Use finish nails spaced evenly, and always double-check that each piece is sitting flat with no visible gaps along the wall or floor.
Once the quarter round is in place, grab your wood filler and patch over any nail holes or minor seams. Let it dry, give it a quick sand for that smooth-to-the-touch finish, and then paint or stain the molding to match your baseboards perfectly.
Done right, quarter round molding won’t just complete the room—it’ll elevate the entire space. One simple piece of trim, a huge difference in polish.
Dealing with Common Problems and Imperfections in Baseboard Installation
In a perfect world, every wall is straight, every corner hits a clean 90 degrees, and every floor is laser-level. But let’s be honest—most homes (especially older ones) don’t play by the rules. That’s where real craftsmanship comes in. To get a smooth installation process, you need to expect a few imperfections—and know how to fix them like a pro.
Let’s tackle the most common baseboard headaches and how to solve them:
1. Out-of-Square Corners
When corners aren’t square, your molding will show it—loudly. That telltale gap or misaligned seam makes even the nicest trim look like an afterthought.
Start by checking the corner with a square. If it’s off, grab two 10-inch scraps and test your miter saw angle. You’ll likely need to adjust just a hair (half a degree one way or the other) to close the seam.
Pro tip: For tilted baseboard molding in a corner, drive a drywall screw into the lower part of the wall to act as a shim. Use it to push the molding forward until both sides meet flush.
2. Tilted Baseboards or No Stud Support
Sometimes the bottom edge of the baseboard floats because there’s nothing behind it to nail into. If you try to force a nail, it’ll pull the trim out of alignment.
Solution? Cut small spacers from scrap material like ½" plywood. Slide them into the gap between the drywall and floor to support the trim while you nail. This keeps the baseboard from bowing or tilting and ensures your trim finishes clean and level.
3. Protruding Seams and Loose Joints
Nothing ruins a finished look like a seam that pops over time. The fix? Use scarf joints instead of butting boards together. And always align the joint over a stud so you can nail through both boards for a tight, secure fit.
4. Improper Measurements
There’s no elegant fix for a board that’s cut too short. And there’s no refund for wasted material. Always measure twice, and when in doubt, cut a little long—you can always sand or shave down the edge with a coping saw or utility knife to fit. Once it’s nailed in, fill any slight gaps with wood filler and smooth it out for a flawless finish.
5. Gaps and Crooked Walls
Even if you’ve followed every best practice, sometimes walls just aren’t straight. That’s the reality of real-life construction.
If you’re still seeing visible gaps after installing, your best bet is caulk or wood filler. Apply it carefully, clean up the excess, and paint it to match the baseboard or wall. It’s a simple trick that makes all the difference. In cases of uneven height, you may also need to remove a bit of excess material from the bottom edge to achieve a perfect fit.

As one DIYer put it:
“This was done last night. Still needs some work—wood filler in the small gaps and stuff. Since my house is old, many of the walls are crooked so some of the ‘boards’ are not perfectly aligned! But I can make them so they’re not noticeable :)”
— @reauxpudu, April 11, 2018
Got questions about baseboard installation, crooked walls, trim transitions, or anything in between? Reach out to the experts at Easiklip. We’ll help you handle tricky corners, odd layouts, and get a finished look that’s clean, tight, and built to last.
Final Thoughts: A Room Defined by Its Edge
A successful DIY baseboard installation isn’t just about hiding gaps—it’s about creating a clean finish that adds real value to your space. When you line everything up to the same height, ensure a secure hold, and match your cuts for a consistent, professional-looking baseboard installation, the result feels custom—and looks incredible.
But great results don’t happen by accident. They come from preparation, precision, and having the essential tools on hand. From your utility knife and miter saw, to your wood filler, nail gun, and measuring tape—it’s all about setting yourself up for success.
Take your time with the finish carpentry details. Make sure your baseboards fit snugly around door casings, sit at the same level, and align cleanly across walls and corners. Whether you're working in a newer home or navigating the quirks of an older one, these small steps make all the difference.
And if you’re unsure how to start—or just want expert advice to get that flawless look—reach out to Easiklip. We’re here to help you every step of the way, from selecting the right materials to ensuring a seamless transition between your flooring and trim.
Let’s make your next project a success—because a great floor deserves a finish to match.
