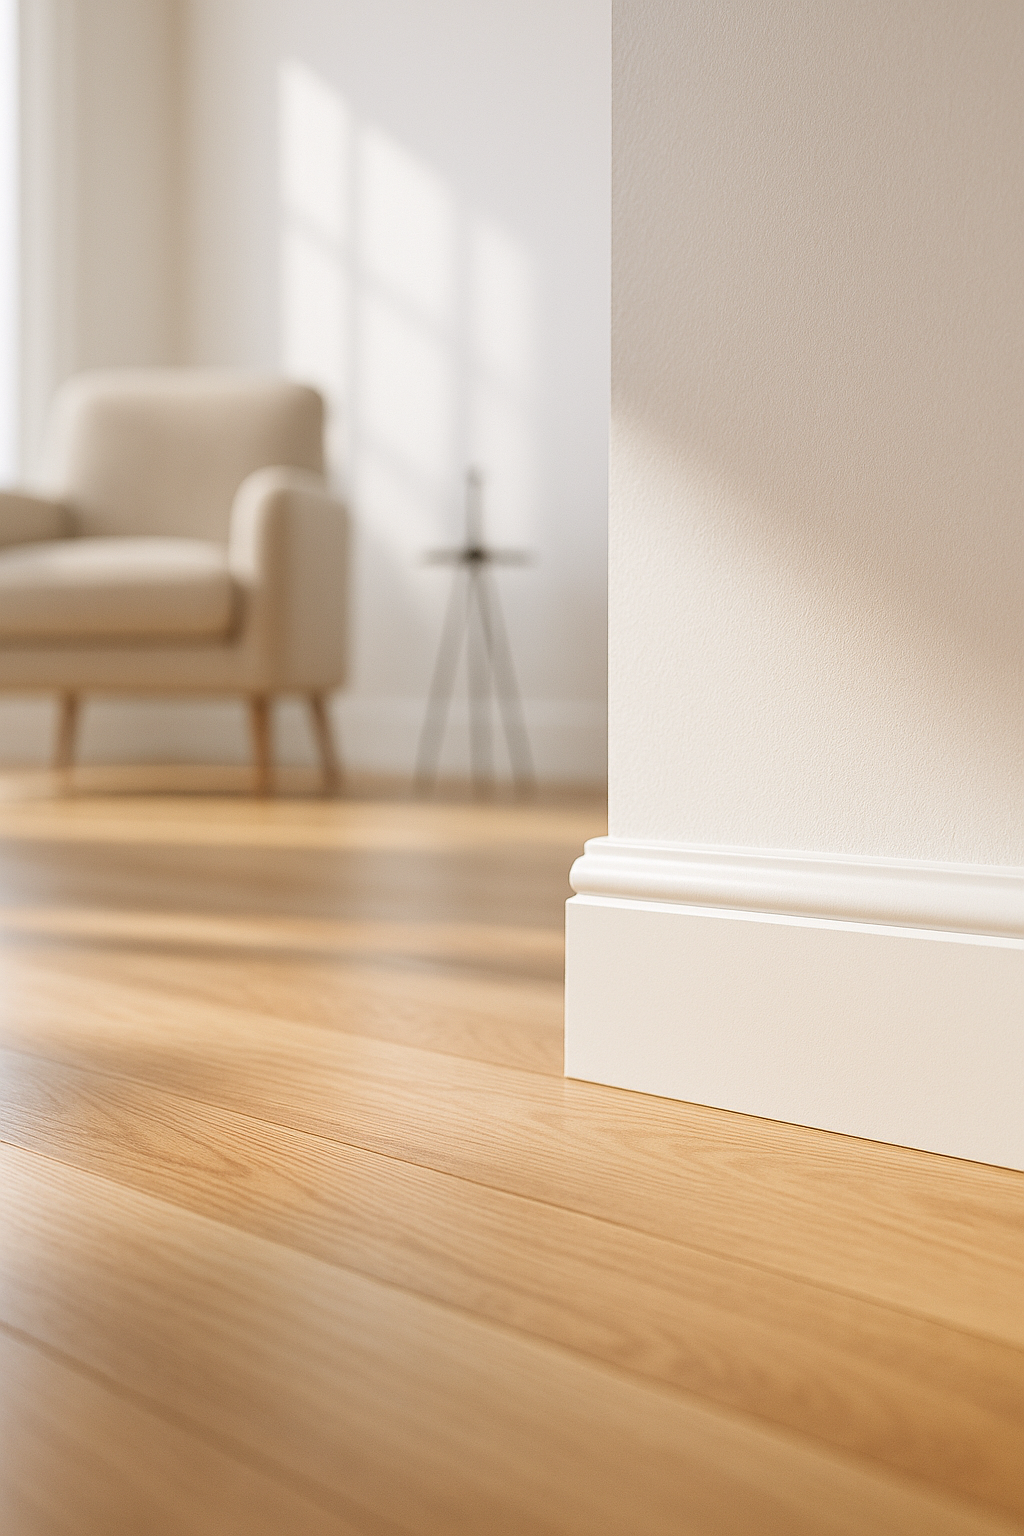
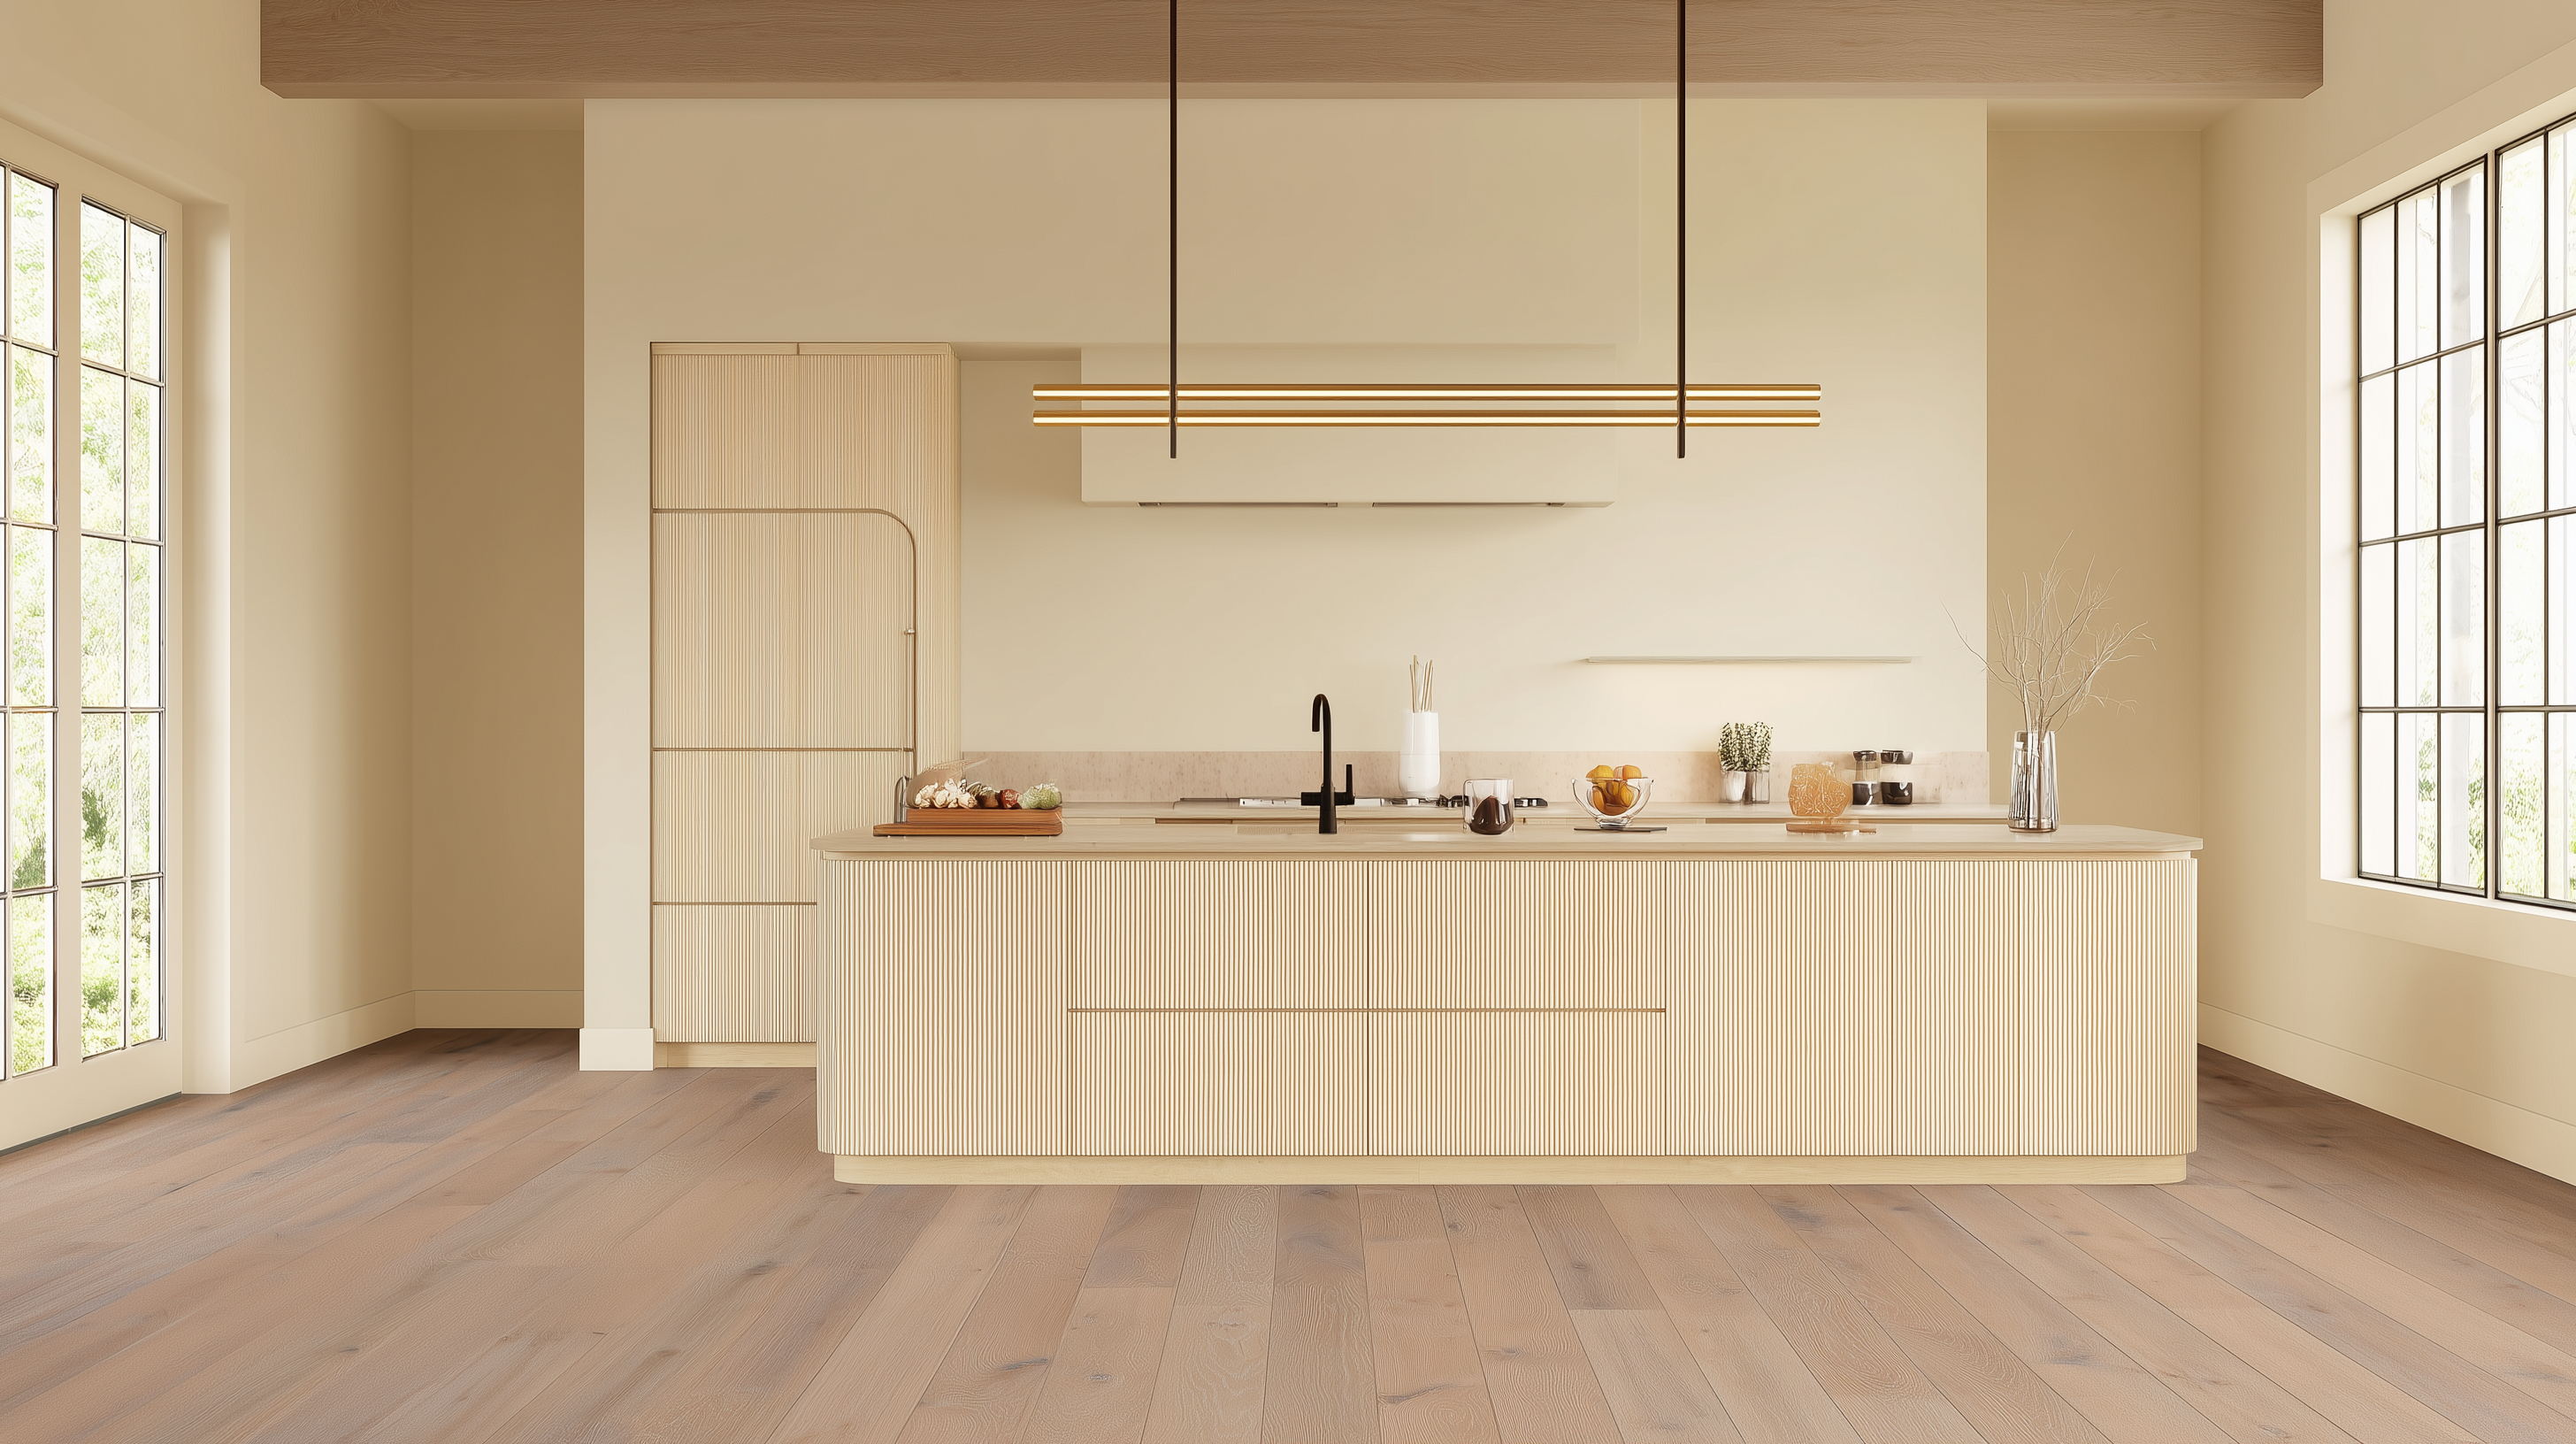
Installing baseboards without quarter round is like wearing a tuxedo without a tie. It’s an unfinished look.
There are two ways to install a new hardwood flooring. You can remove the existing baseboard, install the flooring, and replace the baseboard. The other method for some older homes is to install the flooring over the existing baseboard without removing it.
Either way, there will be a slight expansion gap. Installing quarter round molding or shoe molding makes a gracefully smooth flooring transition from the vertical baseboard to the horizontal floor covering any gaps. They add a rounded shape and dimension to the transition.
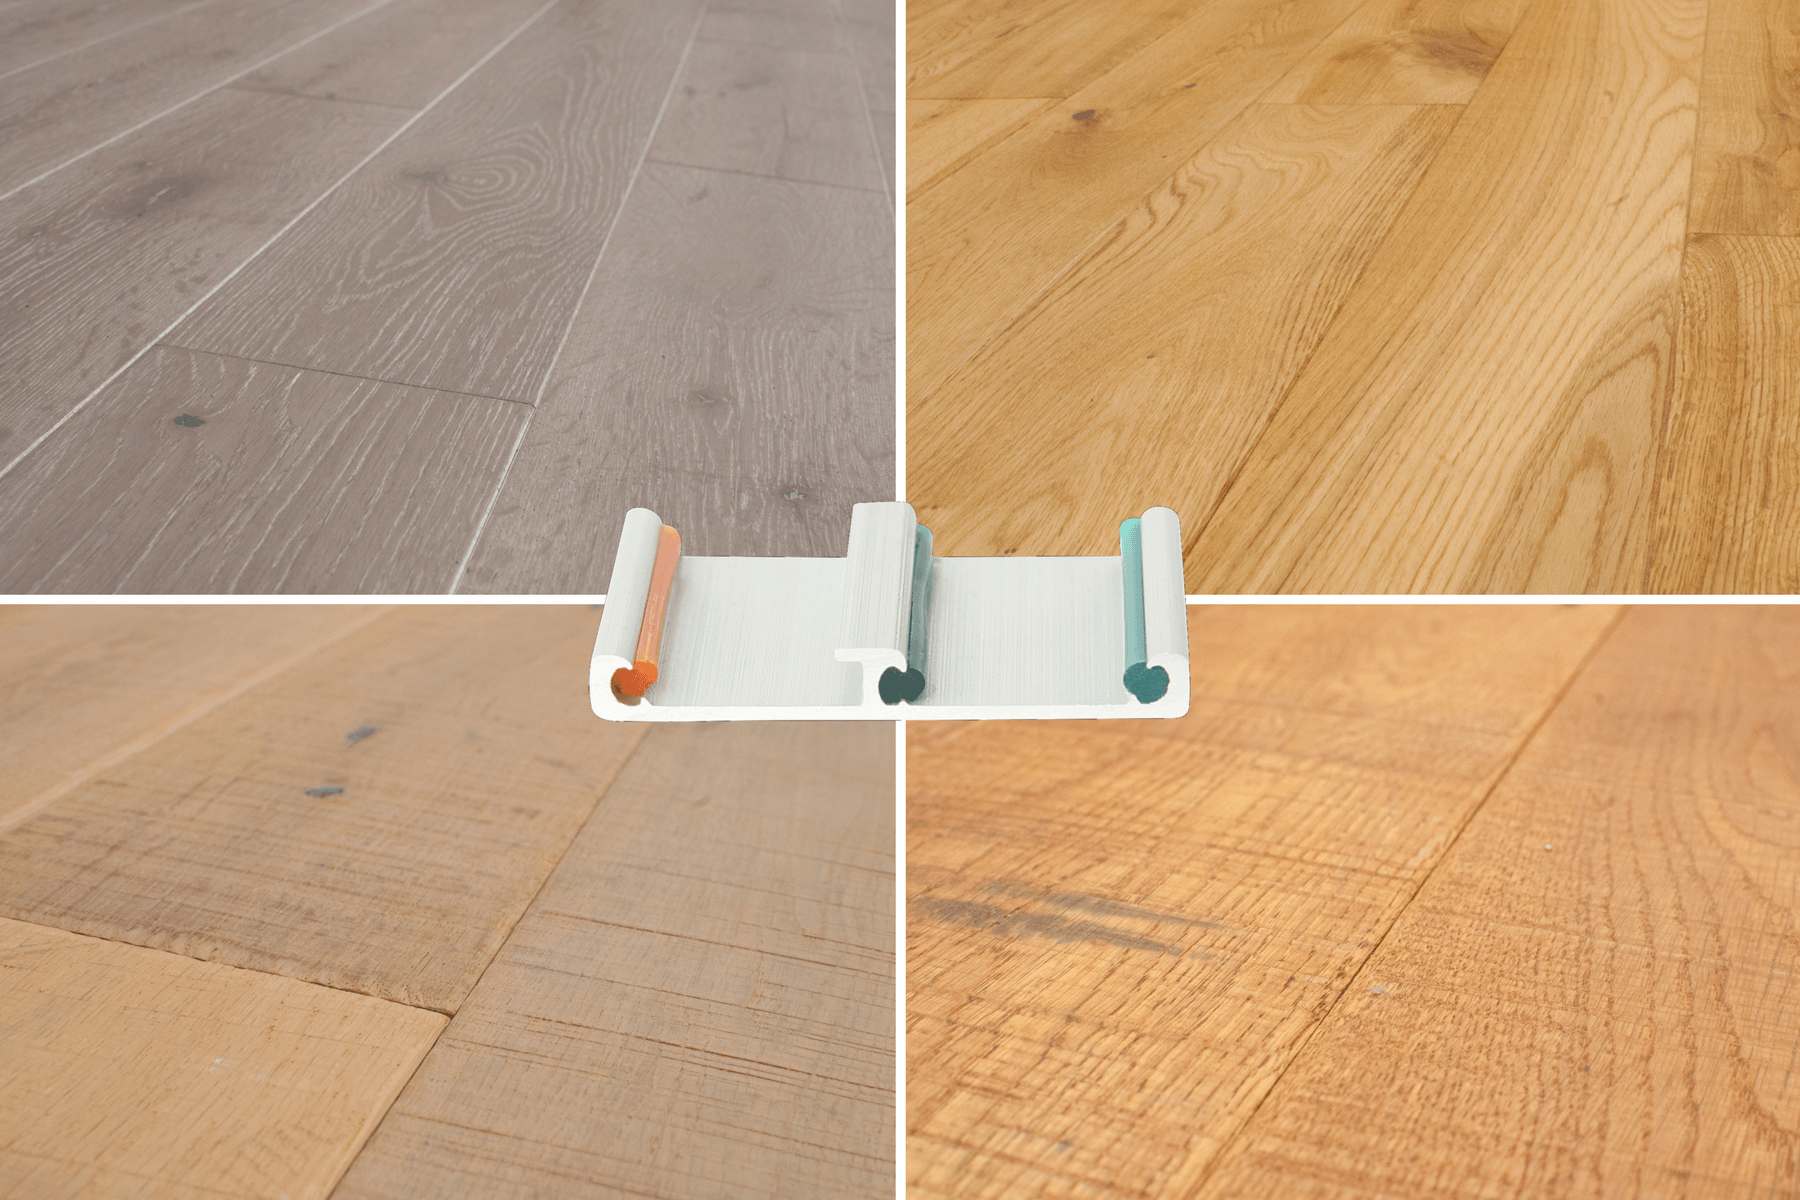
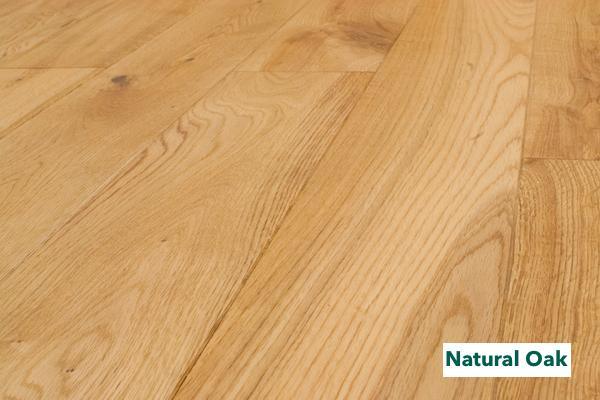
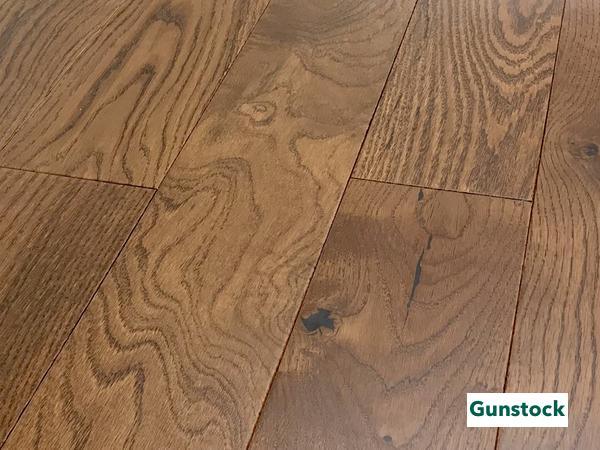
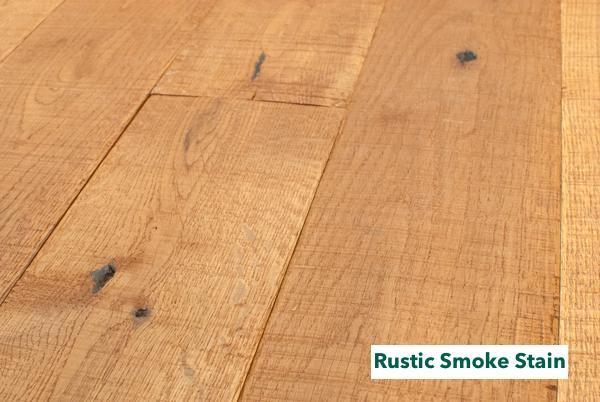
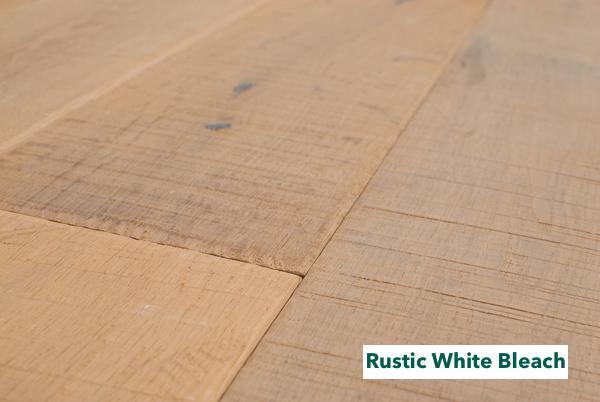
If you are looking for a premium Quarter Round Easiklip offers 3/4-inch quarter round molding made from solid oak. It comes in five colors, complimenting their solid oak flooring. These moldings come in 96-inch lengths and will match almost any existing wood or laminate flooring.
This article will discuss how to install quarter round, the tools you’ll need, plus a few pro tips.
What Is Quarter-Round Trim?
Quarter-round molding, as the name implies, is one-quarter of a long section of a round wood doweling or rod. The cross-section is a 90-degree arc. Sometimes the baseboard is too thin to cover the expansion gap between the floor and the wall, which can be as wide as 5/8-inches (15mm). Other times, the baseboard may leave gaps. Installing quarter round trim on baseboards covers gaps for a smooth, rounded finish to the baseboard and floor.
Another type of molding is shoe molding. It’s typically flatter and taller than a quarter round. The main differences between the two are:
- A quarter round is a perfect 90-degree radius or one-quarter of a circle. Typically, it measures 3/4” x 3/4” with a 3/4” radius profile
- Shoe molding has a narrower, squat profile of 7/16” wide and 11/16” high

If you want a less pronounced curve, choose shoe molding. We’ll use the quarter round for this article, but the tools you need to install quarter round remain the same.
Installing Quarter Round Molding - Step-By-Step Instructions
Any flooring DIYer can install quarter round like a pro by following these instructions.
Step 1 - Measure and Mark the First Trim Piece
Some hardwood flooring pros measure each wall, make a cutting list, and cut all the molding simultaneously. DIYers can avoid mistakes by cutting one piece at a time.
When fitting an outside corner, position the piece of molding across the wall. Mark the ends with a pencil where it intersects the wall. When you make the mark, draw a light line in the direction and angle of the 45-degree cut.
For inside corners, measure the wall’s full length, then mark the molding to these exact dimensions for a tight fit. All the cuts will be 45-degrees with the angles running towards the center of the molding in square rooms.

Pro Tip #1 – As you enter the room, the first molding piece on your left will be piece #1. Measure from left to right like reading a book. That way, if one person is measuring and installing, and the other is cutting, the person cutting will always know which end is which on the cutting list.
Pro Tip #2 - Cut pieces a hair longer when using a power miter saw. The power saw can shave off thin slices of wood cleanly if necessary. However, if you’re using a handsaw and miter box, you must get the length right on the first cut, or you’ll end up starting with another piece.
Step 2 - Miter-Cut the First Molding Piece
Set the handsaw to 45-degrees or place the molding next to the correct slot in the miter box.
Place the trim piece on the miter box or saw base, so the blade just touches the pencil mark. Make your first cut, then reverse the saw to cut 45-degrees for the other end of the trim. For a miter box, turn the molding around to cut an opposite 45-degree angle.
Where the molding meets a door, you’ll make a straight cut or butt joint. The molding will meet the frame at a perfect 90-degrees.
Pro Tip #1 - Make sure the blade rests on the outside edge of the pencil mark to prevent short cuts. You want to see the mark after you cut.
Pro-Tip #2 - Always cut the end of a piece of quarter-round yourself before placing it. Don’t rely on the lumberyard to make a straight cut.
Step 3 - Test-Fitting the First Piece
Place the first piece of molding in its position on the wall and check the length. If it is too long, you can sand it or use a sharp blade to remove the excess material. Do not fasten it yet because you want to move it while installing the second piece.
Step 4 - Cut the Second Piece
Measure, mark, and cut the second piece at the correct angle.
If you have a long wall, you may need to make a splice or butt joint. To make one, cut two opposing 45-degree cuts that fit together seamlessly to give you the correct length on the wall.

Step 5 - Test-Fit the Second Piece
Check the corner angles before you cut. Set the second piece on the hardwood floor to check its length, then measure, and cut. Next, see how it fits with the first piece. If necessary, you may have to sand to make the right fit.
Step 6 - Nail the First Two Pieces, and Continue
Use the nailer or hammer and nails to attach the molding to the baseboard. Be sure you hold the quarter round tight against both the baseboard and floor for a tight fit.
To hand-nail molding, drive each nail almost flush with the quarter round, then use the nail set to sink the head beneath the surface. Use putty to cover the nail holes. Be sure to use a paintable putty if you plan to paint later.
Pro Tip – Before using a nailer, calibrate how deep it drives the brad by testing it on a piece of waste trim.
Step 7 - Create a Return Piece to Finish the Ends
Sometimes, the quarter round ends without making a turn. Use a return or end cap. It’s a small piece of molding that superbly finishes the end. Adding a return piece is not mandatory, but it makes a professional-looking finishing touch that hides the molding’s exposed end grain.
Measure and cut the long piece of molding. Then, on the return end, mark the 45-degree angle on the bottom and cut.
Use a scrap piece to make the opposite 45-degree cut for the return piece.
After testing to see if the return piece fits, add a drop of glue to attach it to the long piece. Avoid gluing it to the wall or the floor. Allow the glue to cure before nailing the molding in place, but don’t nail through the return as it may split.
To see how to make a return, watch “How to Cut Quarter Round End Cap or Return.”
Pro-Tip – You may want to use a miter box and saw or quarter round scissors to cut the small return piece rather than try it with a power saw.
Step 8 – Finishing and Touching Up
Here are a few touch-ups you might need depending on how the initial installation went.
- If the brad nailer was set incorrectly or you nailed it by hand, drive them deeper using a nail set and hammer.
- Use paintable wood putty to fill in any nail holes or noticeable gaps.
- Caulk is an alternative to putty if you installed quarter round with a white finish. Use it sparingly to fill gaps or nail holes and wipe it with a wet fingertip or rag to make it smooth.
Tools You’ll Need
Here are the tools that you’ll need to install quarter round. Depending on if you plan to install more quarter round in the future or not, you have some options.
- Quarter-round molding
- #6 or #8 bright-finish nails
- Tape measure and pencil
- Electric miter saw or handsaw and miter box
- Brad nailer – Rent one if this is a one-time job
- Hammer and nail set
- Wood glue
You won’t need nails if you are using a brad nailer. However, you may need the hammer and nail set if the brads don’t go in all the way.
These tools are optional if you don’t plan to paint or stain.
- Painter’s tape
- Paint, stain or varnish
- Sandpaper
- Tack cloth
- Wood putty
There is one more tool that will help you make tight seams and accurate cuts.
Measuring the Corner Angles Correctly
Before you begin measuring and cutting, you must check the correct angle of every corner. Most wall corners are not a perfect 90-degree angle. They can be off by a degree or more, causing an unsightly gap where the quarter round ends meet.
To avoid mistakes, purchase a Digital Angle Finder Protractor. It is two metal rulers hinged together at one end with a digital readout at the hinge. Place one ruler tight against one wall and open the other ruler tight against the other wall. The digital readout displays the exact angle. Divide the readout number by two to get the precise angle to cut the quarter round. To see this handy tool in action, watch this video, The Secret Formula for Making Perfect Miter Cuts When Less Than 90 Degrees.
Another option for newer drywalls is to cut inside corners at 44° and 46° for outside corners for a seamless, no-putty fit. To see why, go to the 8:53 minute mark of this video, How to install quarter round like a pro.
Save Money, Use These Scissors
If you do not want to rent or own a miter saw, you can buy a useful tool called quarter round scissors. It safely and cleanly cuts the quarter round and costs from $15 to $50, about the same price as a miter box and handsaw set. Plus, you can store them inside a toolbox if space is an issue.
Quarter round scissors are the perfect option if you plan to install quarter round only once. You can see how they work in this video - Quarter Round Installation Using Quarter Round Scissors.
Don’t Use It for This...
Never use quarter round to replace a baseboard because it will not cover gaps larger than 1/2-inch or protect the wall from toe kicks. Baseboards protect the wall from heavy foot traffic, and the quarter round makes a smooth transition for a finished look.
To Install Quarter Round Use Nails Not Caulk
Installing quarter round on baseboards with caulk is not a good idea because it can be difficult to remove should you need to repair the floor in the future. It is not the right choice because it won’t create a strong enough bond like glue will. Use caulk only for what it was designed for: to fill gaps if necessary.
Installing quarter round without nails is possible by applying a floor adhesive. Once you have your quarter-round cut, it’s a three-step process.
Step 1 - Scuff the side of the molding that will touch the wall using sandpaper. Then lightly scuff the baseboard below the height of the molding. The rough surfaces make a better bond with the glue.
Step 2 - Apply a thin bead of liquid floor adhesive to the sanded side of the quarter-round molding. Line up the molding against the baseboard and press it against the wood. You can use another board to apply even pressure if you don’t have an extra set of hands. Press the quarter round in place for at least a minute to create a tight bond.
Step 3 - Wipe away any excess adhesive with a damp sponge. Allow the glue to cure for at least 12 to 24 hours before painting.
The advantage of adhesive is that you avoid nail holes. The disadvantage is that it can be messy, slower, and difficult to remove the molding once it dries. Nails or brads from a nailer are the easiest and best solution.
The Perfect Finishing Touch
Installing quarter round molding is an inexpensive upgrade that makes any baseboard look better. Molding adds visual character and detail to transitions that are generally dull and unobtrusive. Like a bow tie on a tux, it provides a stylish, finished look to any room.
If you’re still unsure how to install quarter round yourself, here is one more quick video, How To Install Quarter Round, and includes how to make a butt-joint splice for a long wall.
Easiklip offers 3/4-inch quarter round molding made from solid oak. It comes in five colors, complimenting their solid oak flooring. These moldings come in 96-inch lengths and will match almost any existing wood or laminate flooring.

