What you don’t see matters. The thin layer between your subfloor and hardwood is doing serious work—quieting footsteps, blocking moisture, smoothing minor dips, and helping your floor expand and contract with the seasons. Skip it and even the most beautiful floor can creak, cup, or wear out early. This guide breaks down what hardwood floor underlayment actually does, which type to use on concrete vs. wood, and the right way to install it for long-term performance. Make this choice well and every step will feel quieter, warmer, and more solid underfoot.
What Exactly Is Underlayment?
First, let’s define what it is. When you install your floor, it will rest on the subfloor which is usually cement or a type of plywood or particle board. Underlayment is a thin sheet of material that sits between the new wood floors and subfloor.
It is a thin sheet of material that serves four purposes:
- Soundproofing
- Moisture Barrier and Insulation
- Smooths Imperfections in Subfloor
- Allows for Floor Movement
Let’s look at the reasons you need a flooring underlayment before installing your gorgeous wood floors.

Four Key Benefits of a Proper Underlay
Quiet Confidence: Soundproofing Your Floors
If you are installing new wood floors on the second or third floor of your home, soundproofing helps deaden the sound of footfall coming from the ceiling. Without proper underlayment, it will sound like Santa, and his reindeer live above you.
If you are installing in a rental or multi-family property, most likely your building codes will require soundproofing. Check with your building department for their requirements. It just makes good sense that you want to have sound absorption wood floors everywhere. They create better privacy and a comfortable living environment for everyone.
Understanding Airborne vs. Impact Noise
Before to attempt to soundproof your wood floor, you need to understand the two types of noise we encounter in rooms. They are airborne and impact.
The sources of airborne or ambient noise are TVs, stereos, voices, and phones. The sounds pass through the air and then transmit through the walls, ceilings, and floors. The best way to reduce airborne noise is to install sound absorption materials into cavities of the walls, floors, and ceilings.
Impact noise, as the name suggests, is when one object strikes another. Dropping a bowling ball, kids running with shoes and dragging furniture across the floor are examples of impact noise. The sound transmits directly into the solid surfaces and structures of the walls, floor, and ceiling.
Impact noise is usually louder or has more vibration energy and harder to control. The best solution is to separate the hard surfaces of the floor and sub-floor with an underlayment. The underlayment will reduce the transfer of sound energy.
Pro Tip: If you plan to install in a rental property, be sure to check with codes BEFORE you install. Some building departments don’t bother to inspect until after the installation. If you don’t follow their regulations, they can make you tear it up and do it right.
Insulation and Moisture Protection
The trade name for these floors is “on-grade” or “below-grade” and are usually made of concrete. When installing hardwood over concrete, it is mandatory to provide a moisture barrier over the concrete before installing the wood. Concrete is very porous and wicks moisture up through it like a sponge. Installing a hardwood floor in a basement or over a concrete slab without a moisture protection will destroy the floor, probably within a year.
We’ll talk about the proper flooring underlayment shortly, but it must be impervious to moisture to protect the wood.
Creating a Smooth Surface for Installation
Most sub-floors have slight imperfections and aren’t smooth like a pool table. Using the proper materials can even out minor imperfections, joints in boards and dents to make the hardwood floor lay flatter.
Of course, you’ll need to repair larger holes first and level the sub-floor. Flooring underlayment is relatively thin so they won’t hide a lot of unevenness.
Helping Your Floor Move with the Seasons
Many of today’s modern hardwood floors and engineered wood floors are floating. That means no glue or nails are attaching the boards to the sub floating floors. As the room temperature and humidity changes with the seasons, the wood shrinks and expands as it reacts to the climate. An underlayment is essential for floating floors because it facilitates this movement by reducing the friction between the floor and sub-floor. It also acts as a cushion, providing a bit of a softer feel when you walk.
Now that you know why they are critical for professional flooring installation let’s look at the options.
Types of Flooring Underlayment to Consider
Most of these products come in rolls due to the large areas they must cover. Here are the best materials for the job.
15lb. Black Felt Paper
This product looks like the same black paper as roofing paper, but they are not the same. Roofing paper has an asphalt coating which will emit petroleum fumes if used indoors. Use only 15 lb. black felt paper made for wood flooring.
This product is one of the best choices if you plan to nail the floor to the subfloor.
Foam Pads
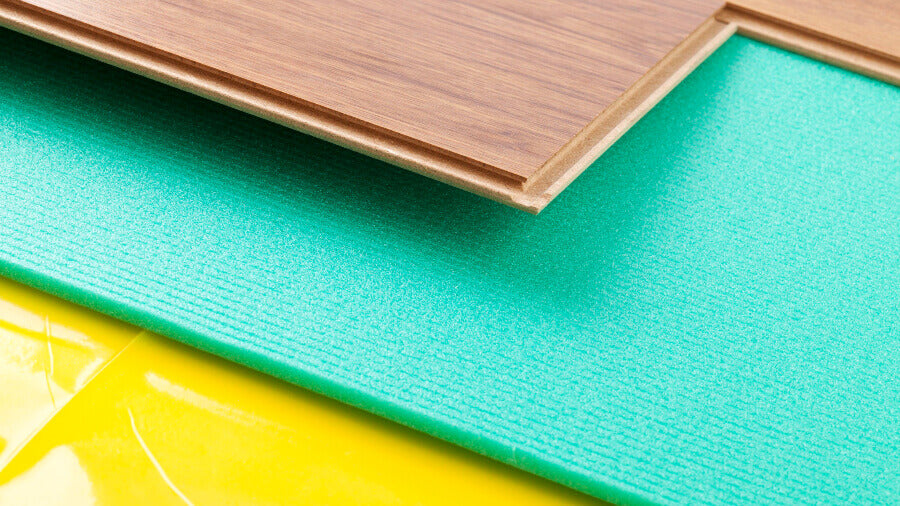
When we talk about foam, we mean flexible polyethylene foam. Some foam pads have a moisture barrier attached save time and money. They have an extra layer of plastic on one side to act as a moisture protection.
Foam offers a few advantages for wood floors. It cushions the wood, adding flexibility and some insulation. It also helps to reduce noise and reduces friction during the natural expansion and contraction of the floor.
Foam underlayment comes in sheets or rolls and easy to install.
This particular foam underlayment, available for purchase online from Easiklip Floors, is all you need when installing a floating solid hardwood floor from Easiklip. It includes a 2mm foam pad for sound isolation and floor cushioning, as well as a film for moisture protection. Read more about Easiklip Underlayment options here.
Felt-like Materials
Felt underlayment has excellent soundproofing qualities. It’s thicker than most types helping to minimize subfloor imperfections and improving insulation value. Check to see that it has a waterproof barrier on one side for use over concrete. Most felt products have been treated to provide anti-microbial properties.
Rubber
Rubber is another option that works well as both a waterproof barrier and to reduce footfall noise. The noise reduction of 2 mm of rubber is about the same as 6mm of cork, and you can use it for hardwood, stone or tile. Other than the seams, you don’t need an adhesive to secure it to the subfloor.
Cork
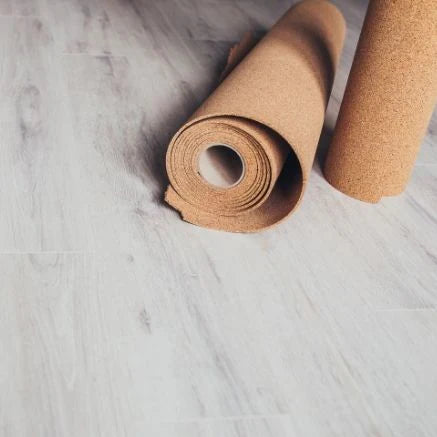
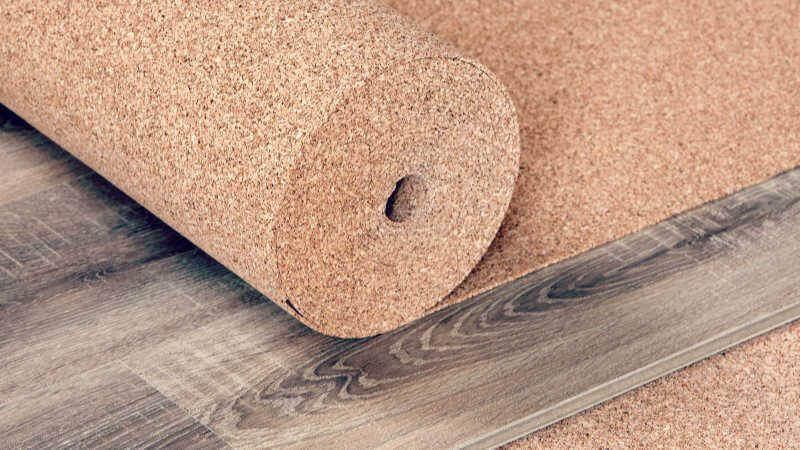
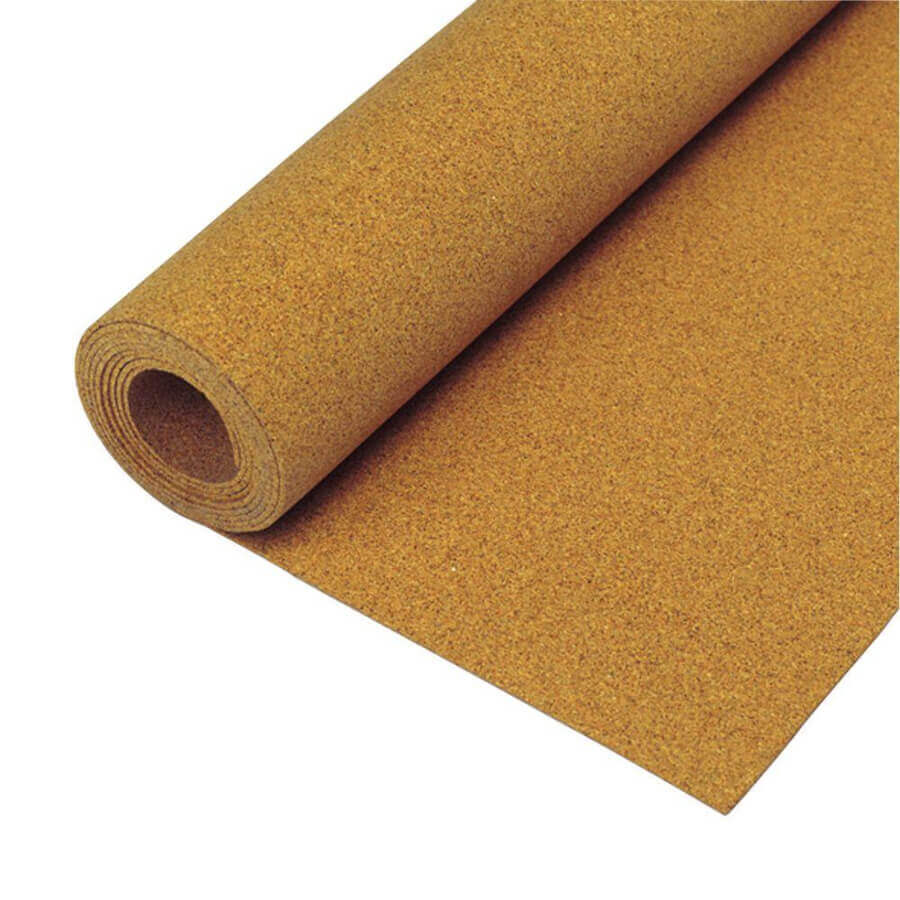
Cork is trending upward as an underlayment material especially for “green” homes. One significant benefit is that it is a renewable resource and a natural product. It has superior sound reduction properties over synthetic materials. It is firm yet spongy, perfect for filling in sub-floor imperfections, especially concrete.
Cork is a natural insulator which will help you regulate the floor’s temperature. Cork destined for flooring has anti-microbial properties, and it’s great for repelling termites and insects. Although cork is water resistant, it’s not waterproof. You’ll need to use a plastic sheet as a moisture protection, typically 6mil thick.
Most hardwood floor applications need only a 1/8” (3mm) thick cork. However, if you need more soundproofing or add height, use the ¼” (6mm) cork. It comes in both rolls and sheets. A roll covers 200 square feet and is easy on the budget. Installation methods include floating, staples or glue.
The primary deciding factors for which underlayment is right for your floor will depend on the sub-floor and your local building codes.
Step-by-Step: How to Install Underlayment
The easiest products to install are ones that come in a roll. Whether foam, paper or cork, the techniques are the same. Here is a video showing you how to lay down a foam-type flooring underlayment with a self-adhesive strip.
Installing Foam Roll
Pro Tip – Run your seams perpendicular to the floor on top for best results.
Step 1 – Unroll the material to the other side of the room and cut extra to go up the wall 3 to 4 inches (7–10 cm).
Step 2 – Align the first edge to a wall where you want it then tack one end to the wall.
Step 3 – Begin removing the backing to the self-adhesive strip and attach the first sheet to the sub-floor. If there is no self-adhesive strip use a wood flooring tape made for that purpose. Use a tack hammer or stapler to attach the sheet to the floor as you work your way down the edge.
Step 4 – Repeat the process with the next sheet being careful to keep the edges aligned. By stapling the floor as you work your way to the other end, it keeps the foam from moving or buckling.
Step 5 – Tape the top of each seam together to strengthen and seal them.
Once you install the wood flooring, you can trim the excess material. Shoe molding will cover the gap. This short video shows how to install foam underlayment for a hardwood floor.
Installing Rubber Underlayment on Concrete
Installing rubber underlayment on concrete is a bit different than a sub wood flooring because obviously, you can’t tack it in. Some products use double-sided carpet tape to attach the pieces. Other products require applying adhesive over the surface of the concrete, a little at a time as you roll it out.
Pro Tip – For shorter runs or intricate cutouts, pre-measure and cut before gluing.
Step 1 – Always sweep or vacuum the floor before starting any wood flooring project.
Step 2 – Roll out and cut a length of the underlayment. Double check for straightness.
Step 3 – (For Tape Application) Draw a chalk line down the edge and apply double-sided carpet tape under the side, leaving half of the width exposed to attach the adjoining piece.
Step 3 – (For Adhesive Application) Use an approved liquid adhesive and spread it over the concrete using a trowel. Spread out just enough to roll out small sections until the first piece is down.
Step – 4 Repeat steps 2 and 3 until the floor is covered.
To give you a better idea of this process, watch this video on how to install rubber underlayment. Although it’s for a garage floor, the process is the same anywhere in your home.
To see how to install rubber underlayment on concrete sub-floor using adhesive, here is an excellent video showing that technique.
There are three ways to attach underlayments depending on the sub-floor:
- Staples
- Glue
- Floating (Not Attached)
While floating is the easiest, it may not be the best. Lightweight foams can shift or buckle as you work to install the floor. It’s best that they attach to the sub-floor for a smooth, professional looking floor.
Avoid These Common Mistakes
An underlay adds a few benefits worth noting.
- It adds some insulation value to keep your feet warm.
- It helps to reduce the noise of footfalls and ambient noise from rooms on higher floors.
- It cushions the hardwood floor helping the natural expansion and contracting during seasonal relative humidity changes.
- An additional moisture barrier protects the floor from water, especially over concrete.
An underlayment improves the durability of any hardwood floor and helps it last longer. With the right type installed, the next step to creating your dream home is to install your new hardwood floors.
Why Floating Floors Work Best Over Concrete
Remember that concrete is not a water barrier. It can wick up moisture from the ground and is also prone to condensation build-up. Both of these can make quick work of destroying your hardwood floors.
So bear in mind that in your basement or over a slab, you cannot nail, staple or screw your hardwood flooring to the subfloor, because doing so will puncture your underlayment, effectively rendering the moisture barrier useless.
For this reason, you music install a floating hardwood floor in these situations. A floating floor attaches only to itself and not the subfloor. It functions as a giant wooden mat that can expand and contract as a unit, when needed. It floats over top of the subfloor and underlayment allowing the preservation of the underlayment's vapor barrier.
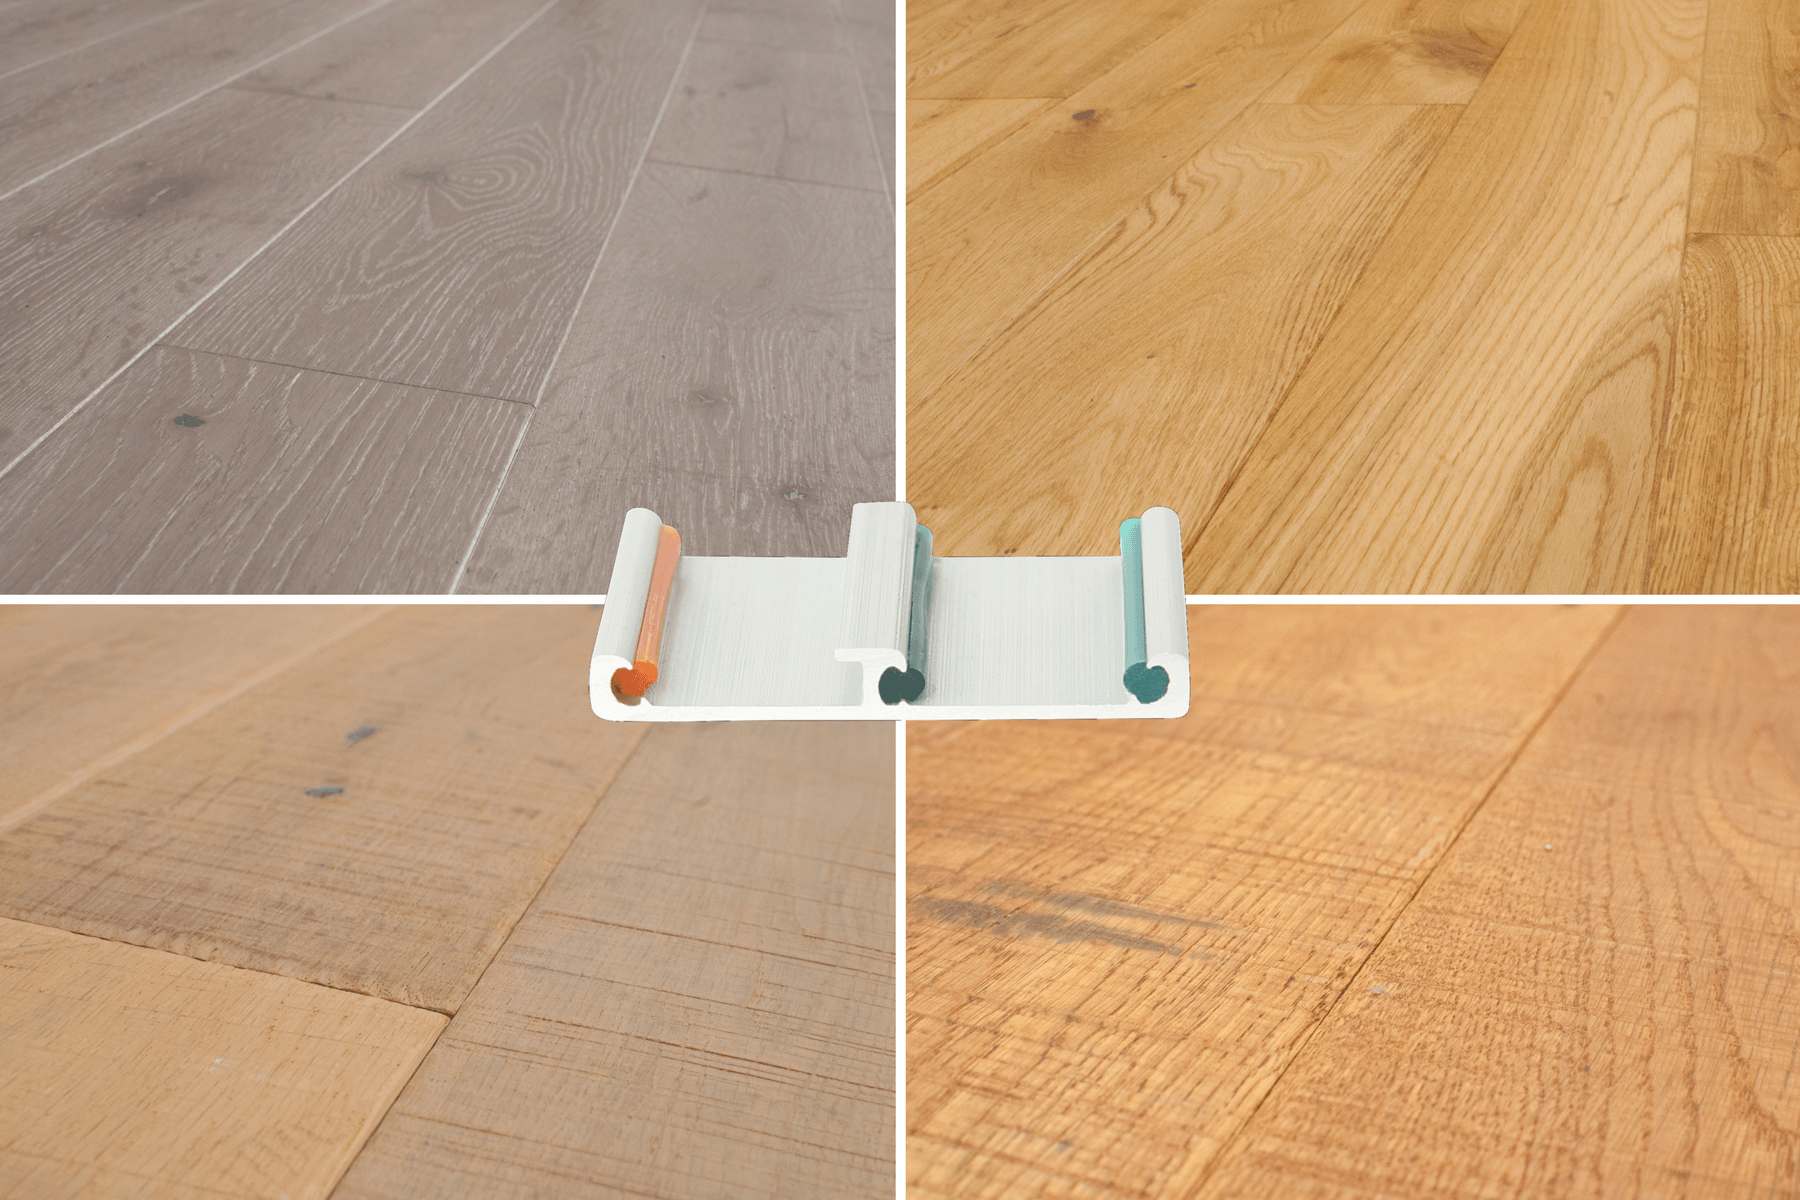
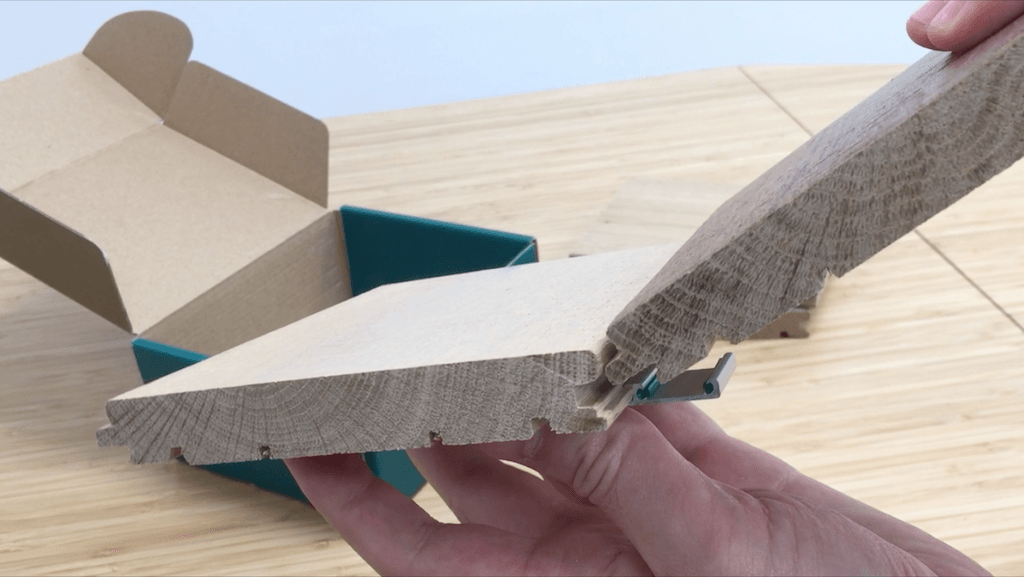
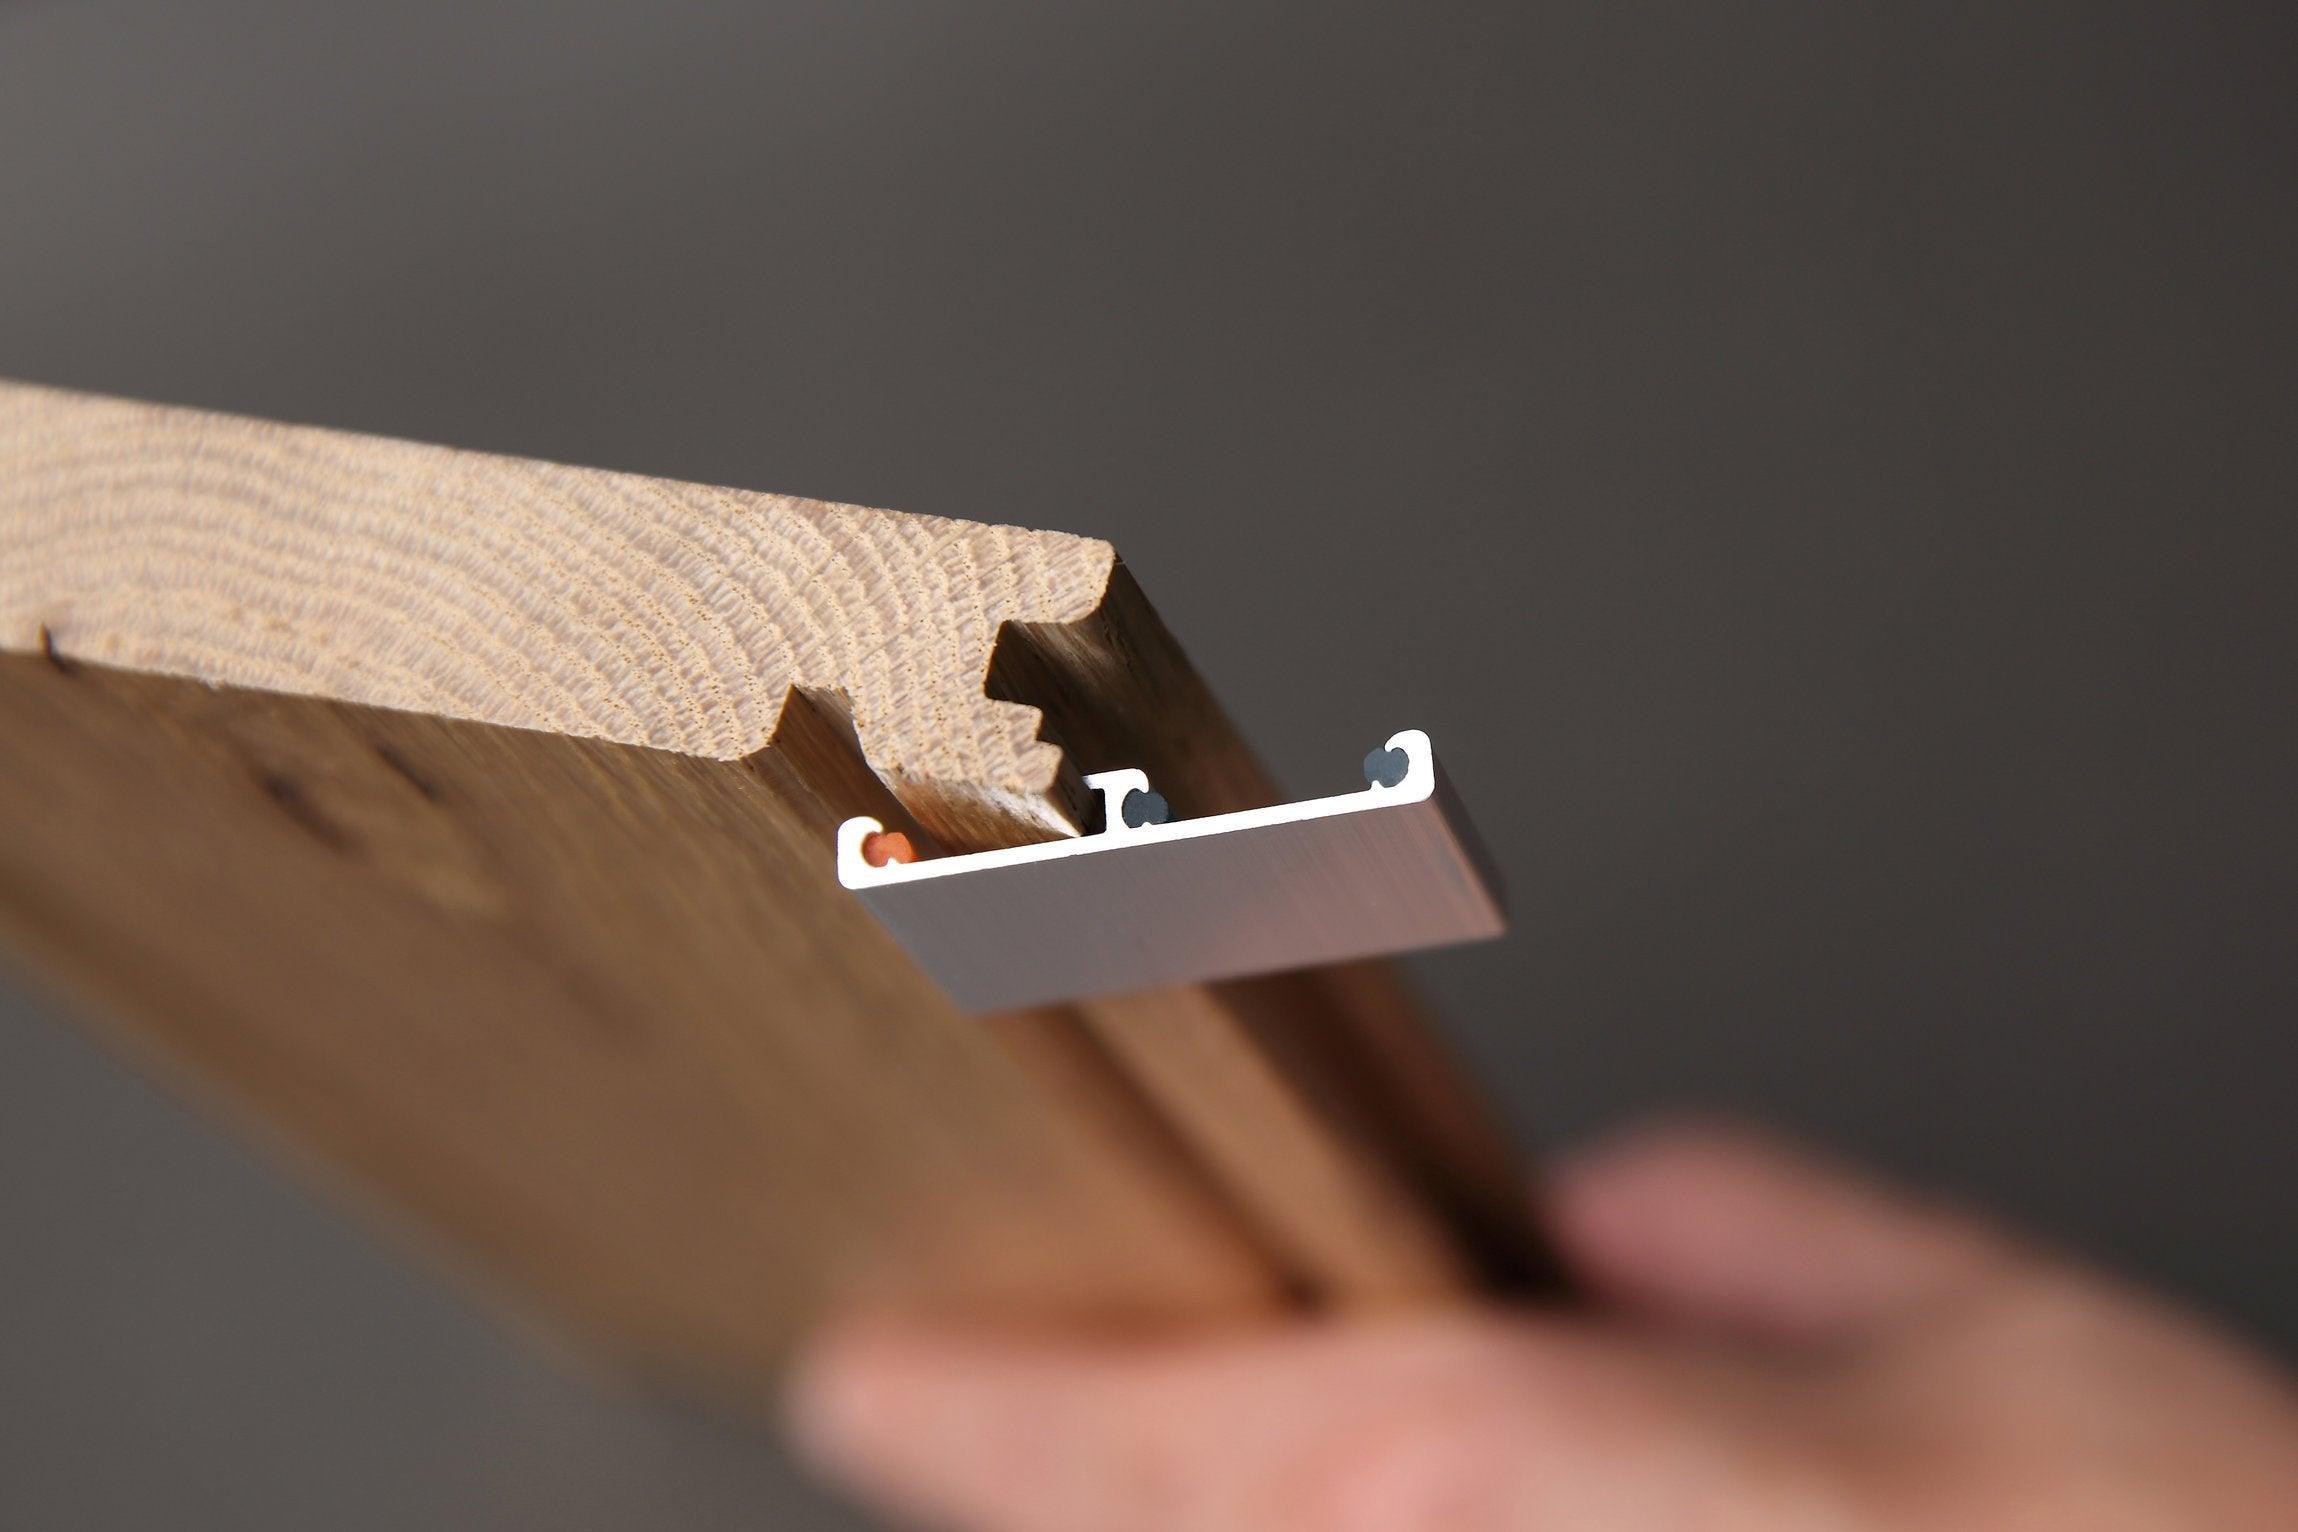
For the best looking floating solid hardwood floors that are a snap to install, look no further than right here at Easiklip.
A Hidden Layer with Lasting Impact
Underlayment isn’t the most glamorous part of a hardwood floor project, but it is one of the most important. It softens footsteps, shields against moisture, and allows wood to expand and contract naturally with the seasons. It ensures that your new hardwood floors not only look beautiful on day one but remain durable and quiet for decades to come.
When installed properly, an underlay transforms hardwood from a simple surface into a foundation for comfort, energy efficiency, and peace of mind. It’s the quiet partner that helps your floors perform at their best.
Pair Your Floors with the Right Foundation
Protect your investment with an underlayment designed for solid hardwood. Easiklip offers foam underlays with integrated moisture barriers — ideal for floating oak floors that are quick to install and built to last.
Order your Easiklip underlayment and sample flooring today at: https://easiklip.ca/pages/free-samples

