

5 Mistakes to Avoid When Installing Hardwood in a Basement Remodel
Basements have become coveted extensions of living space, but installing hardwood below grade is trickier than it looks. Subtle missteps in assessing moisture, choosing materials, or planning layout can turn your dream floor into a nightmare of warping, mould, or failure. In this guide, we’ll show you five critical mistakes homeowners make with hardwood basement installations and how you can sidestep them with confidence.

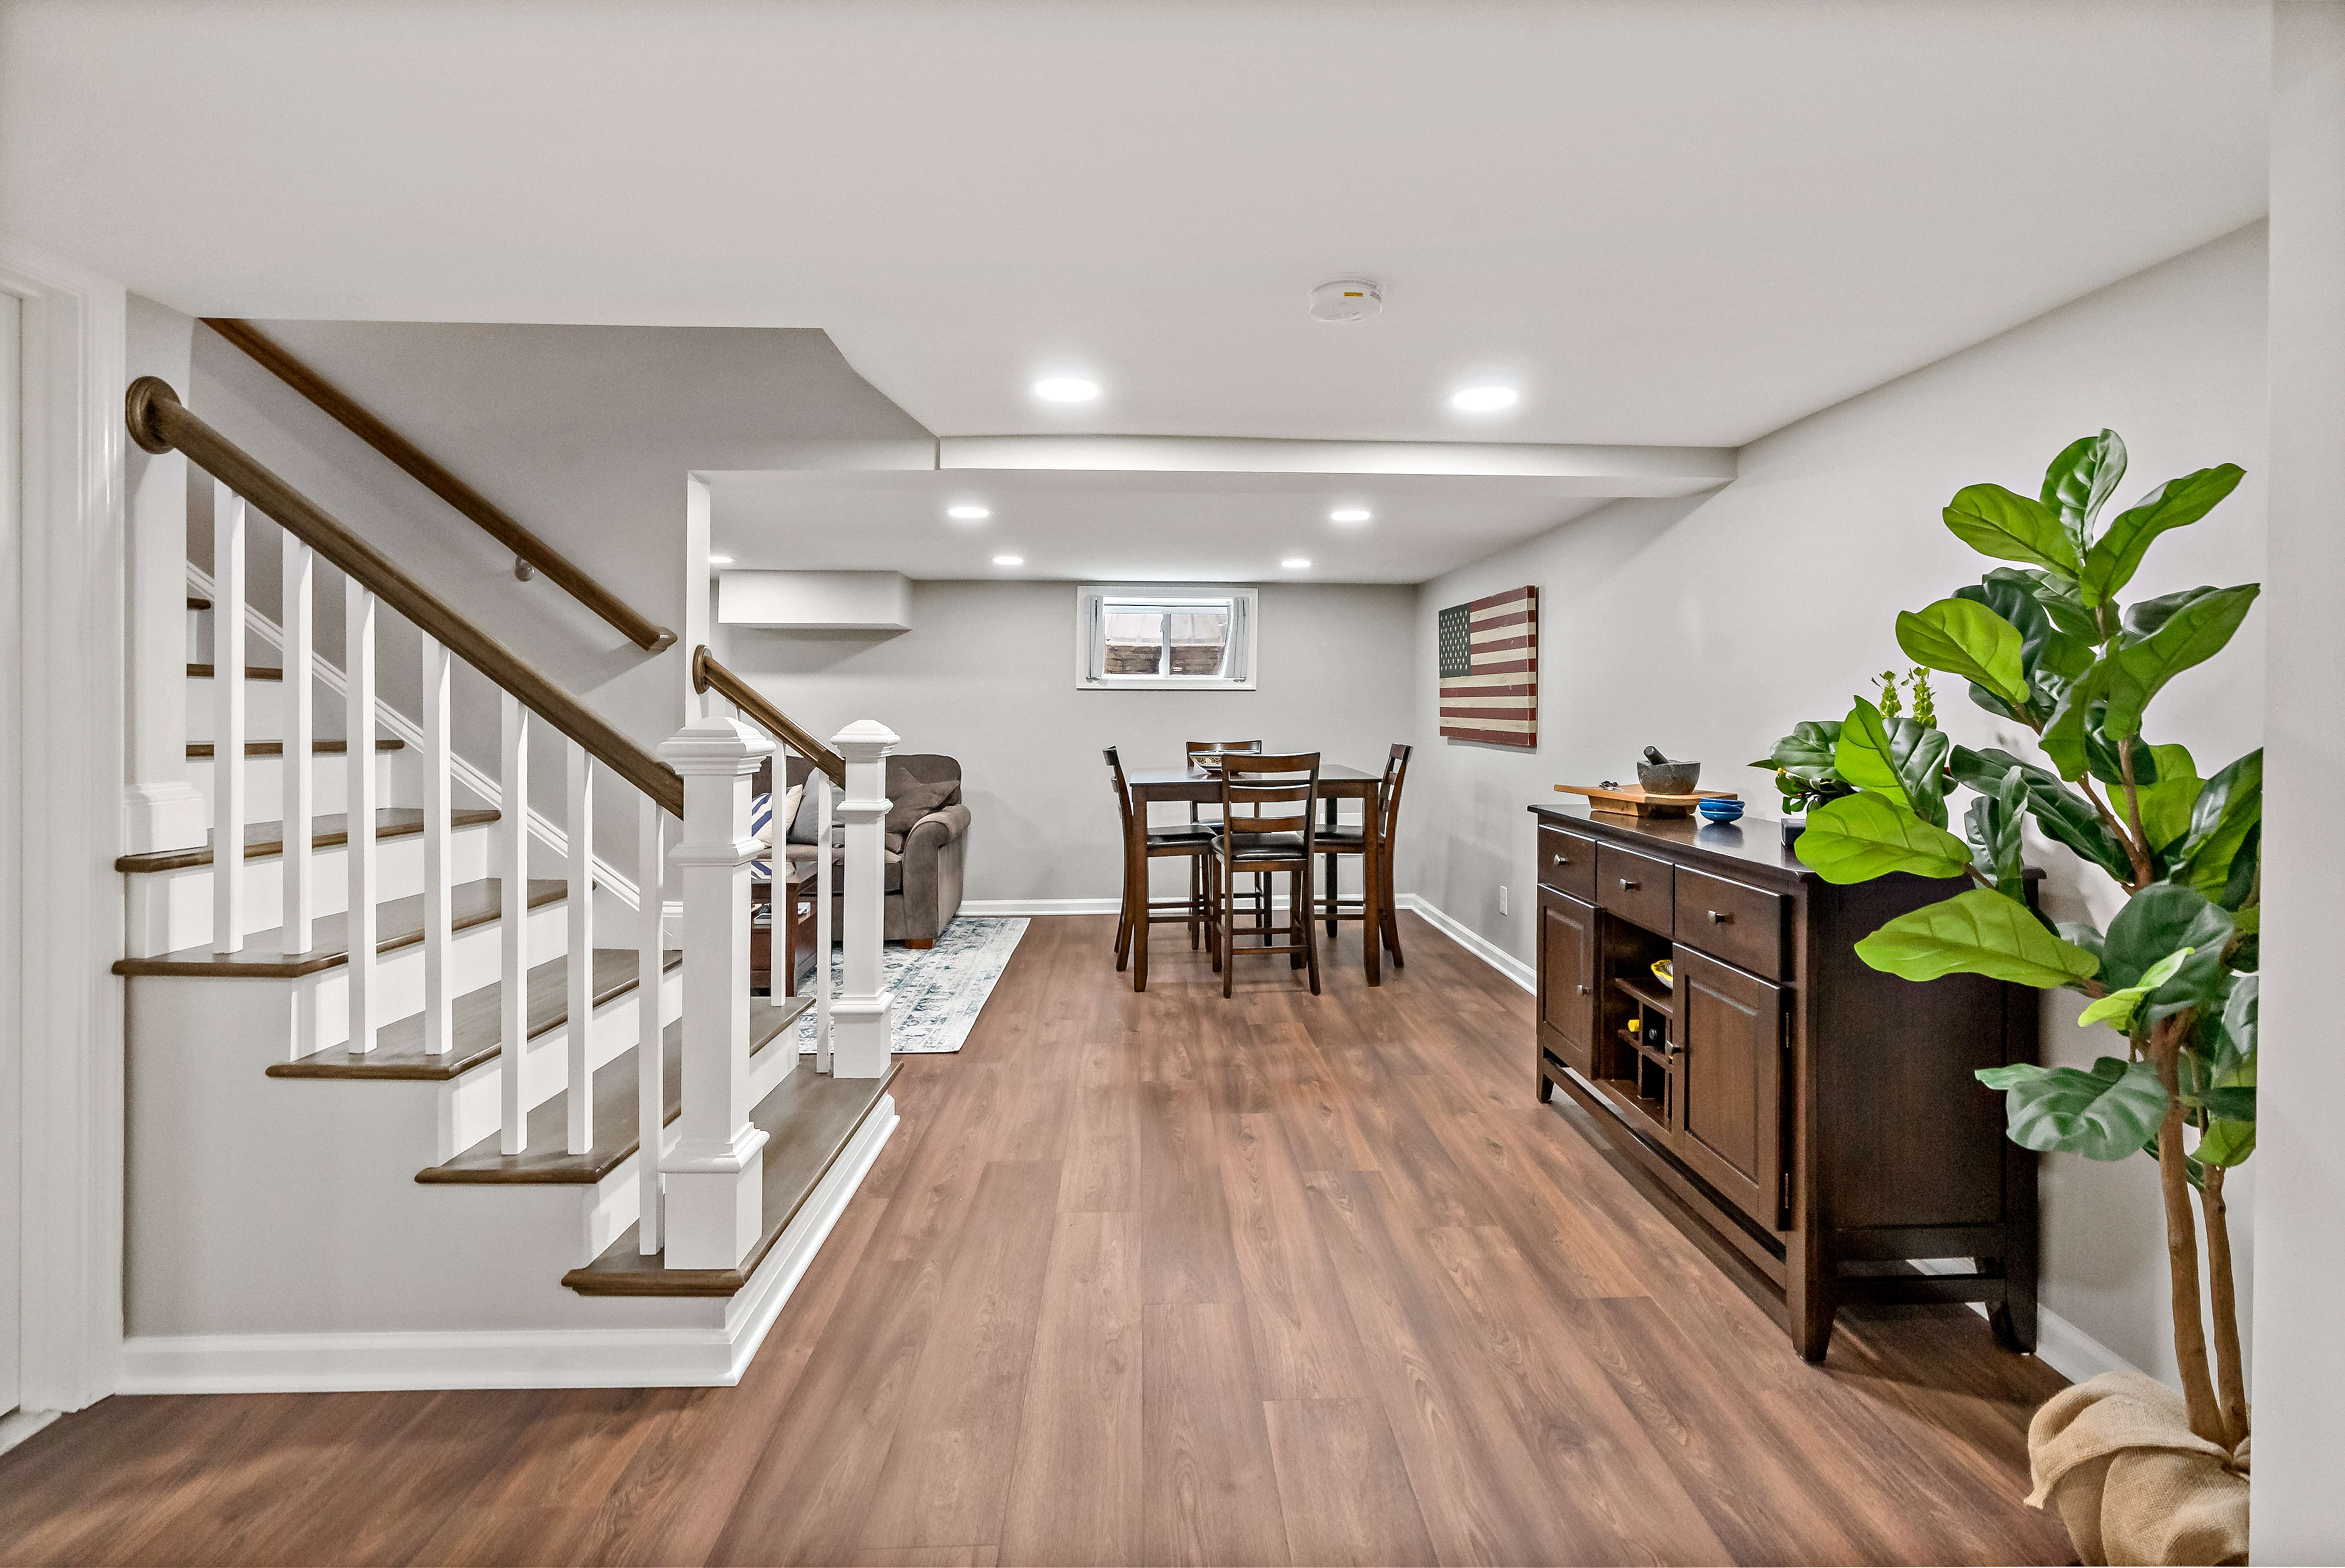
Basements are no longer the forgotten corners of a home. With thoughtful planning, they can become polished extensions of your living space. Hardwood flooring brings warmth and a refined finish that makes a basement feel complete.
Yet beauty below grade comes with real constraints. Concrete can transmit moisture. Humidity shifts with the seasons. Small oversights during installation can lead to big problems. CMHC research reports that in parts of Canada up to half of basements show signs of moisture entry or damage from high humidity, which directly affects flooring performance.
This is where understanding the most common hardwood basement installation mistakes becomes essential. Skipping moisture tests, choosing the wrong material for below-grade, or neglecting a vapour barrier can shorten the life of a floor. As building scientist Joseph Lstiburek of Building Science Corporation explains, “Wood hates water. Water makes wood do weird things like move and rot.”
If you are planning to finish a basement, start by learning how to identify and manage damp conditions. For broader moisture and indoor air best practices before renovating, the U.S. EPA reminds homeowners to correct basement moisture before converting the space.
The good news is that with the right approach, you can avoid the pitfalls and create a basement floor that is both durable and beautiful. In this guide, we will highlight the five mistakes homeowners most often make during basement hardwood installations and how to sidestep them with confidence.
Start your remodel on a solid foundation with Easiklip. Explore the collection of solid oak floating planks here: Easiklip Hardwood Flooring.

Mistake 1: Skipping the Moisture Test
One of the most common hardwood basement installation mistakes is assuming a concrete floor that “looks dry” is actually safe for hardwood. Concrete is porous, it constantly releases vapour, even when it feels solid underfoot.
If you skip this step, your hardwood can start to warp, cup, or even develop mould within months. A homeowner might install a floor in winter when conditions seem dry, only to find boards swelling and buckling during the damp summer months. Worse still, unseen moisture can feed mould colonies under the floor, creating health issues and costly repairs.
Industry experts at Wagner Meters explain that unchecked subfloor moisture is one of the leading causes of hardwood failure. That’s why testing isn’t optional; it’s the foundation of a successful installation. For more on preparing subfloors and correcting uneven conditions, see Easiklip’s guide on using floor shims to level a wood subfloor.
How to avoid it:
Use a reliable testing method before beginning any installation. Common options include:
-
Calcium chloride kits (ASTM F1869), which measure vapour emissions over 24 hours.
-
Relative humidity probes (ASTM F2170), which are drilled into the slab to give a more complete picture of internal moisture conditions.
-
Surface moisture meters, which can provide a quick check but should be combined with more thorough tests.
Even simple DIY methods like the plastic sheet test, where a square of plastic is taped to the slab to check for condensation, can reveal hidden dampness.
Skipping this step can mean gambling with thousands of dollars in flooring. Taking time to test ensures you choose the right barrier and system for your basement, protecting your investment from the ground up.
Mistake 2: Choosing the Wrong Type of Hardwood
Not all hardwood performs the same way below grade. Traditional nail-down systems rely on anchoring boards directly into the subfloor, which doesn’t work well over concrete. Glue-down floors present their own issues, including adhesive odours and difficulty making repairs if a section is damaged.
Floating systems, by contrast, allow the floor to “breathe” with changes in humidity while sitting securely above a moisture barrier. Easiklip’s solid oak floating floors use an innovative clip system, no nails, no glue, making them ideal for basements.
Equally important is choosing a species that can withstand seasonal shifts. Oak is a reliable choice: dense, durable, and dimensionally stable. By contrast, softer woods like pine or exotics that are more sensitive to humidity can move dramatically, leaving unsightly gaps or raised edges.
Consider the example of a homeowner who glued down maple planks in a below-grade family room. Within a year, fluctuating moisture caused the adhesive to fail, leaving hollow spots underfoot and forcing a full replacement.
How to avoid it:
-
Opt for floating systems that sit above a barrier rather than being fixed to the slab.
-
Select hardwood species known for stability, like oak.
-
Check the manufacturer’s specifications for below-grade use before purchasing.
For a deeper look at why installation method matters, Junckers outlines best practices for pairing hardwood with the right moisture barrier and system. Easiklip also explains how click-lock hardwood flooring can simplify basement projects and reduce risk.
Mistake 3: Ignoring Vapour Barriers and Underlayments
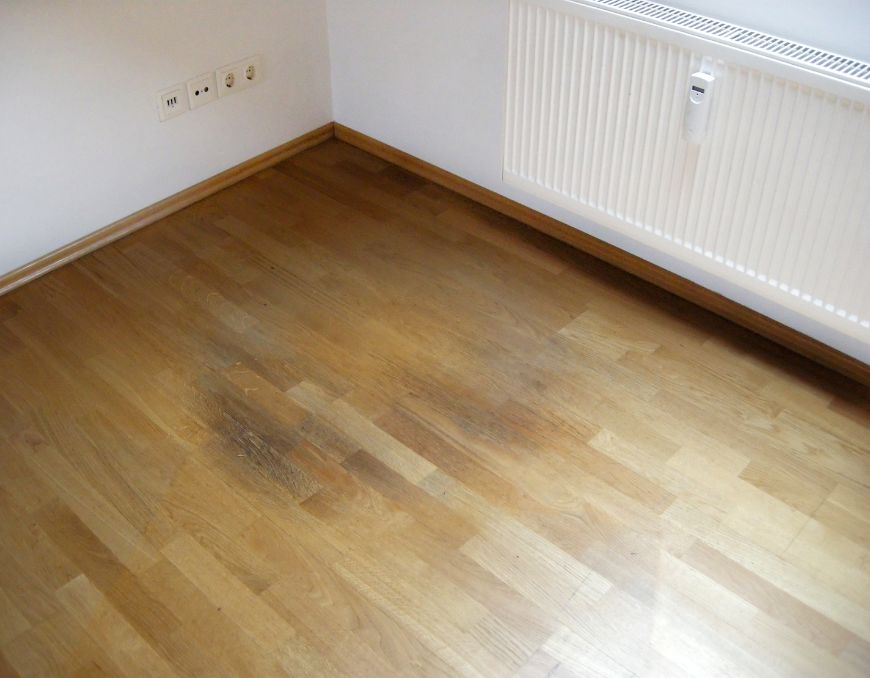
Hardwood may look flawless when first installed, but without a proper vapour barrier, trouble starts from below. Basements are notorious for dampness, and one of the biggest hardwood basement installation mistakes is skipping this invisible layer of protection.
The U.S. Environmental Protection Agency warns that unchecked basement moisture is a common trigger for mould growth. A homeowner who lays hardwood directly over concrete without a vapour barrier might enjoy a smooth finish for a few months, until moisture begins seeping up, causing boards to cup or dark stains to form along seams. In some cases, mould colonies grow underneath, releasing spores into the air.
How to avoid it:
-
Use a polyethylene sheet, premium underlayment, or liquid-applied membrane to block vapour migration.
-
For added comfort and performance, choose products designed for basements that combine cushioning, sound reduction, and moisture protection. Easiklip recommends its Vapor Shield Premium Underlayment, which delivers all three benefits in one layer.
-
Seal seams carefully and follow manufacturer overlap requirements so that no moisture can sneak through weak points.
For homeowners weighing options, Carpet World explains why a vapour barrier is essential for wood flooring, while First Atlanta Flooring breaks down the different types of barriers and their uses. Easiklip also covers related design challenges in its guide to floor transition strips and options for hardwood transitions.
Choosing the right underlayment isn’t just a technical detail; it’s the foundation of performance. Think of it as the insurance policy that protects your investment and extends the life of your floor.
Mistake 4: Poor Planning for Expansion Gaps and Layout
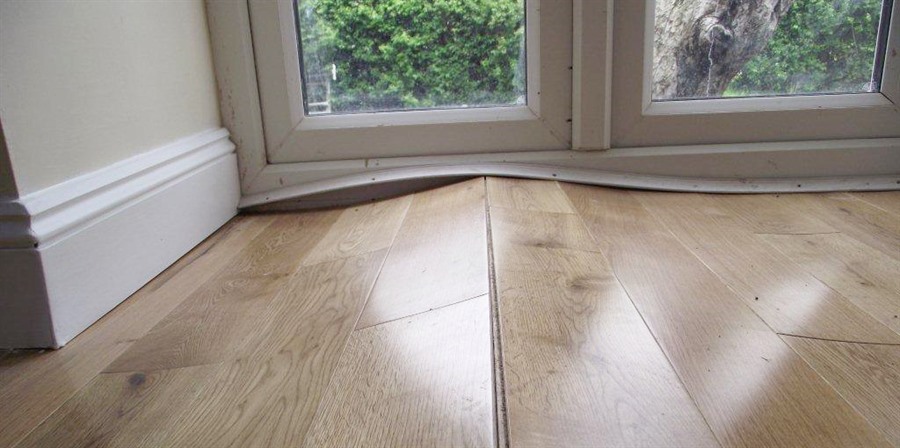
Wood is a natural material. It expands and contracts with changes in humidity, and nowhere is this more pronounced than in basements. Forgetting to plan for these shifts is a classic hardwood basement installation mistake.
Imagine a homeowner installing a floor tightly against basement walls with no gap. During humid summer months, the boards swell and push against the walls, and the entire floor buckles upward, sometimes enough to lift furniture. Poor planning can also show up visually: if plank ends line up in repeating patterns, the floor looks uneven and amateurish.
How to avoid it:
-
Every hardwood floor needs expansion gaps — usually between ⅜ and ¾ of an inch — left along walls and fixed objects to allow for seasonal movement. Simple spacers are inexpensive tools that keep these gaps consistent during installation.
-
Use a chalk line to establish a straight starting row, preventing small deviations from compounding across the room.
-
Stagger plank ends to strengthen the floor and create a polished look.
For more details, BuildingAdvisor explains how acclimation and gap allowances protect flooring, while real-world examples of buckling due to missing gaps can be found on Hardwood Flooring Talk. Easiklip further highlights how seamless flooring design depends on careful planning of layouts and transitions.
A little foresight in layout and spacing is what separates a DIY project that looks amateur from one that feels truly professional.
Mistake 5: Poor Acclimation and Ignoring Humidity Control
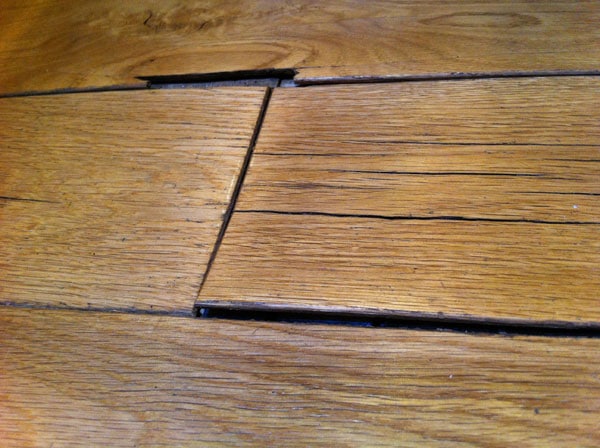
Even with moisture barriers and a good layout, failing to acclimate your hardwood to basement conditions can cause major problems. If flooring is installed immediately after delivery, it may expand or shrink once it adjusts to the room’s environment.
A homeowner who skips acclimation might notice wide gaps in winter as boards dry and shrink, then cupping or buckling in summer when they swell. Basements are especially prone to humidity swings, which makes acclimation and long-term control critical.
How to avoid it:
-
Allow flooring to acclimate in the installation space for several days until its moisture content matches the room. Open boxes, expose board ends, and confirm with a moisture meter that the difference between wood and environment is within tolerance (often 2–4 %).
-
Keep basement humidity between 35–55 % year-round using a dehumidifier, HVAC balancing, or improved ventilation.
-
Use a hygrometer to monitor changes and adjust as needed.
Really Cheap Floors outlines acclimation best practices, while Wood Floor Business explains professional protocols. For additional insight on how humidity affects installations, see Easiklip’s blog, Is it OK to Put Hardwood Floors in the Kitchen?, a post that highlights how moisture and seasonal changes influence wood performance.
Ignoring acclimation is like setting your floor up for failure. Taking a few extra days upfront saves years of frustration.
Laying the Groundwork for Success
Installing hardwood in a basement is both rewarding and challenging. Small oversights, skipping moisture tests, choosing the wrong system, neglecting vapour barriers, forgetting expansion gaps, or failing to acclimate boards can all lead to costly repairs.
By planning ahead, testing thoroughly, and selecting systems designed for below-grade conditions, you protect your investment and ensure your floor remains beautiful and durable. For more inspiration on smart flooring choices, Easiklip’s post on solid hardwood as a sustainable option shows how long-term planning pays off.
Ready to explore a basement-ready hardwood option? Discover the Easiklip collection of floating oak floors and start your remodel on a solid foundation.


