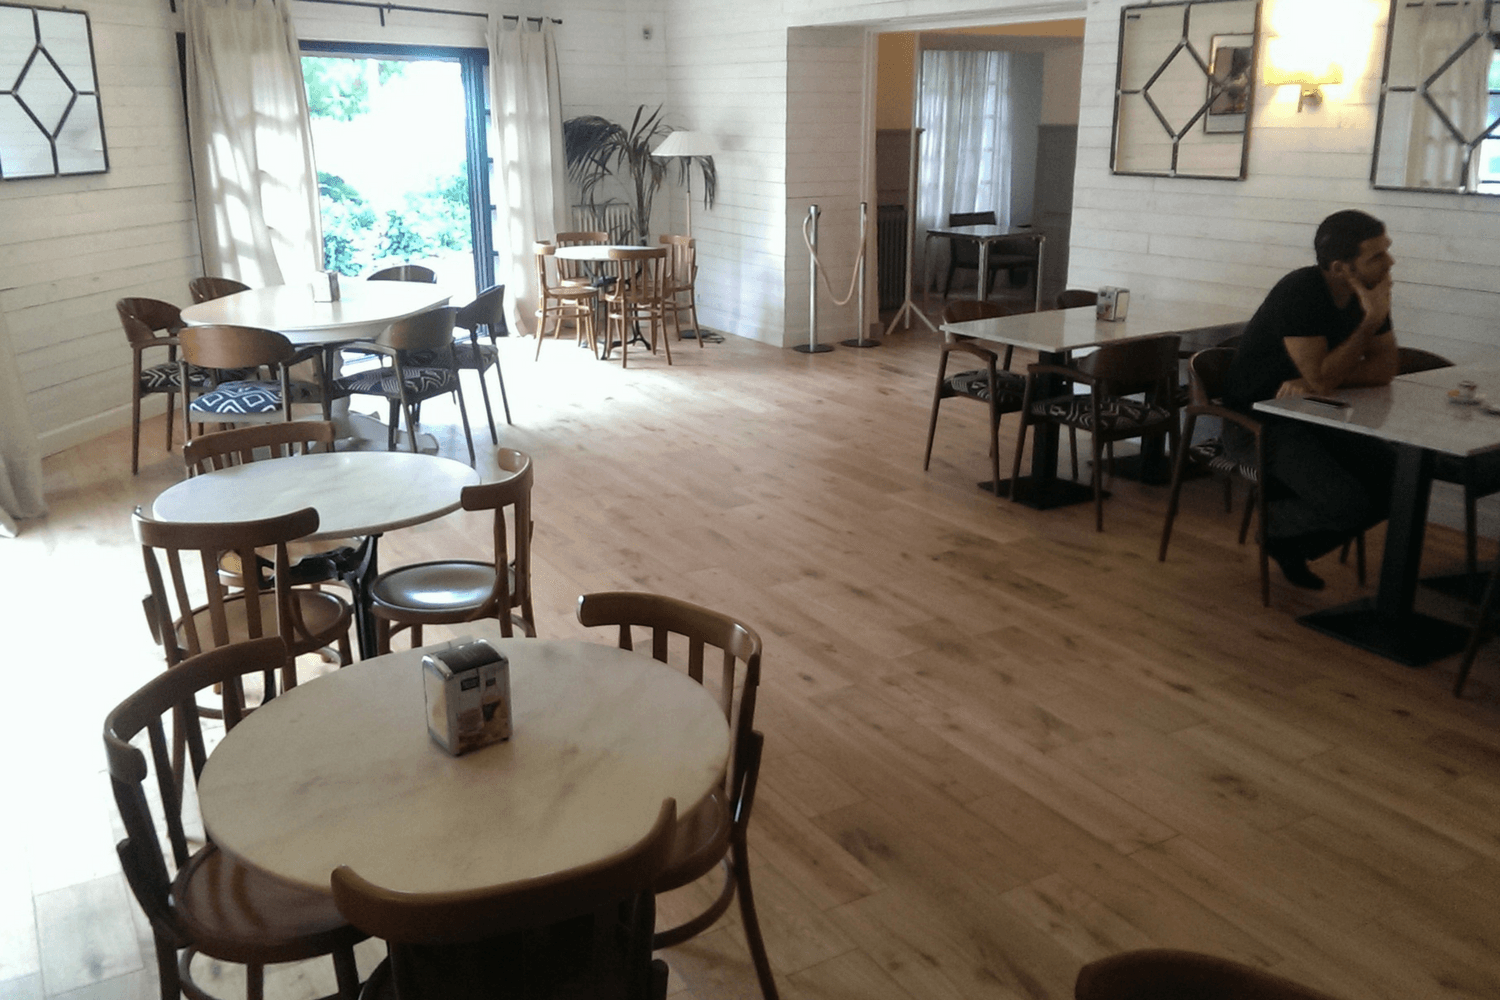
Hardwood floors age gracefully, but even the most beautiful planks eventually show signs of wear. Scratches, scuffs, and fading are inevitable, yet they don’t mean your floors are beyond saving. Instead of paying thousands for professional refinishing, you can take matters into your own hands. With the right tools and a step-by-step approach, a DIY refinishing project not only revives tired floors but also transforms your home with renewed warmth and value.
This guide walks you through the process—from preparation to the final coat—so you can achieve a polished, professional-level result on your own terms.
Before we break it all down, here's a great video of the entire process:
Preparing Your Room for Refinishing
Firstly, remove everything from the room, including furniture, rugs, curtains, and paintings. Next, look for any protruding nails in the wood – you can do this by running a putty knife across the floor – and hammer them down. Secure any squeaky or loose boards.
Sweep or vacuum the room until all dust is removed. Cover all gaps and doorways with plastic sheeting. To prevent dust from getting into the ductwork, seal air vents or air conditioners. Lastly, open all windows so you have plenty of ventilation.
PRO TIP: Before you get started, do a water droplet test to check the condition of your timber floors. If the droplets soak into the wood, the seal has worn off and you need to refinish the floor. If the droplets remain suspended, your seal is intact and you only need to give the floor a clean and polish.
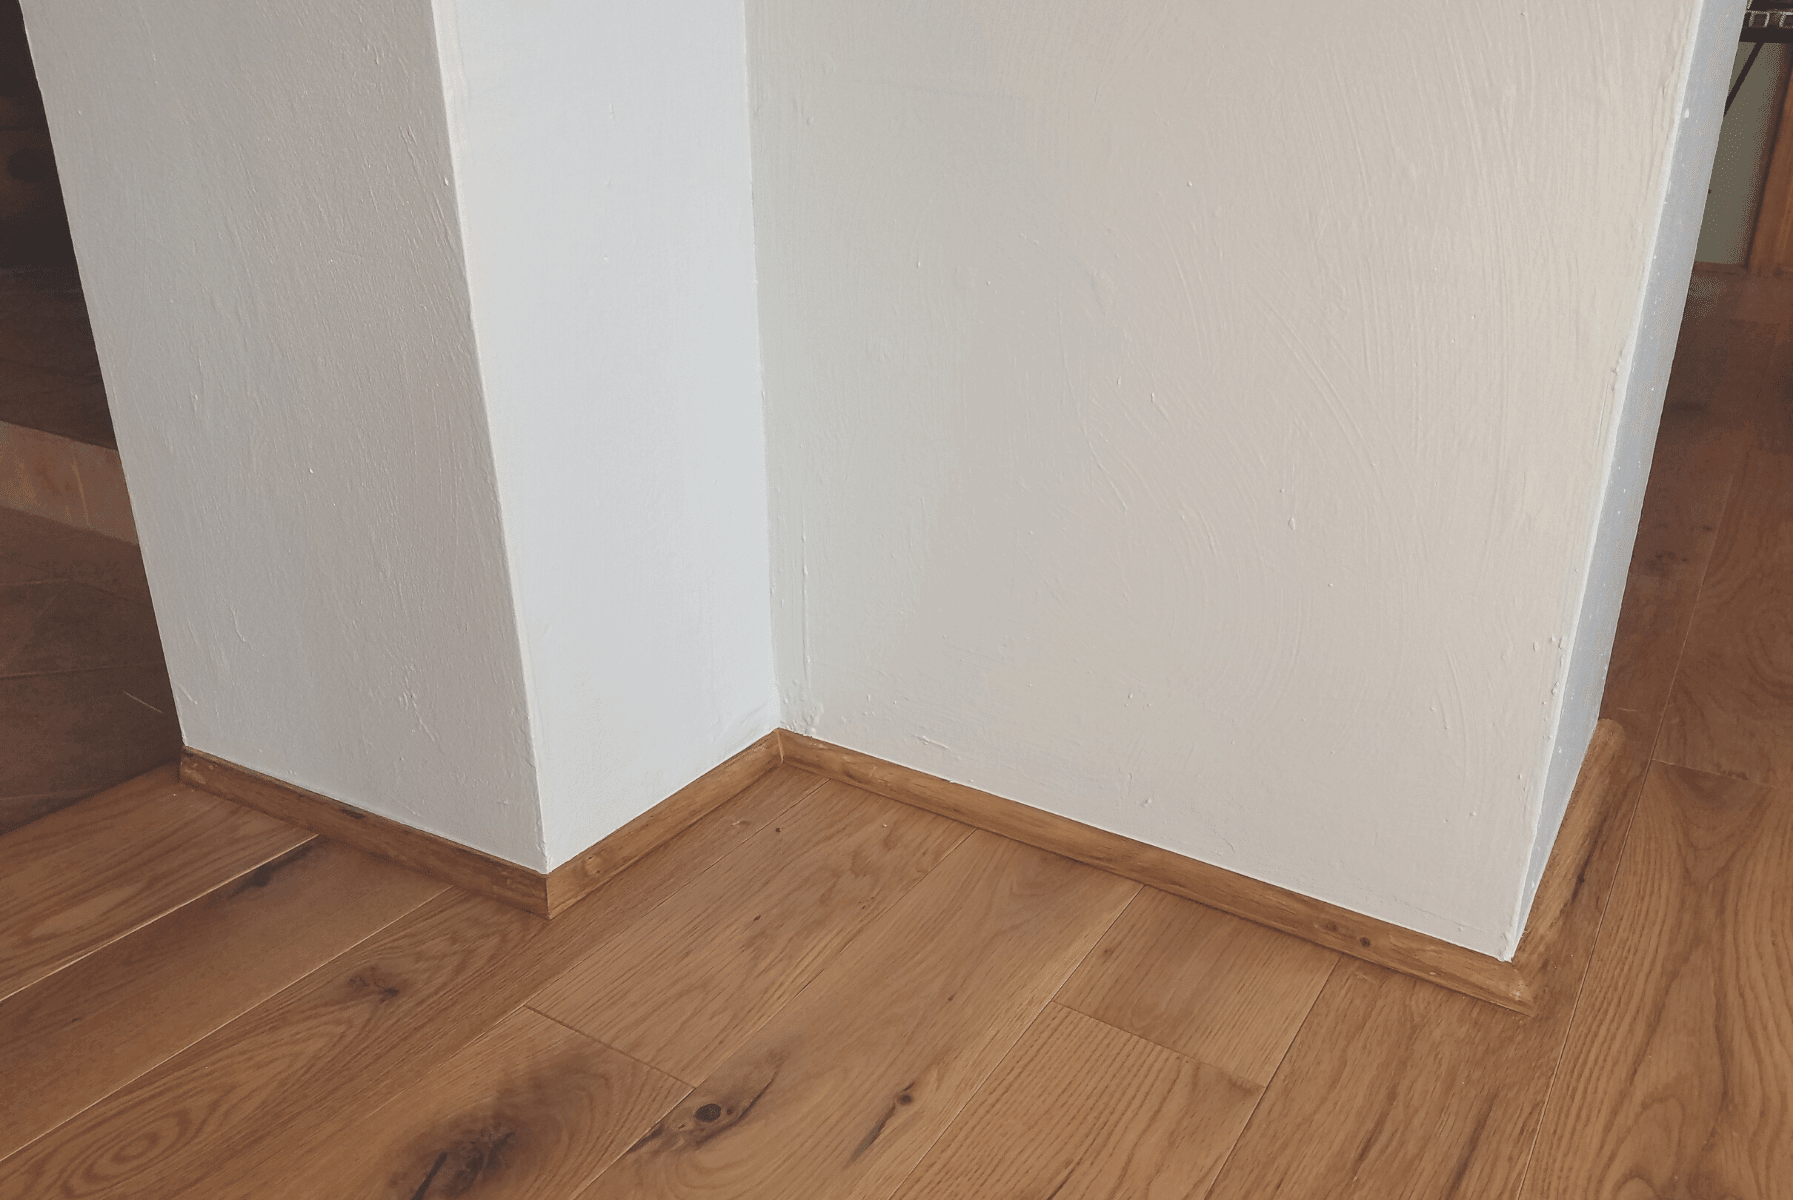
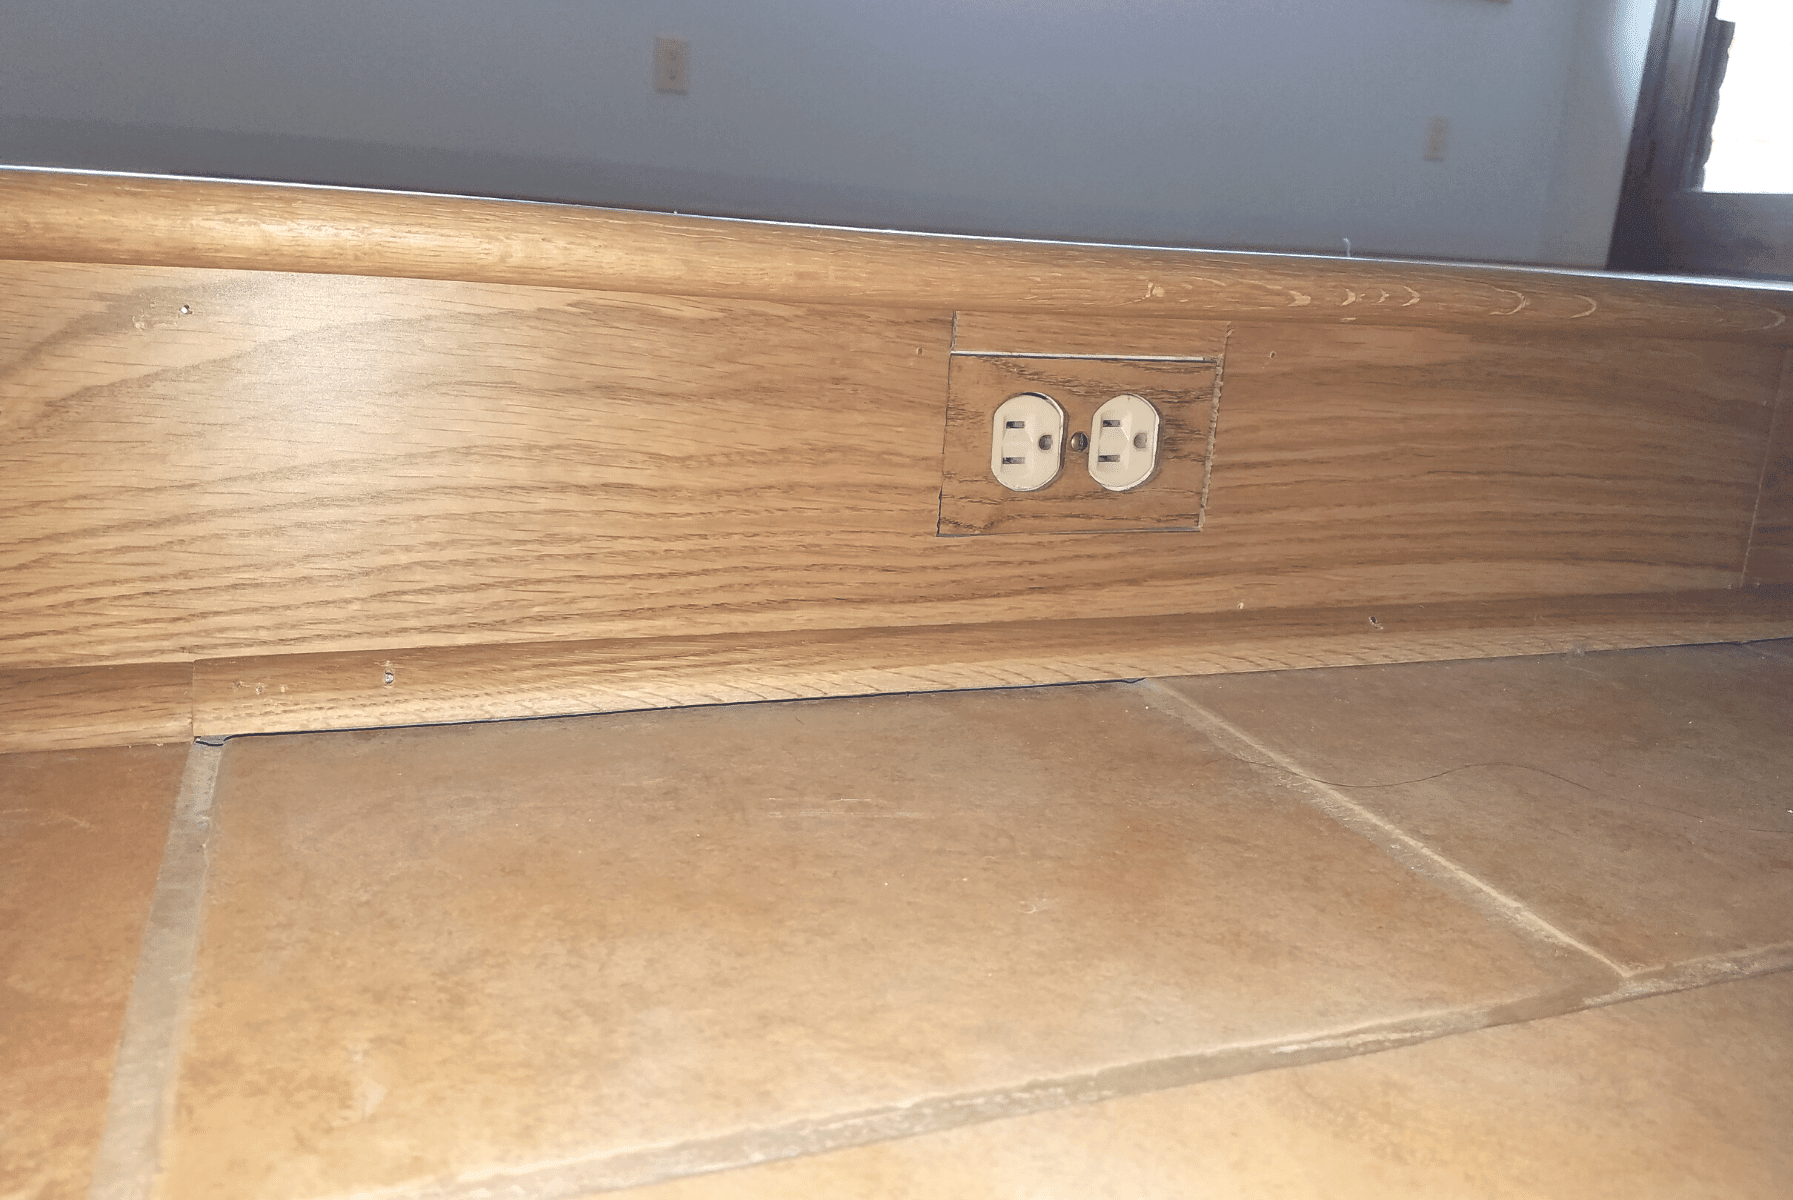
Why Removing Base Moulding Matters
Sanders will demolish anything in sight, so it’s best to remove your shoe base moulding so it doesn’t sustain any damage. To do this, use a pry bar to lift the moulding and release it from the base board. Make sure you label each moulding so you can reattach it to the right place.
PRO TIP: If you don’t have shoe base moulding, remove the base boards. If they can’t be removed, be extra careful when sanding these areas.
The First Sand: Stripping Away Scratches and Stains
Sanding and polishing your floors is a cathartic experience. A rough sand is an important first step to removing surface scratches and stains. Before you start, put on a dust mask, safety goggles, and ear protection. Then, using a drum sander or belt sander, work across the floor in 3- to 4-foot lengths. It’s best to start with 36–40-grit sandpaper, progress to 60-grit paper, and finish with 100 grit. Make sure you sweep and vacuum after each grade. When you’ve sanded 250 square feet, change the belt. This will ensure optimal sanding results.
PRO TIP: If you’ve never used a drum sander before, practice on a sheet of old plywood. When you feel comfortable handling it, you’re ready to try it on your floor.
Tackling Edges and Corners with Care
For hard-to-reach spots like kitchen corners and stairs, use an edge sander or a small orbital sander. Again, start with course-grit paper and then progress to a finer grade. If there are spots the edger can’t reach, do it by hand using 80- and 100-grit sandpaper.
PRO TIP: Make sure you change the grades on the drum sander and the edger at the same time to ensure consistency.
Screen-Sanding for a Professional Finish
Screen-sanding will smooth out any irregularities or scratches left by the drum sander and the edger. Fit a floor buffer with a fine-grit screening pad and buff away. This will make your DIY job look professional!
PRO TIP: The buffer will swing left and right, depending on how you hold it. Use broad arcs to achieve a smooth surface.
Dust-Free Floors and Stain Application
Make sure you sweep and vacuum thoroughly. Use an absorbent cloth to remove as much dust as possible. You don’t want dust and hair trapped in the floor finish!
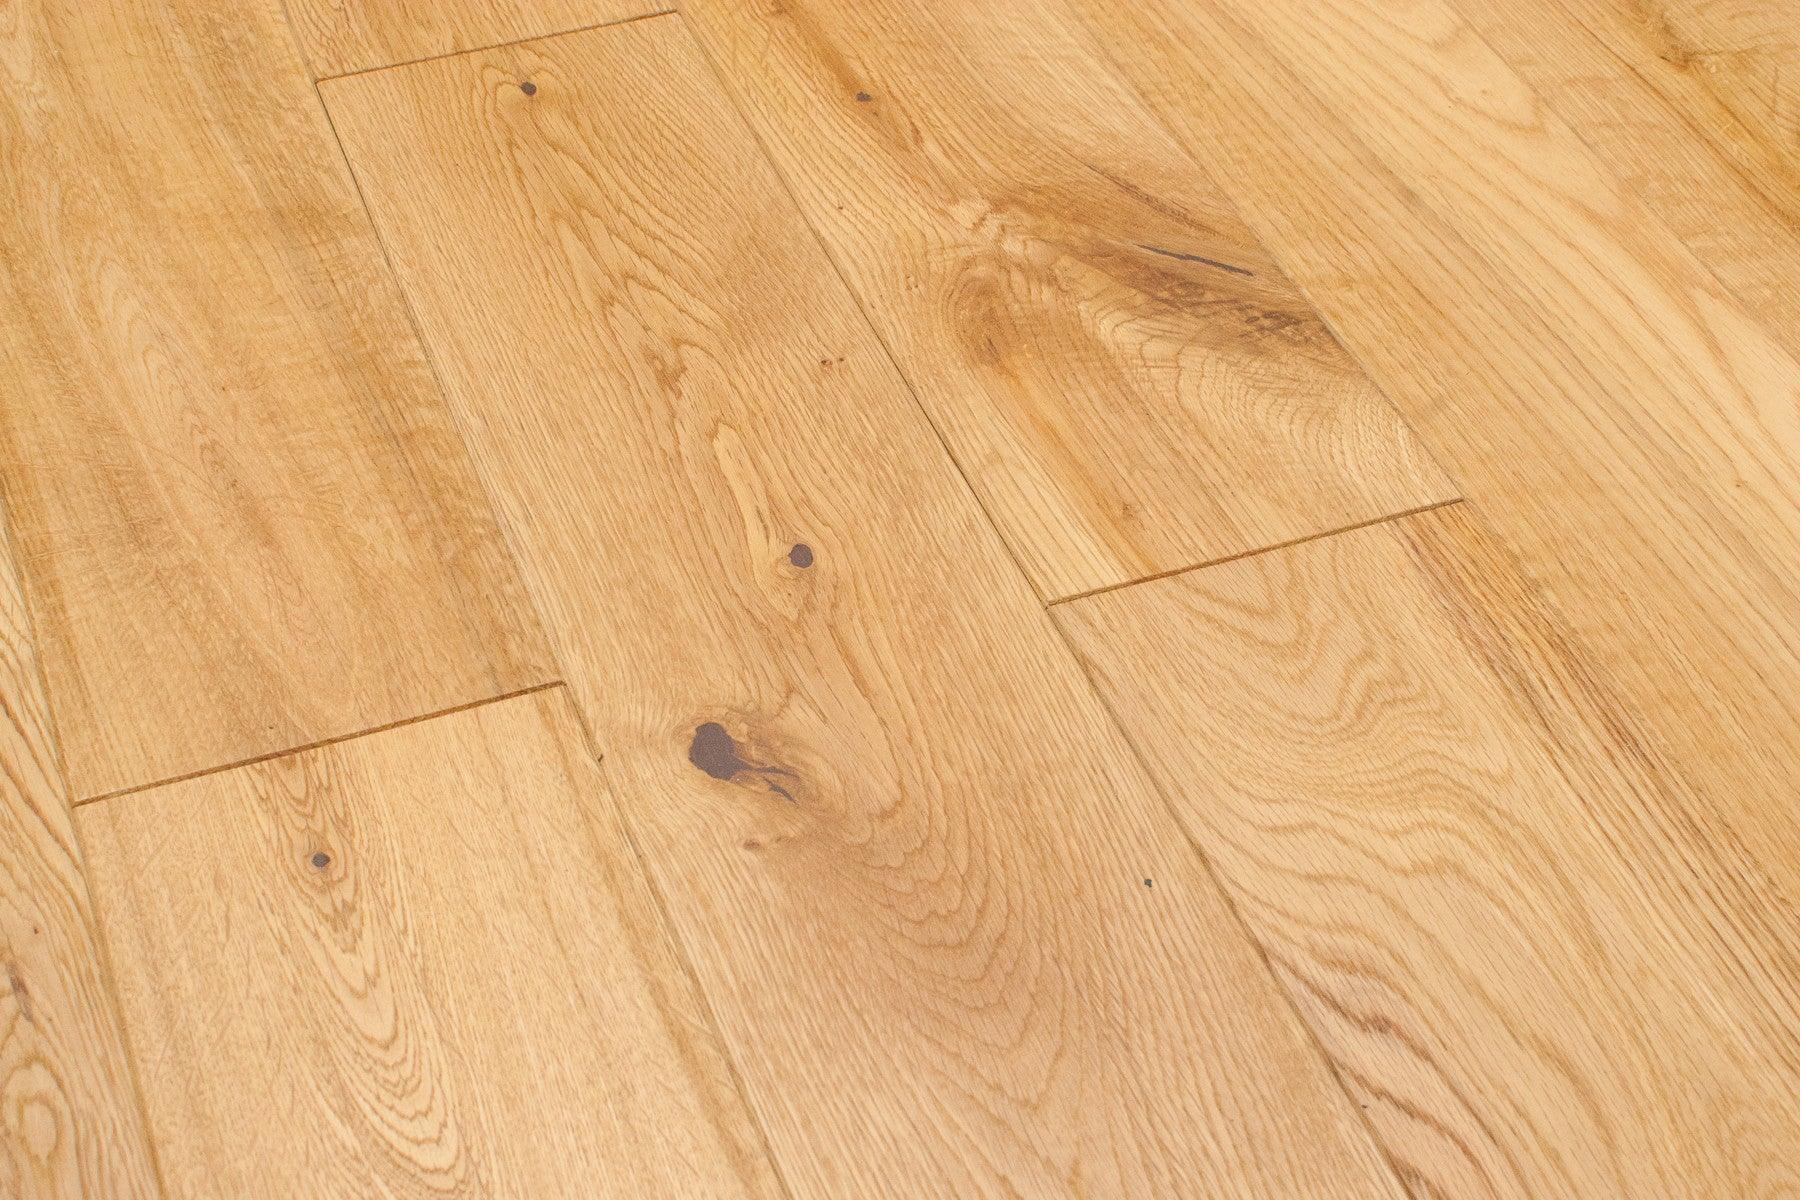
If you want to change the floor color, choose a stain that suits your hardwood flooring. Apply this with a foam applicator pad, making sure you follow the direction of the wood grain. Remove the excess with a clean cloth. Let the stain dry according to the manufacturer’s instructions.
PRO TIP: If you don’t want to stain the floor, apply a sanding sealer instead.
Applying the Final Finish
Now it’s time to apply the finish. You can choose either a water-based polyurethane finish that dries quickly, or an oil-based polyurethane finish that dries more slowly. The latter provides a smoother coat, but the fumes can be overpowering and you’ll need a respirator during application.
Apply three coats of oil-based finish or four coats of water-based finish using a lamb’s wool applicator. Use smooth, even strokes to avoid drips. After each coat dries (about 24 hours), sand the floor with 220-grit paper. Vacuum the dust and apply the next coat.
When you’re finished, reattach the shoe guard moulding. After a few days, depending on how long it takes for your finish to cure, return the furniture to your room. Consider attaching felt pads to the feet to avoid scratching the floor.
Here's one more video that might help:
Your Floors, Restored and Renewed
Refinishing hardwood floors might feel intimidating at first, but the process is far more approachable than most homeowners expect. With patience, the right tools, and attention to detail, you can bring your floors back to life and extend their beauty for decades to come.
Whether you’re preparing to sell, updating a forever home, or simply tired of dull, lifeless floors, refinishing offers one of the best returns on investment in home improvement. It’s a project that rewards both your effort and your space with enduring style and value.
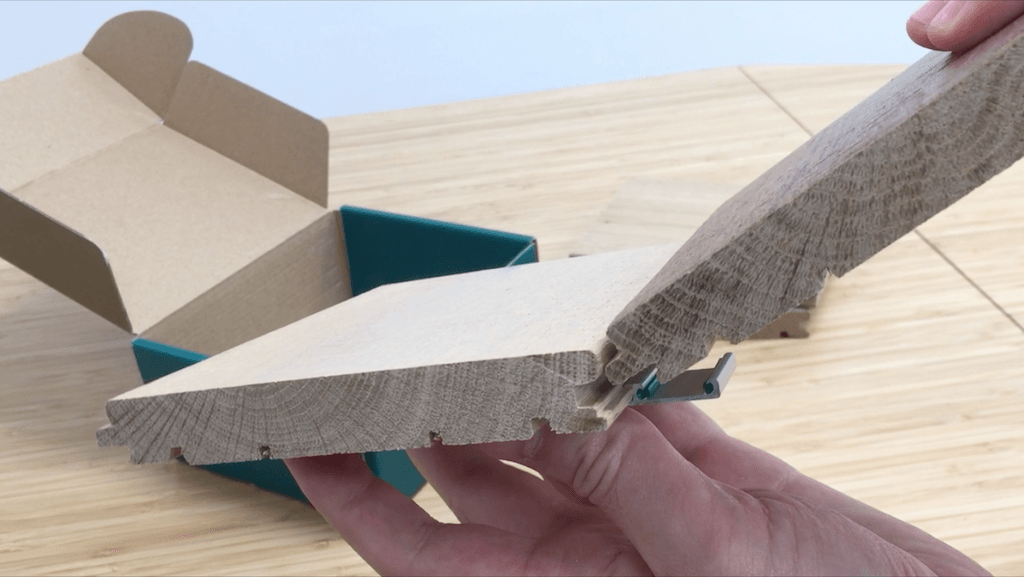
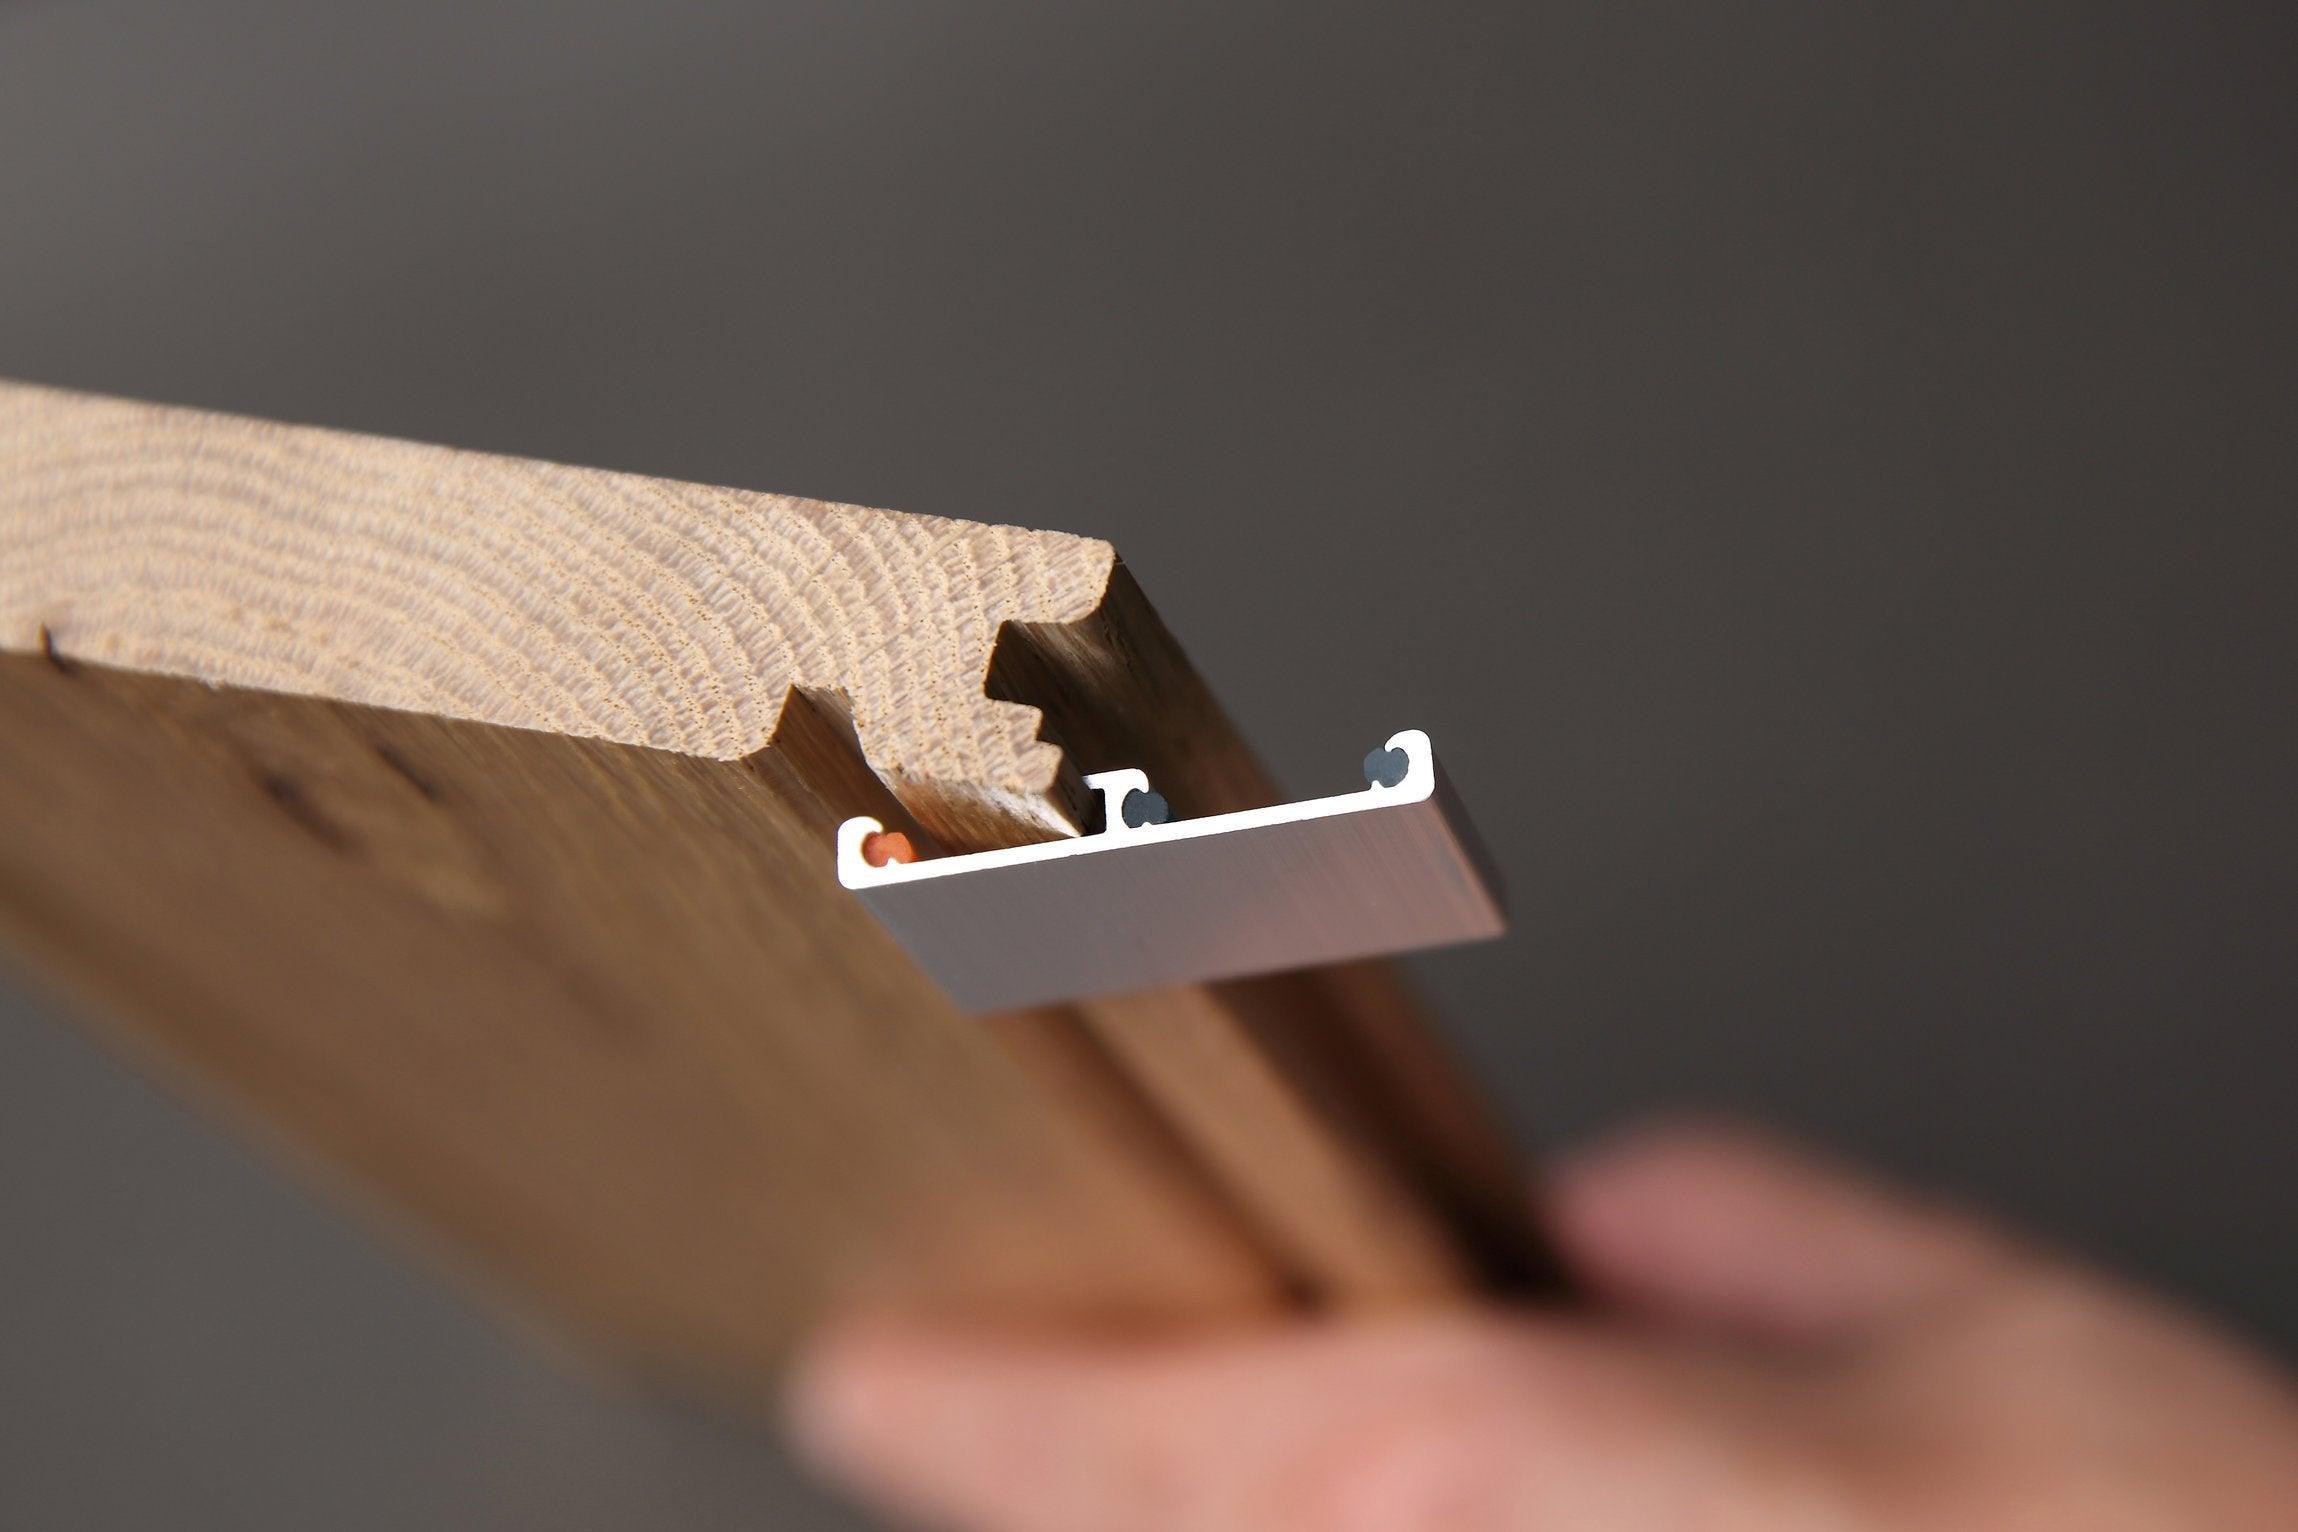
👉 Want to skip sanding, staining, and sealing altogether? Easiklip solid oak floors come prefinished, ready to install, and can be walked on the same day. Experience them risk-free by ordering your sample pack today.