

Why Moisture Barriers Matter Below Grade
Basements can be beautiful, but hidden dampness often threatens hardwood. This guide explains why moisture barrier basement flooring is essential, the types of barriers available, and how Easiklip’s Vapor Shield keeps your investment protected for years to come.

The allure of hardwood in a basement is undeniable: the warmth of oak underfoot, the seamless transition from upstairs to down, the sense of continuity it lends to a home. Yet below grade, beauty collides with reality. Basements are notorious for hidden dampness, vapour migration, and shifting humidity levels. Without protection, hardwood in these spaces can warp, cup, or even foster mould. That’s why moisture barrier basement flooring is more than a technical afterthought—it’s the first design decision that ensures your floor performs as beautifully as it looks.
Think of it as the invisible architecture beneath the surface, the layer that safeguards your investment while letting the material’s natural character shine.
The scale of the issue is staggering. The Canadian Contractor reports that up to half of residential basements in Canada experience moisture problems, and the U.S. EPA warns that unchecked basement dampness is one of the most common triggers for mould growth. In both countries, the message is the same: below grade, moisture is inevitable, but damage is not.
As building scientist Joseph Lstiburek explains, “Wood hates water. Water makes wood do weird things like move and rot. To make wood and concrete get along we either have to separate the wood from the concrete or we have to make the concrete dry enough not to irritate the wood too much.” (Building Science Corporation)
That separation is the role of the barrier. And whether it’s a sheet of polyethylene, a premium underlayment, or a liquid-applied coating, this hidden layer is what makes hardwood in the basement possible.
Follow along to explore different types of moisture barriers, how to install, and what to watch for.

What Types of Moisture Barriers Are Available (And When to Use Each)
When it comes to protecting your basement hardwood floor, not all barriers are created equal. Depending on your climate, subfloor type, and installation method, the right moisture barrier basement flooring system will give your hardwood the best chance at long-lasting performance.

Polyethylene Sheeting
The most familiar option is a 6-mil polyethylene sheet, rolled across the slab and taped at seams. Affordable and highly effective, it blocks vapour migration but demands care to prevent rips and gaps. A widely available choice is the Quickprep Premium Polyethylene Black Moisture Barrier – 100 ft² from RONA.
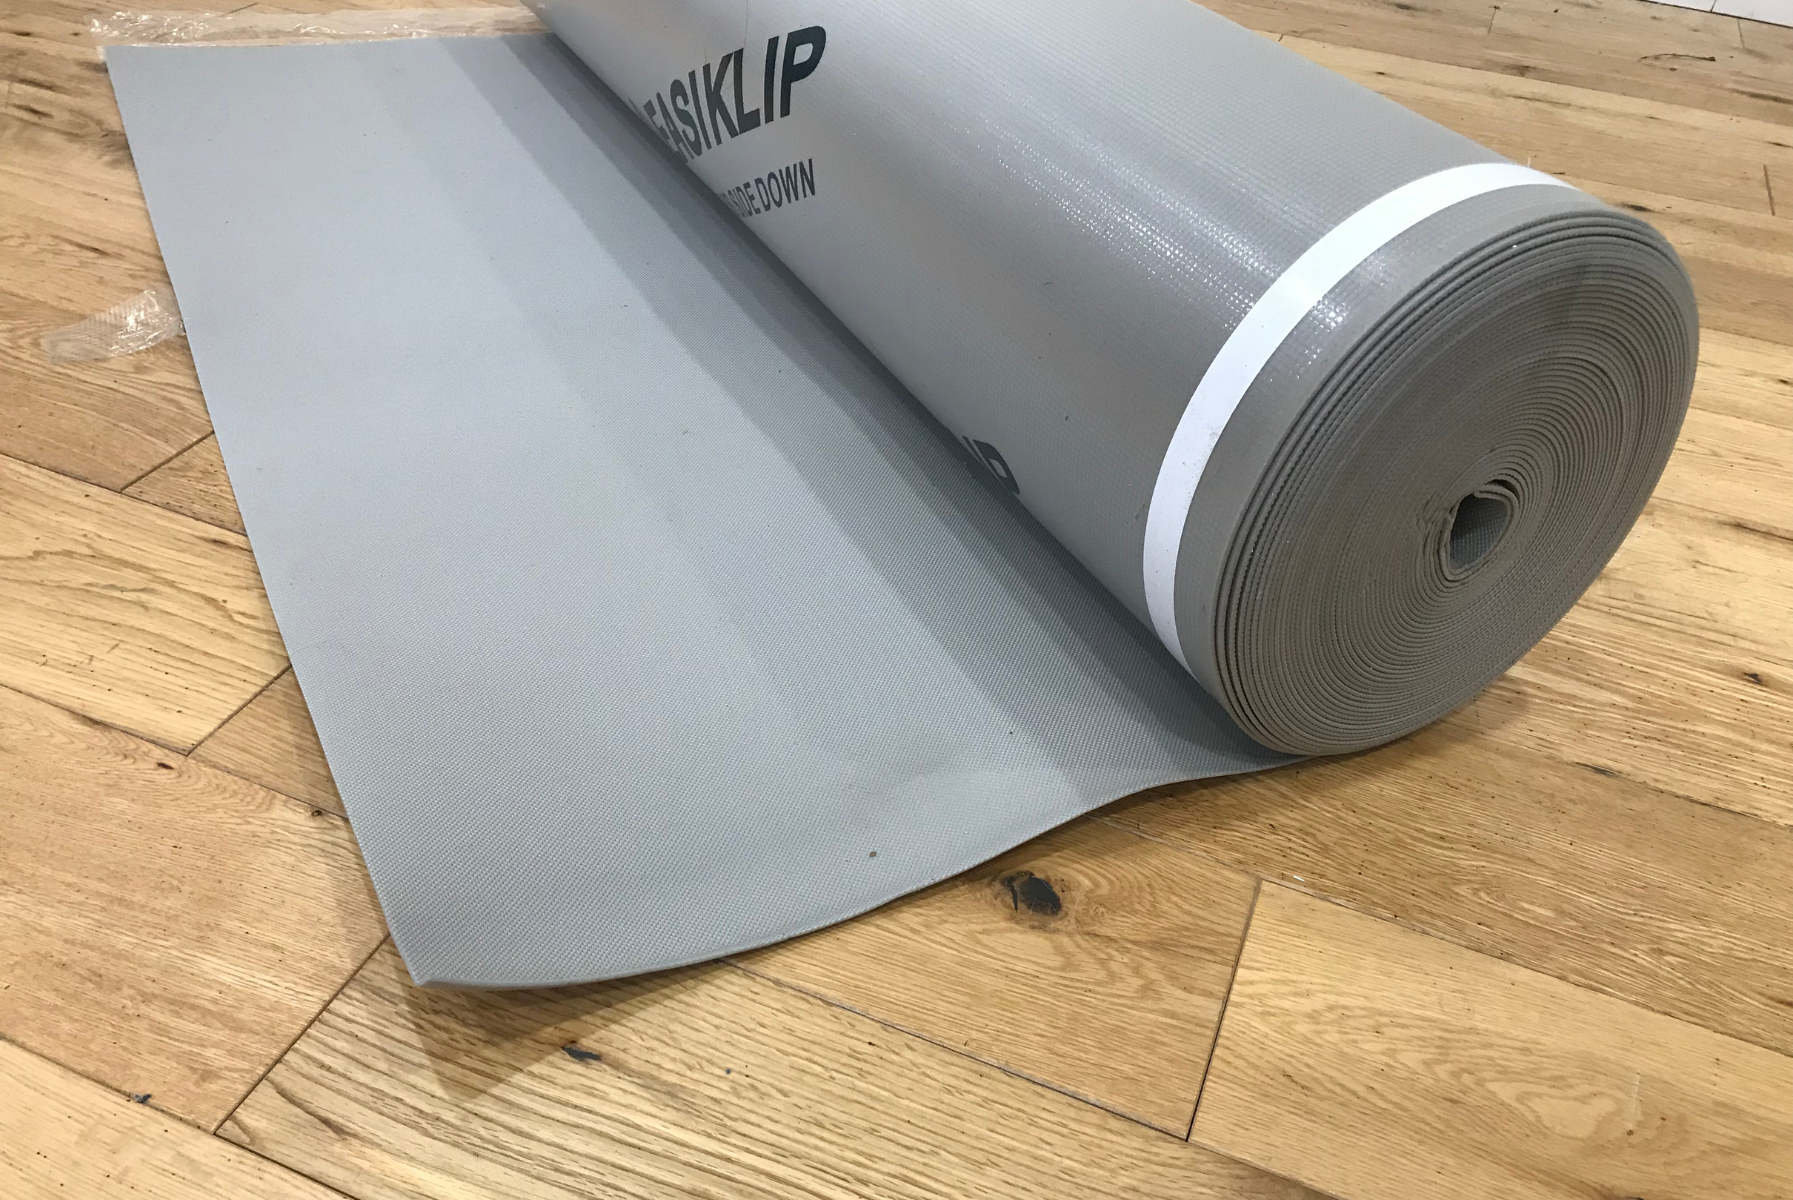
Vapour Barrier Underlayment
For floating floors like Easiklip’s hardwood system, a vapour barrier underlayment combines moisture protection with comfort. Easiklip’s own Vapor Shield Premium Underlayment is specifically designed for basement installations.
Other strong options include the ROBERTS AirGuard Premium Underlayment with Microban (100 sq ft roll) at Home Depot Canada, or the ROBERTS AirGuard 630 sq ft “Value Roll” for larger projects. Both combine cushioning, vapour resistance, and sound dampening—making them excellent for floating hardwood in a basement.
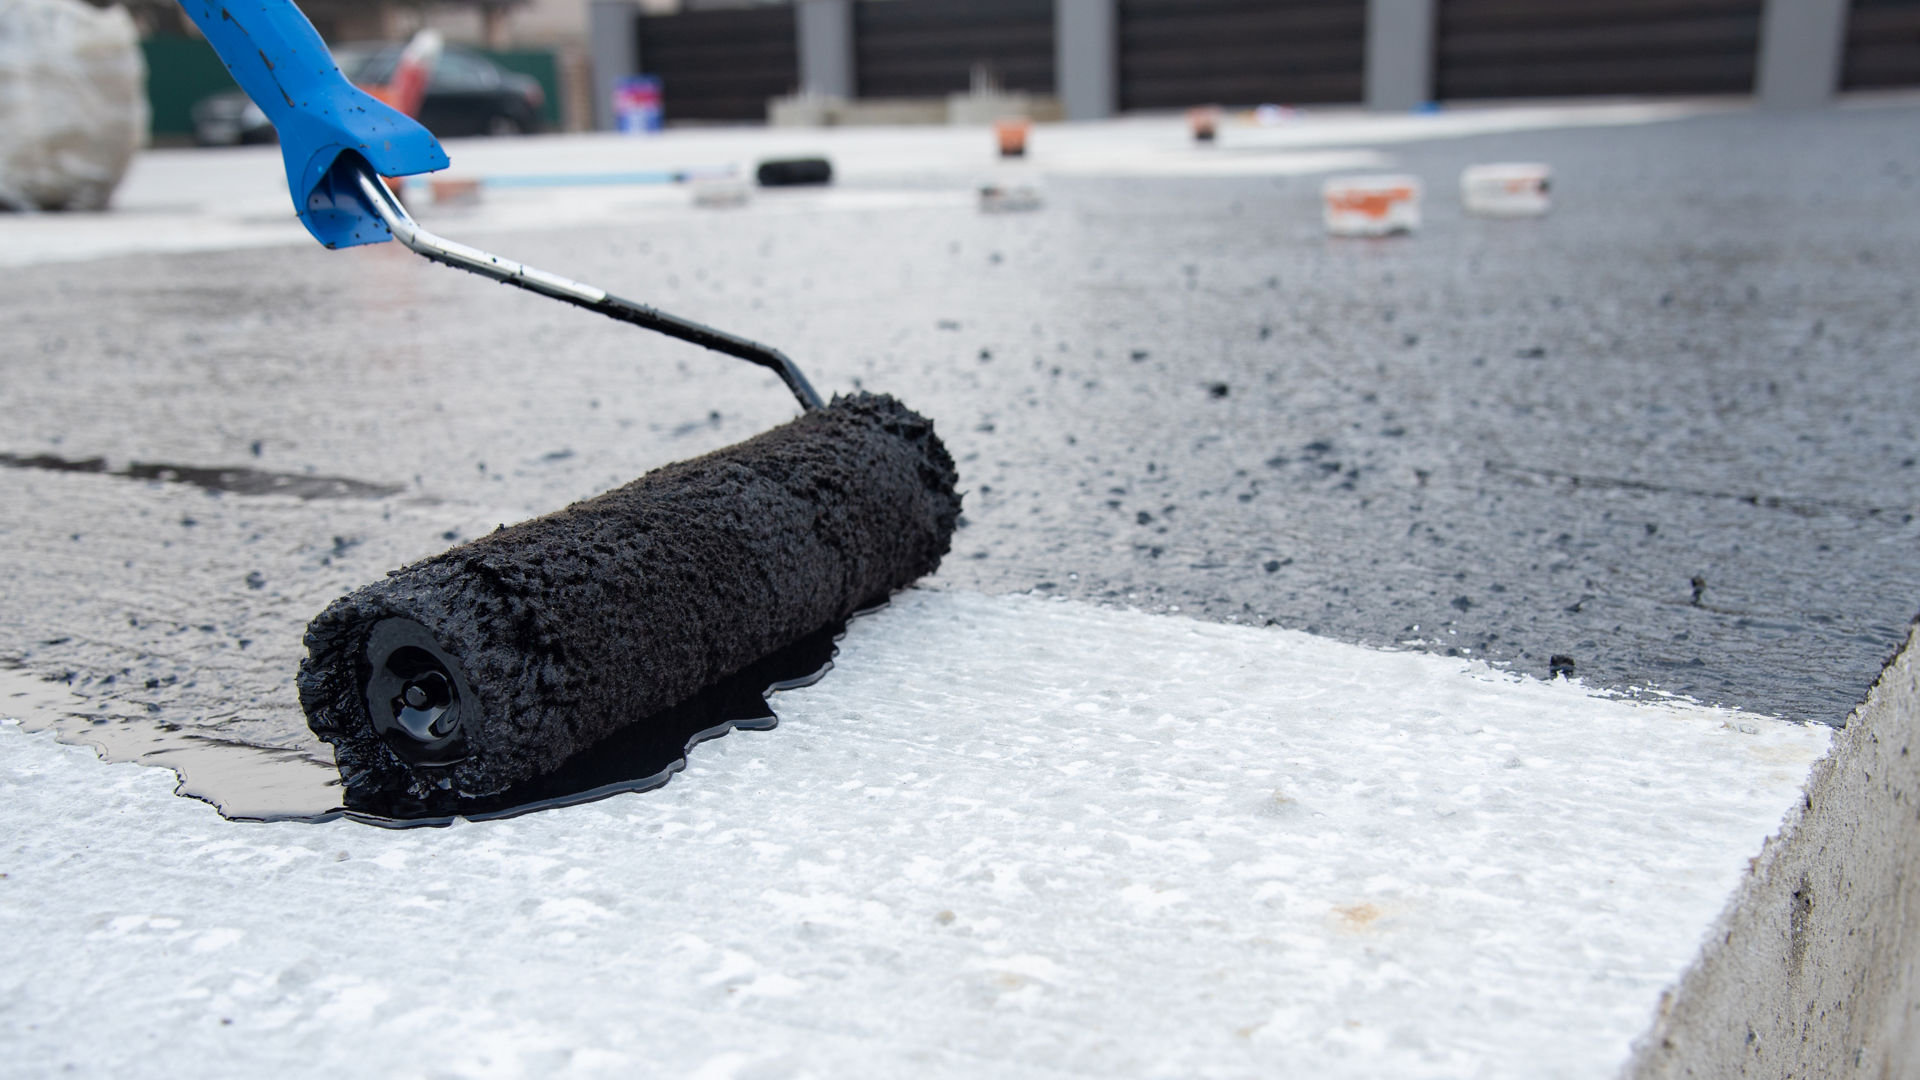
Liquid-Applied Membranes
When seams are a concern, liquid-applied membranes provide a seamless coating brushed or rolled directly onto concrete. Once cured, they form a watertight layer ideal for irregular slabs. Professional-grade options include Sikalastic® HLM 5000 from Sika, Mel-Rol LM by W. R. Meadows, and the SEMCO Liquid Membrane™.
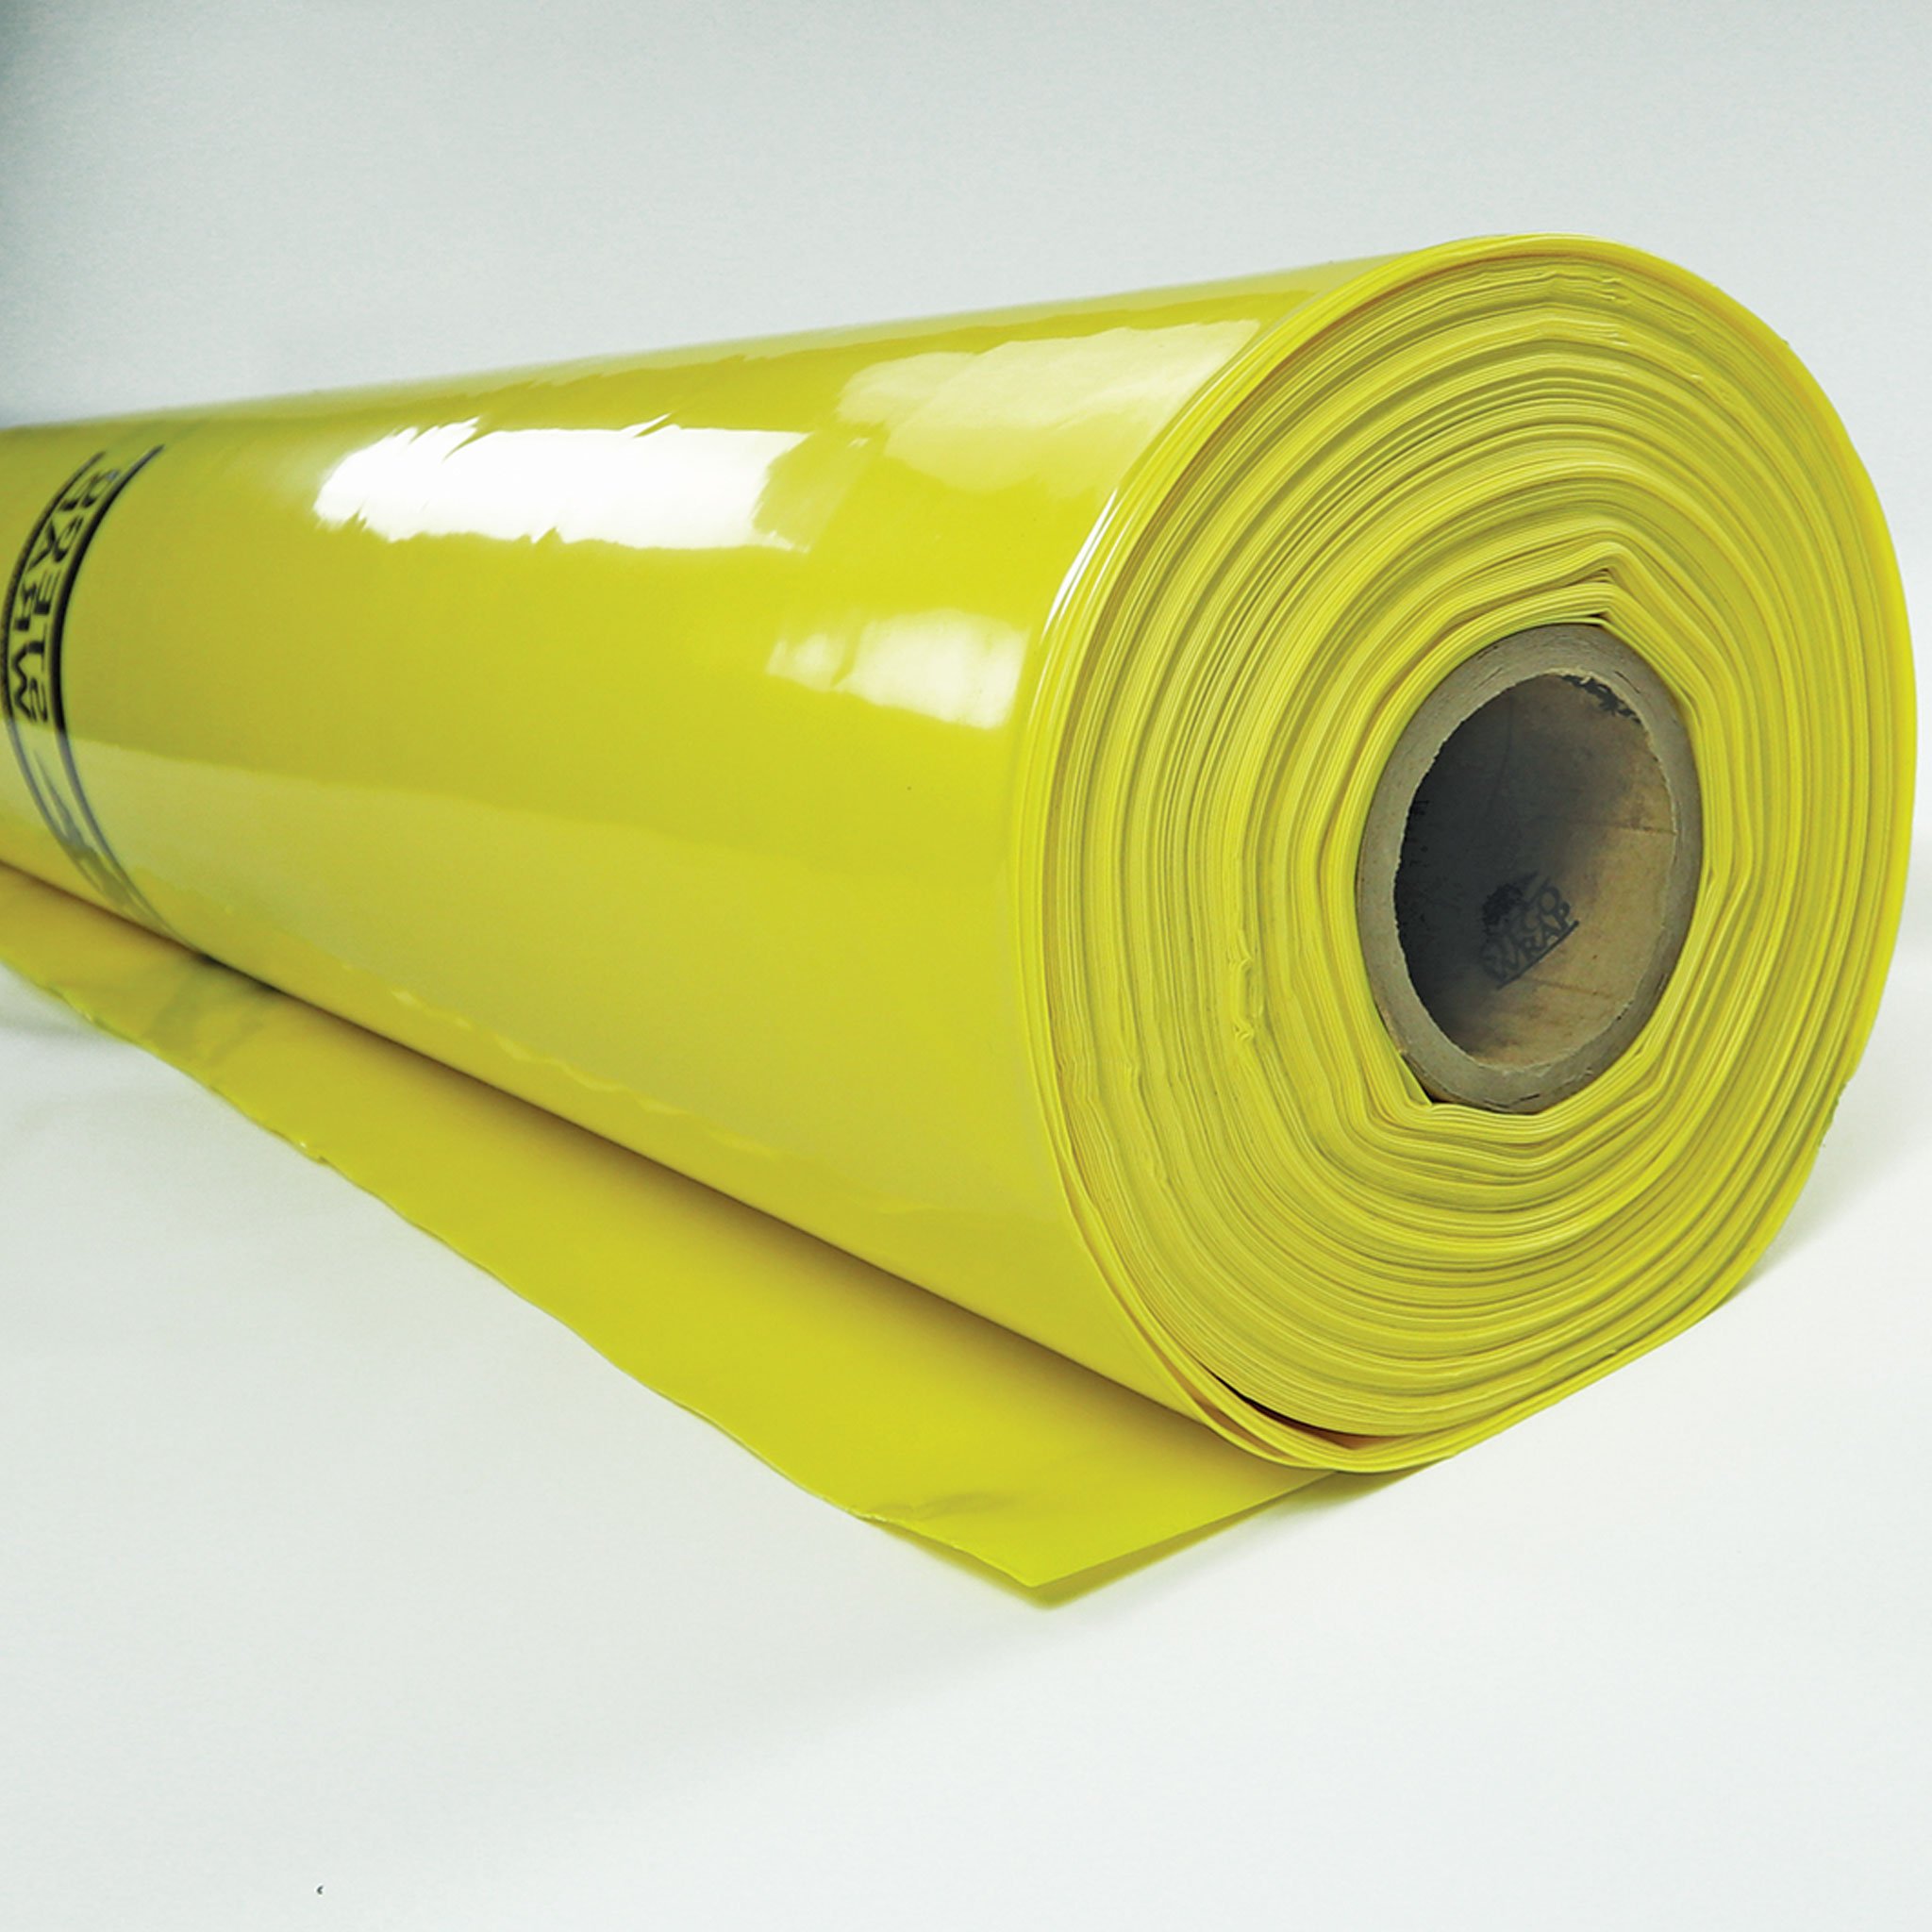
Rubber or Membrane Sheet Barriers
For consistently damp basements, rubber or PVC sheet membranes provide unmatched durability and chemical resistance. Long-lasting options include the Stego Wrap 15-Mil Vapor Barrier and the Sikaplan WP 1100-30 HL, often chosen for demanding residential and commercial projects.
Combination Systems
In wetter climates, or for basements with a history of leaks, a combination system adds redundancy. For example, homeowners may roll out a polyethylene sheet, then top it with a vapour-resistant underlayment like Easiklip’s Vapor Shield.
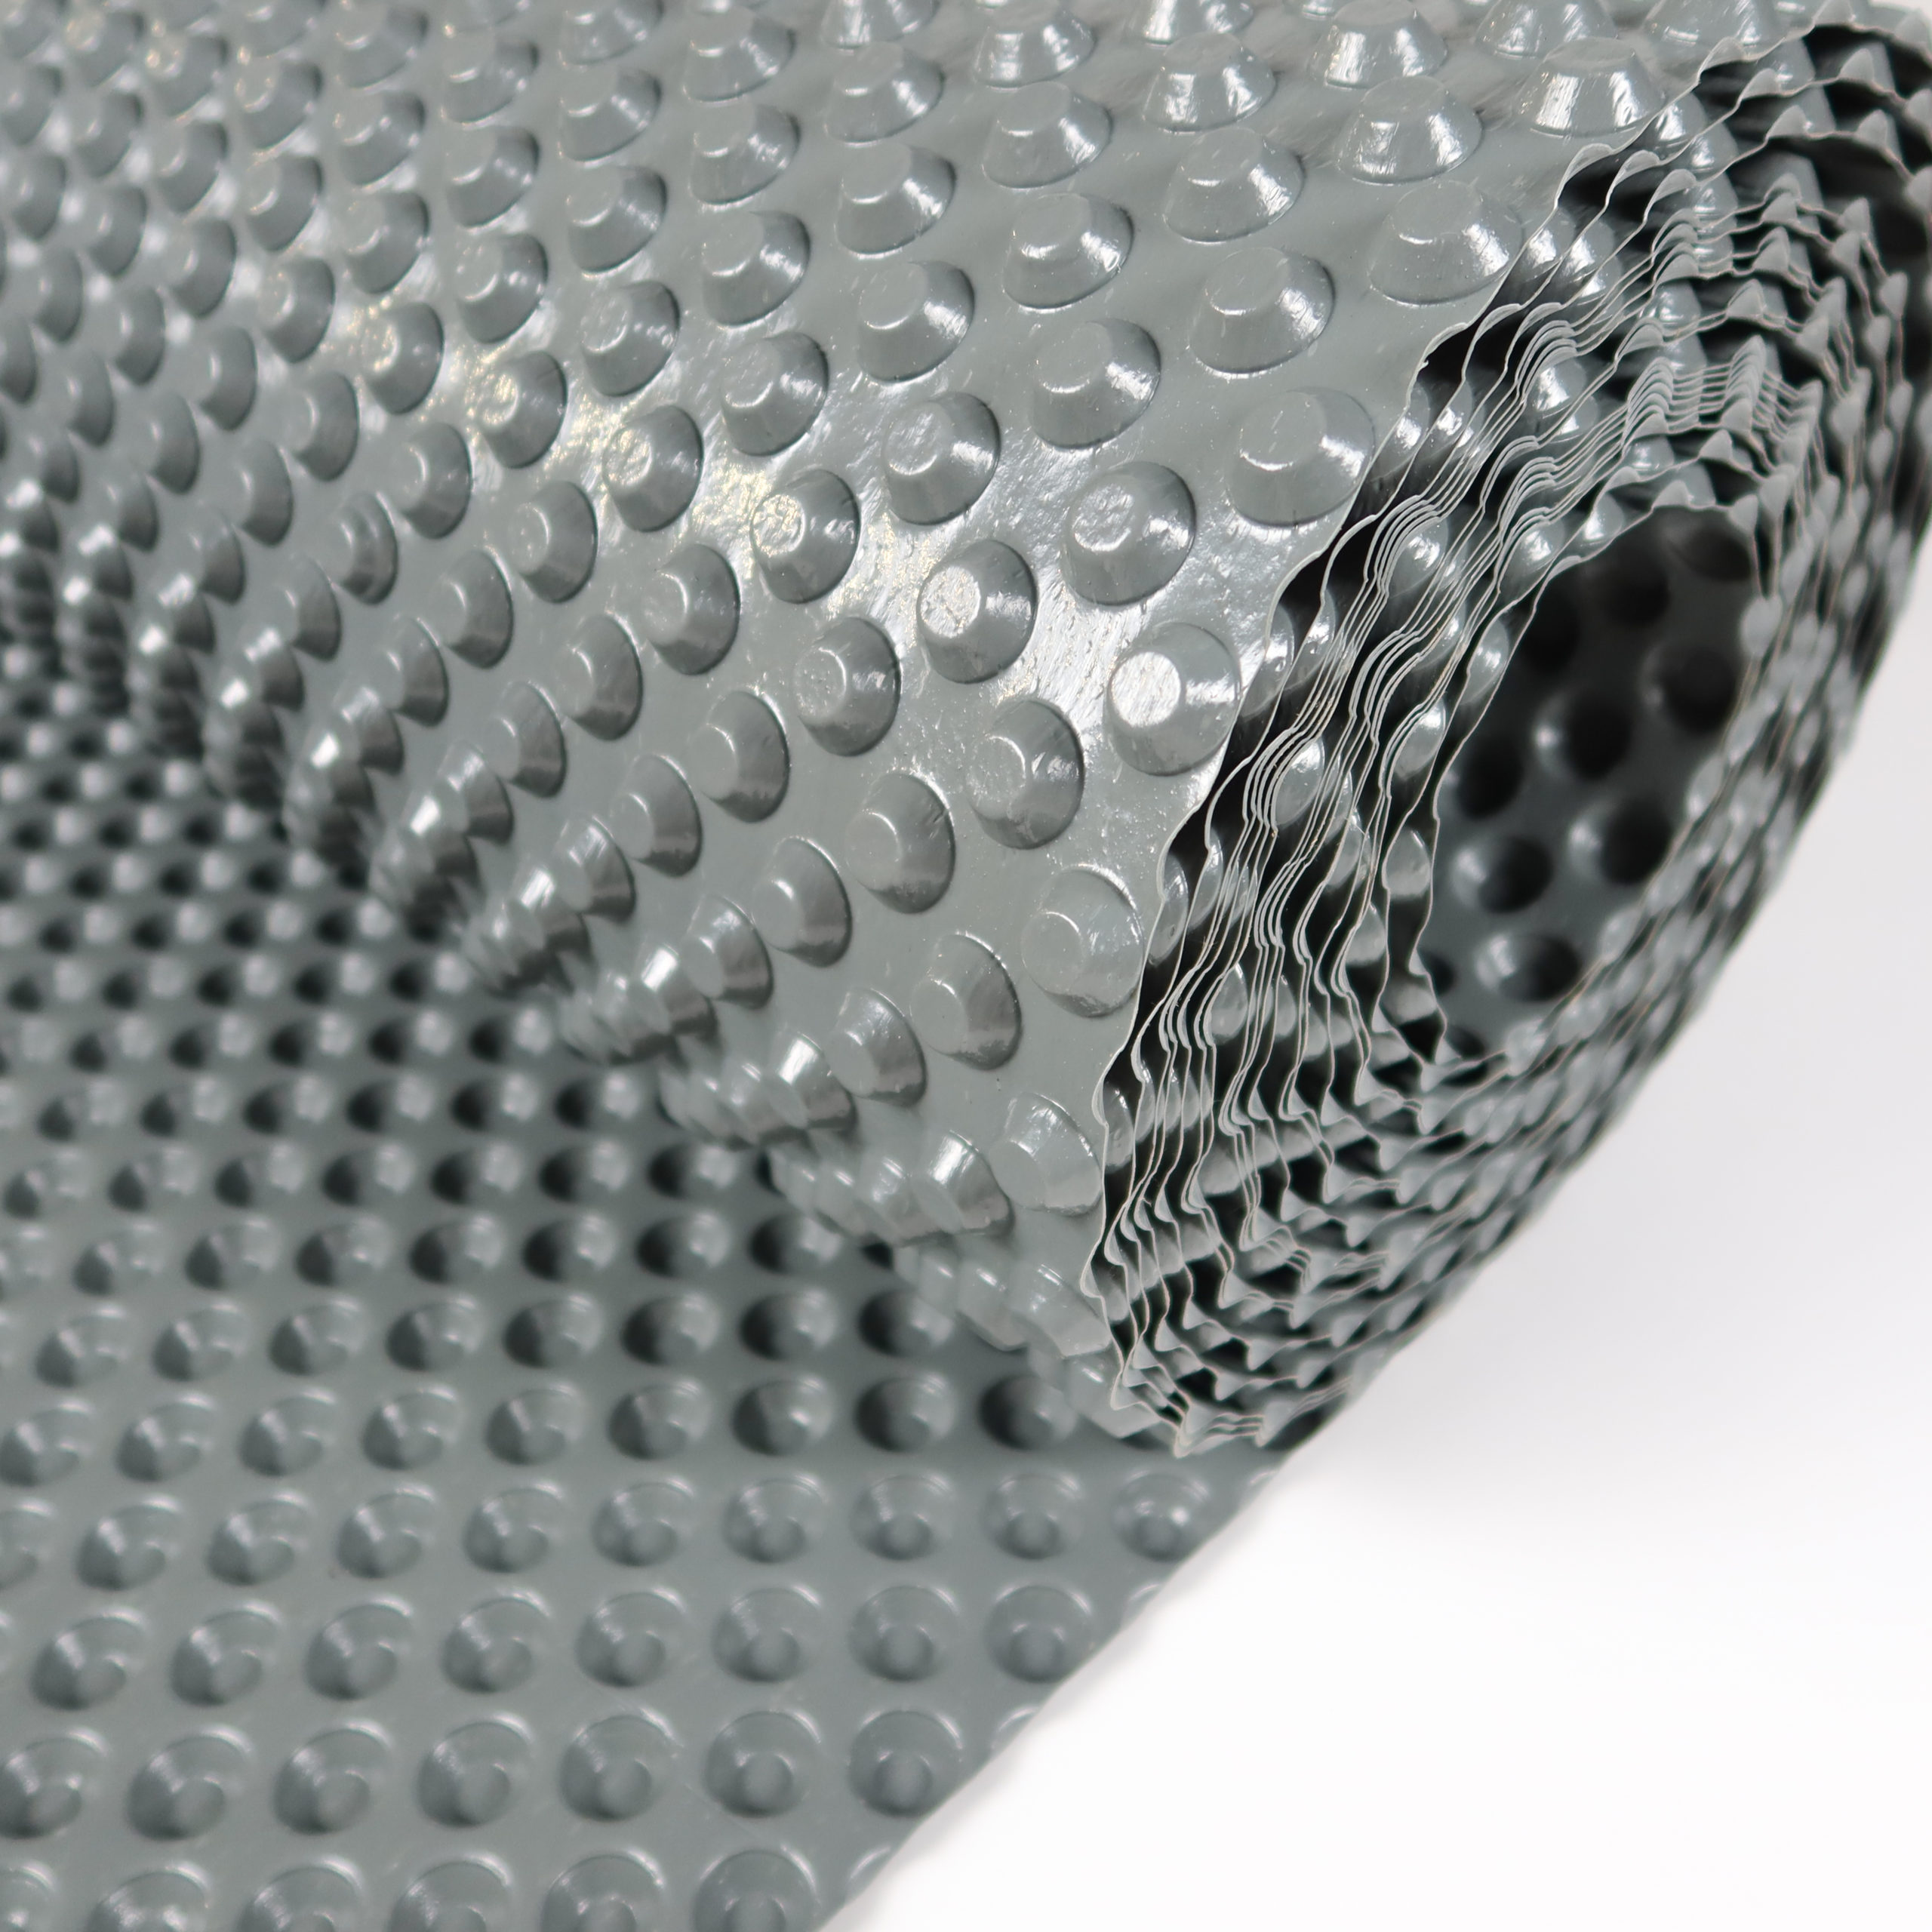
Other hybrid systems are becoming increasingly popular as well, including the AlinO Basement Wrap Underlayment from Home Depot Canada or the Dimple Underlayment from Crawl Space Ninja.
By understanding these options, you can align the barrier to your basement’s unique needs. Whether it’s a straightforward poly sheet in Saskatchewan, a layered system in Florida, or a liquid membrane in Seattle, the right moisture barrier basement flooring solution makes hardwood below grade both possible and practical.
How to Choose the Right Moisture Barrier for Your Basement
When it comes to hardwood below grade, there’s one phrase to keep in mind: moisture barrier basement flooring. Basements in Miami look nothing like those in Montreal and the right choice depends on your climate, subfloor, and flooring system.
Climate Considerations
-
Humid South & Coastal States (Florida, Carolinas, Pacific Northwest): These regions demand layered protection. A polyethylene sheet beneath a vapour-resistant underlayment offers the redundancy needed against persistent humidity. The U.S. EPA’s Indoor Air Quality Guide warns that basements in humid climates are particularly prone to mould when vapour isn’t managed.
-
Cold Northern Climates (Midwest, Northeast, Canada): Snowmelt and groundwater pressure mean moisture spikes in spring. Here, a robust polyethylene sheeting solution is non-negotiable, ideally paired with a floating system like Easiklip hardwood flooring. The Canada Mortgage and Housing Corporation (CMHC) stresses moisture control as a critical step in any basement renovation.
-
Dry Interior Regions (Prairies, Southwest U.S.): Even in “dry” climates, vapour migration through concrete slabs occurs. In these basements, a lighter-duty underlayment such as Roberts AirGuard Premium Underlayment can be sufficient, provided you test the slab first.
Subfloor Conditions
-
Concrete Slabs: Always require a barrier. Concrete is porous, and even when dry to the touch, vapour still travels through. Wagner Meters identifies slab moisture as the leading cause of hardwood failures.
-
Plywood Over Concrete: A single underlayment may suffice, but only if seams are sealed properly.
-
Older Foundations: Homes built before vapour retarders were common should always add a modern moisture barrier basement flooring solution.
Flooring System Compatibility
-
Floating Floors (like Easiklip): Pair perfectly with a vapour barrier underlayment. These products provide both moisture protection and comfort underfoot.
-
Nail-Down or Glue-Down Floors: Require heavier-duty protection. A polyethylene sheet plus underlayment is best, as adhesives break down quickly when exposed to moisture.
Pro Tip
Never skip testing. The National Wood Flooring Association (NWFA) recommends a calibrated moisture meter or calcium chloride kit before any below-grade install. Only by knowing the conditions beneath your slab can you select the right barrier and ensure your hardwood floor thrives.

Step-by-Step Guide—Installing a Moisture Barrier in a Basement
Design may start with inspiration, but performance starts with process. When you’re laying hardwood below grade, the moisture barrier basement flooring system is the invisible layer that makes it possible. Installed correctly, it creates a controlled environment where wood and concrete can coexist.
Step 1: Test the Concrete (Revised)
Even if your basement looks dry, concrete is porous and often holds hidden vapour. Use a moisture meter or a calcium chloride / relative humidity test before moving forward. The NWFA Technical Guidelines provide standards for concrete slab testing, including how many test spots to use and what thresholds are acceptable.
Step 2: Prepare the Surface
Sweep and vacuum thoroughly, dust, paint, and adhesives can all compromise the seal. Repair cracks or dips with a levelling compound so the barrier sits flat and performs as intended.
Step 3: Roll Out the Barrier
For polyethylene sheeting, unroll it across the slab with at least 6 to 8 inches of overlap. For a premium underlayment, Easiklip’s Vapor Shield Premium Underlayment is designed specifically for basement flooring.
Step 4: Seal the Seams
Every seam is a potential weak spot. Use vapour-resistant tape to seal overlaps tightly. Poorly sealed seams are one of the most common reasons barriers fail.
Step 5: Add Underlayment (If Using a Two-Layer System)
In wetter regions, think Florida, Nova Scotia, or the Pacific Northwest, consider layering polyethylene beneath a vapour-resistant underlayment. The AlinO Basement Wrap Underlayment from Home Depot Canada is one option designed for this purpose. The U.S. EPA also highlights moisture control as an essential step in basement renovations.
Step 6: Install Your Easiklip Hardwood Flooring
With the barrier in place, install your floor using the Easiklip floating clip system. It eliminates nails and glue while accommodating the natural movement of wood.
Step 7: Final Checks
Reinstall trim to cover expansion gaps. Walk the floor and inspect seams for any missed spots. A moisture barrier basement flooring system only works if the layer is truly continuous.
Installing a barrier isn’t complex; it’s about care and detail. Each step builds a shield, ensuring that design and durability work together.
Common Mistakes to Avoid
Even the best products can fail if they’re installed without care. Homeowners often underestimate the details that make or break a moisture barrier basement flooring system. These are the pitfalls to avoid.
Skipping the Moisture Test
A slab that looks dry isn’t always safe. Hidden vapour pressure is one of the most common reasons hardwood floors fail. The NWFA Technical Guidelines make it clear: testing concrete moisture levels, using methods like relative humidity or calcium chloride tests, is a non-negotiable step before installation. Floors installed without testing see dramatically higher failure rates.
Choosing the Wrong Barrier
Not all barriers are created equal. A thin foam underlayment designed for above-grade condos won’t hold up against the damp environment of a basement. For high-moisture regions, a robust product like Easiklip’s Vapor Shield Premium Underlayment or a layered system combining polyethylene and underlay is often essential.
Leaving Gaps or Poorly Sealed Seams
Moisture doesn’t need much space to sneak in. Failing to overlap sheets by 6–8 inches or leaving seams untaped renders the entire system ineffective. A continuous, sealed layer is what separates success from failure.

Forgetting Expansion Gaps
Hardwood expands and contracts naturally with humidity. If boards are trapped tight against walls, they will buckle when conditions change. The Easiklip floating clip system is designed to allow seasonal movement, but only if you leave expansion gaps around the perimeter and follow the installation instructions.
Relying on the Barrier Alone
A moisture barrier basement flooring system controls vapour; it does not fix structural water problems. If your basement has leaks, efflorescence, or standing water, the barrier will eventually fail. The U.S. EPA’s Moisture Control Guidance emphasizes that drainage, grading, and waterproofing must be addressed first. The barrier is a finishing step, not a cure-all.
Avoiding these mistakes ensures that your barrier functions the way it was designed—protecting your investment while allowing your basement hardwood to perform beautifully for years to come.
Long-Term Maintenance & Monitoring
A moisture barrier basement flooring system doesn’t stop working once the planks are down; it continues to protect your hardwood as long as you maintain the environment around it. Wood is a living material, always adjusting to subtle changes in humidity and temperature. Paying attention to those shifts is what keeps your floor beautiful for decades.
Monitor Humidity Year-Round
Basements are naturally more humid than above-grade rooms. Keep a hygrometer in the space and check it regularly. The ideal range for hardwood is 30–50% relative humidity. If it rises above that, use a dehumidifier. If it dips too low in winter, a humidifier helps prevent boards from cracking. RenoDuck Renovations explains why these levels matter for Canadian basements.
Watch for Early Warning Signs
-
Musty odours can suggest hidden moisture bypassing the barrier.
-
Cupping or crowning boards may indicate uneven moisture above and below the planks.
-
Condensation on basement windows is often a sign that humidity is running high.
Maintain Your Barrier and Floor Together
If you’ve used Easiklip’s Vapor Shield Premium Underlayment, the seams should remain sealed for the life of the floor. If they’re disturbed during renovations, re-seal them immediately with vapour-resistant tape. Pair this with routine hardwood maintenance, regular sweeping, vacuuming, and dry mopping to keep dust and dirt from trapping extra moisture.
Beyond the Barrier
Remember: a moisture barrier basement flooring system is designed to resist vapour migration—not to fix water intrusion. If you see standing water, efflorescence on your concrete, or recurrent leaks, call a waterproofing professional.
With regular monitoring and maintenance, your moisture barrier continues its quiet work behind the scenes, ensuring your basement hardwood floor feels as solid and serene as the rest of your home.

The Invisible Layer That Makes All the Difference
Hardwood belongs in every room of the home, even below grade, when it’s supported by the right foundation. A moisture barrier basement flooring system isn’t about style or finish, yet it defines how the floor above will perform, age, and endure.
Choosing the right barrier, installing it with care, and maintaining it over time ensures that your basement floor feels every bit as refined and resilient as the rest of your home.
Ready to create a basement that’s both beautiful and built to last? Protect your investment with Easiklip’s Vapor Shield Premium Underlayment and explore the full range of Easiklip hardwood flooring. With Easiklip’s floating clip system, you can achieve professional results without nails or glue and with the peace of mind that your barrier has you covered.
Want to see how Easiklip hardwood looks and feels before you commit? Order the Easiklip Floor Sample Pack and compare finishes, textures, and colours in your own home. It’s the easiest way to plan your basement renovation with confidence.


