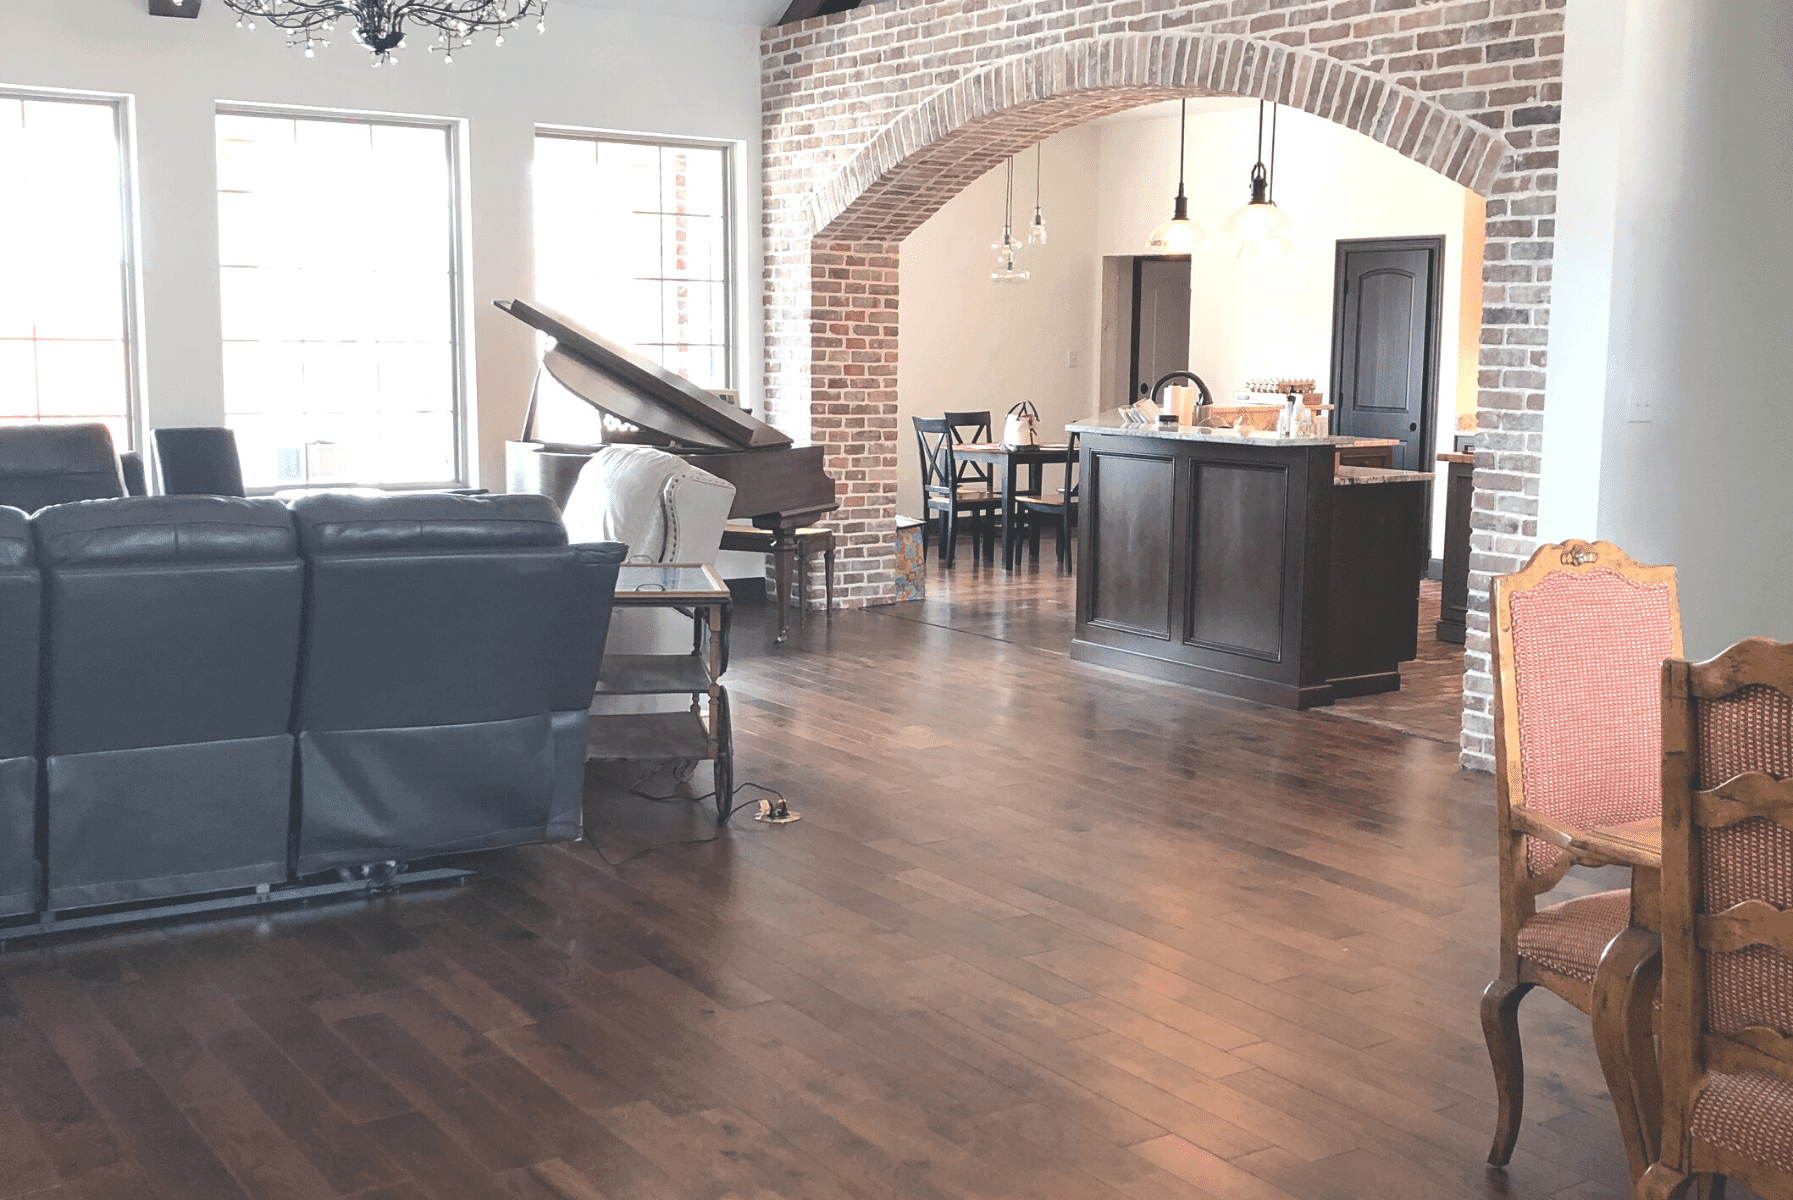
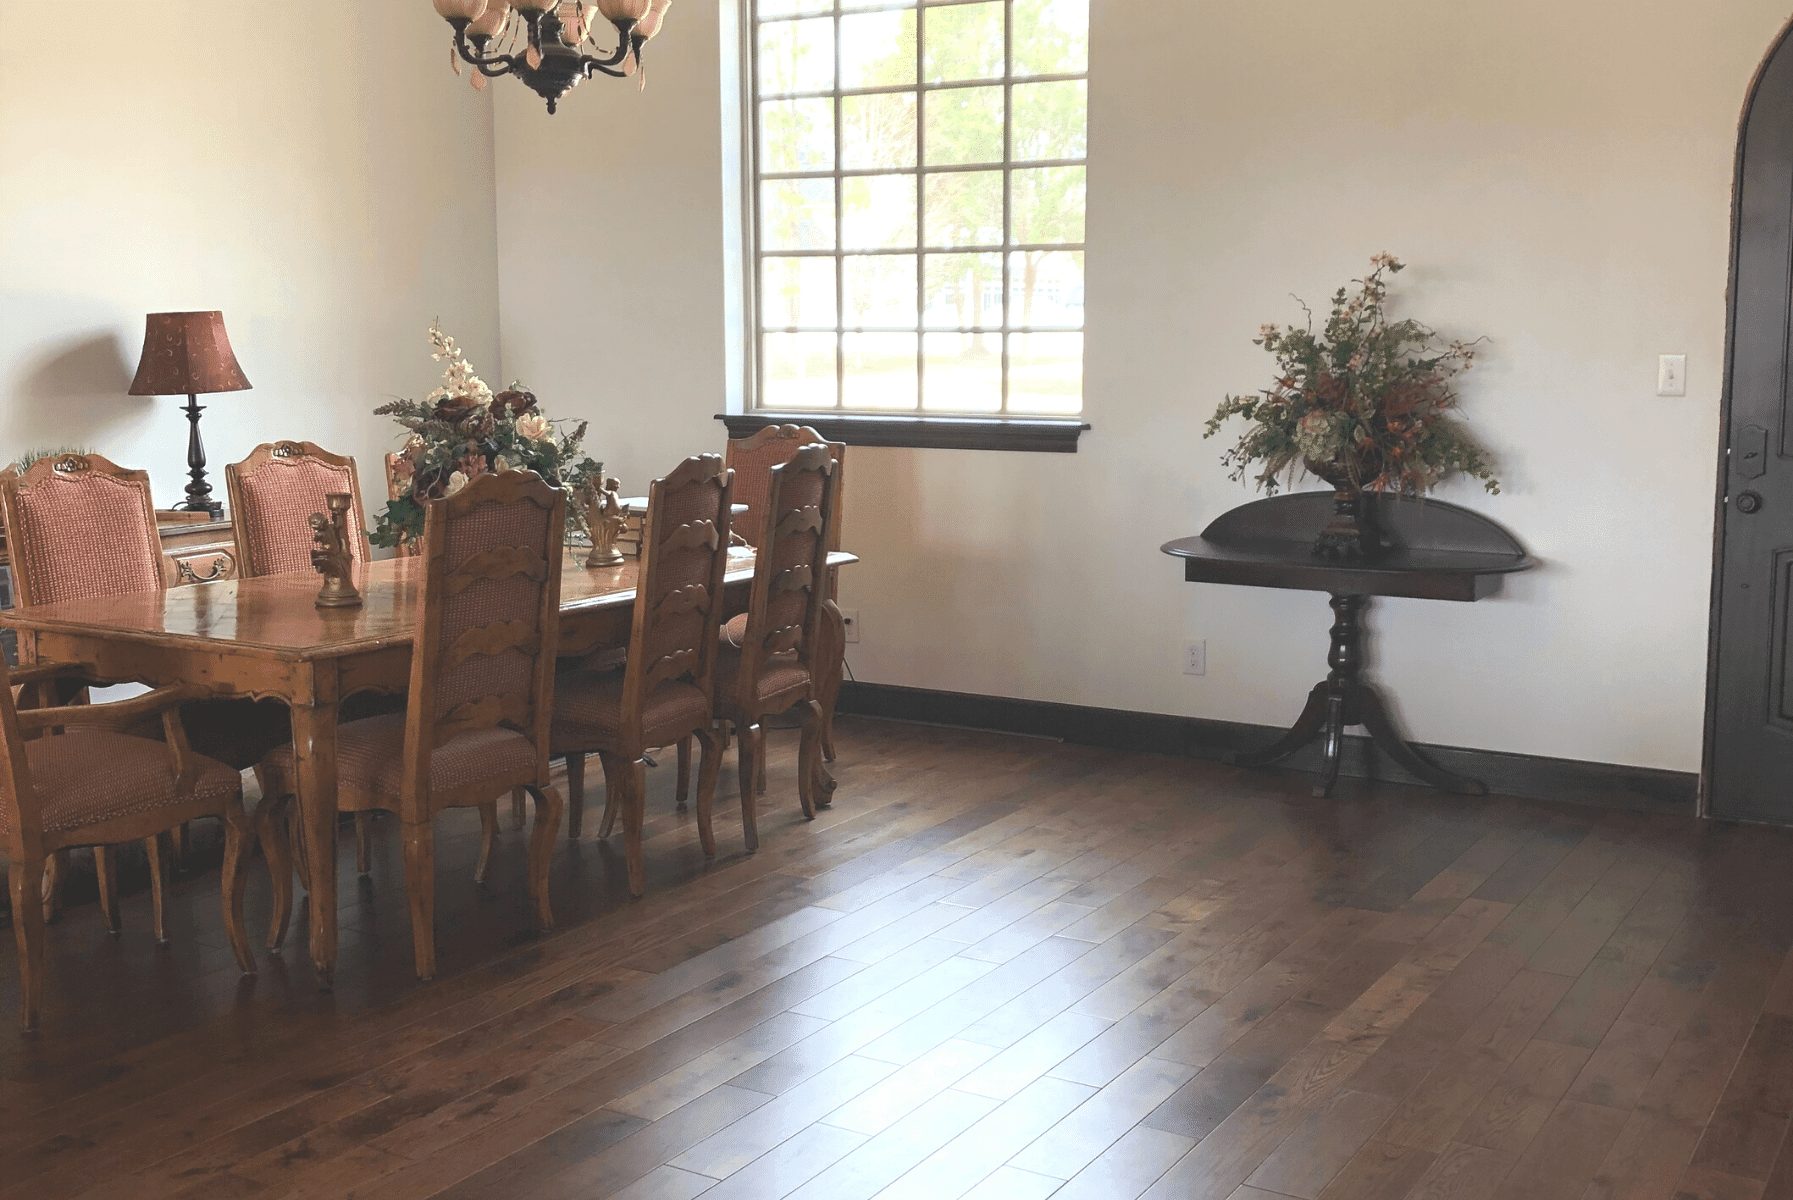
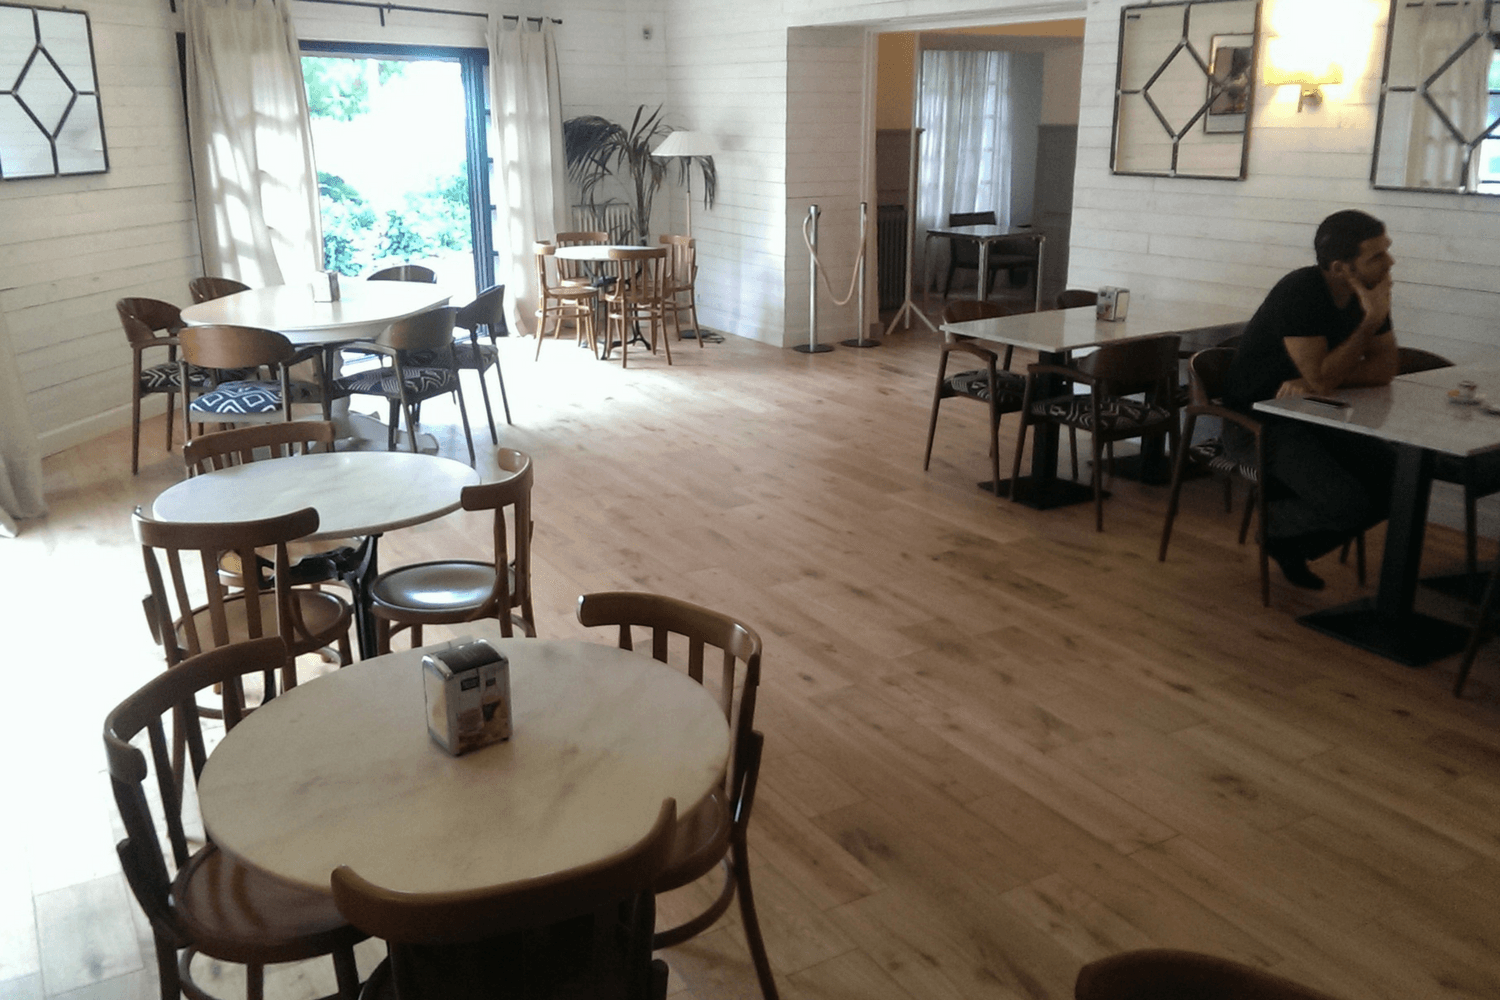
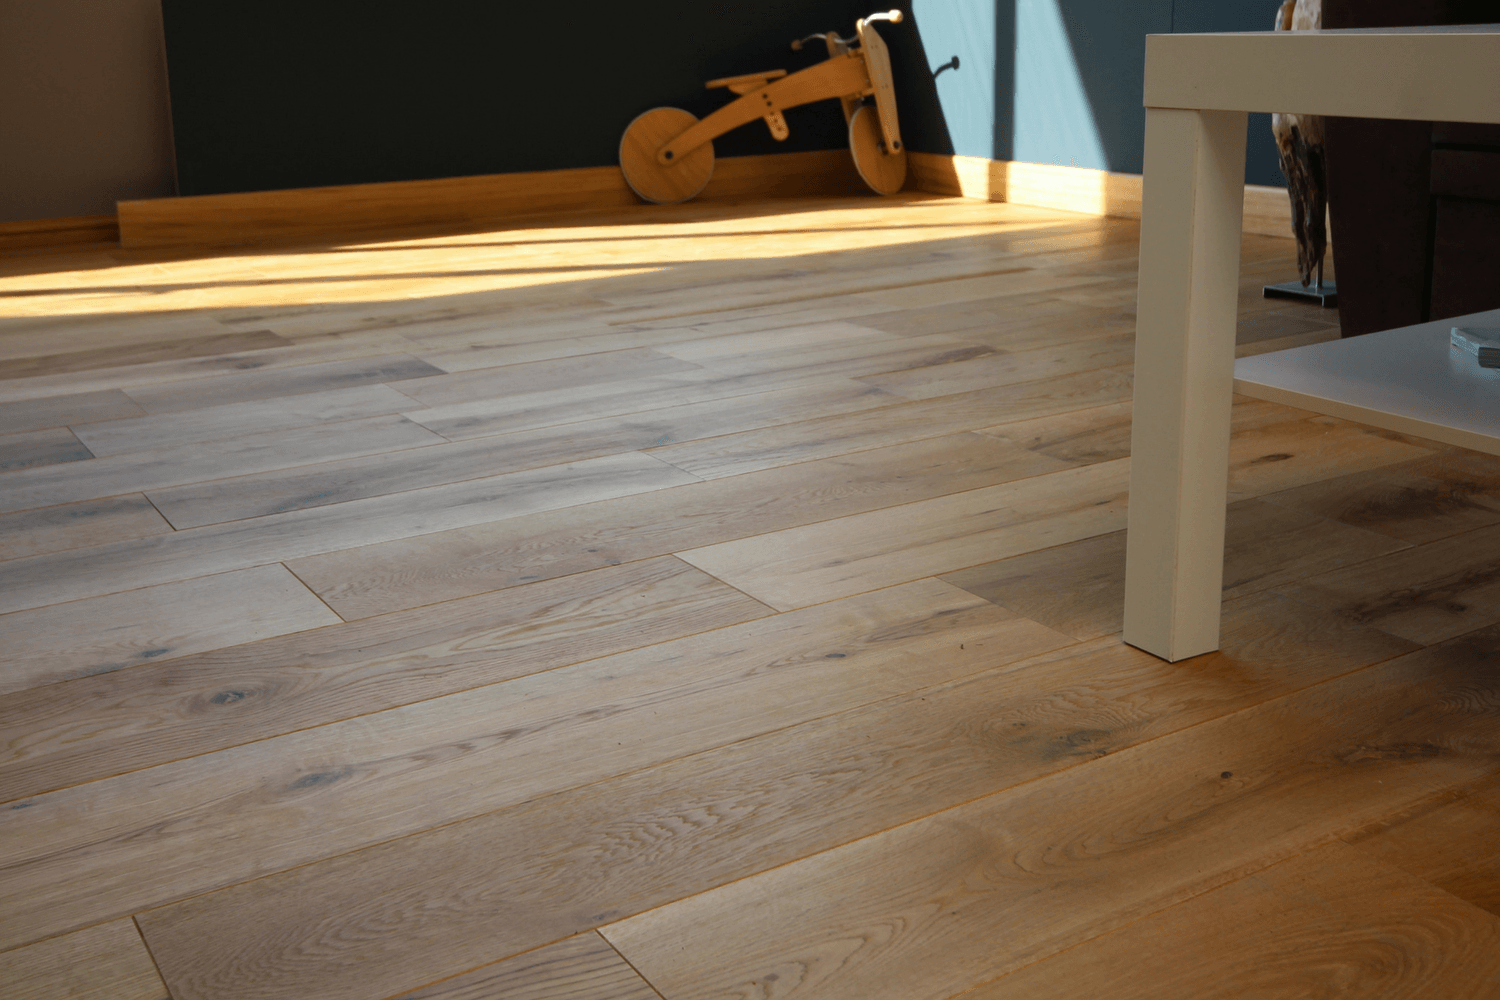
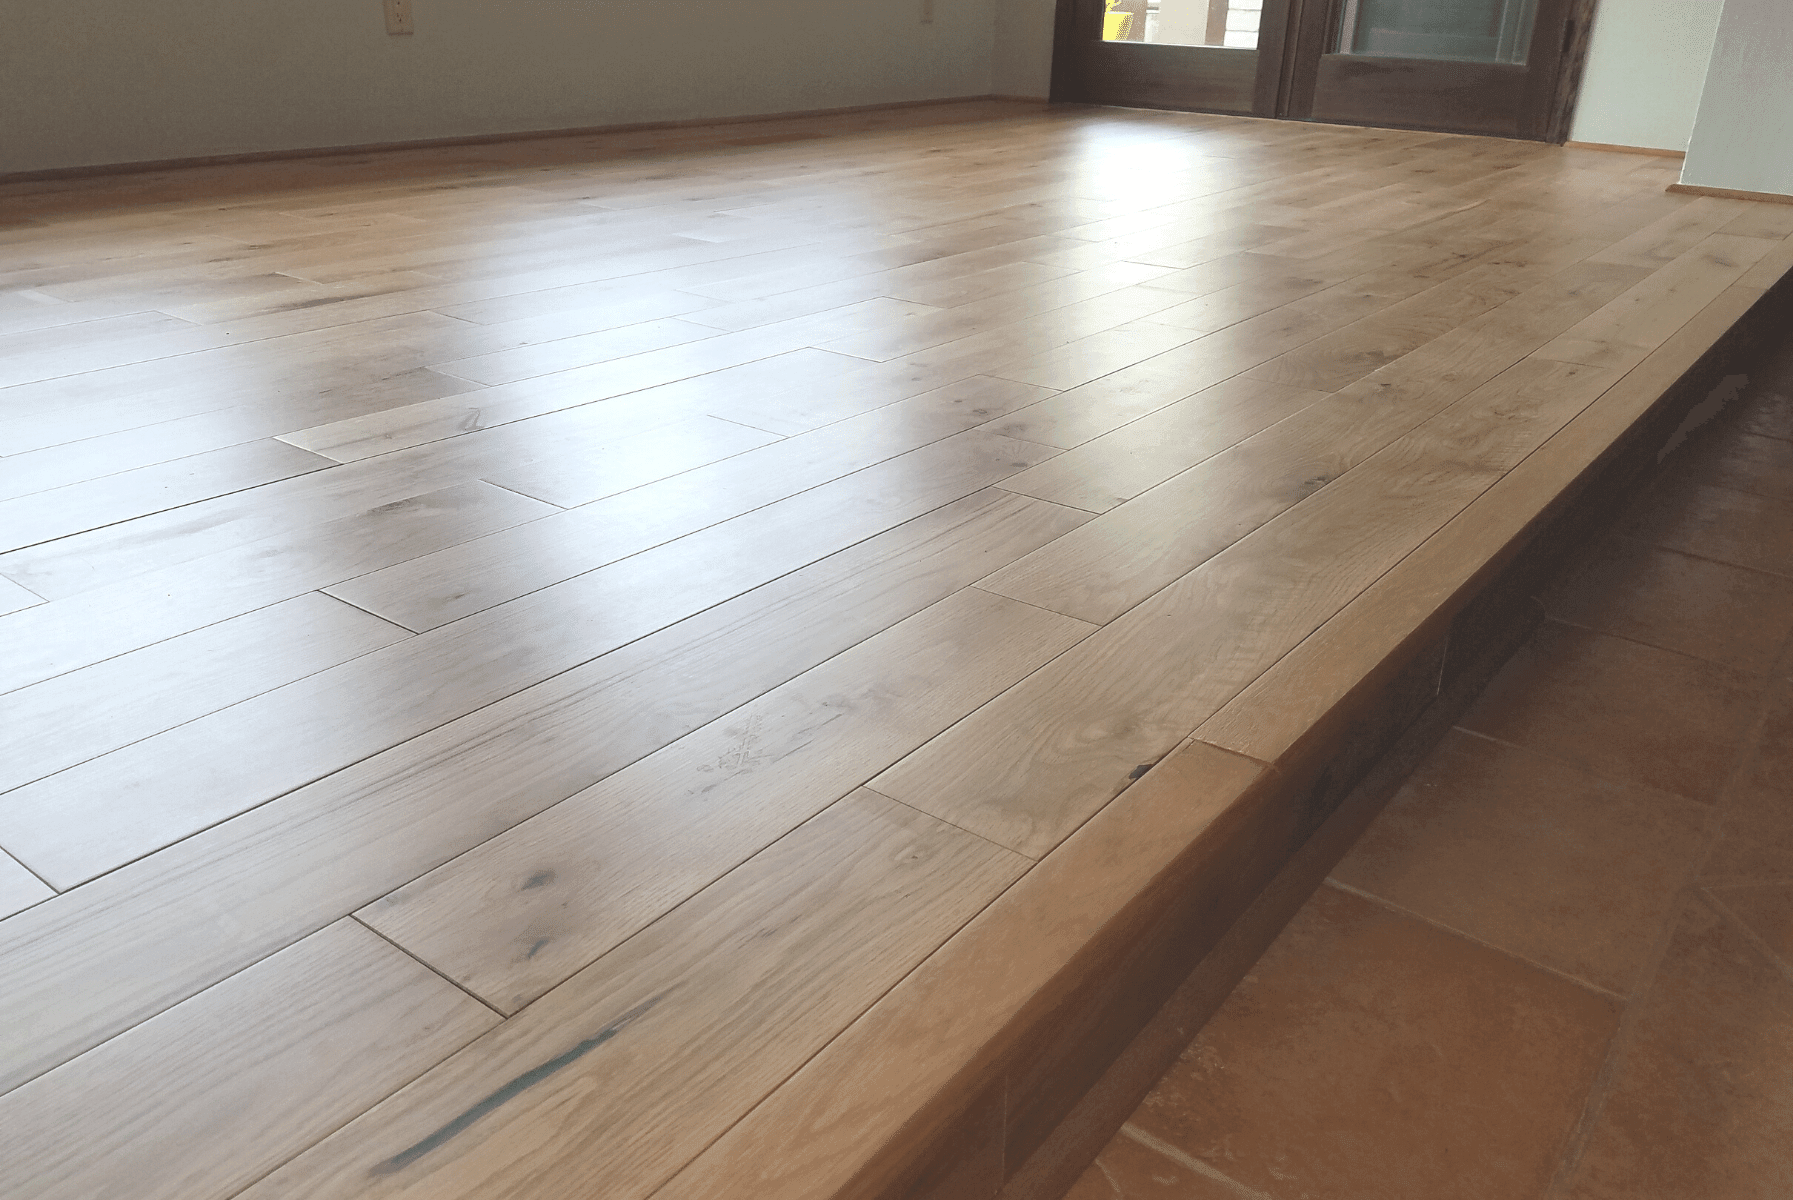
A hardwood floor is a living surface. It shifts and breathes with the seasons, expanding in warmth and contracting when the air turns dry. Most of the time, this rhythm is subtle, a quiet dance you barely notice. Other times, it leaves behind gaps—small interruptions in an otherwise seamless plane of wood. While seasonal movement is natural, visible spaces can distract from the floor’s elegance. With the right approach, however, gaps can be minimized, managed, or repaired, preserving both beauty and longevity.
Why Gaps Appear in Wood Floors
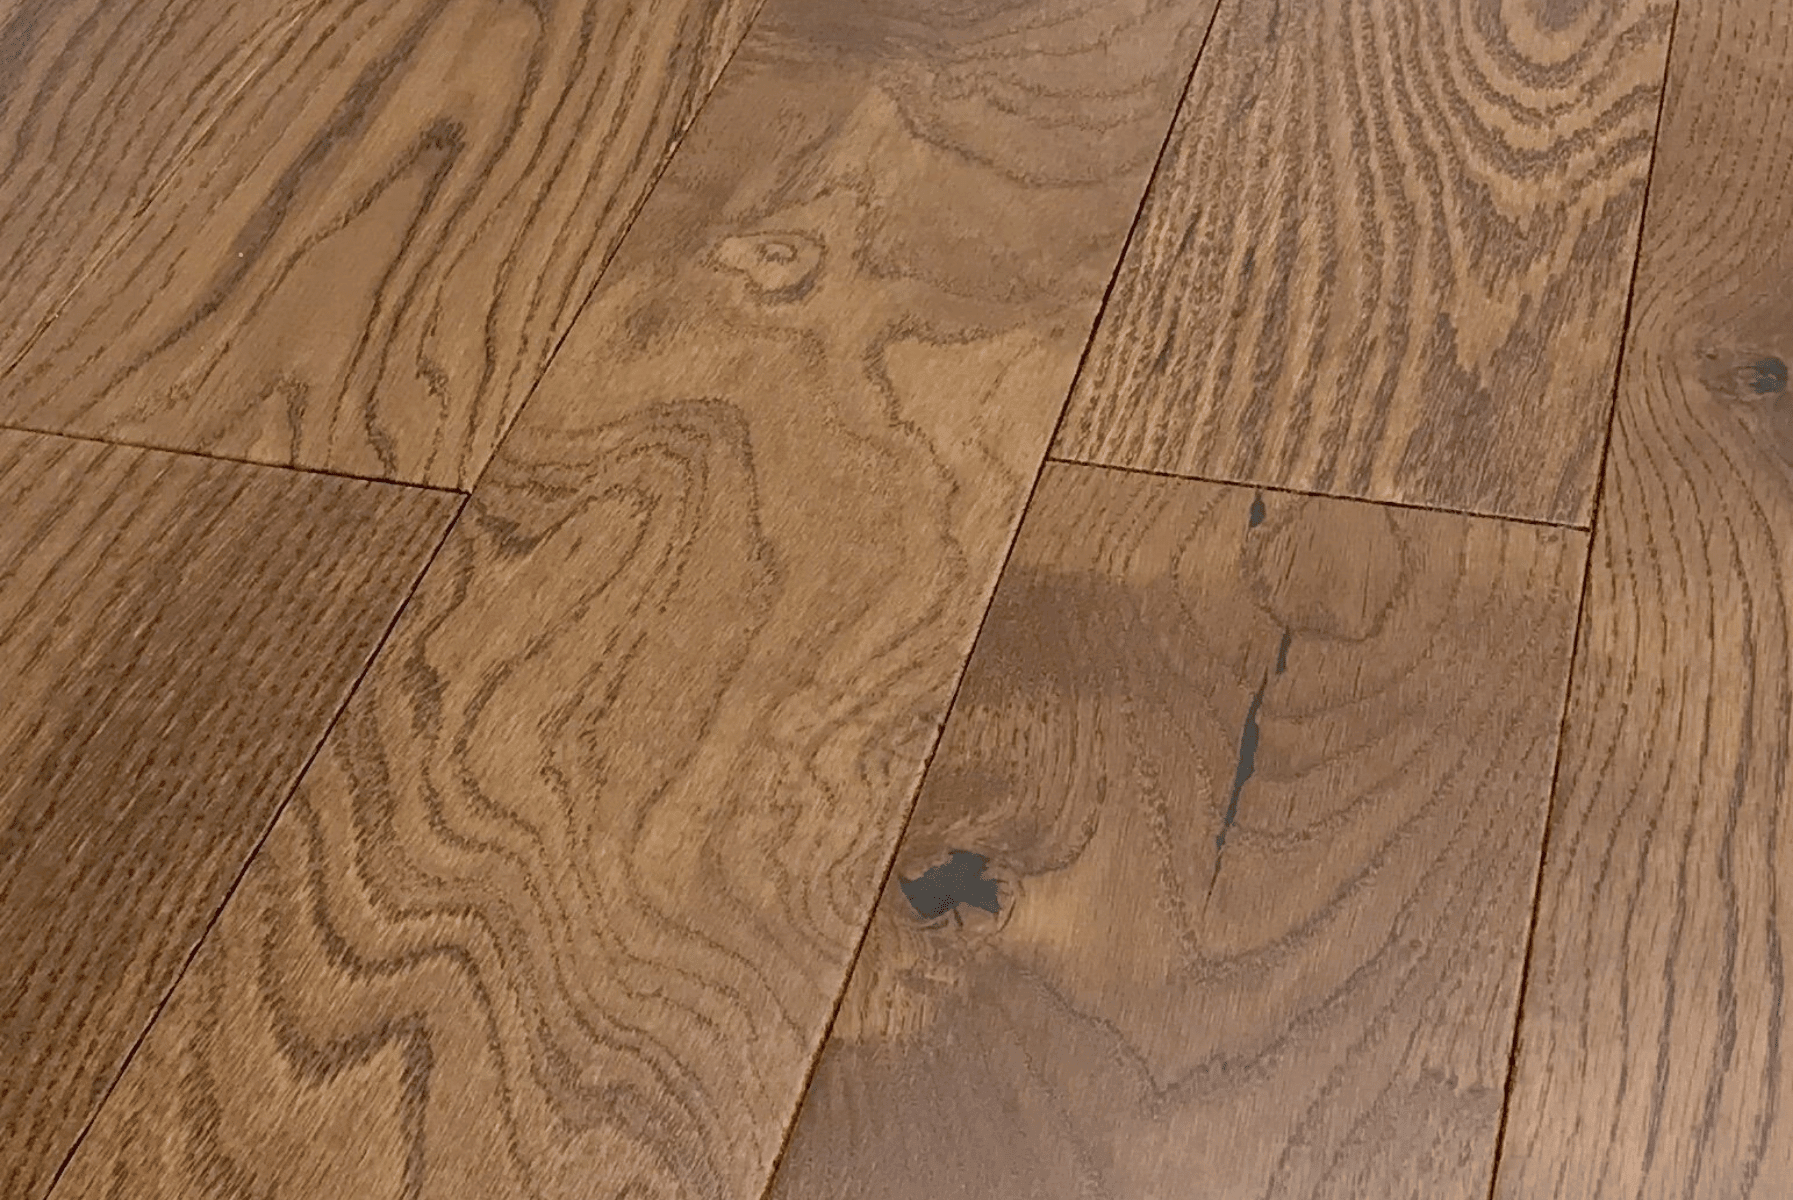
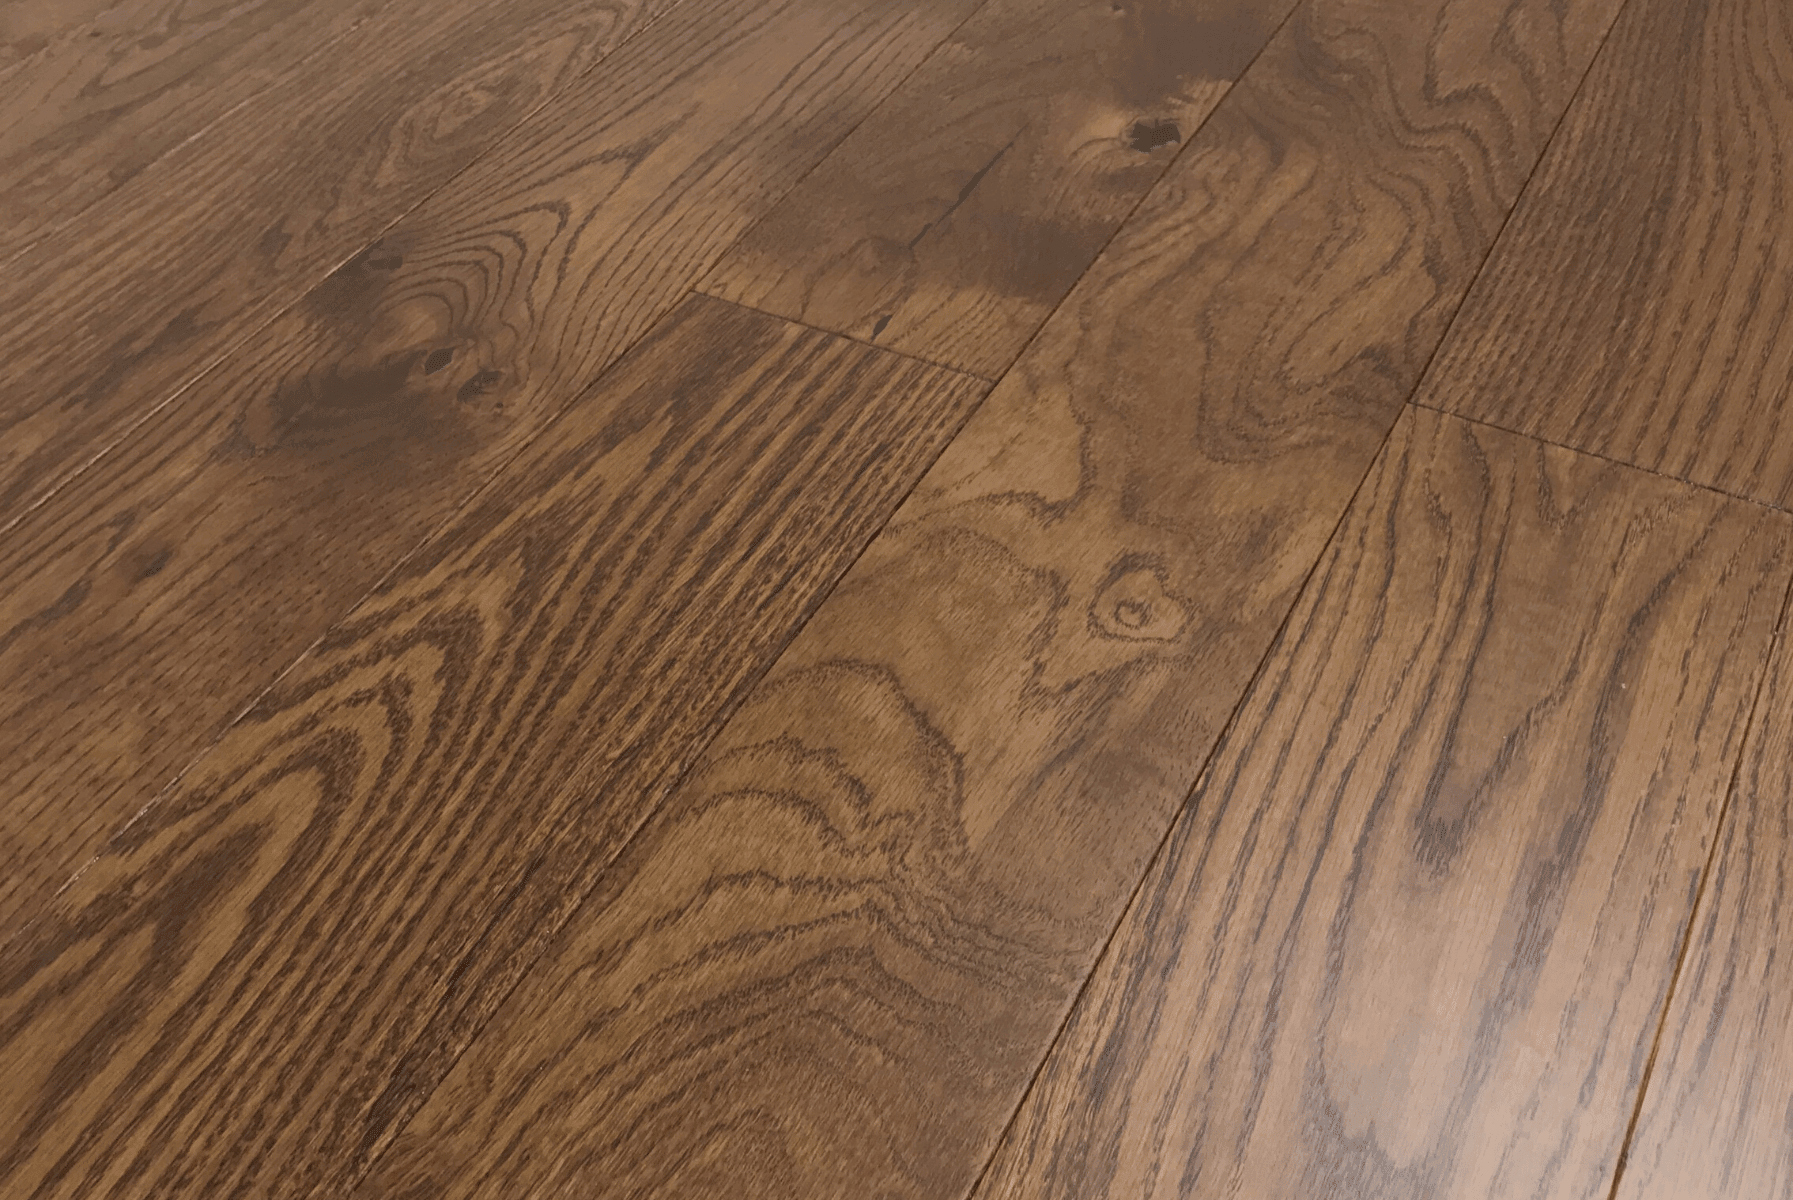
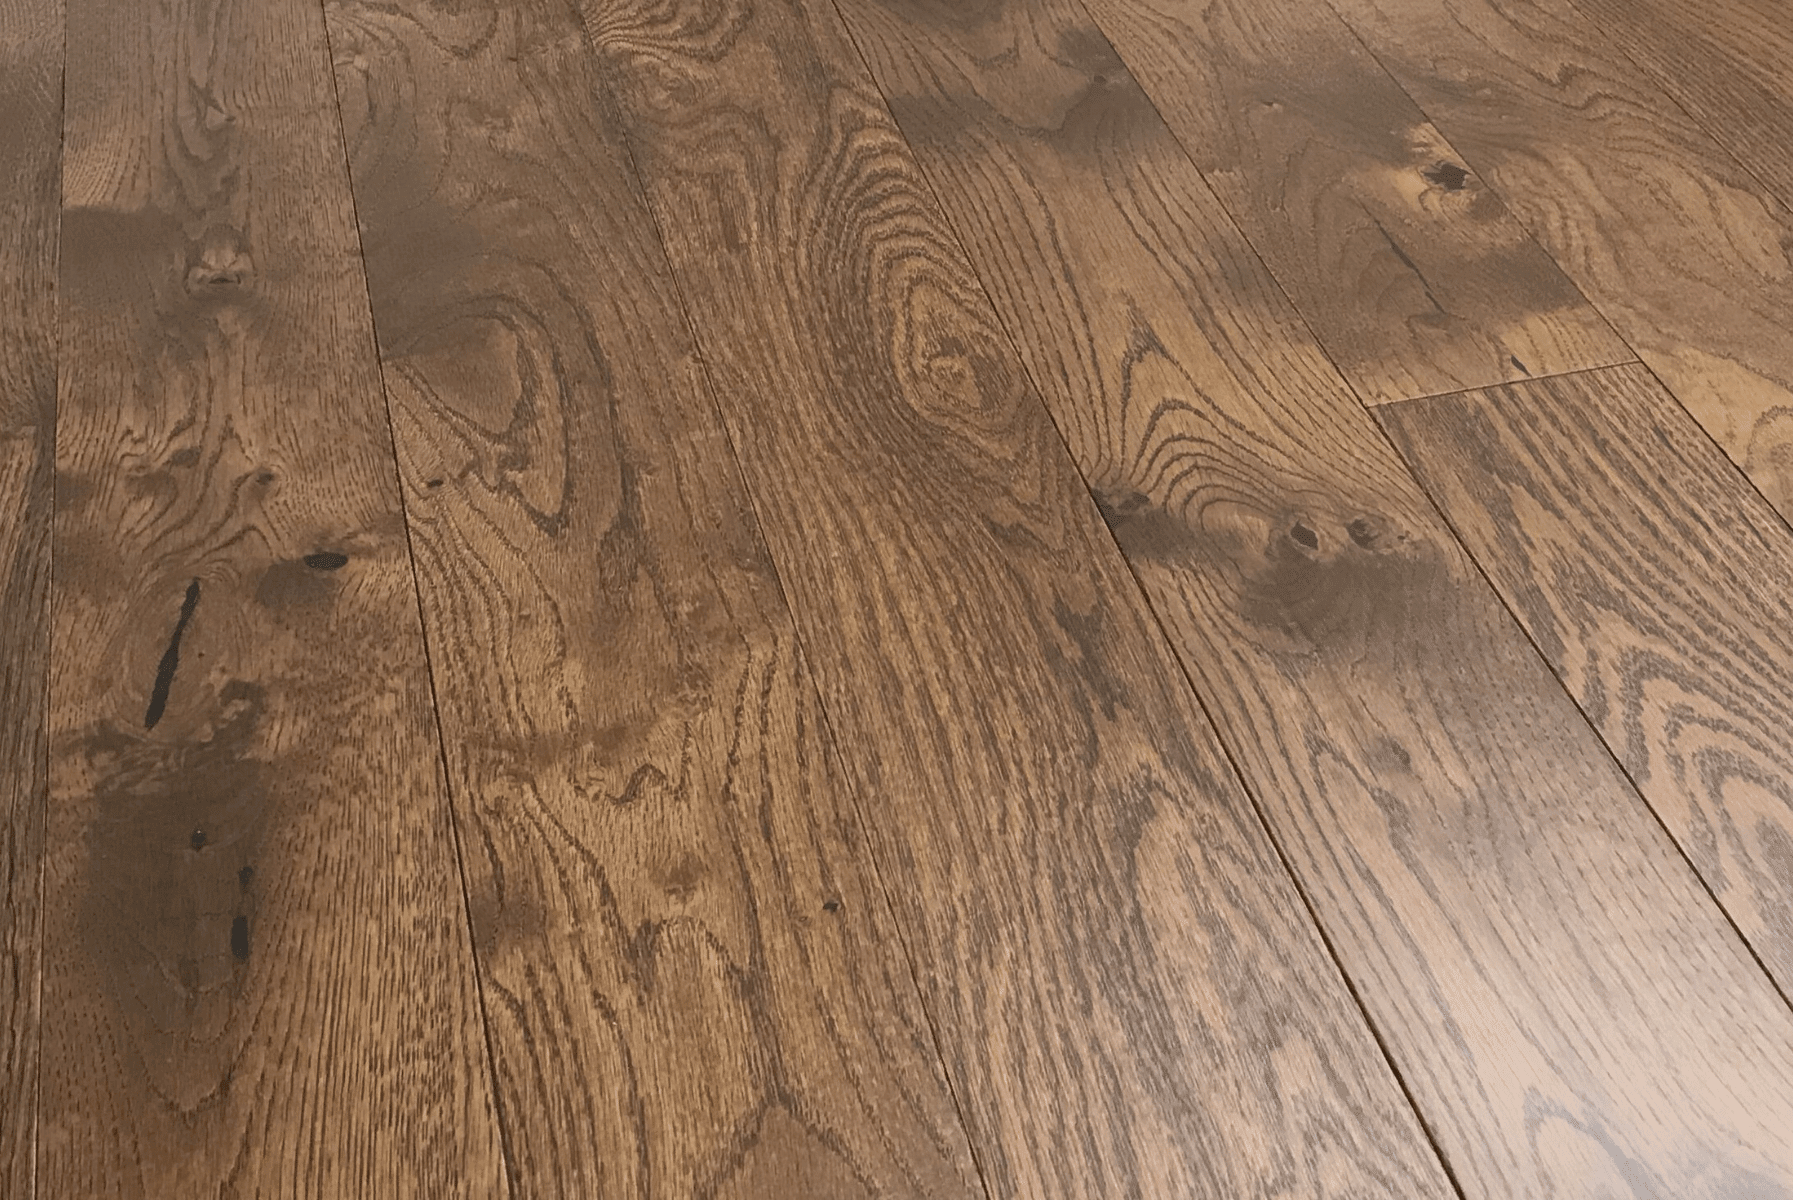
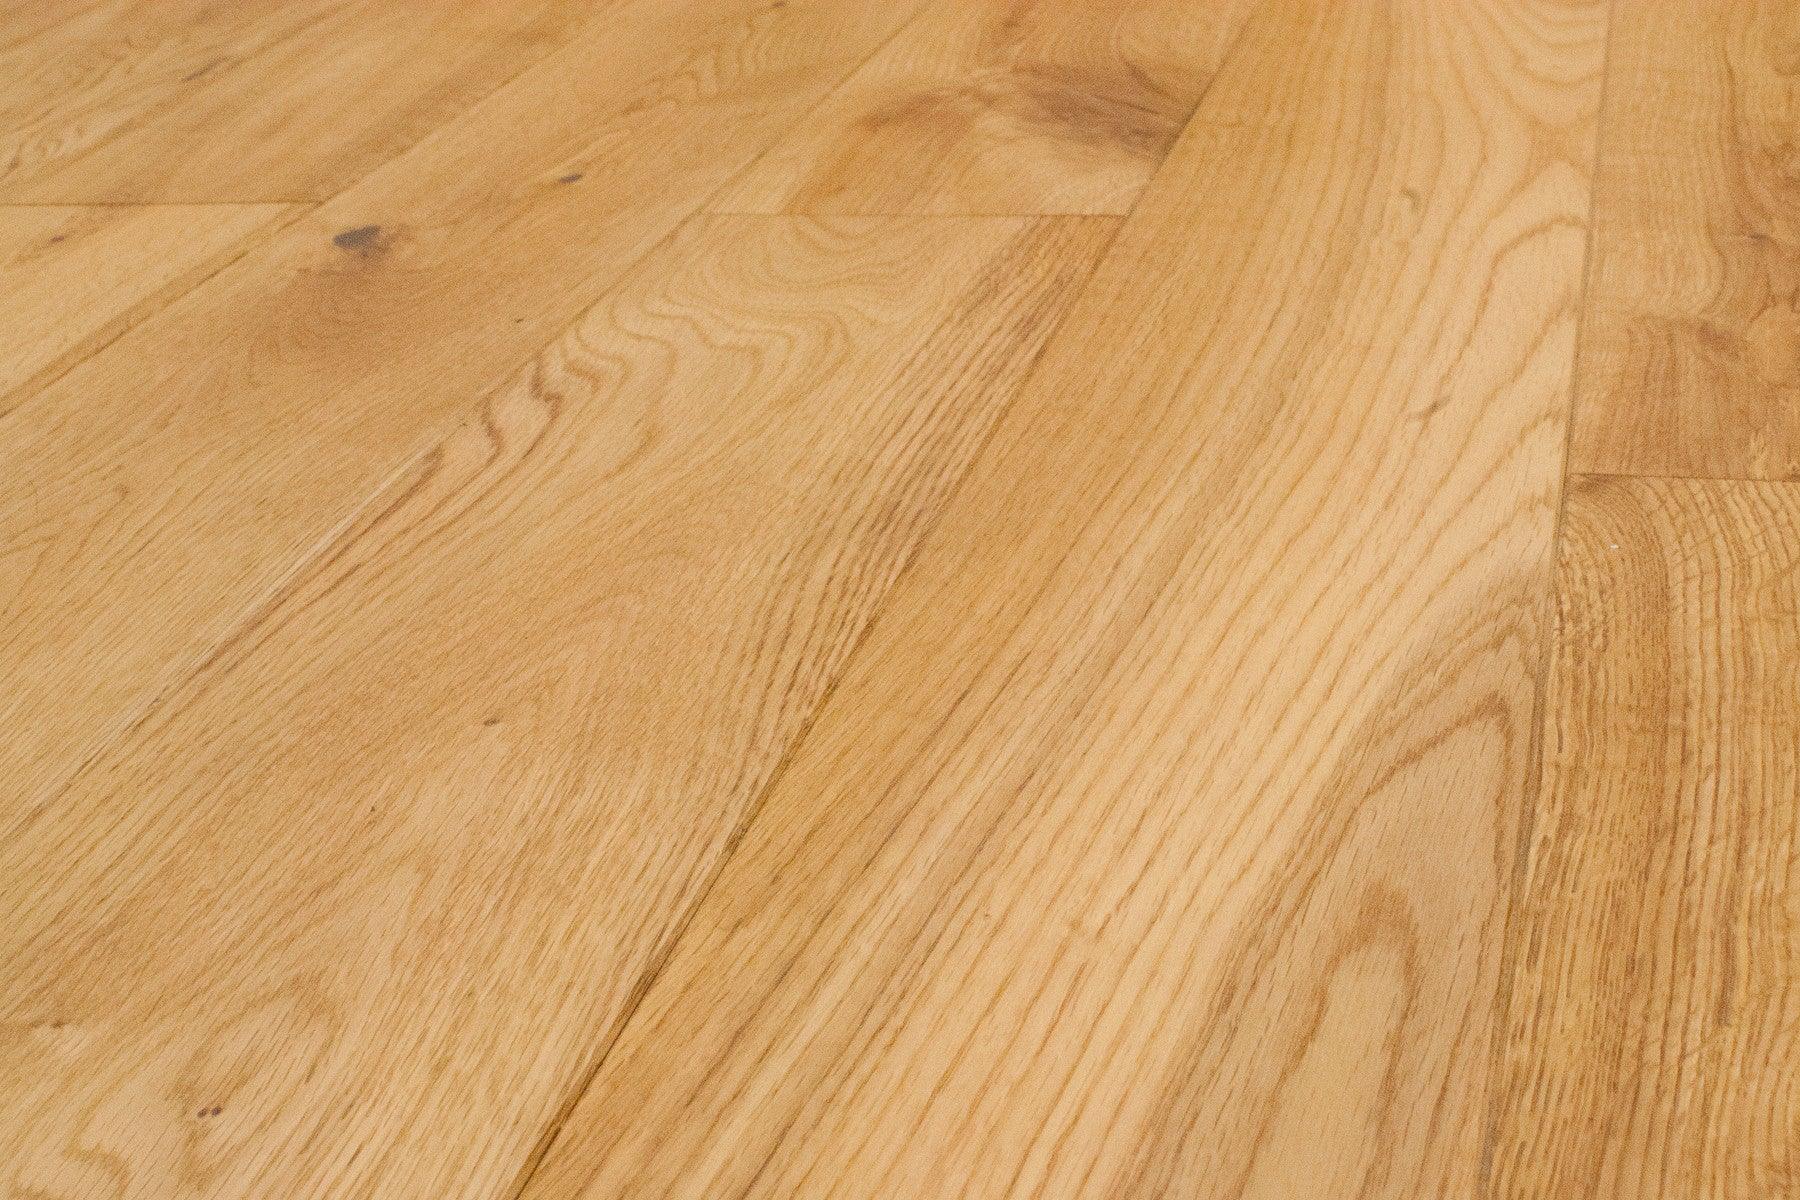
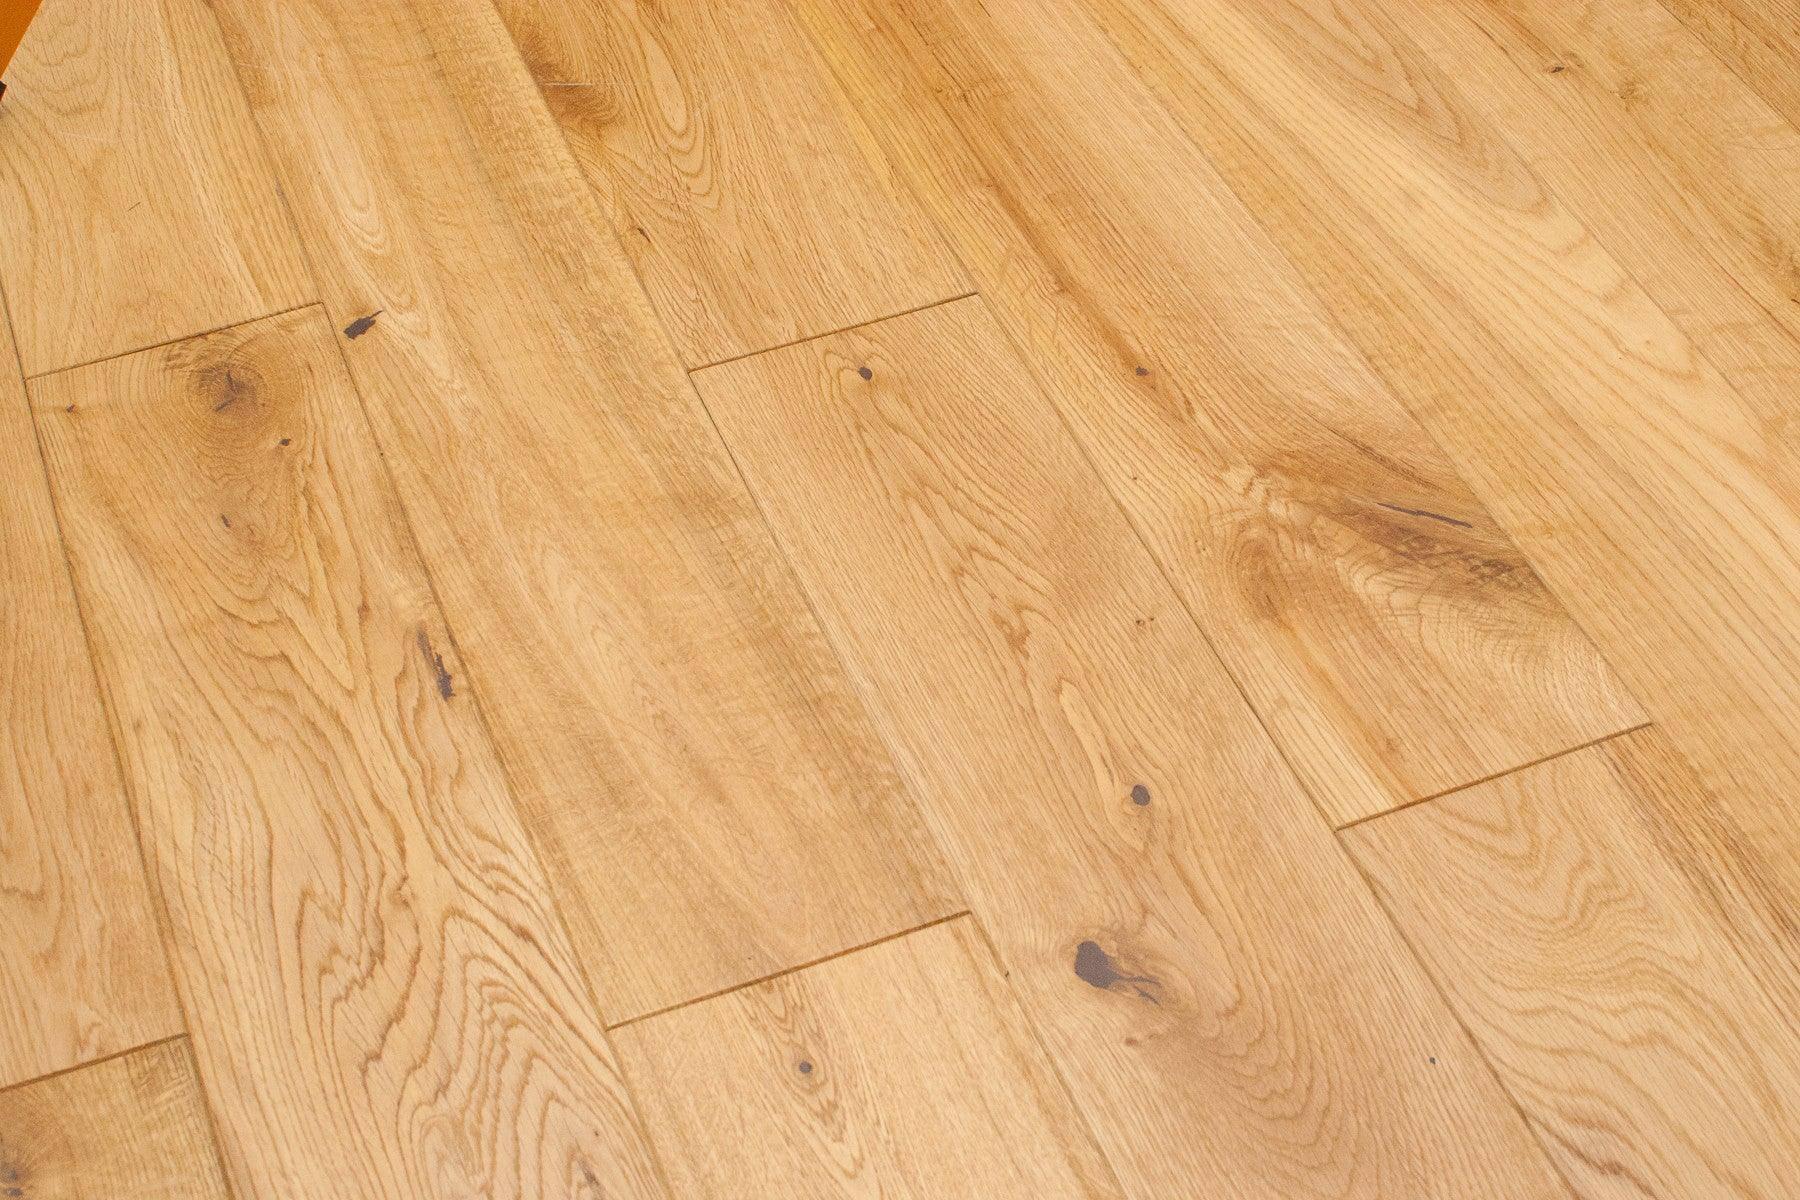
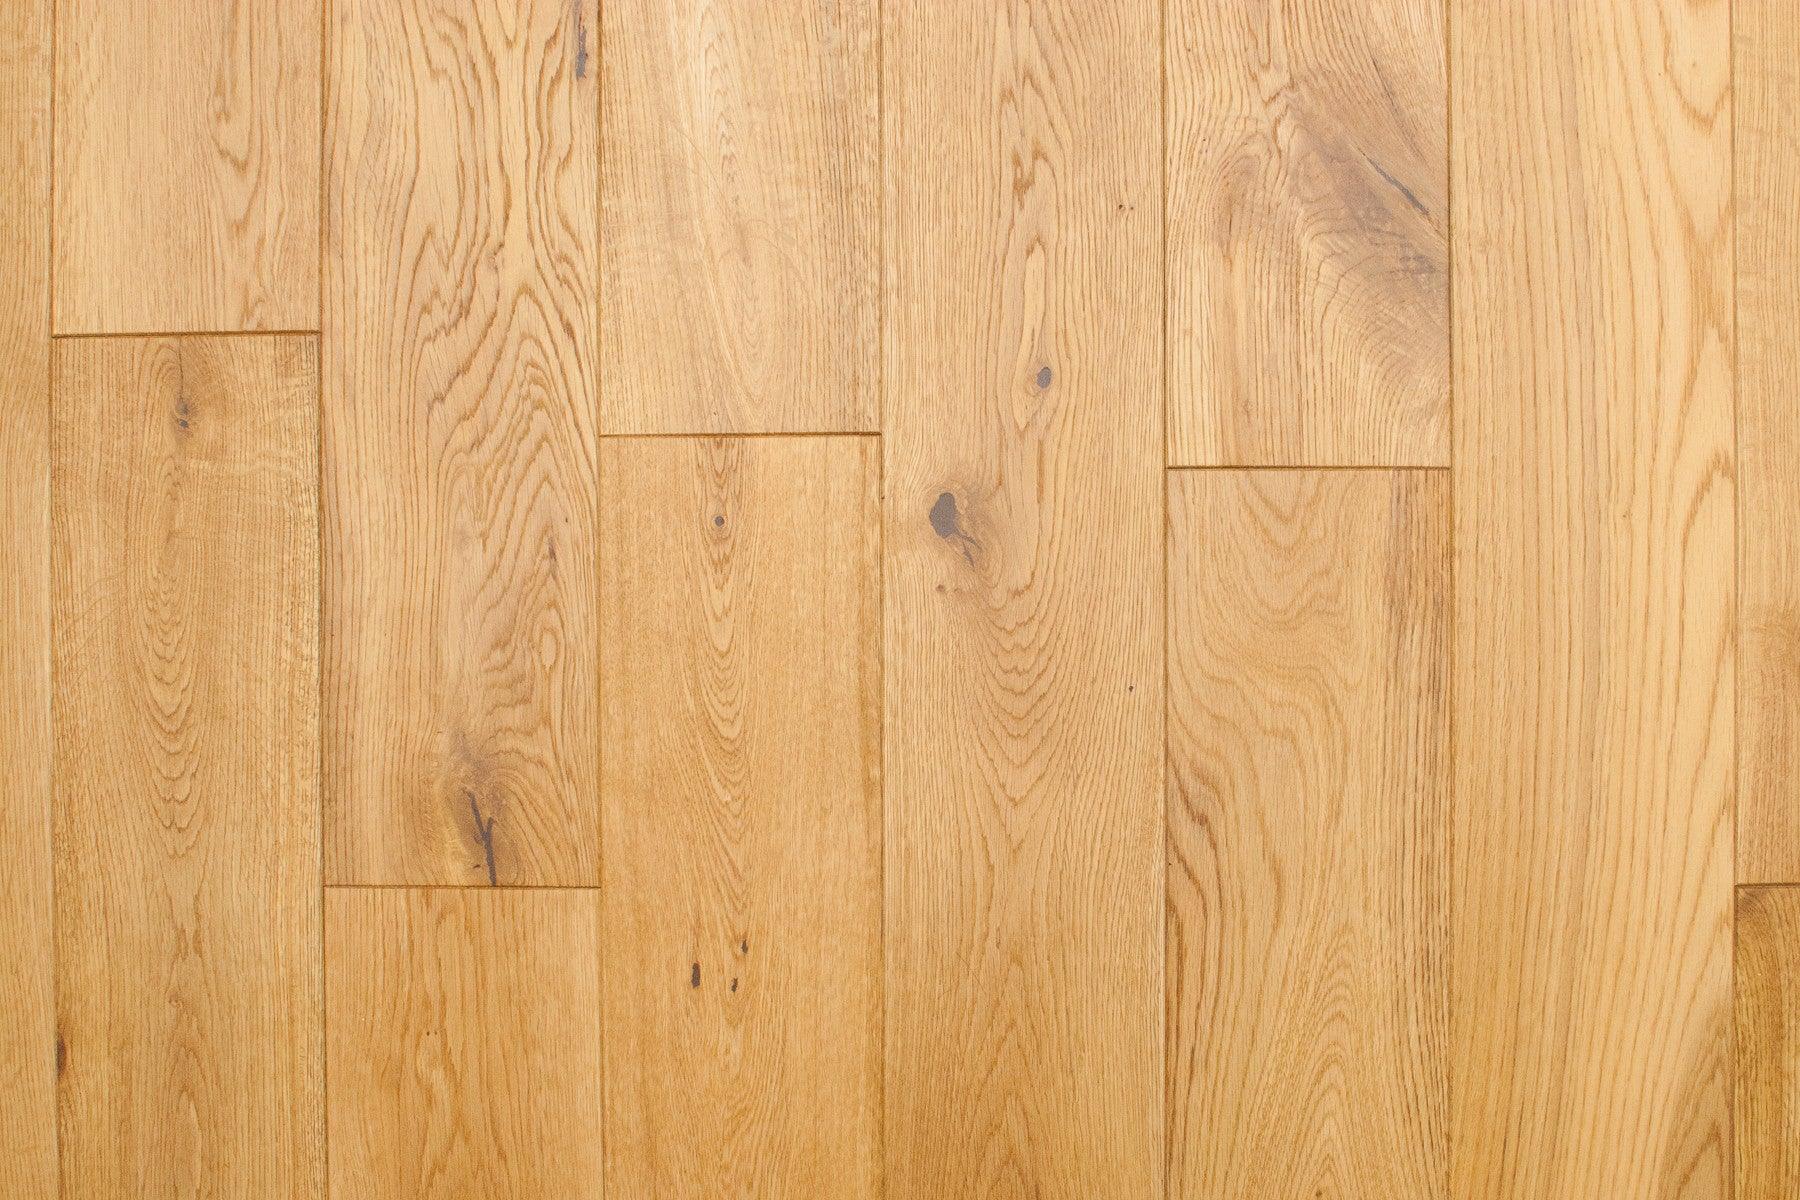
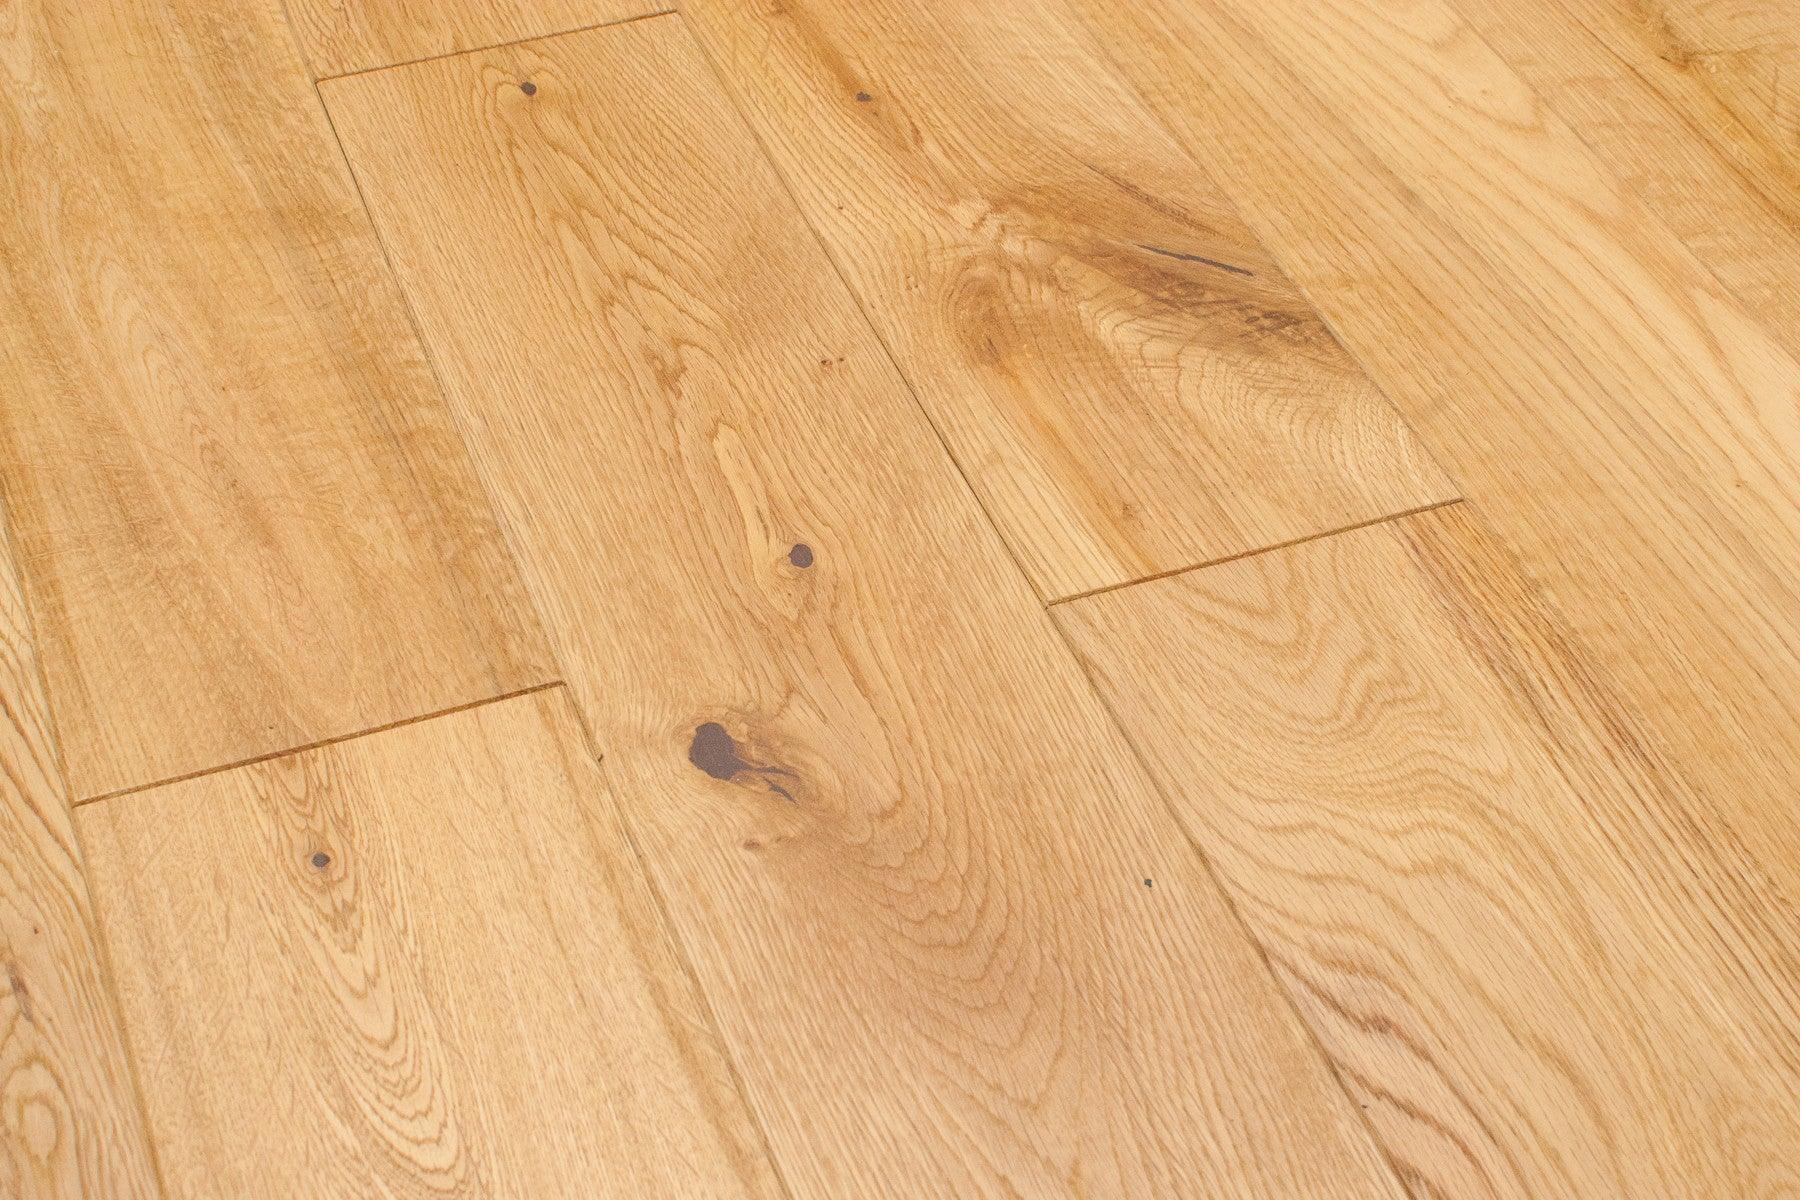
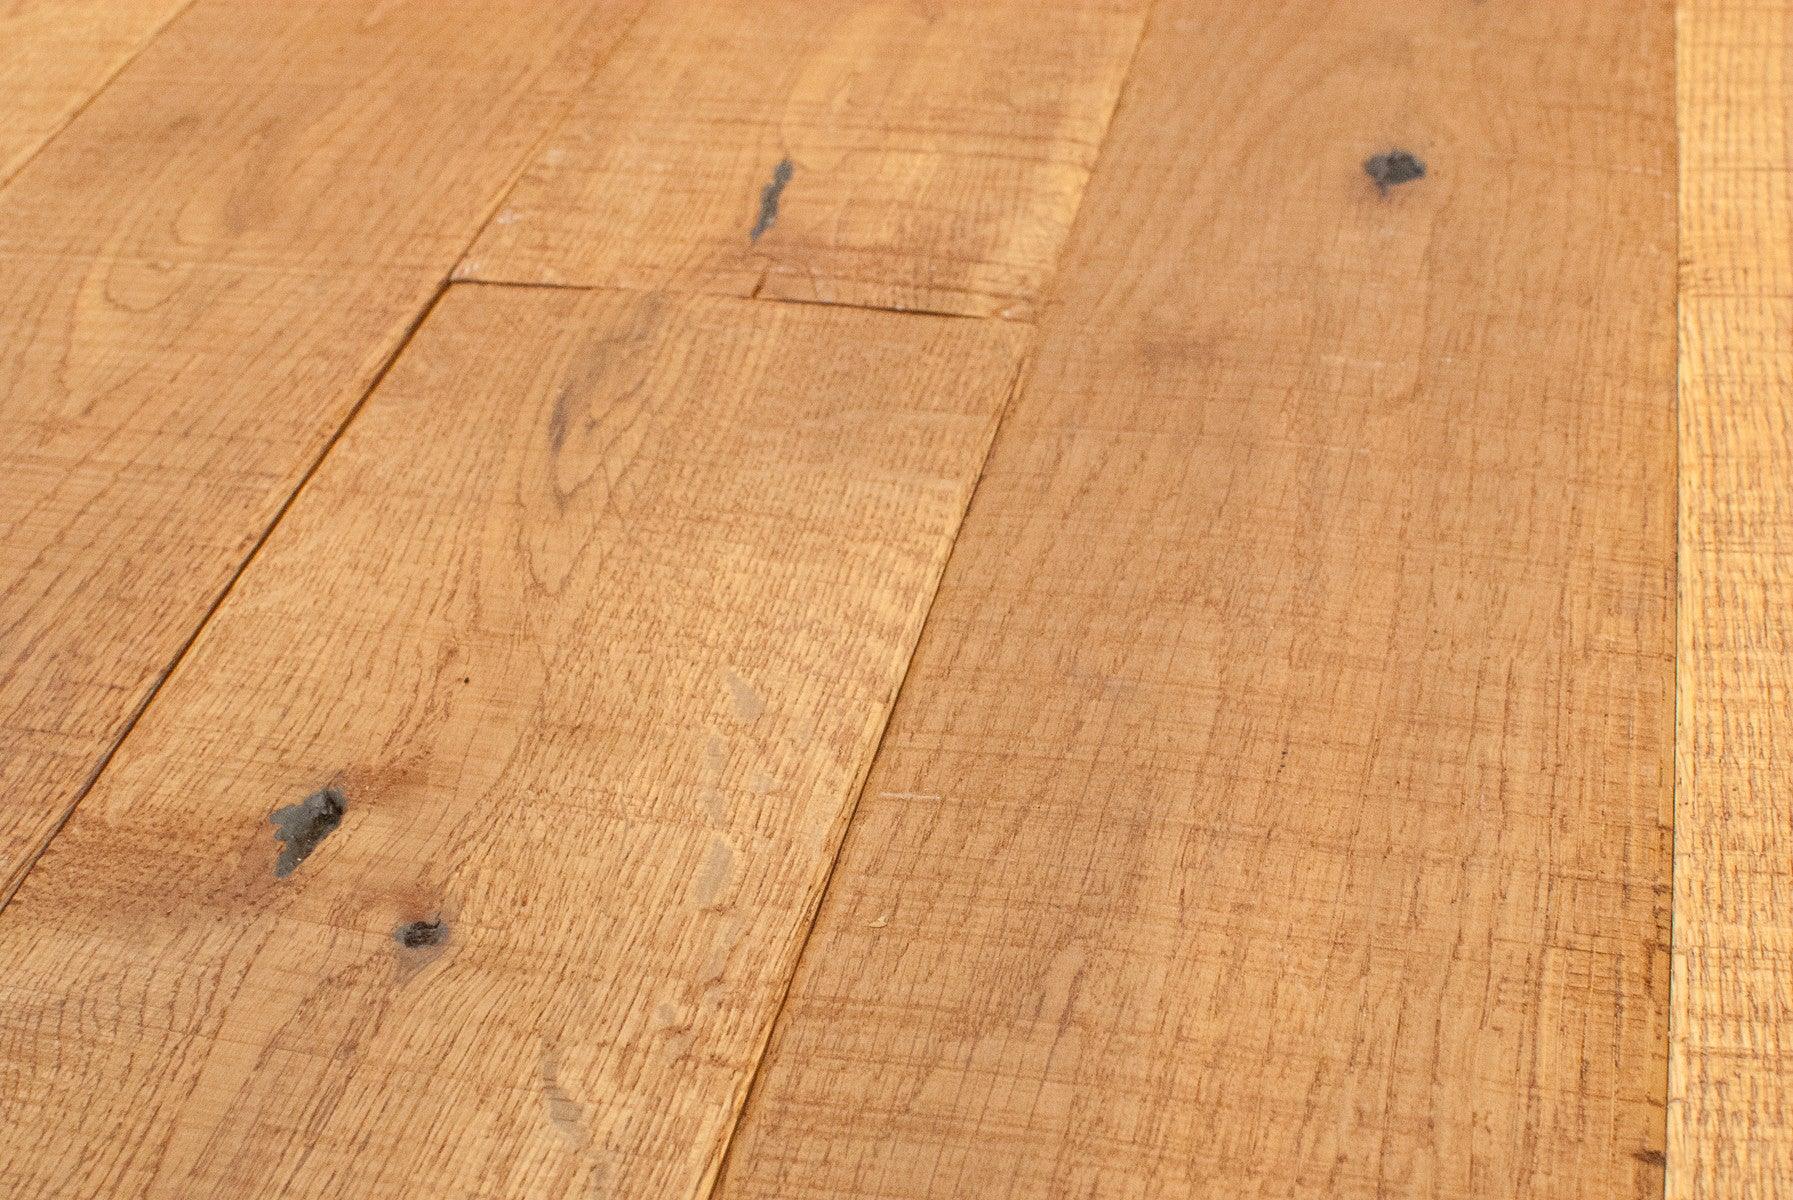
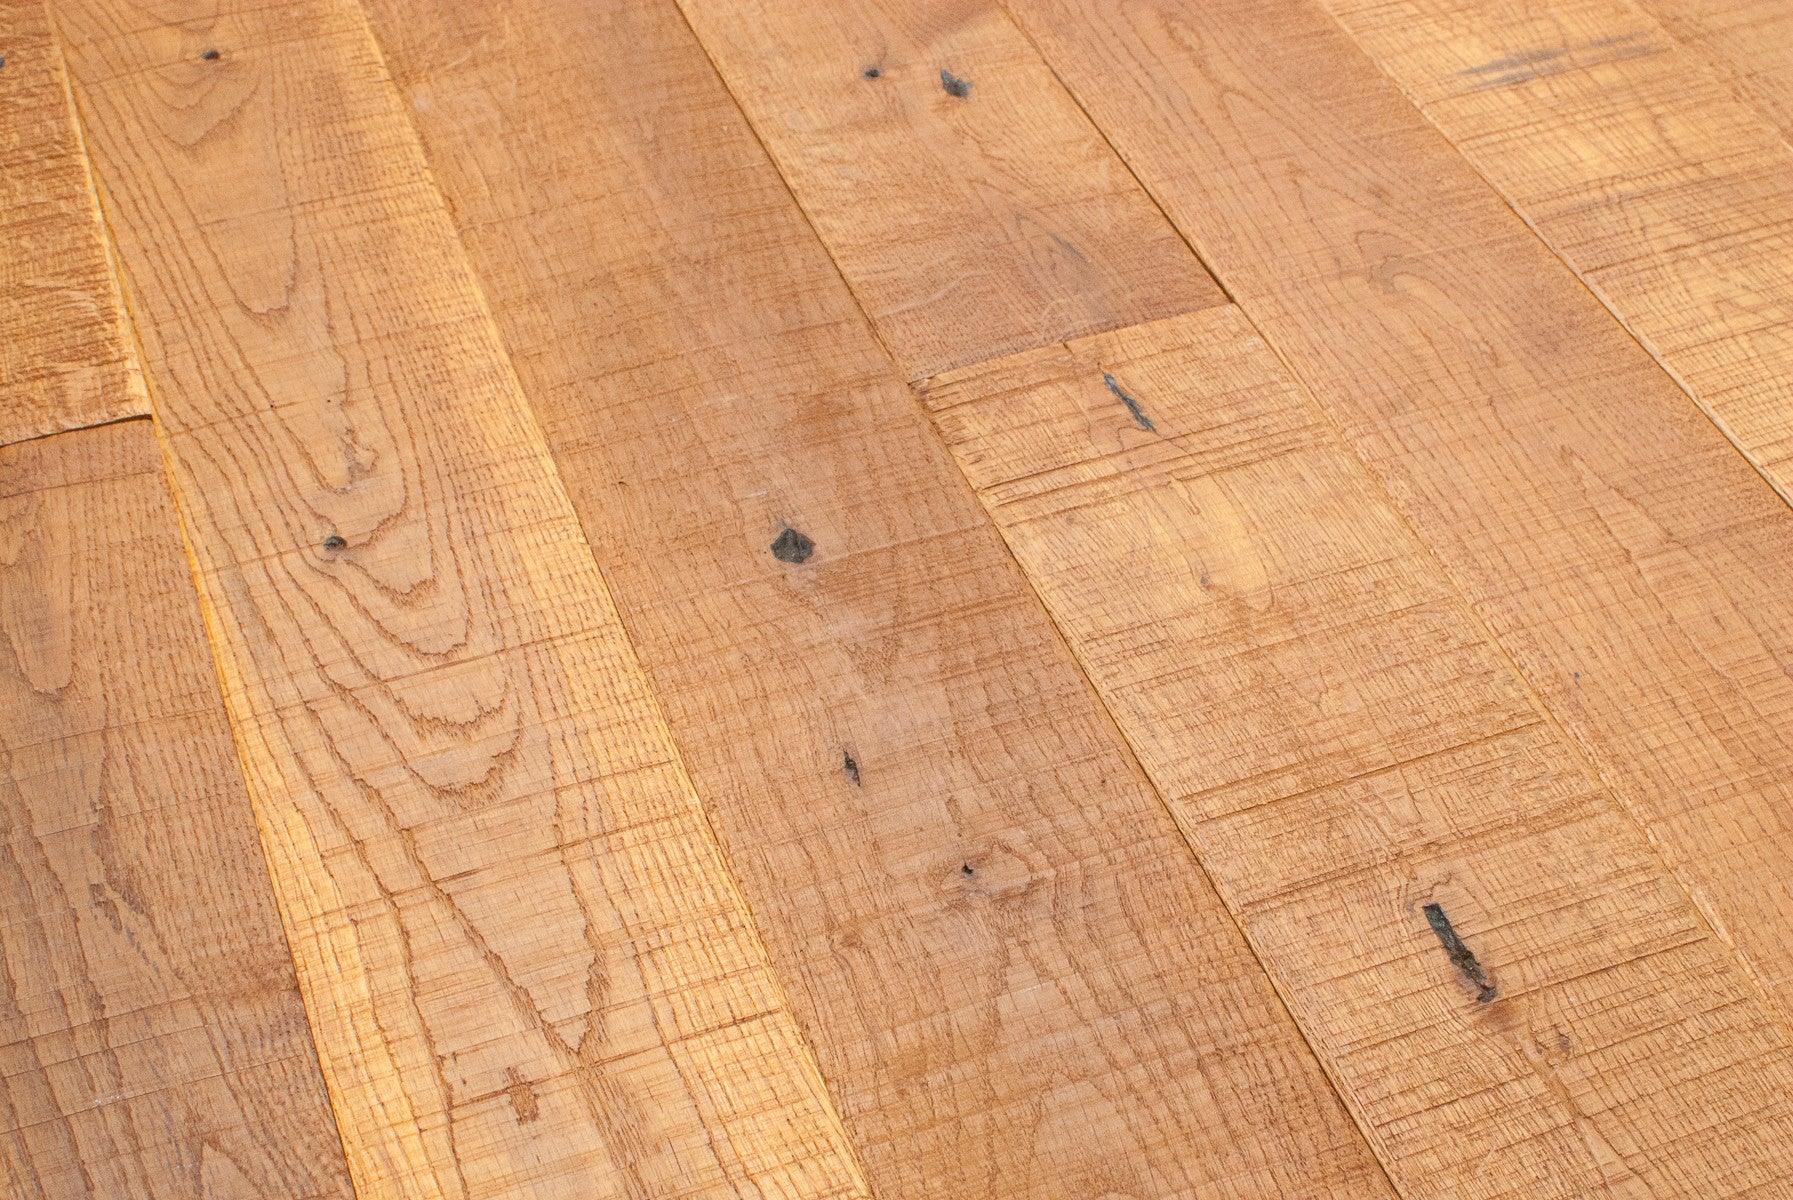
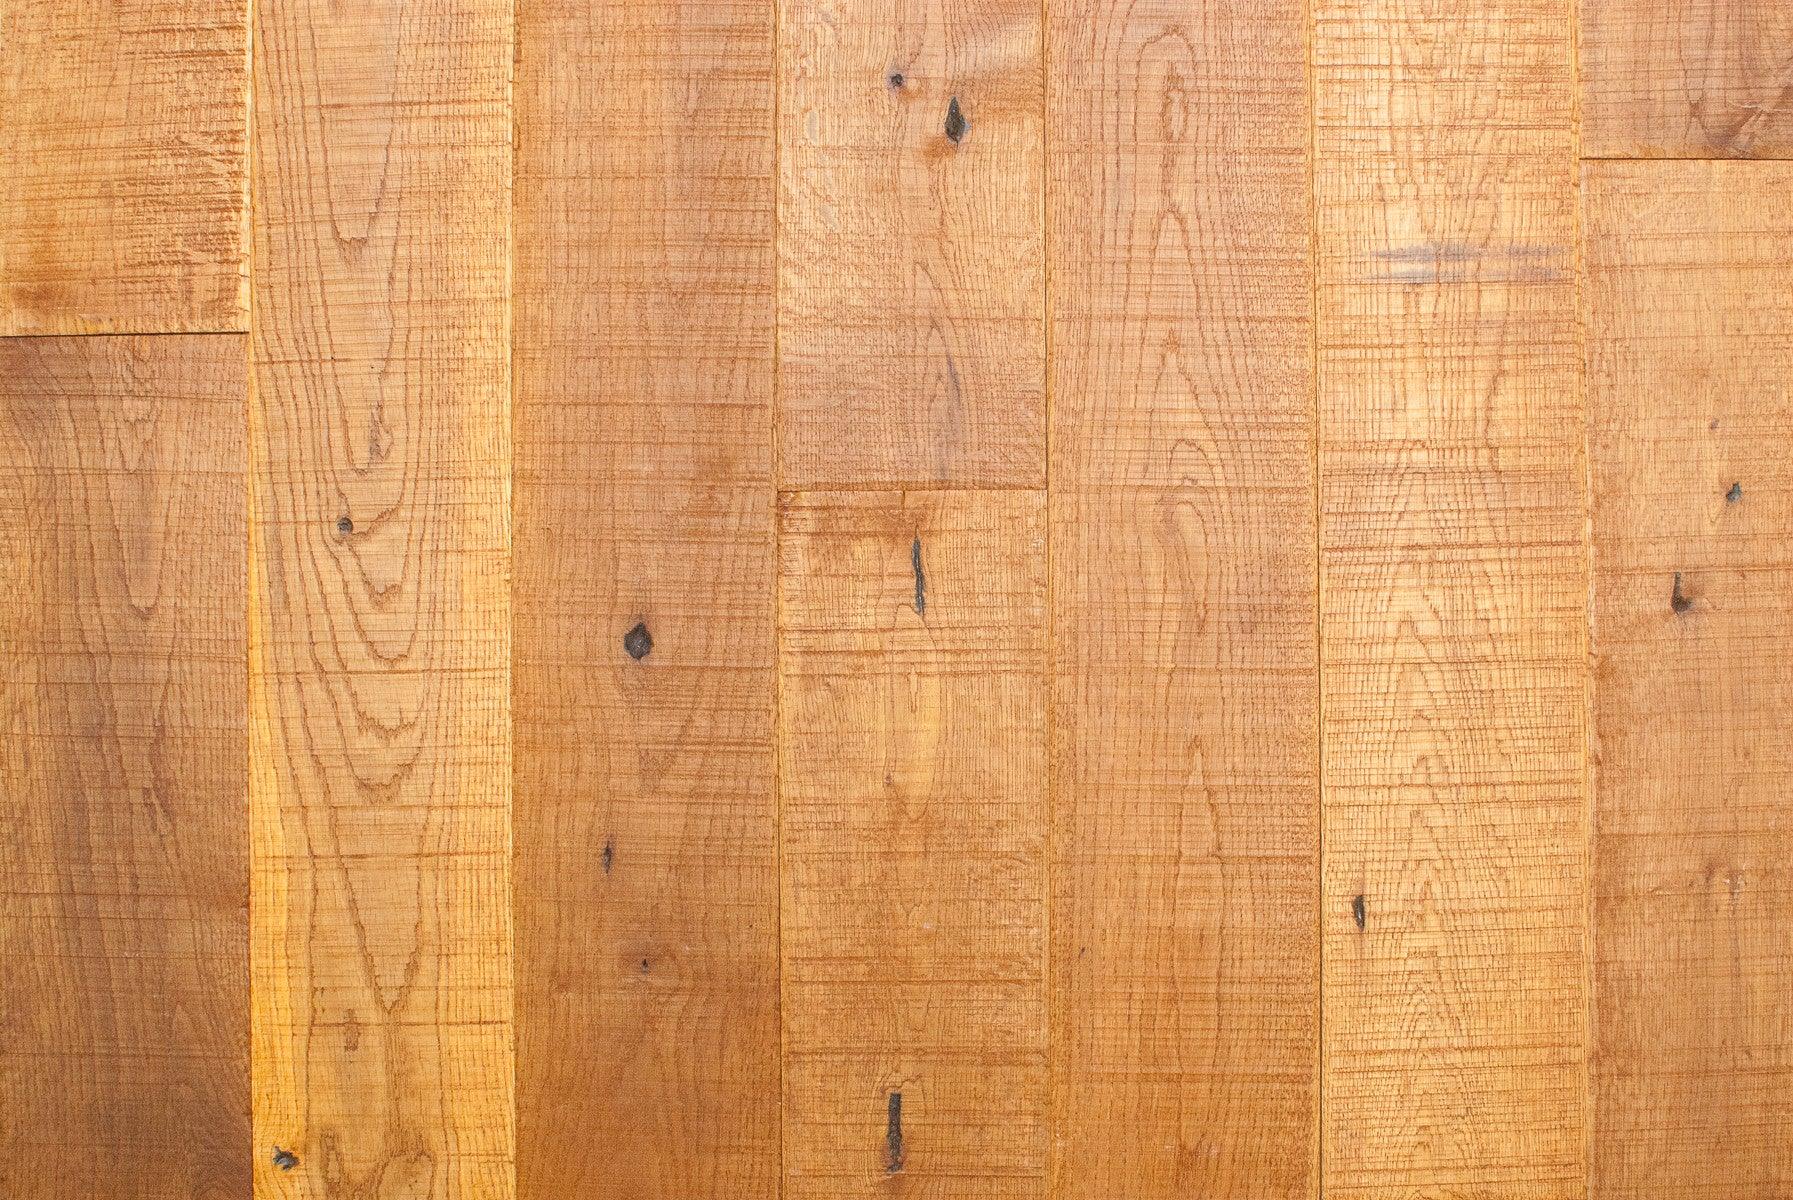
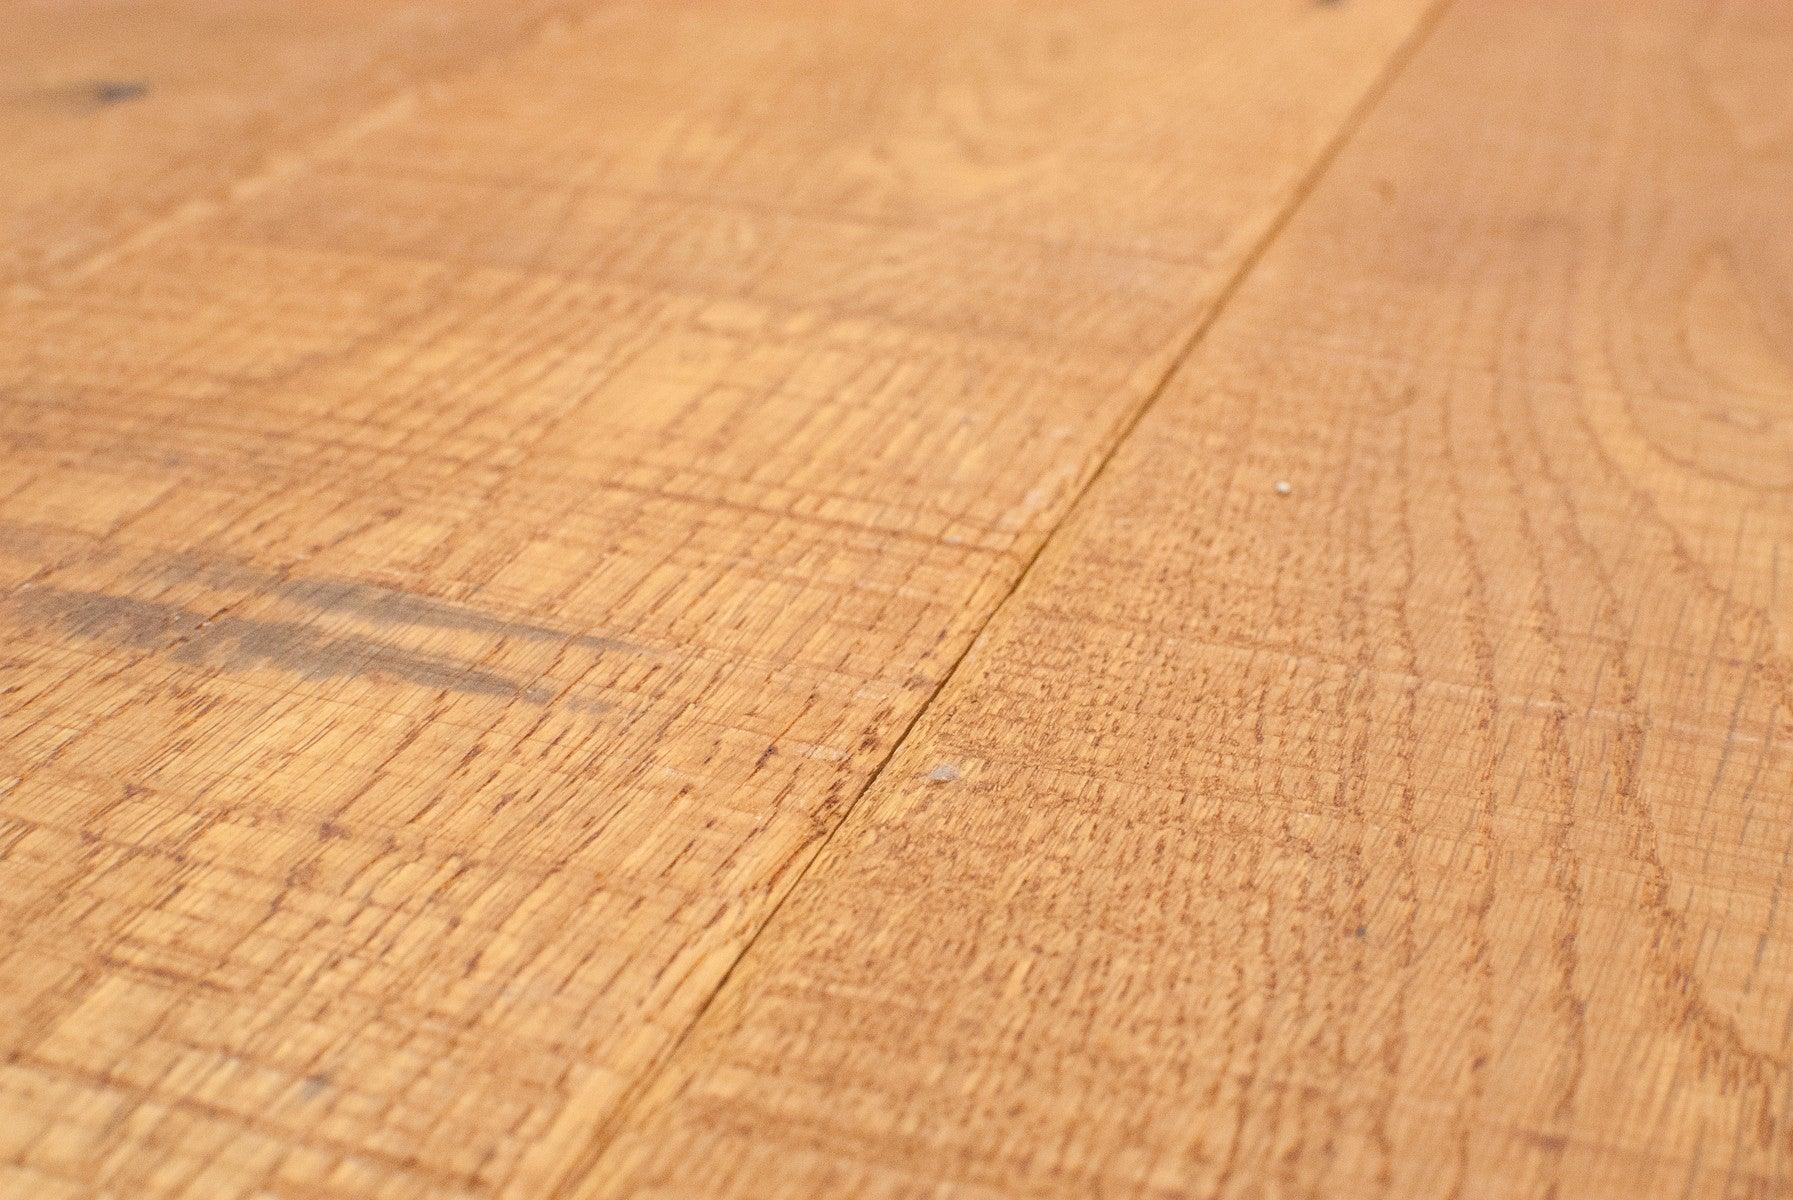
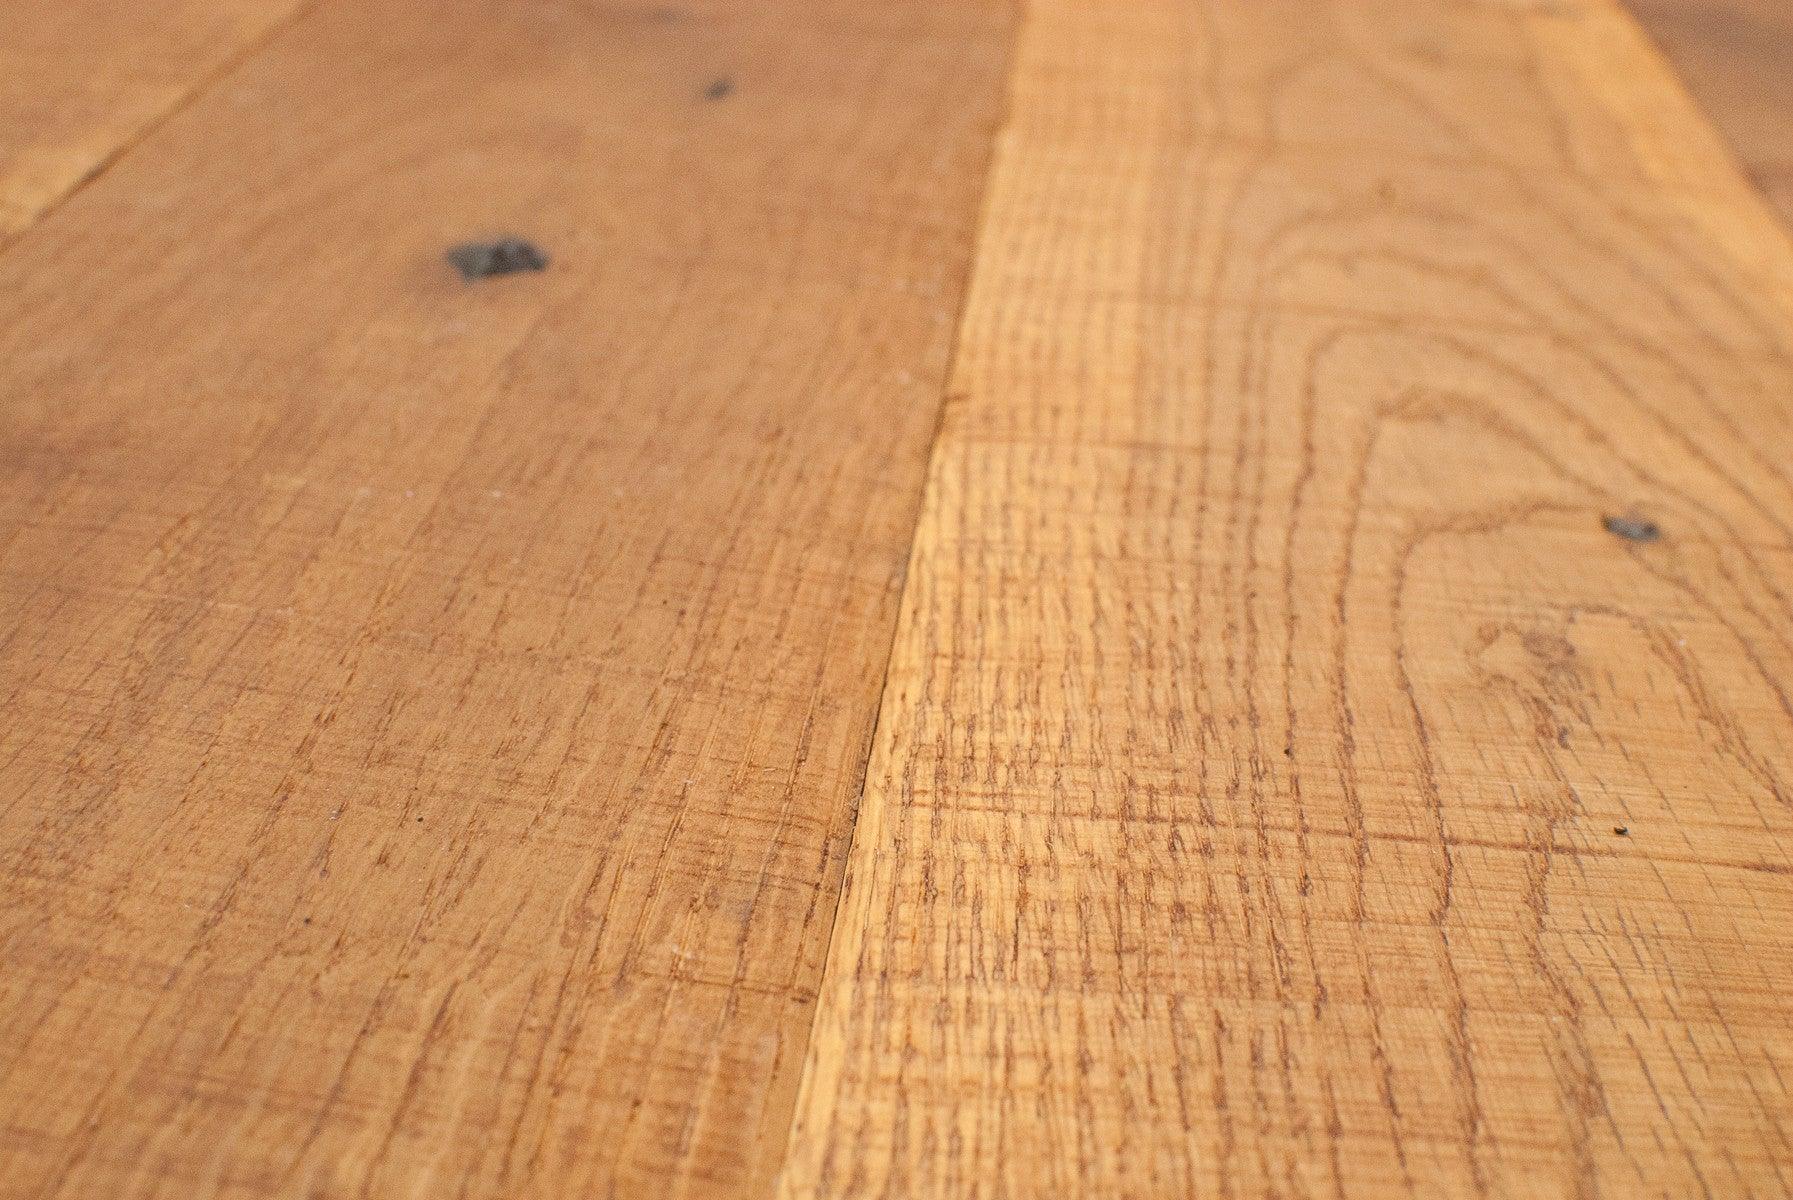
A gap between boards in wood floors the thickness of a dime is not uncommon, especially in older homes. The width of a dime is 3/64th inches or about 1.1-1.2mm thick.
If you can sink a dime into the gap between boards, it may be a natural contraction, but it still doesn’t look right.
There are a few reasons that it happens:
- Not acclimating the boards – When first installed, the boards will be tight and smooth. However, installing the wood before it has a chance to acclimate to the surroundings will cause the wood to shrink and create gaps.
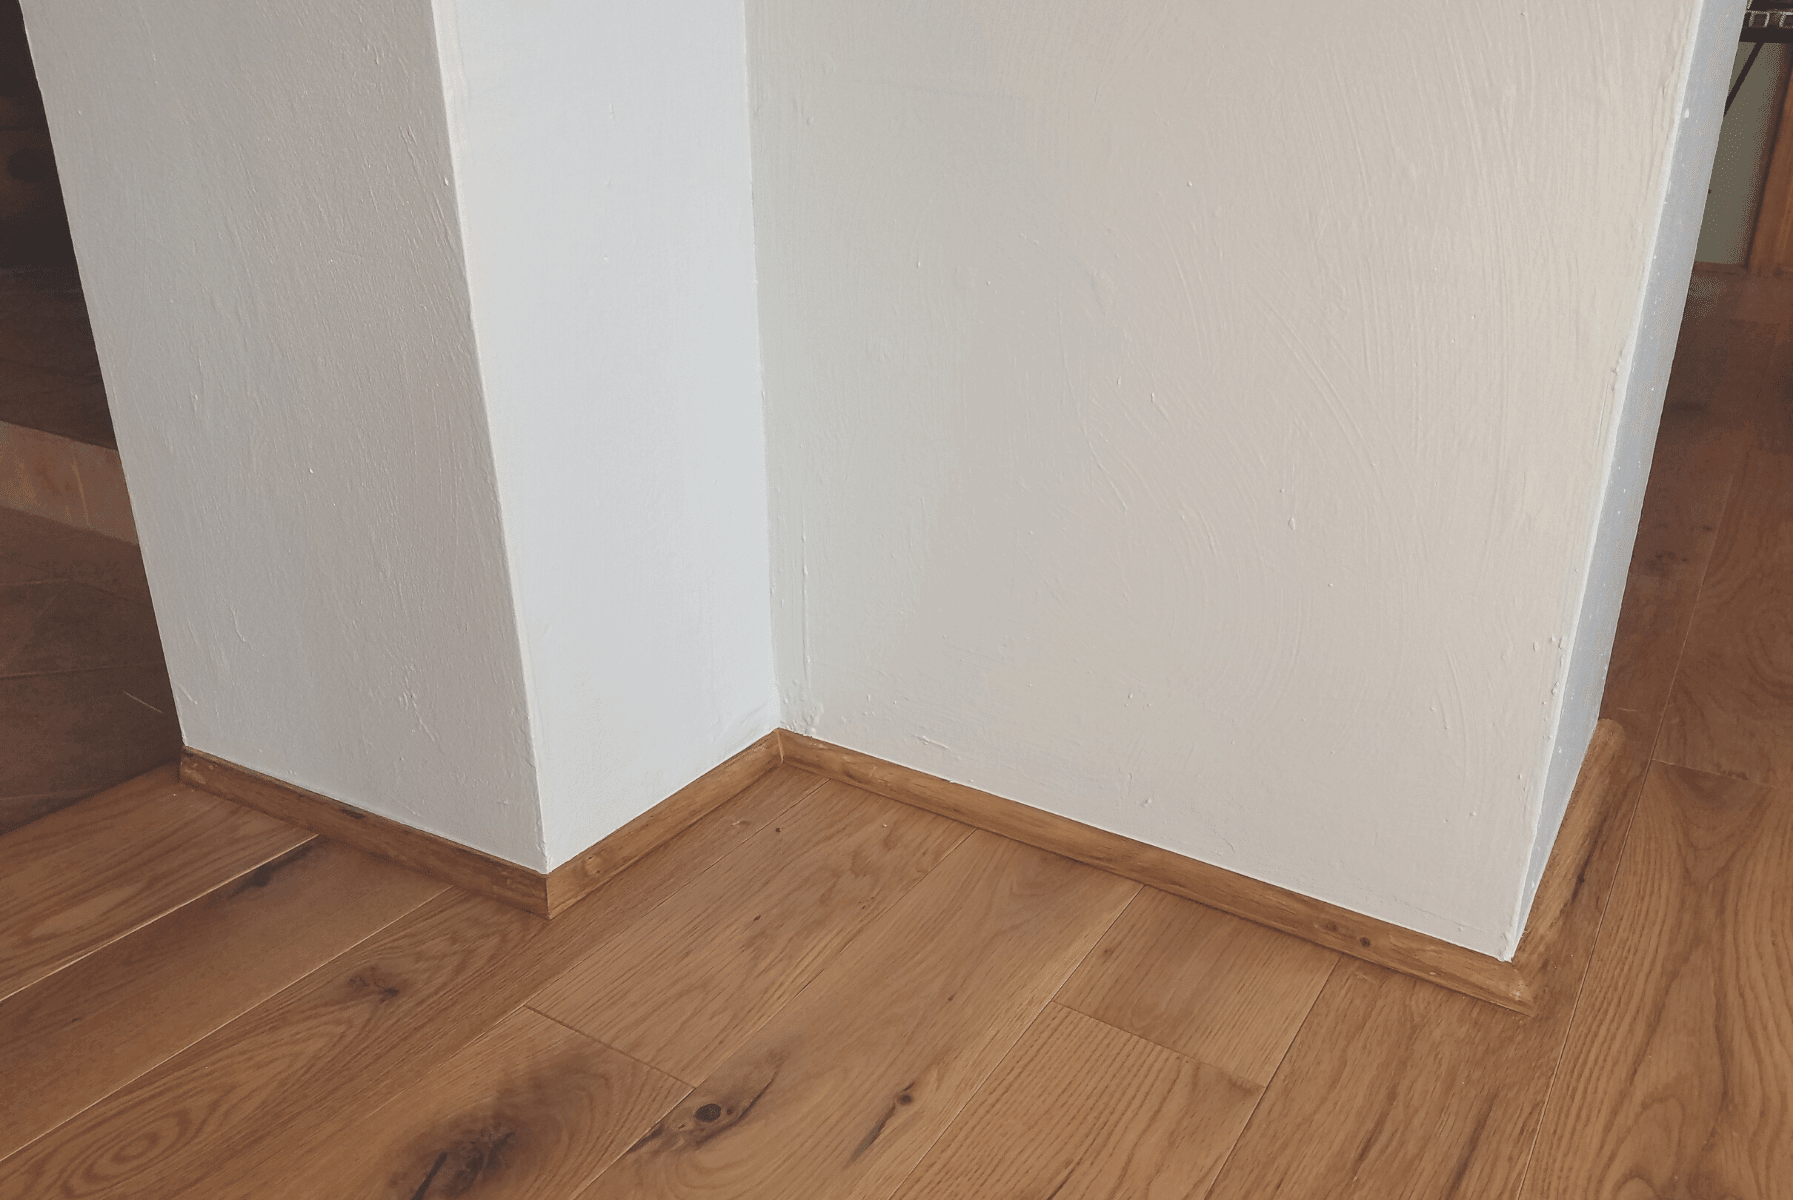
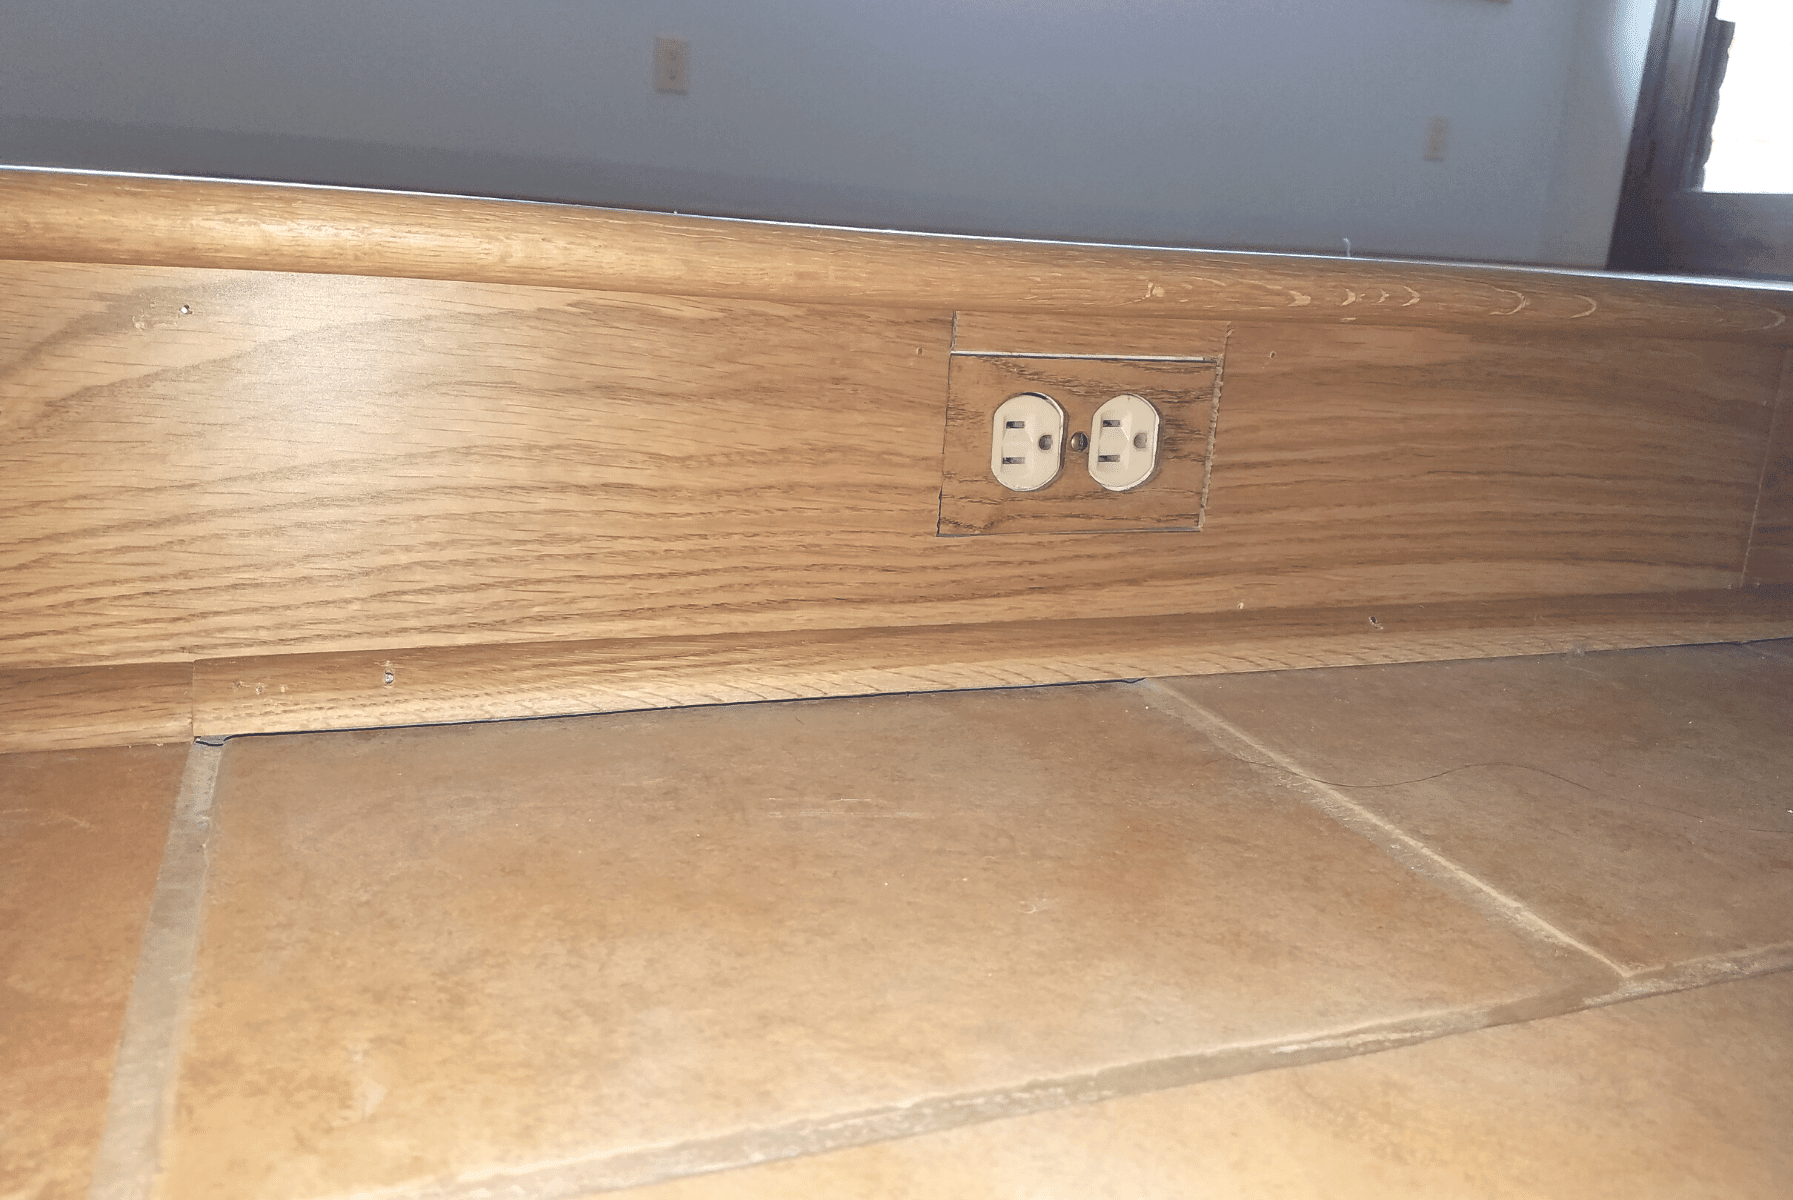
- Poor Installation – If the boards were installed carelessly and not tight with the other planks, there would be spaces. Also, poor craftsmanship can result in unsightly gaps around outside corners that become worse as the room becomes less humid.
- Ununiform planks – Boards of random size, thickness, or that don’t have a straight edge can also create this problem.
Of these three, moisture and humidity are the leading cause. When the boards dry out, they shrink away from each other, creating unsightly spaces. They tend to appear during the first winter after being installed.
However, for some hardwoods, it may take many years before they become noticeable. It doesn’t mean you must replace the floor. It means you need to add more humidity so that the planks can retain their shape. Think grape vs. a raisin.
We’ll cover the remedies in just a bit.
The Conditions That Contribute
Fluctuations in humidity are the primary cause of gapping. If the floor were installed during the summer months, you could see shrinking during the drier, heating season of winter. We mentioned dime-sized gaps earlier. Typically, these will swell closed again in the spring and summer months.
Ideally, you’ll want to keep the humidity level in the home between 35% to 45% and temperatures between 60°F to 80°F (15.5°C to 26.6°C). That’s not always easy.
Humidity levels range from 18% in the desert southwest of the U.S. to as much as 90% in the muggy southeast. In the chilly north, where people tend to use fireplaces and woodstoves, the humidity can be as low as the desert. One clue that your home is dry is getting static shocks when touching a doorknob.
For additional information about humidity, check out this excellent article, “Comfortable Humidity Levels for Your Home and Hardwood Floors.”
Ductwork located under the floor can be another problem, drying out the wood. Adding a deflector to vent the air upward will help.
However, if the cause of the gaps is a result of poor nail or clip spacing or subfloor issues, you’ll need a more permanent solution.
Before we touch on this matter, let’s go over the things that you can do to minimize wood floor gaps.
Preventing Gaps Before They Begin
If you are installing a new wood floor, you can prevent shrinkage and spaces from happening later by taking some precautions upfront.
First, acclimate the new flooring in your home. To do that, unwrap the planks or open the ends of all the boxes. Then cross-stack them in the room in which you plan to install. Leave space between the boxes or planks to allow for airflow. Leave the planks this way for seven to ten days or more. Loose stacking will enable the wood to match the temperature and humidity of the space.
Even if you are using reclaimed wood, you still need to acclimate it to your home’s environment. Otherwise, you risk warping or gapping if there is a significant variance in the humidity or temperature.
Humidify During the Cold, Dry Months
If your home tends to be dry due to the climate or heating, you need to add humidity. Some of the ways to do this are:
- Keep a full kettle of water on top of your wood stove
- Use a portable humidifier in the room
- Add a furnace humidifier if possible
Dehumidify During the Damp Months
If you have high humidity issues, such as wet basements or prolonged rainy seasons, use a dehumidifier. High humidity will cause cupping and crowning, but a dehumidifier will prevent that from happening.
Whether adding or decreasing moisture, it’s best to purchase a digital hygrometer to measure the relative humidity. Remember, you are looking for relative humidity between 30% to 45%.
If you tackle the humidity problems and you still experience gaps, here’s what you can do.
Helpful Tips How to Fill in Wood Floor Gaps
If the gaps in your floor are not closing between April and October, then it’s time to call a flooring professional. It’s the best time of year to fix gaps because it tends to be more humid.
Want to try it yourself? Here are some professional flooring tips.
Filling Narrow Gaps
Remember, if the gaps are seasonal and close back by themselves, you don’t want to add a filler. It will just squeeze out, making a big mess.
For small gaps that don’t close, use putty for that purpose.
Wood putty or wood filler is a mix of sawdust and glue with tint or stain. It comes in a variety of colors, or you can mix your own. You don’t need to worry if it’s not an exact match. There are enough natural color variations in wood that it won’t matter. Find or mix a color that matches the tone of the overall floor.
It’s only a quick, four-step process to fill in narrow floor gaps.
Step 1 – Vacuum out the cracks
Step 2 – Wipe over the top of the crack with a clean towel
Step 3 – Using your finger or a putty knife, gently work the putty into the gap until it’s full.
Step 4 – Wipe off any excess putty from around the gap.
To see this technique in action, here’s a video to get you started. “Flooring Tips – How Do I Fix Gaps In Oak Flooring?”
If you want to make wood filler from scratch, watch this video, “How to Fix Wood Floor Gaps Easily?”
Filling Wide Gaps
To fill wide hardwood floor gaps between planks, use strips of wood or shims. Putty alone will not hold. You can add a touch of glue to keep the new wood in place. Then sand, stain and refinish the floor for a tight, cohesive, fresh look.
As with any hardwood floor repair, it’s best to do them in the more humid months.
An alternative to wood shims is to use manila or sisal rope. Use a natural fiber rope, not synthetic. It’s an older technique that works well, depending on the room. You can stain the rope any color, just like wood. Let the stained rope dry before you put it in the gap. Then, use a stiff putty knife to stuff it in the cracks like a boat builder would do. This Old House has a video demonstrating this technique in wide-planks of old pine flooring.
Before you attempt any repair on a hardwood floor, check with the manufacturer, if possible. They may offer a compatible product.
If the floor has too many gaps or is too old, it’s time to consider pulling it up and installing a new floor. If you decide to pull up the floor, then this article, “How to Choose the Best Wood Flooring Removal Tools,” will save you time.
A Foundation That Endures
Hardwood floors are never static. They breathe, shift, and respond to the life lived above them. Gaps are not a flaw but a reminder of wood’s organic character—though with care, they don’t need to define the look of your space. The key is balance: proper acclimation at installation, mindful humidity control throughout the year, and smart repair techniques when needed. Together, these steps allow your floors to age gracefully, building character without compromise.
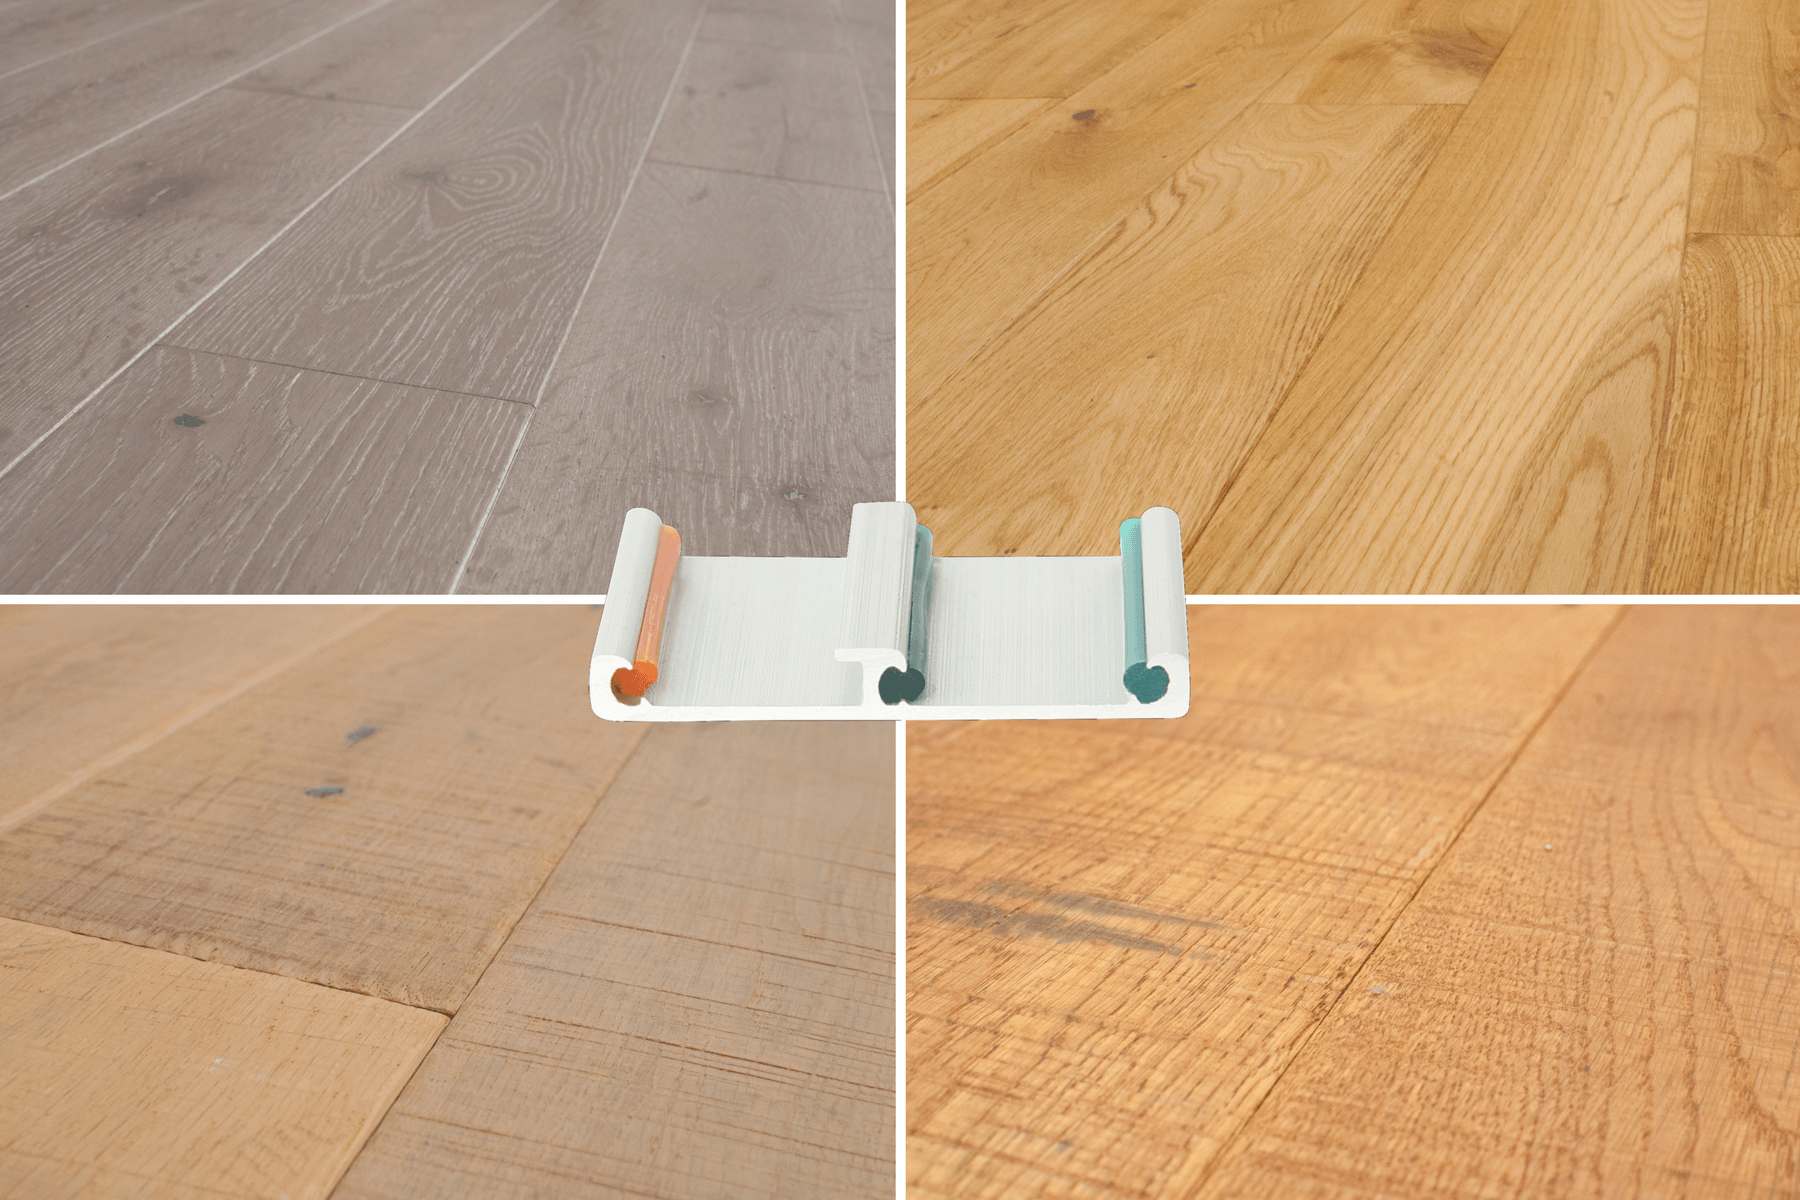
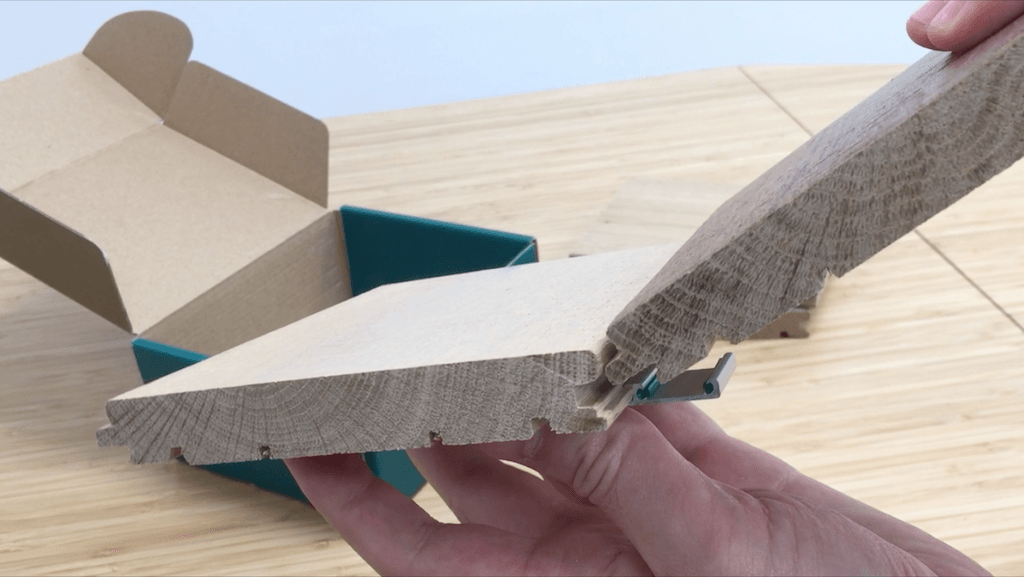
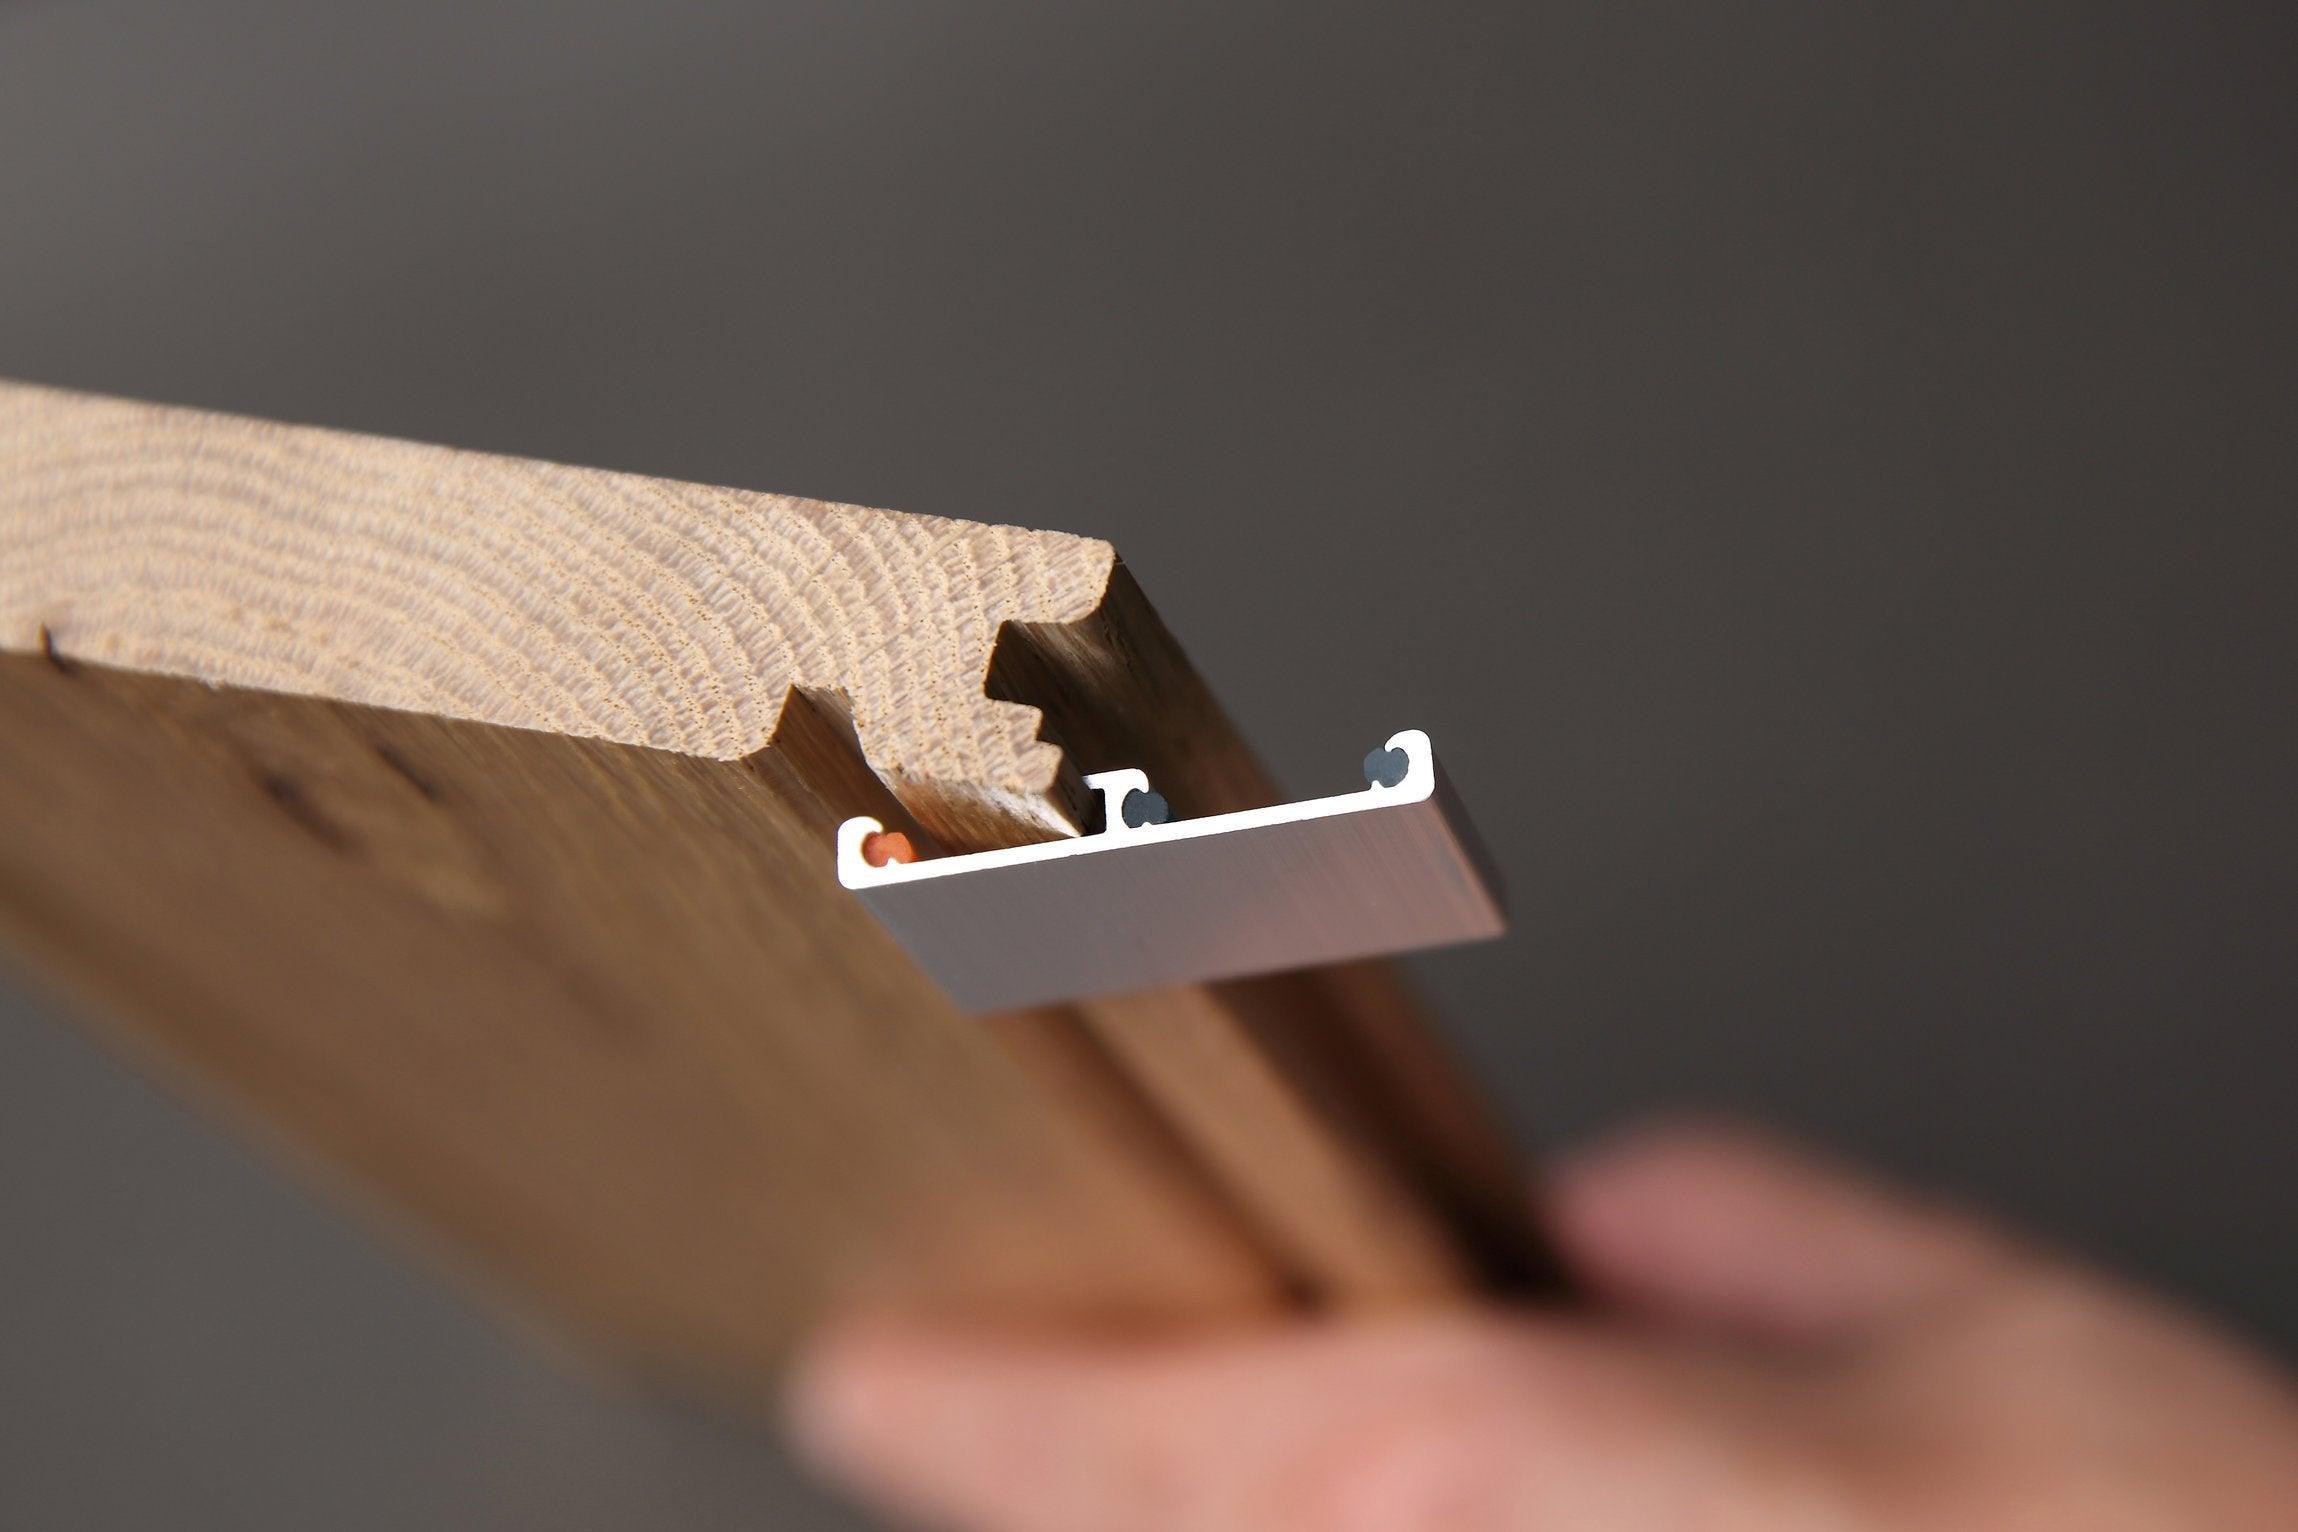
When gaps grow too wide or repairs feel endless, replacing your floor may be the most elegant choice. Today’s innovations in solid hardwood, such as floating oak planks that click seamlessly into place, make the transition easier than ever. With the right material, you not only restore beauty but create a resilient surface that will welcome every season with ease.
Bring Natural Elegance Home
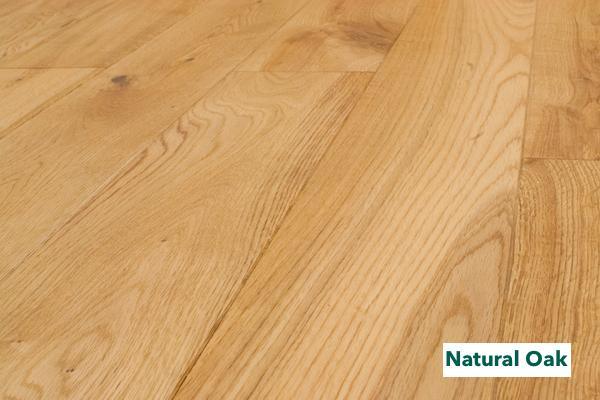
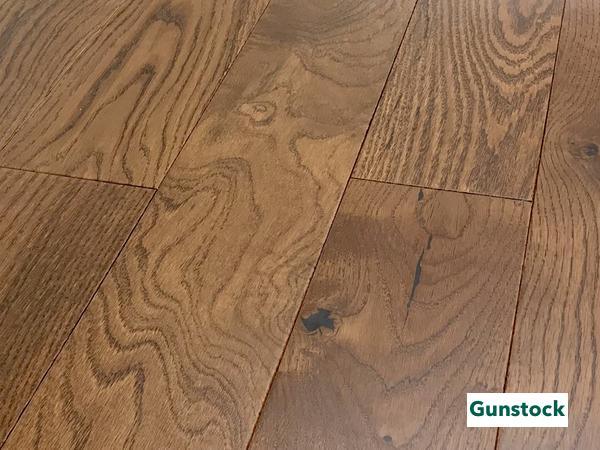
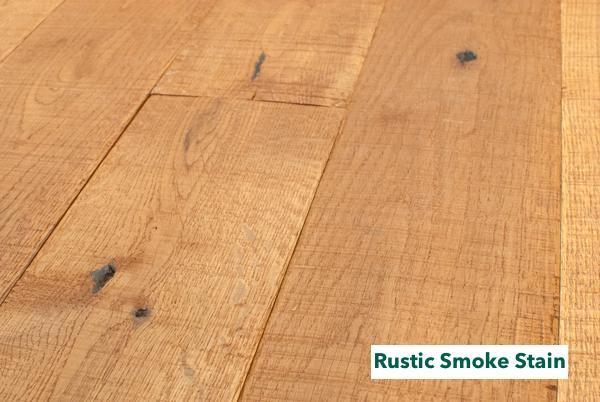
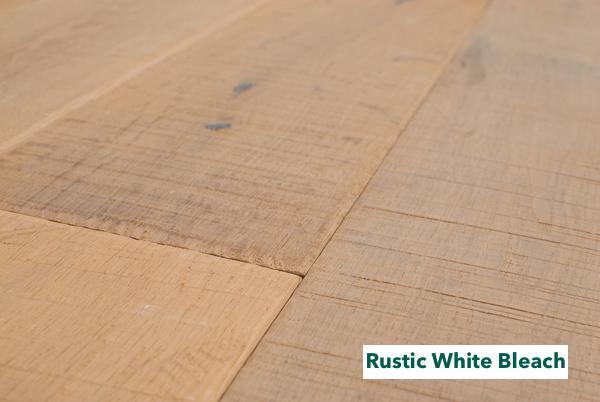
Ready to refresh your space with floors designed for both beauty and longevity? Discover Easiklip’s collection of solid oak floating floors—prefinished, durable, and crafted for effortless installation.
Order your free sample today: https://easiklip.ca/pages/order-samples
Explore pricing here: https://easiklip.ca/pages/pricing
Experience the elegance of wood made easy.