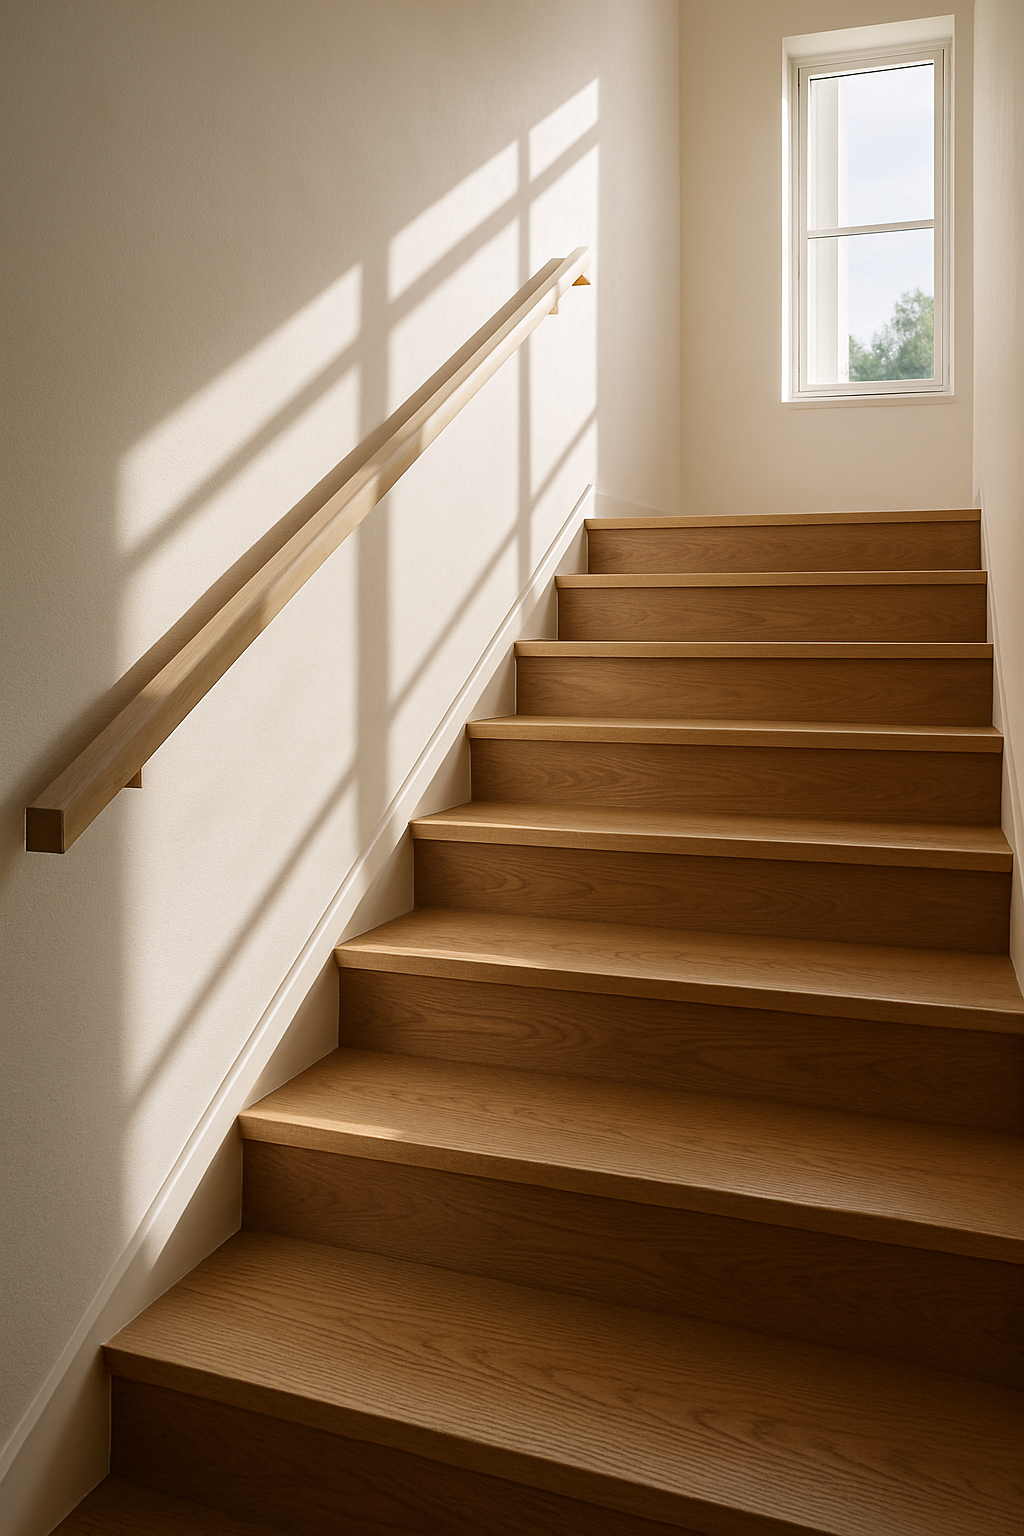
Staircases do more than carry you from one floor to another. They frame the vertical experience of your home, sculpting space with structure, rhythm, and materiality. Whether ascending to a lofty library or descending into a basement escape, stairs should feel as elegant as they are enduring.
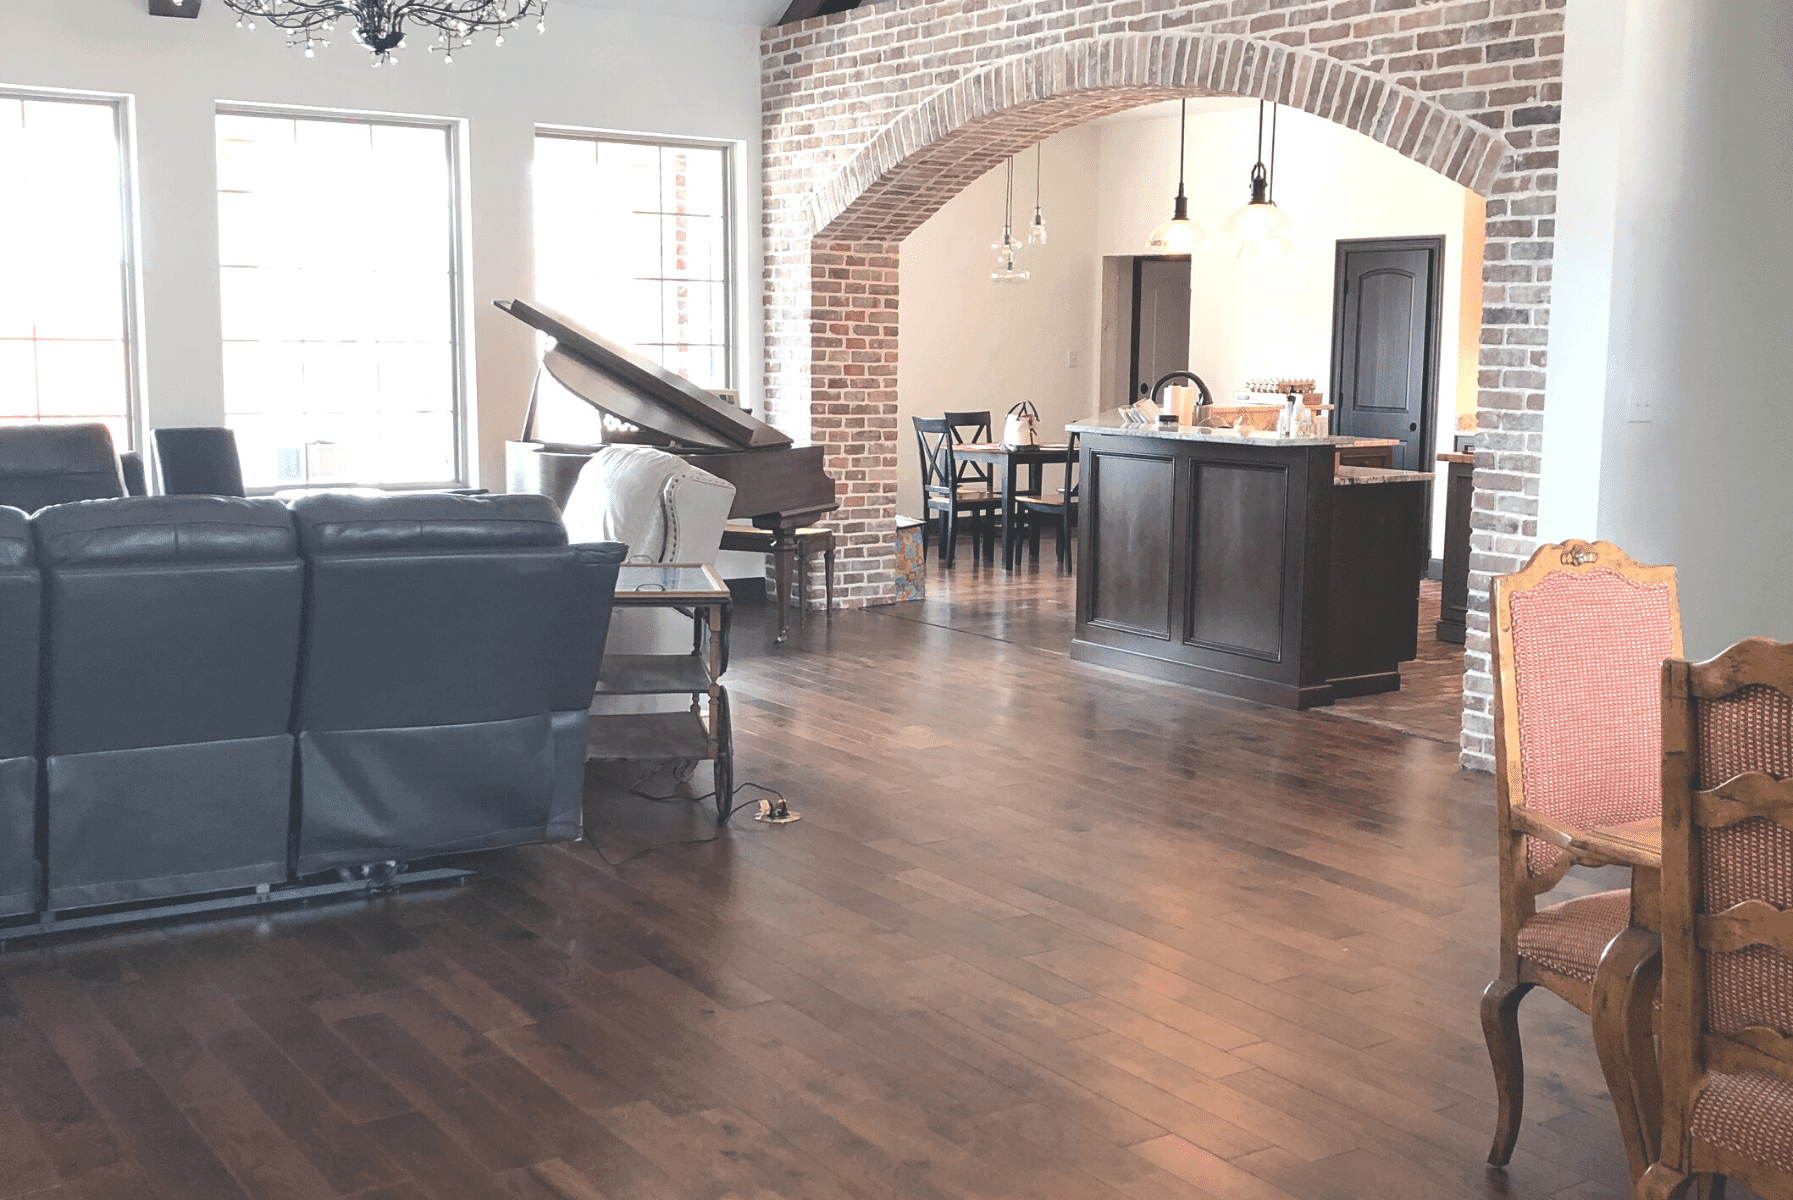
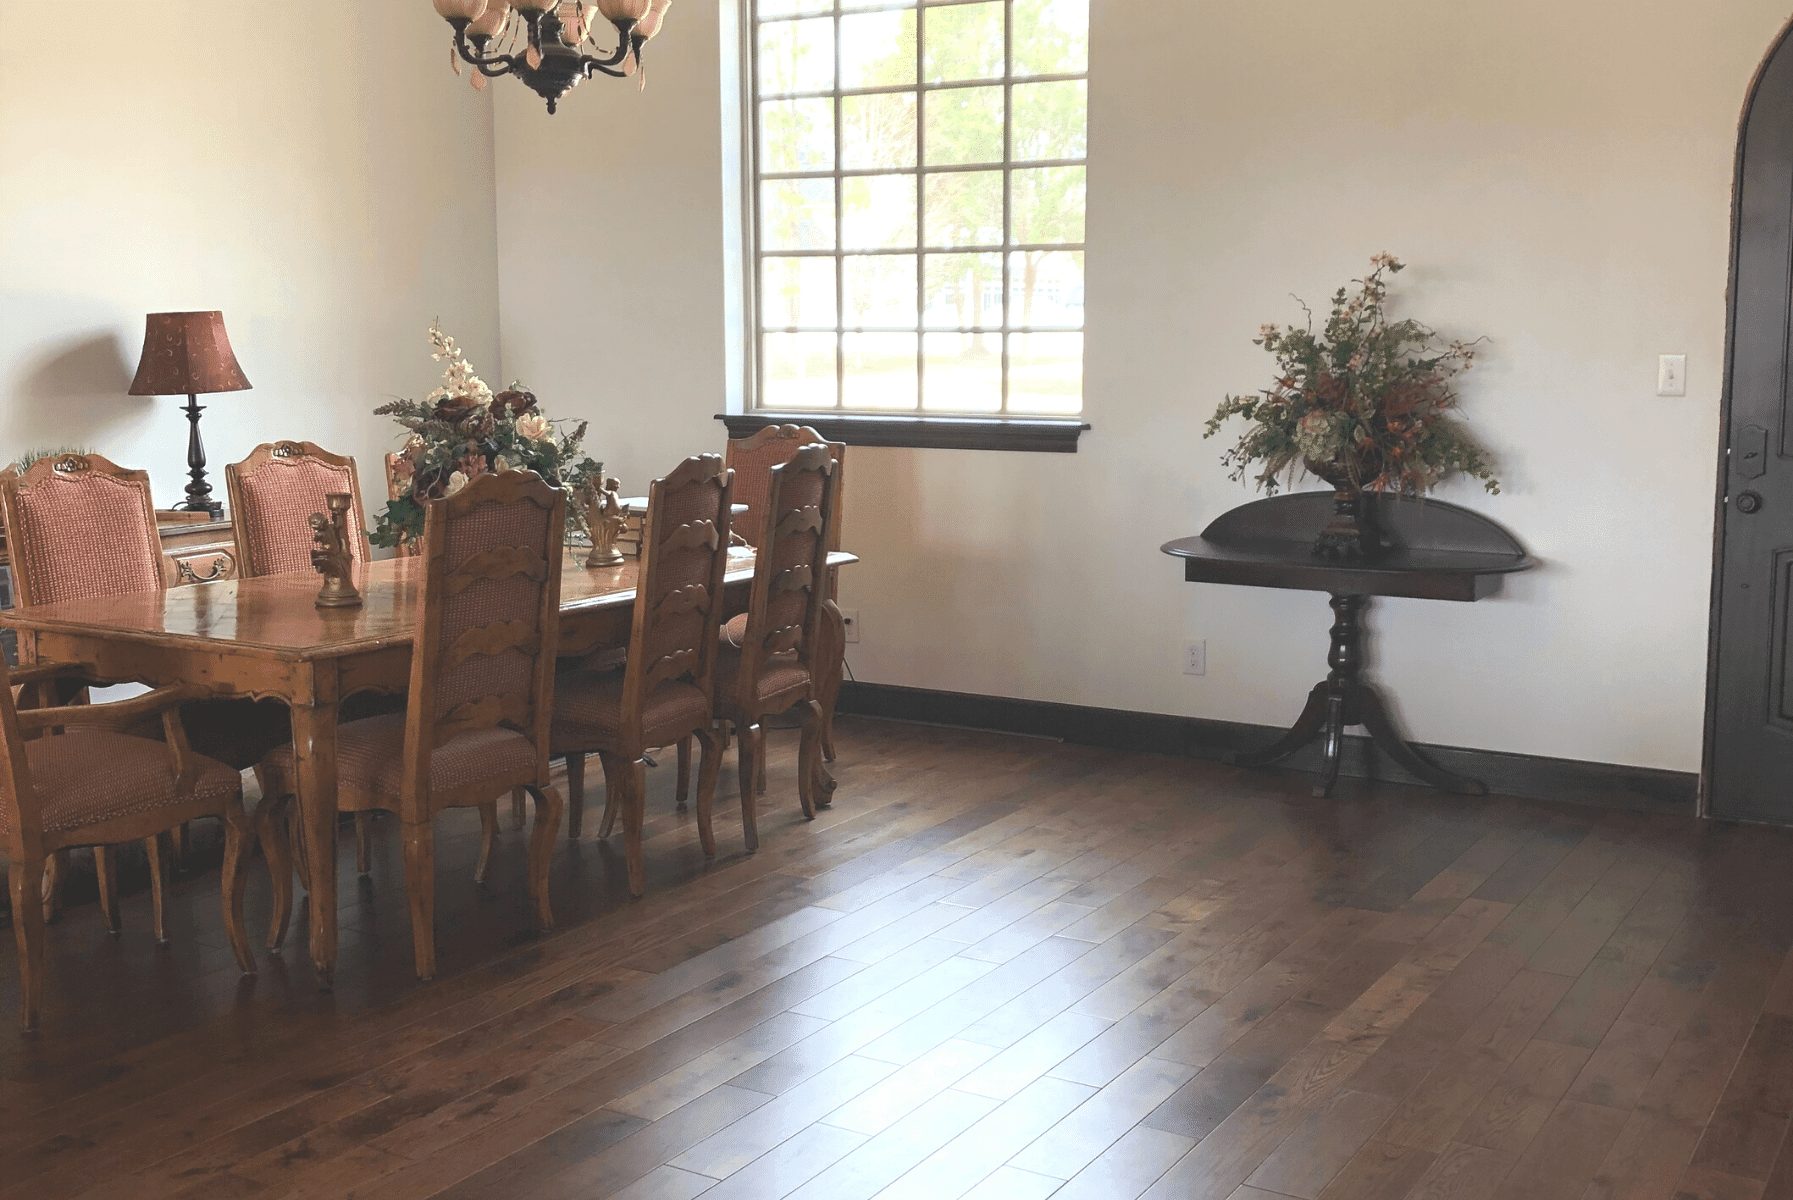
That’s where hardwood makes its mark. Warm underfoot and timeless in tone, hardwood transforms the mundane into the memorable. But installing hardwood stairs—especially if you're doing it yourself—requires more than good taste. It demands good planning, precision, and a few tricks of the trade.
This guide is your blueprint: a walk through everything from measurements and materials to finishes and final costs. Whether you're building from scratch or refinishing what’s already there, it’s all about creating something that lives beautifully underfoot.
Why Hardwood Is the Gold Standard for Stair Design
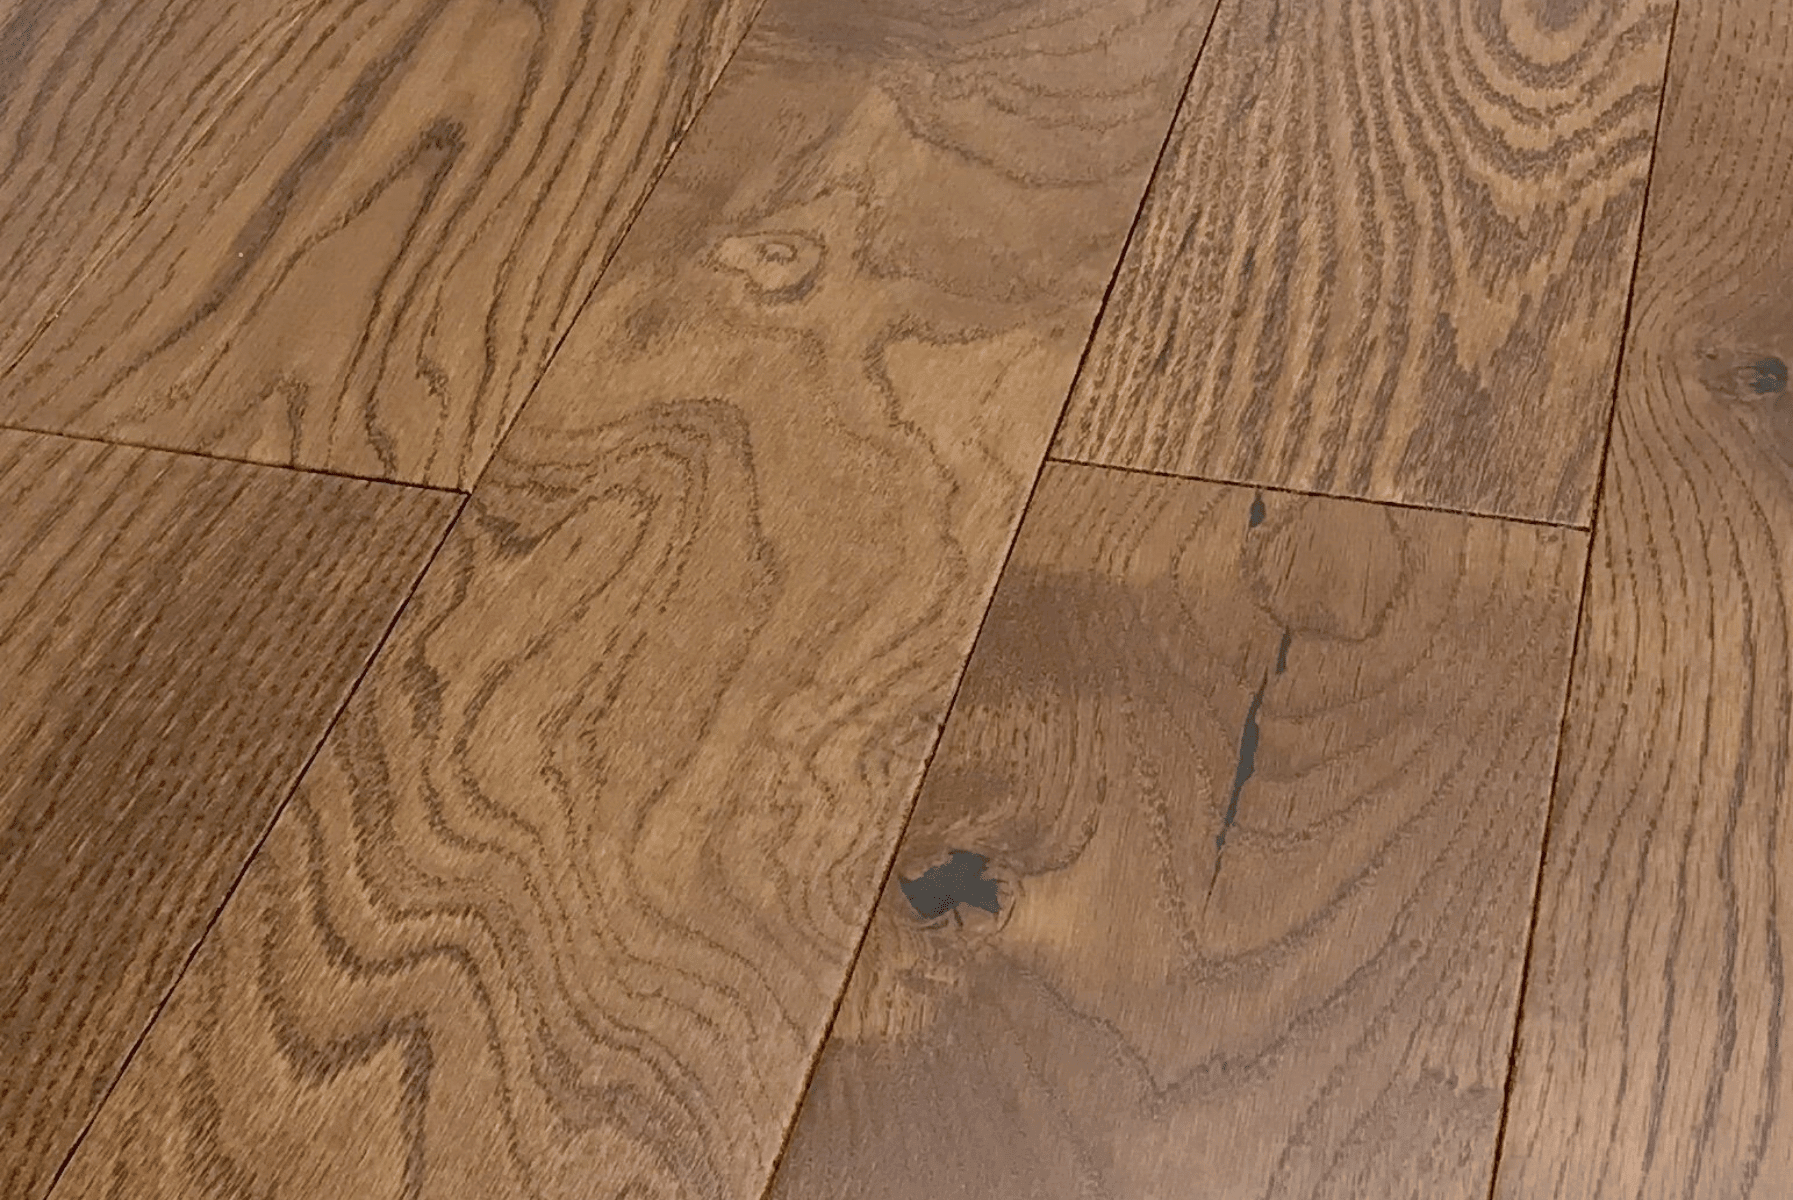
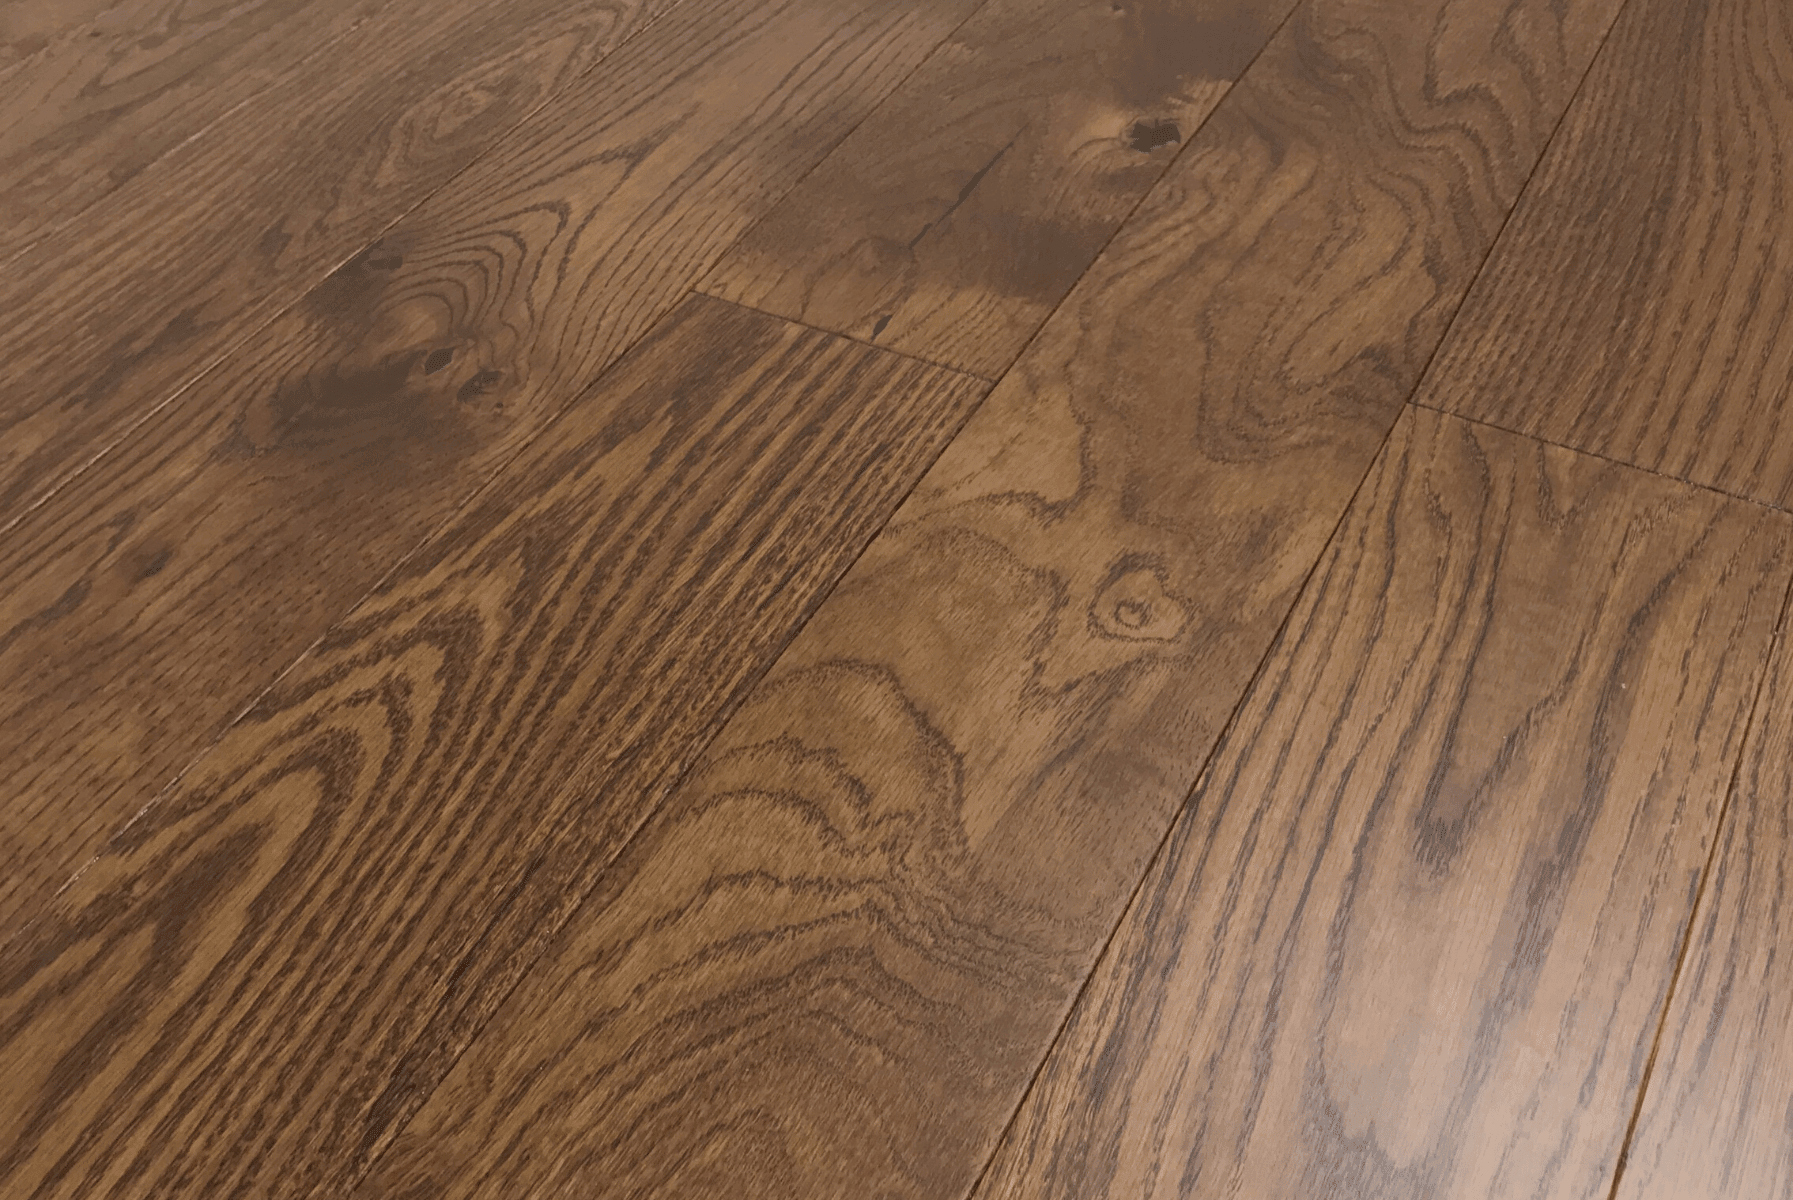
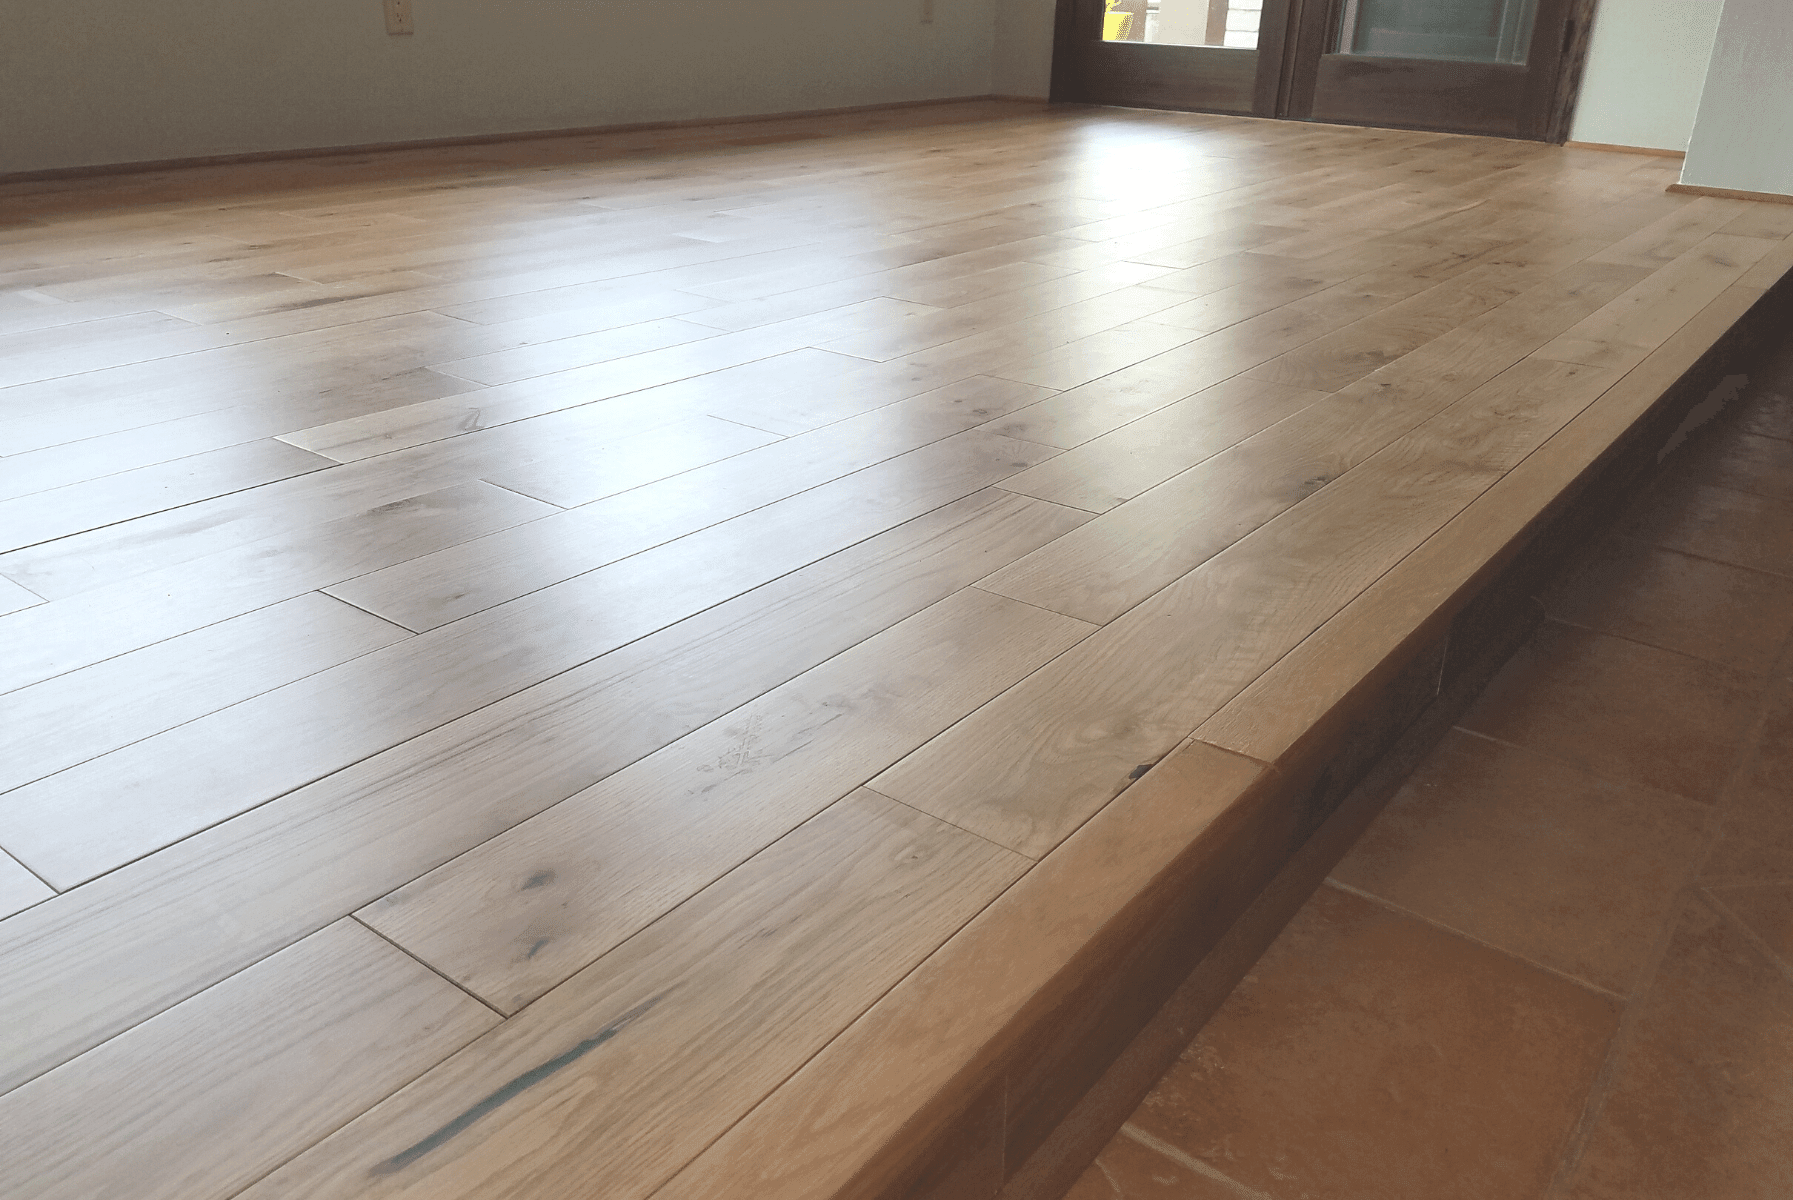
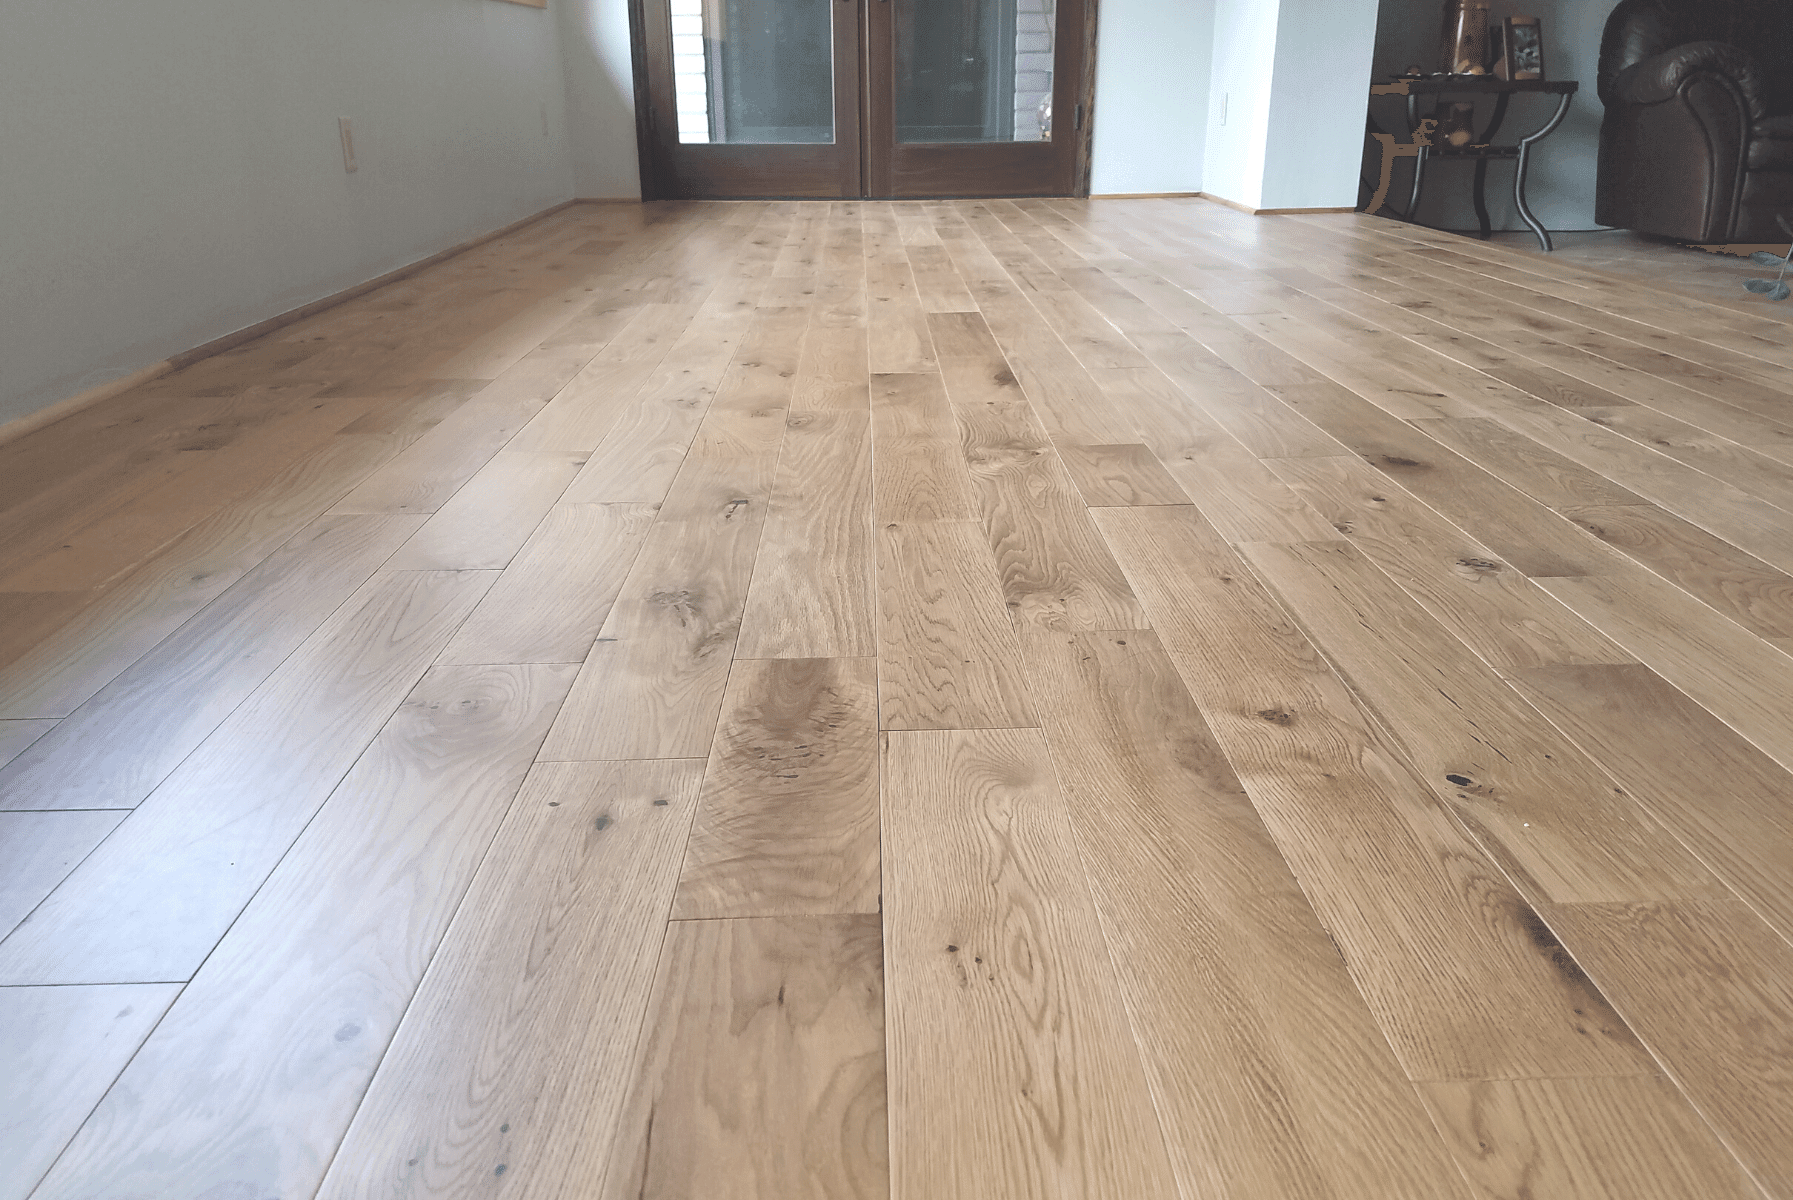
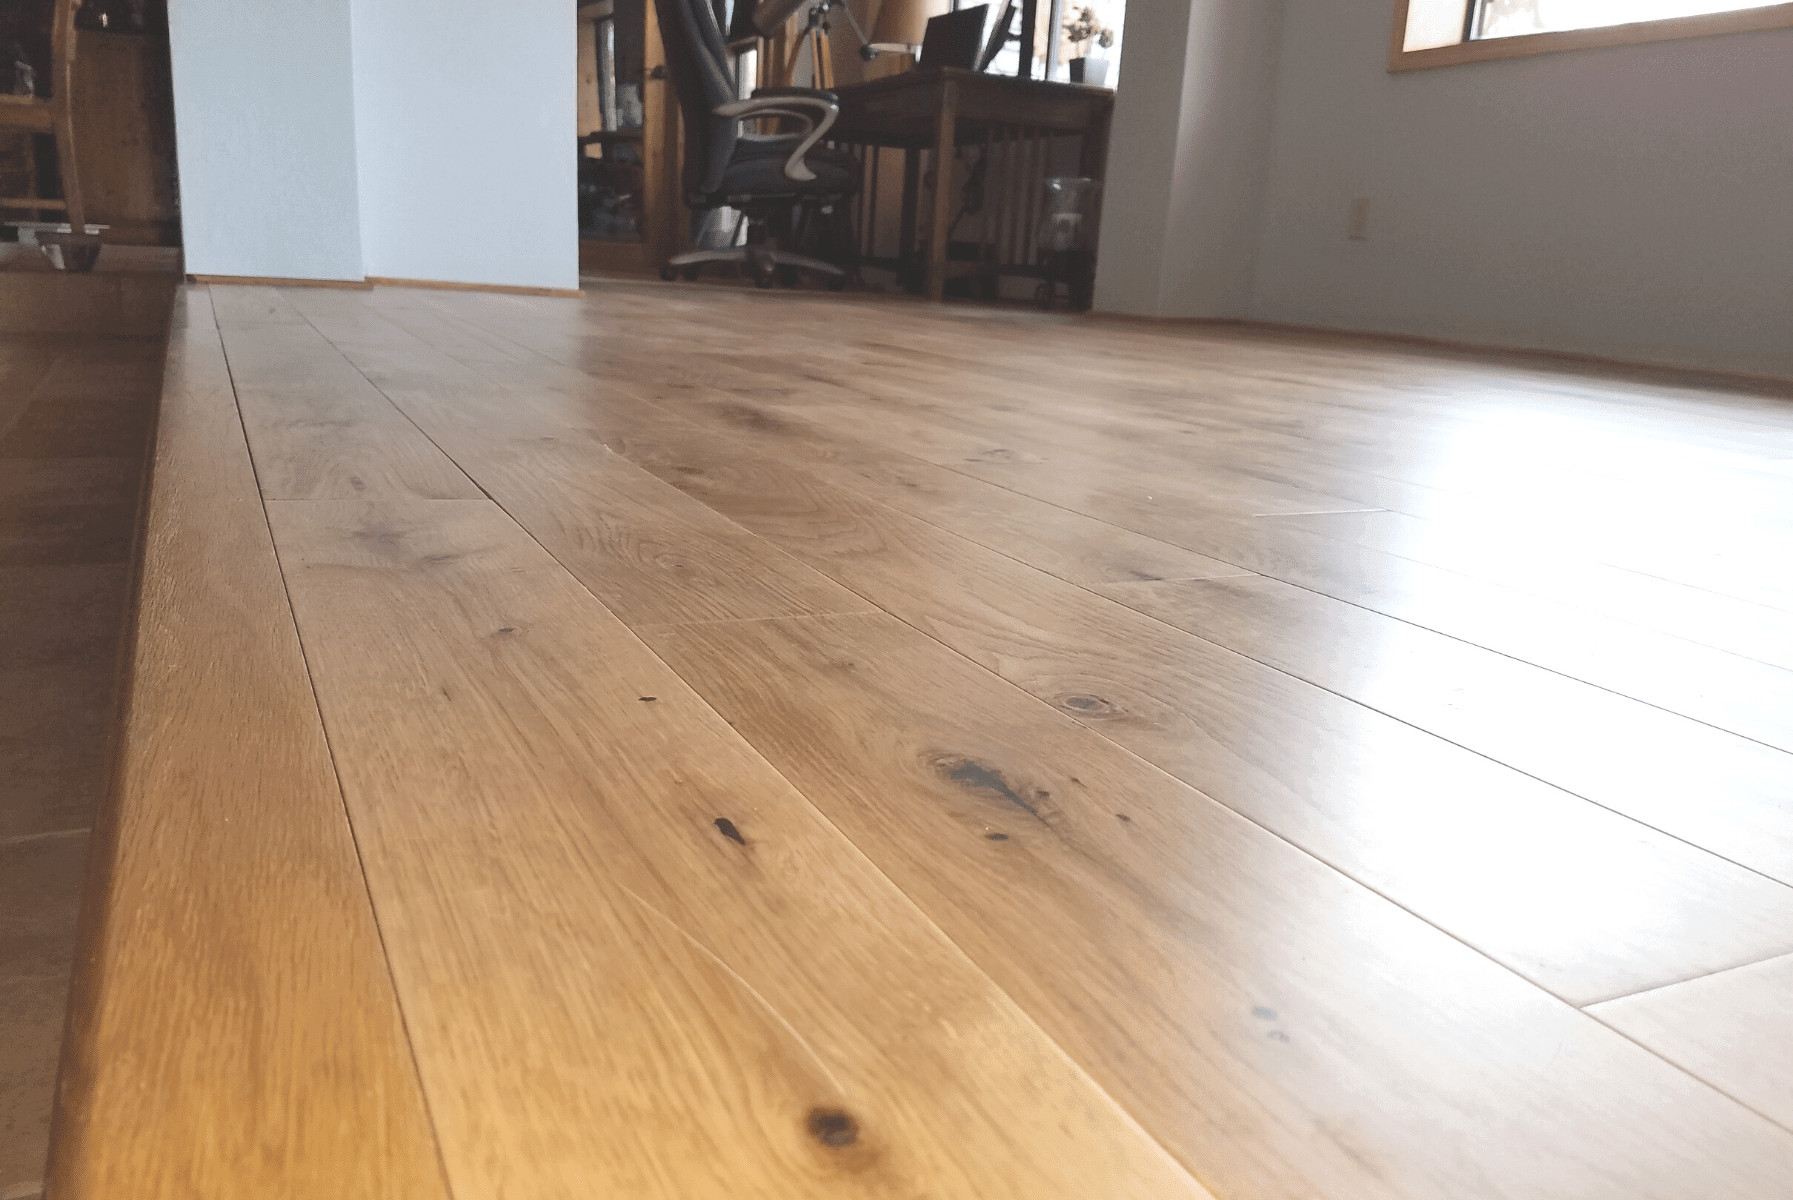
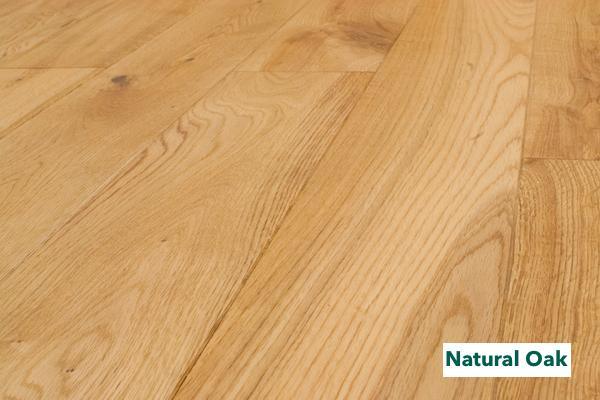
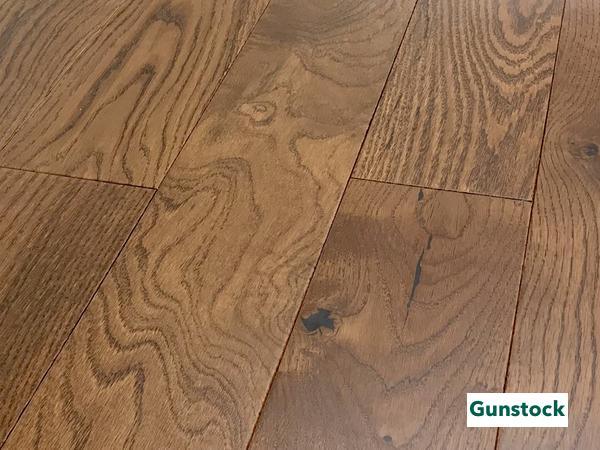
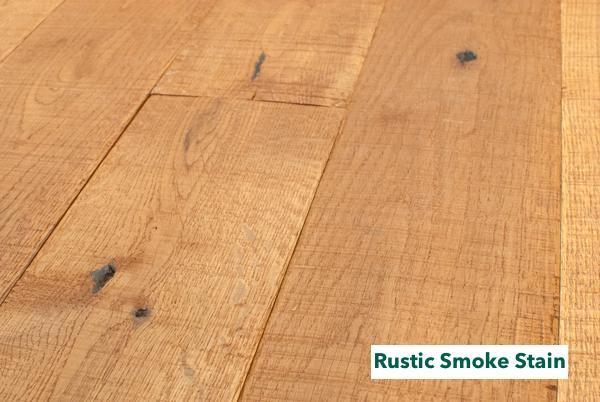
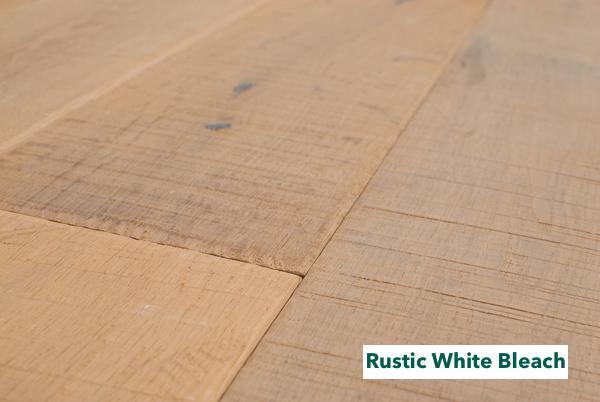
Most builders use hardwood for their finished stairs, with good reason. Hardwoods combine sturdy functionality with the beauty of wood. The variety of hardwoods and stains can accent any decor.
Hardwood stairs provide:
- Easy cleaning and maintenance
- Healthier living because it doesn’t harbor allergens
- Diverse styles and design
- Long-life durability
- A natural, sustainable building material
- Added value to your home
Before you decide on which hardwood and finish to use, you need to build the staircase. You’ll need to do some measuring and figuring to know how much lumber and other materials to buy. Let’s get started.
Before You Build: Codes, Geometry, and Getting It Right

There are some standard calculations you need to consider, no matter how long or how high your wood staircase installation will be. Be sure to follow the International Residential Code (IRC). It establishes minimum requirements for stairs to ensure everyone’s safety.
- Stair Width – 36” with handrails projecting no more than 4 ½” on either side.
- Headroom – A minimum of 6’8” inches from any landing or stair tread to the lowest point of the ceiling.
- Vertical Rise and Landings - The code requires a maximum vertical height of 147 inches (12’ 3”) between landings or floor levels for any flight of stairs. If the distance between floor levels exceeds 147 inches, you must add a landing to break up the flight of stairs.
- Riser Height - Risers cannot be more than 7 ¾ inches tall. Any variation of the height of risers within a flight of stairs should not be more than ⅜ inch. Measurements are without carpet or runners.
-
Tread Depth - Stair treads must not be less than 10 inches deep. If you don’t want to install stair nosing, the tread depth must be no less than 11 inches. Variations of treads or nosing should be no more than ⅜ inch. Regarding nosing:
- Nosing that is beveled should not exceed ½ inch or the radius of curvature not more than 9/16 inch.
- The projection of nosing shall not be more than 1¼ inches and no less than ¾ inch.
- Handrails – At least one handrail is required for stairs of 4 or more steps. They need to be between 34 inches and 38 inches from the top of the riser.
To help you make all the right calculations, go to the free stair calculator at Blocklayer.com.
Now that you have your measurements in mind let’s start building those stairs.
Step-by-Step: From Frame to Finish
This is a basic guide highlighting the conventional techniques for a wood stairs installation. Every stair is unique, so we’ve added some additional references at the bottom.
Step 1 - Establish the Perimeters
Measure the area where the stairs will go. Be sure you have enough space for a 45° slope angle, 36 inches for the width, and a minimum of 6’8” of headroom all along the stair path. If you have extra space, add a landing to break up the stairway.
Step 2 - Determine the Starting Point
The most efficient use of space is keeping the stairs against a wall, and the wall will provide extra support. Remember to avoid blocking a door or vent with the lowest steps.
Step 3 - Trace a Line from Bottom to To
This is a two-person operation. With one person at the end of the stairs and another on a ladder at the top, use a chalk line or straight edge to draw a line where the first stringer will go.
The stringers are the notched pieces of wood that support the risers and stair treads.
Step 4 – Gather Your Materials
You will need to construct or purchase at least two stringers along with the boards for the treads and risers. You can find pre-cut stairs at a lumberyard. Always measure twice before cutting or buying any lumber. If you purchase pre-cut boards, avoid any that are warped or splitting.
Step 5 - Install the Stringers
Locate and mark the horizontal studs in the frame inside the wall where you will attach the stringer. Get some help and place the stringer against the line that you marked on the wall. Make sure it’s level before you attach it to the wall. To check, set a level on the cut where the thread will go.
Nail or screw the stringer to the wall studs, making sure you hit the stud. Secure the stringer with braces from the top down to the floor. Alternatively, you can use a drill and decking screws. Pre-drill the stringer first to avoid splitting.
Align the second-stringer for the correct width and height. If another wall supports it, follow the same procedures as the first stringer. If there is no wall, you will need to cut additional boards as support.
Step 6 - Install the Treads, Risers, and Handrails
Starting at the bottom, attach the riser first and then the tread on top. Check for fit and level before moving to the next step.
Step 7 - Install a Handrail
Install a handrail parallel with the stringer and 34 inches to 38 inches above it.
Step 8 – Top the Treads with Hardwood
Typically, you’ll use plywood to build the stair treads and then top them with your choice of hardwood.
Installing a hardwood stair can be costly, but a quality stair adds beauty, functionality, and value to your home. You can save money depending on the quality of materials and how much sweat equity you’re willing to provide.
What It Really Costs to Install Hardwood Stairs
The wood stair installation cost from scratch will depend on the choice of hardwood and the number of stairs. It’s safe to say that the average cost per step runs between $100 to $200 per step, including labor if you hire a contractor to do it. So, a flight of finished, hardwood stairs of 10 to 12 steps will cost somewhere around $1,000 to $2,400.
If you can replace the steps or tread with new wood instead of building all new stairs, that will decrease the cost significantly.
Installing stairs, especially for the first time, can be complicated. Here are some questions and answers to help you complete the job.
Hardwood Stair FAQs: Your Questions Answered
What is the correct angle or pitch of the stair stringers?
According to code, the pitch needs to be 39 to 45 degrees. If you buy pre-cut stringers, they will be 45-degrees.
When will I need to get the building inspector to check the new stairs?
Have them check as soon as you install the stringers. They need to see what you’ve done before you put too much work into it in case you need to rework something.
How far should the stair nose stick out?
The stair nose or “bullnose” allows for our heels or toes to land slightly below the next stair nose. This creates a more natural step and the way we walk. ADA compliance codes specify, “The nosing shall project no more than 1-1/2 inches (38 mm).” Any longer and the stair can become a tripping hazard.
How do I match the stair nosing?
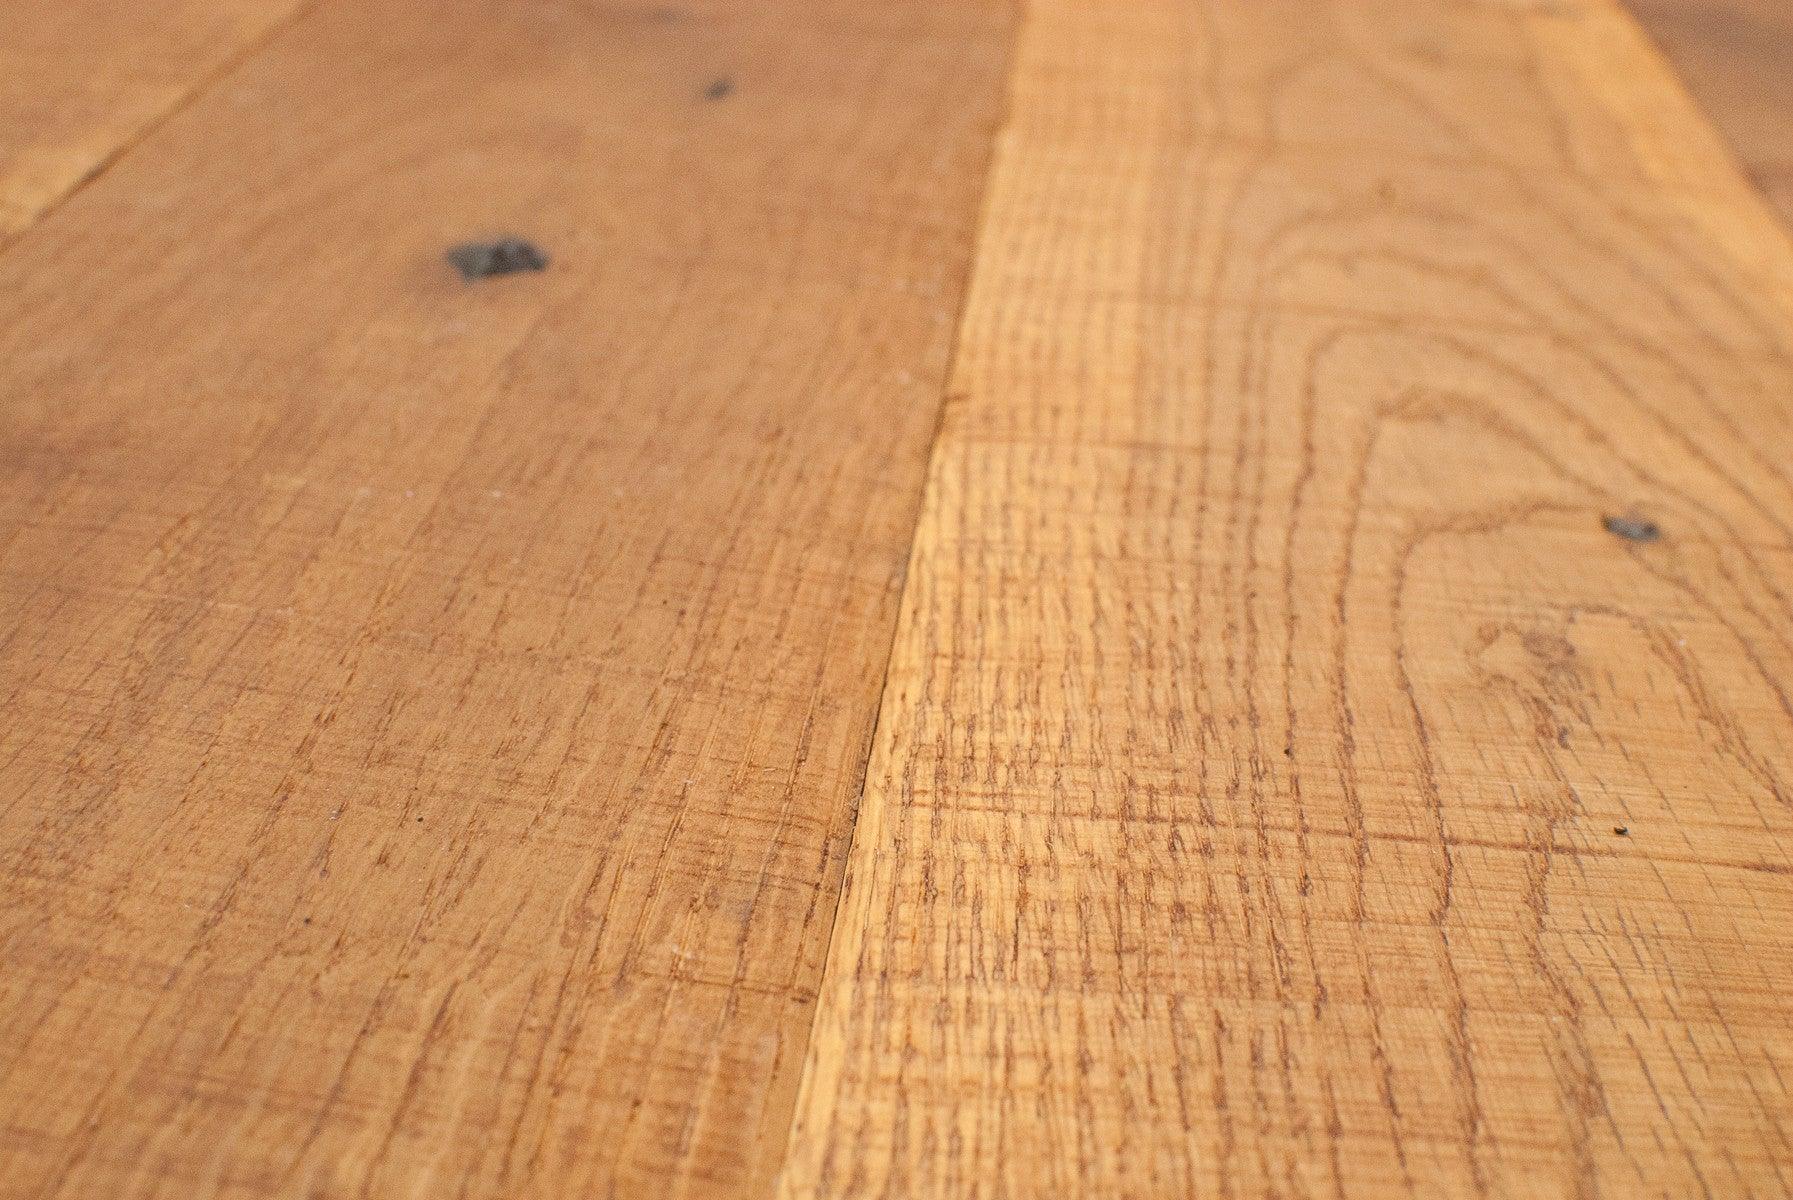
A design issue to consider is matching stair nosing. If the nosing wood differs from the tread wood, it could stick out like a painted nose on a fighter jet.
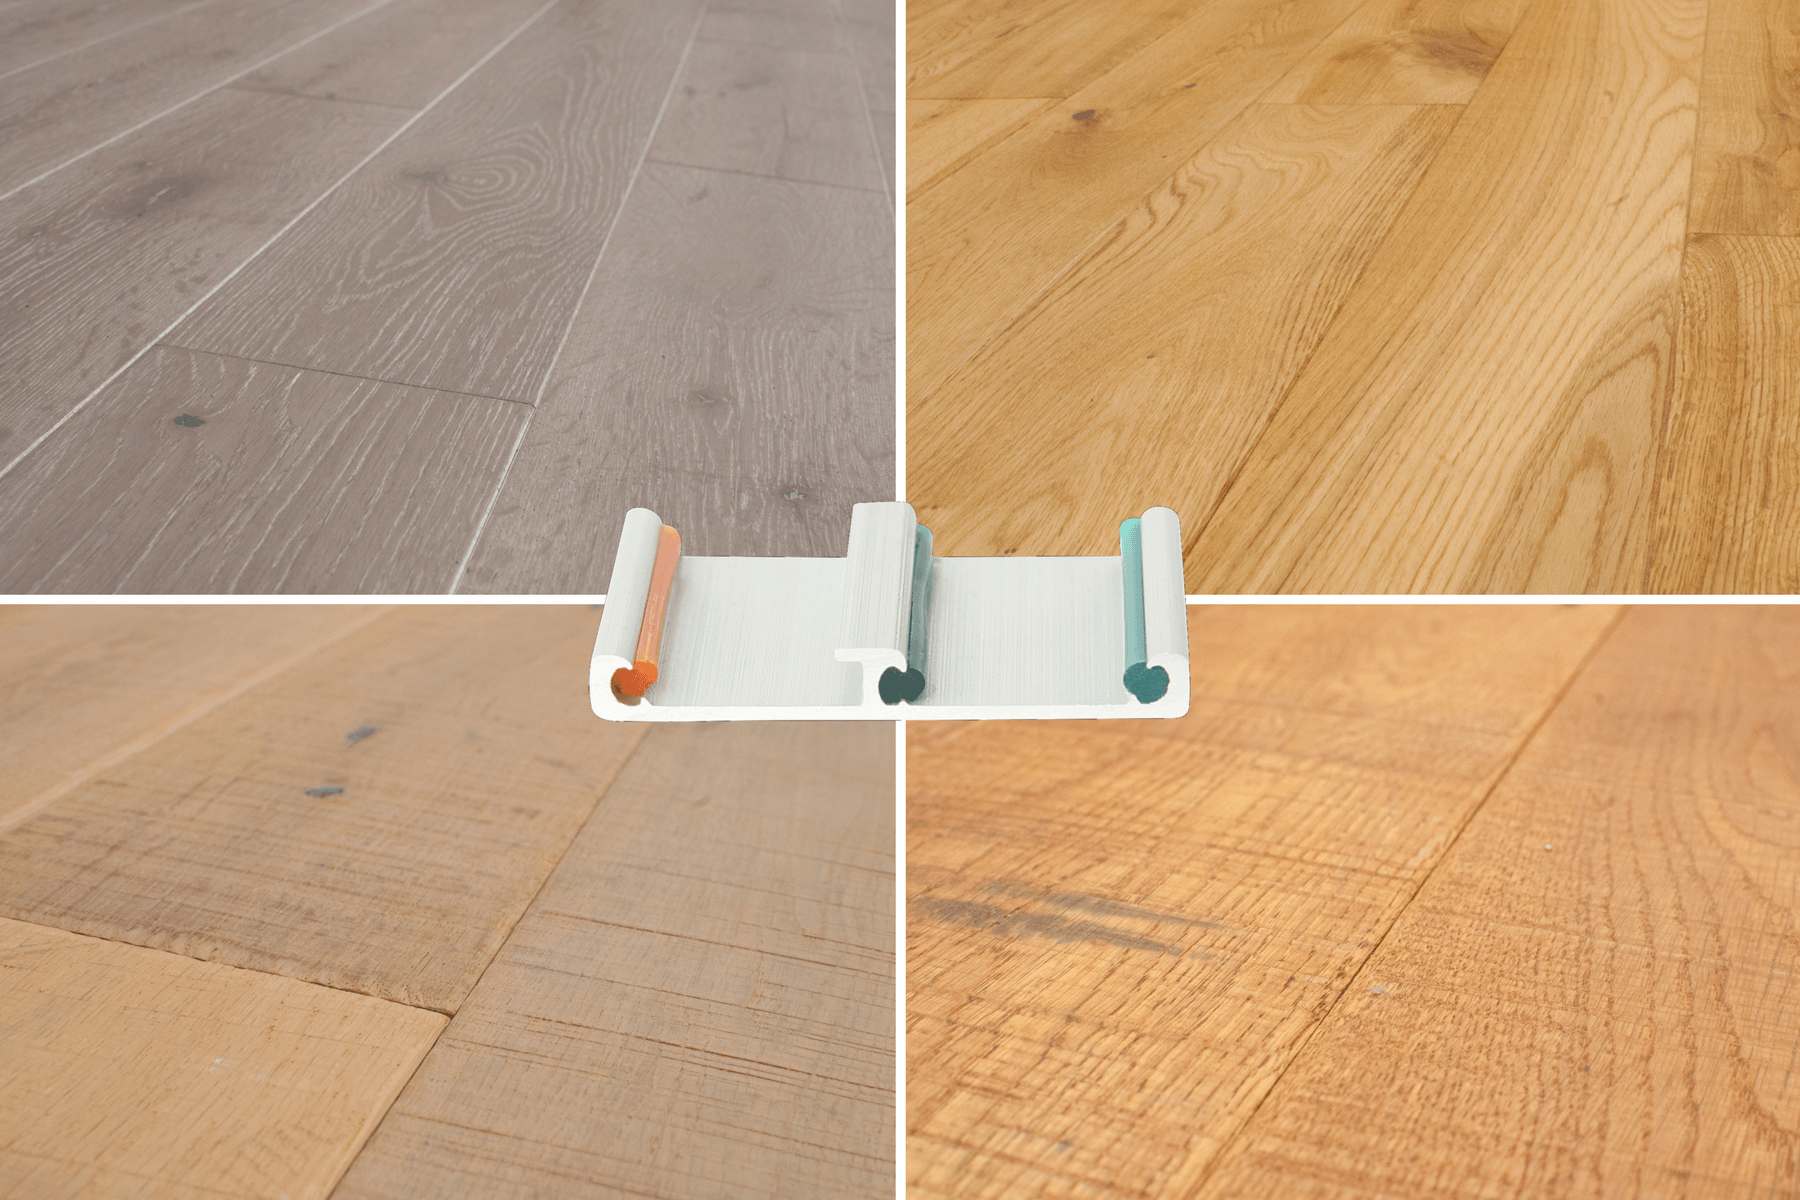
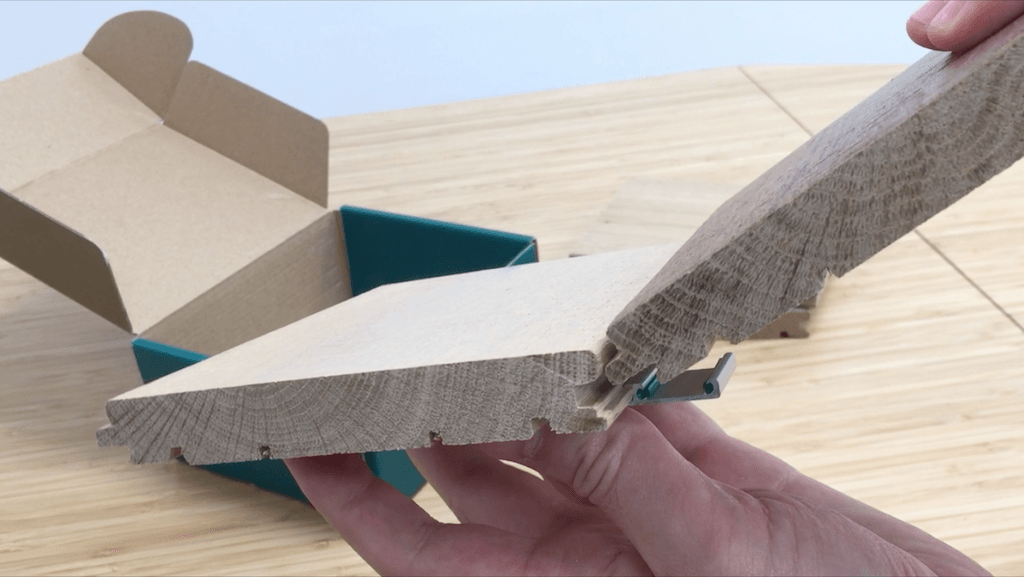
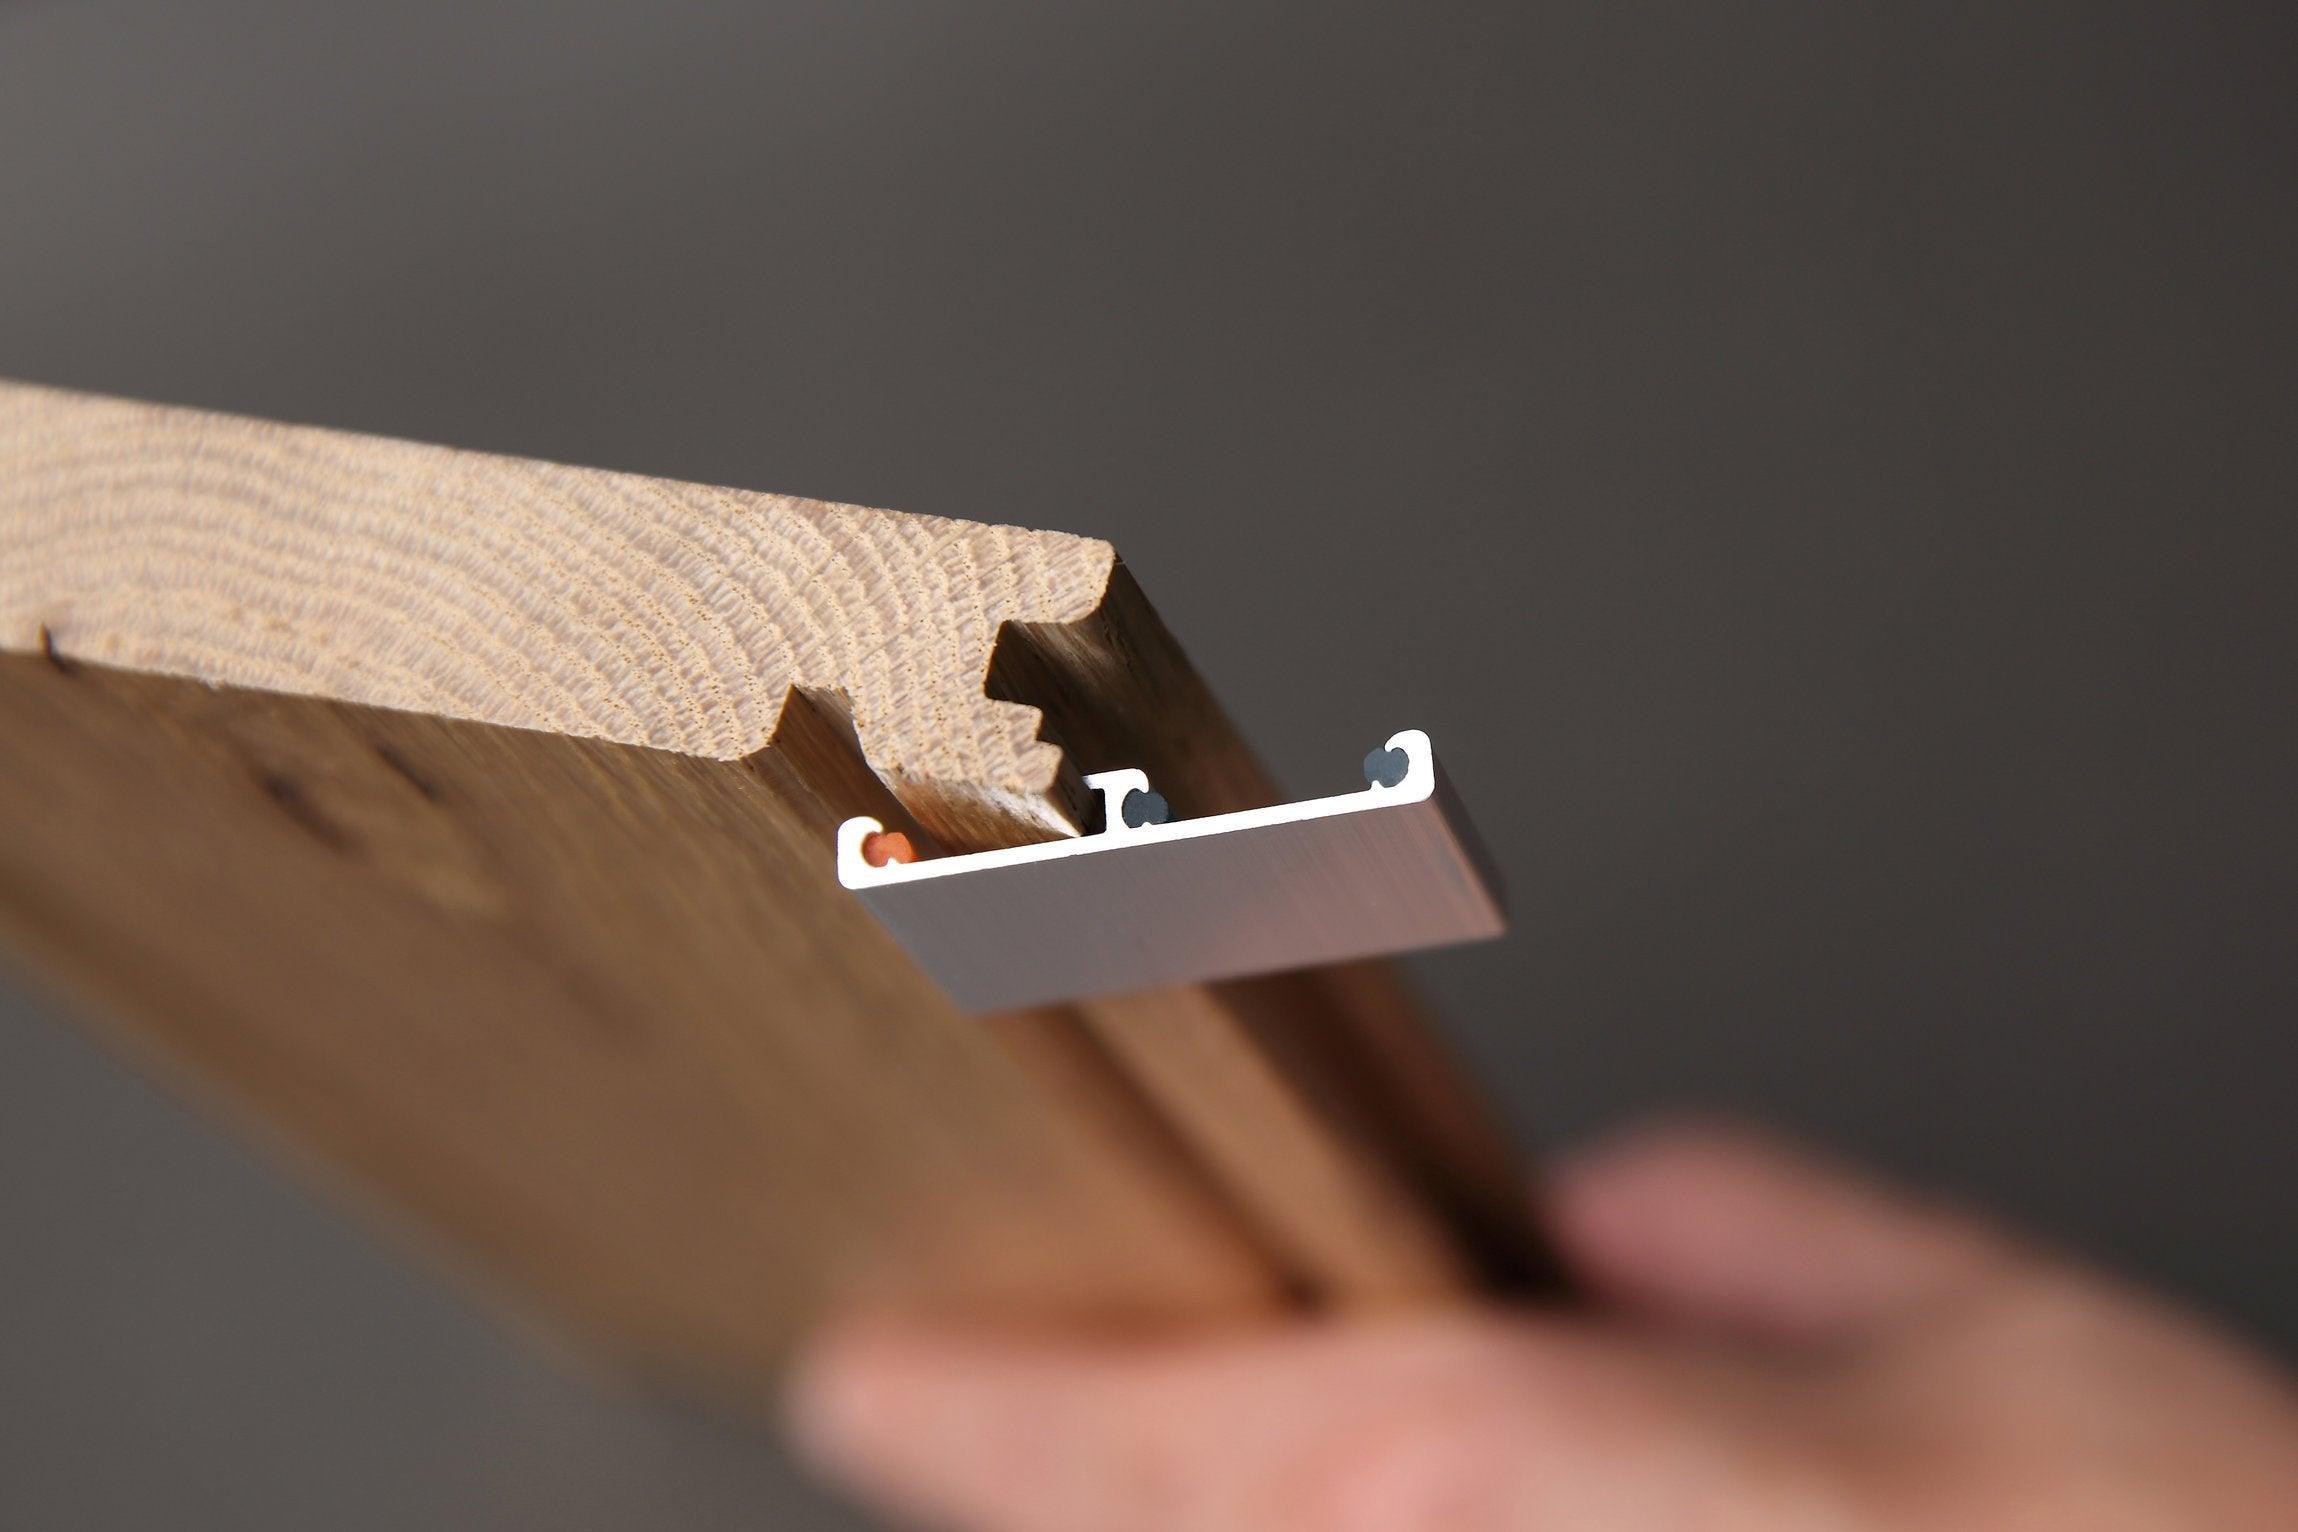
To avoid this potential design flaw, Easiklip has solid hardwood floorboards with matching stair nosing. Check here first when designing your hardwood stair project.
One technique to make your wood staircase installation look uniform is to use the same wood flooring for both the riser and stair tread.
Since you want to do this job right the first time, we’ve compiled some extra resources to help you plan your stair project.
More Inspiration, More Insight
To help you gather all the information and ideas, here are a few articles worth reviewing before you start:
- How to Build Stairs – A DIY Guide – This article has some clear photos and descriptions to give you another perspective.
- How Much Do Hardwood Stairs Cost? – Here is the latest cost comparison for various types of hardwood stairs.
- For extra information on the technical aspects of measuring and building stairs, go to this article, “Learn How to Build Stairs” by Carpentry-Pro-Framer.
- Easiklip has a detailed article that will help titled, “How to Install Oak Stair Treads With Molding and Riser.”
- This video, “How To Install Hardwood on Stairs,” shows you how to prep existing stairs to finish them with hardwood. He gives a couple of useful installation tips too.
The best advice is always “measure twice and cut once.” With all the references provided here, you should have no trouble with your wood staircase installation.
Conclusion
Hardwood stairs are a tactile thread that connects your home’s levels—an architectural detail you’ll see and step on every single day. Whether you’re aiming for classic craftsmanship or minimalist modern, the right hardwood install brings texture, durability, and distinction to your vertical spaces.
Take the time. Get the lines right. And when in doubt, let the grain speak for itself.
Want to elevate your stairs without compromising your timeline?
Easiklip solid oak flooring and matching stair nosing make stair installations as beautiful as they are practical. Shop online at https://www.easiklip.com and start your transformation today.