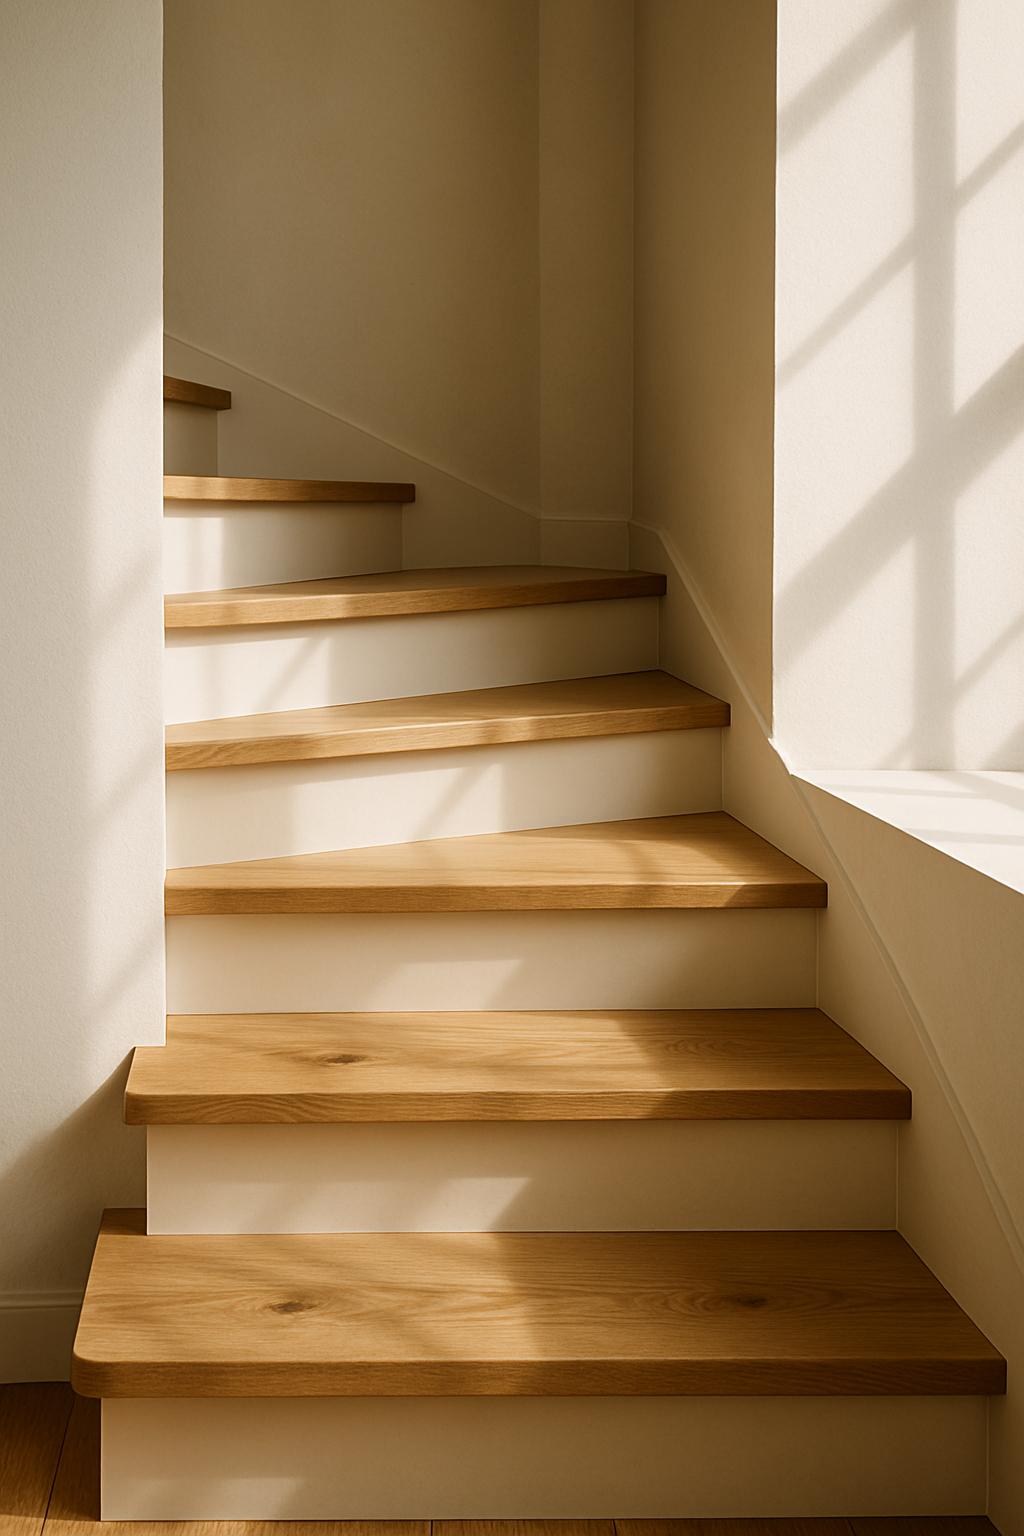
Upgrading your stairs isn’t just a structural choice—it’s a design decision. Whether you’re mid-reno or starting fresh, this guide will walk you through each phase of stair installation using solid oak treads, one of the most timeless and resilient materials on the market. From design tips to essential tools and finishing techniques, you’ll learn how to build a staircase that’s both elegant and enduring.
And if you’re ready to take the stress out of installation, explore Easiklip’s floating stair system—engineered to save time, reduce mess, and deliver a seamless finish. Browse stair nose moldings now.
Understanding the Anatomy of Your Stairs
Staircases come in two primary types: straight stairs and winder stairs. A straight staircase runs in a single direction without changing course. A winder staircase, also called a pie stair, changes direction using a landing—which can be square, split in two, or formed by wedge-shaped steps (resembling a pie slice or kite) to create the turn.

Every staircase consists of two main parts:
-
Tread – The horizontal surface you step on.
-
Riser – The vertical section that elevates each step to the next level.

When designing or installing stairs, two key measurements are crucial:
-
Run – The depth (or width) of the stair tread. Wider runs are more comfortable, especially for those with larger feet.
-
Rise – The vertical height between steps.
Most stair treads extend beyond the riser to create a stair nosing (also called a bullnose). This slight overhang—typically around one inch—adds extra width and a rounded edge to reduce tripping hazards.
Tread Styles That Define Your Staircase
-
Straight Box Tread – Designed for enclosed stairs where no edges are visible.


- Mitred Tread – The exposed side of the tread has an extra piece called a return mitered. This piece holds the stair spindles or balusters.

- Double Mitered Treads – Used for stairs with both sides exposed. The mitered returns support the spindles or balusters of the railings.

- Winder Stair Treads – These treads allow for stairs to turn up to 90⁰ left or right. Depending on the stair, they can look like an equilateral triangle, pie wedge or a kite.

Why Oak Remains the Gold Standard
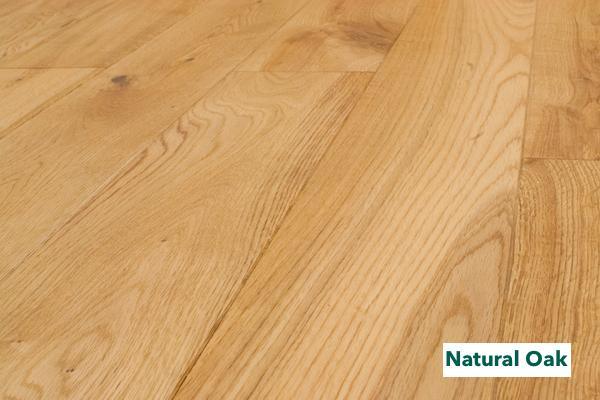
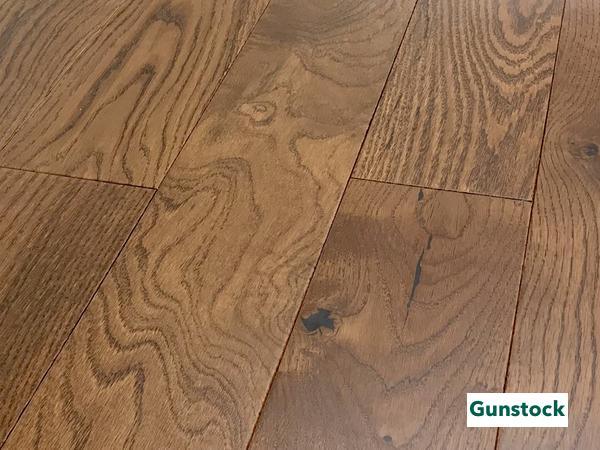
Unless you’re matching an exotic hardwood floor, oak is the go-to choice for stair treads. Solid oak is durable, affordable, and stunning—whether left natural or stained to complement your interior.
Your stairs aren't just a pathway from one floor to another. Depending on their location, they can be a striking architectural feature that enhances your home’s overall design.
Now, here’s the big question… How do you choose the right style and materials for your stairs? Let’s break it down.
Should You Match the Riser to the Stair Tread?
There’s no right or wrong answer—only personal preference. The first thing to consider is visibility. Are your stairs a focal point? Can you see them from multiple rooms? Are the risers at eye level when sitting in the dining or living room?
A painted riser creates contrast, drawing the eye to the stairs, which may detract from other features like a fireplace. Some designers prefer matching risers and treads for a sleek, modern look.
Here’s What to Consider When Finishing Your Risers:
-
Matching treads and risers creates a seamless, uniform look.
-
Unpainted risers add more natural woodgrain to the space.
-
White or light-colored risers show scuff marks more easily.
-
Painting risers to match the trim unifies the overall design.
-
Painted risers lend a more traditional, formal aesthetic.
At the end of the day, it’s all about what works for your space and style. Whether you choose matching wood tones or a contrasting finish, your staircase should complement your home’s overall design and function.
Required Measurements for Stairs
When building stairs, precision matters—both for safety and comfort. That’s why building codes enforce strict guidelines, often referred to as the 7-11 rule: a 7-inch rise and 11-inch run (17.78 cm to 27.94 cm).
Here are the key stair measurement requirements to keep in mind:
-
Maximum rise per step: 7 ¾ inches (19.7 cm)
-
Minimum tread depth (run): 10 inches (25.4 cm)
-
Maximum tread depth variation: 3/8 inch (0.95 cm)
-
Maximum rise variation: 3/8 inch (0.95 cm)
-
Maximum riser slope: 30°
Uniformity isn’t just about aesthetics—it’s about safety. Uneven stairs are a tripping hazard, which is why strict limits are in place for variability in tread depth and riser height.
Stair Tread Thickness Requirements
-
If supported by a riser (closed construction): Minimum 1 inch (2.54 cm) thick
-
If open construction (floating stairs or exposed treads): Minimum 1.5 inches (3.8 cm) thick for structural integrity
These measurements ensure durability while keeping your staircase safe and comfortable for everyday use. Always check local building codes, as requirements may vary slightly by region.
Step-by-Step: Installing Oak Treads Like a Pro
One of the most common questions DIYers ask before tackling a stair installation is:
“Do you install the risers or the stair treads first?”
The correct method is to install the risers first. Doing this ensures a tight, professional fit by allowing the tread to sit snugly against the riser. Since minor variations in riser width or stair jack notches are common, installing risers first eliminates gaps and alignment issues. Additionally, the first tread should be secured by nailing the back edge to ensure it is hidden by the riser.
Using Liquid Nails or another strong adhesive prevents squeaks and reinforces the durability of your staircase. Once secured, the stair bullnose overhangs the riser below, hiding any small inconsistencies.
The best method for installing oak stair treads involves using a combination of strong adhesives and hidden fasteners to avoid squeaking and ensure a secure installation without visible nail or screw holes.
Pro Tip: Experienced carpenters start at the top of the staircase and work their way down. This allows them to fit each new riser snugly beneath the previous tread, ensuring a seamless, gap-free installation.
The Right Tools for a Flawless Finish
Before you begin, make sure you have the right tools on hand:
-
Stair Tread Template Tool – Ensures precise measurements for each step.
-
Brad Nail Gun – Holds risers and treads in place while adhesive dries.
-
Claw Hammer & Crowbar – Removes old treads and nails.
-
Pliers & Utility Knife – Helps with small adjustments and removing obstructions.
-
Painter’s Tape – Assists with precise cutting and marking.
-
Circular Miter Saw – Used to cut stair treads and risers to exact dimensions.
-
Construction Adhesive (Liquid Nails or equivalent) – Prevents movement and eliminates squeaks.
-
1” Pocket Hole Screws – Provides extra reinforcement when needed.
-
Magnetic Box Level – Ensures your treads sit perfectly level.
-
Joint Brackets (30mm x 38mm / 1.18” x 1.5”) – Stabilizes stair treads for added durability.
Step 1 – Preparing the Stairs
If you’re upgrading from an old carpeted stairway to new hardwood oak treads and risers, the first step is to remove the old materials. Start by ripping up the carpet and padding, then use pliers to remove any leftover nails or staples. This prevents injuries and ensures a clean, smooth surface for installation.

When dealing with bare stairs, it's important to follow best practices for installing new stair treads. Ensure that the new treads are flush with the risers and that any prior adhesive is removed for a clean installation. Secure the treads using screws and adhesives for a sturdy fit.
You have two options:
-
Leave the plywood sub-tread in place and install new treads over it.
-
Remove the sub-tread and install directly onto the stair stringer.
Both methods work, but removing the sub-tread can provide a more secure installation. Before moving forward, confirm that your stairs meet local building code requirements for safety and proper dimensions.
Step 2 – Measure Each Stair Tread and Riser
Since stair dimensions can vary, it’s important to measure and cut each new stair tread and riser individually. Using a stair tread template tool will help ensure accuracy. If you plan to cut all the new stair treads and risers before removing the old stairs, number each one to match its location for easy installation.
Steps to Measure and Cut Your Treads and Risers:
-
Use the stair tread template tool to measure the existing treads and risers.
-
Place the template on top of the new tread and mark your cut lines.
-
Apply painter’s tape to the ends where the template indicates a cut (optional but makes cutting easier to see).
-
Score the tape lightly with a utility knife to create a guide for precise cuts.
-
Use a circular miter saw to make the cuts.
Once ready, use a hammer and crowbar to pry up the old treads if replacing them entirely. If you’re installing prefinished hardwood treads over the old ones, leave them in place.
Step 3 – Leveling Across the Stringers
For a squeak-free stair installation, it’s essential to level each tread before securing it. If you’re attaching the new treads directly to the stair joists, adding joint brackets will help secure and level them. Additionally, accessing the under side of the stairs allows for proper fastening methods, such as using adhesive and screws from this location to ensure a clean finish without visible nails or screws. Here is an excellent video demonstrating the technique of adding brackets using a magnetic level to place them in the right location.
How to Level the Stair Treads with Brackets:
-
Use a magnetic box level to position the bracket correctly.
-
Attach the brace to the magnet and place the level across the stair stringers.
-
Once level, mark the bracket hole locations and secure them in place.
-
Install at least one bracket per stringer and two for center stringers for extra support.
Pro Tip: This technique requires access to the underside of the staircase, so plan accordingly.
Step 4 – Dry Fit, Then Glue in Place
Before permanently securing anything, dry-fit each tread and riser to check for proper fit. This step is crucial in the process of treads and install, ensuring that each piece aligns perfectly. Once confirmed, apply a generous amount of construction adhesive to the back of the riser and press it firmly into place.
Securing the Riser:
-
Use Liquid Nails or another strong adhesive to prevent squeaks and ensure durability.
-
Shoot a few brad nails through the face of the riser to hold it in place while the glue sets. The nail heads should sit below the surface and be hidden.
-
If needed, fill any nail holes with hardwood putty for a seamless finish.
Installing the Treads:
-
If installing over an existing stair tread or sub-tread, apply adhesive to the top surface before setting the new tread in place.
-
Press the tread firmly onto the riser below it.
-
Secure each tread with four brads—one in each corner—to hold it in place while the adhesive dries.
Pro Tip: Expect to use one tube of adhesive per riser and stair tread for a strong, long-lasting installation.
Now, simply repeat the process down the entire staircase for a beautiful, durable finish. Whether you’re installing solid oak treads or prefinished floating stair treads, these steps ensure a secure, professional-grade installation.
Here’s one of my favourite tips for getting your stairs to look clean, secure, and professional: before applying your final coat of finish, double-check each tread and riser for tight fits—especially near the bull nose at the front of the tread.
If the board isn’t snug, you might need to pull it and reattach using yellow glue, pocket screws, or even trim screws depending on your setup. In some cases, gun nails work well to secure the corners, but be careful not to split the wood. A single mistake here can throw off the alignment on the other steps, causing trouble when you reach the top step or second level of the house.
When in doubt, dry-fit each single board, step back, and check how it lines up with the surrounding walls and the lock-in point underneath. If everything sits flush and locks cleanly, you’re good to go. Otherwise, pull it up, re-measure, and try again. This part takes patience—but get it right, and the entire set of stairs will be just fine.
And if this is your first DIY stair install, well… good luck!

The Easiklip Advantage: Clean Transitions with Smart Molding
Transitioning from a hardwood floor to a staircase isn’t just about aesthetics—it’s about safety and durability. That’s where stair nose molding (also called stair bullnose or stair molding) comes in. Without it, the edge of your hardwood floor would have a harsh, unfinished 90-degree cut, creating a potential tripping hazard. A stair nose extends about an inch over the stair edge, seamlessly matching the leading edges of the stair treads.
But how do you install it the right way?
Seamless Installation with Easiklip
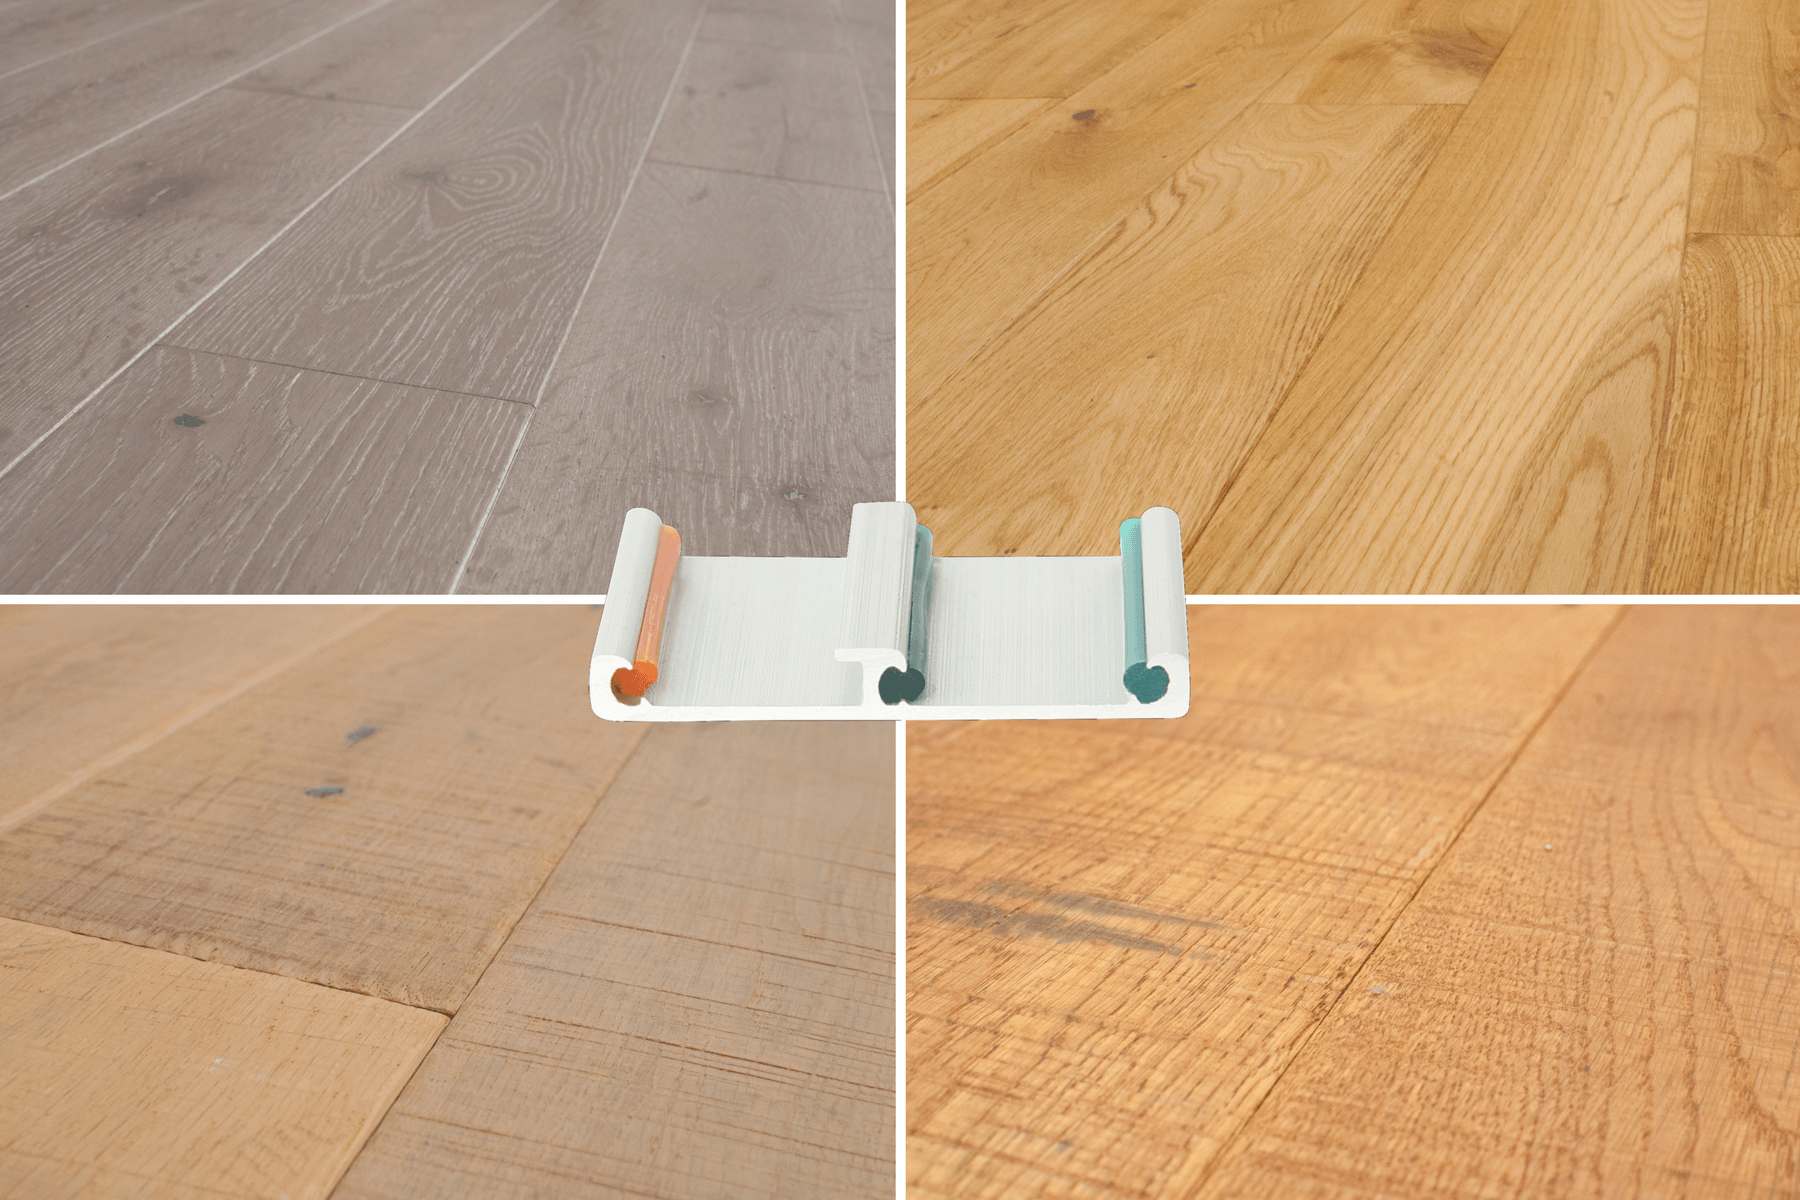
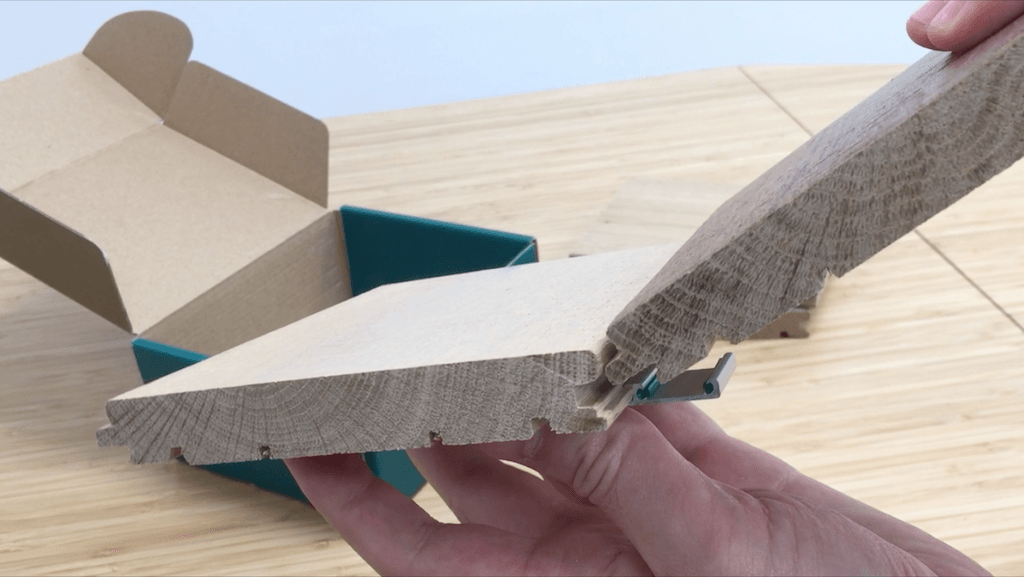
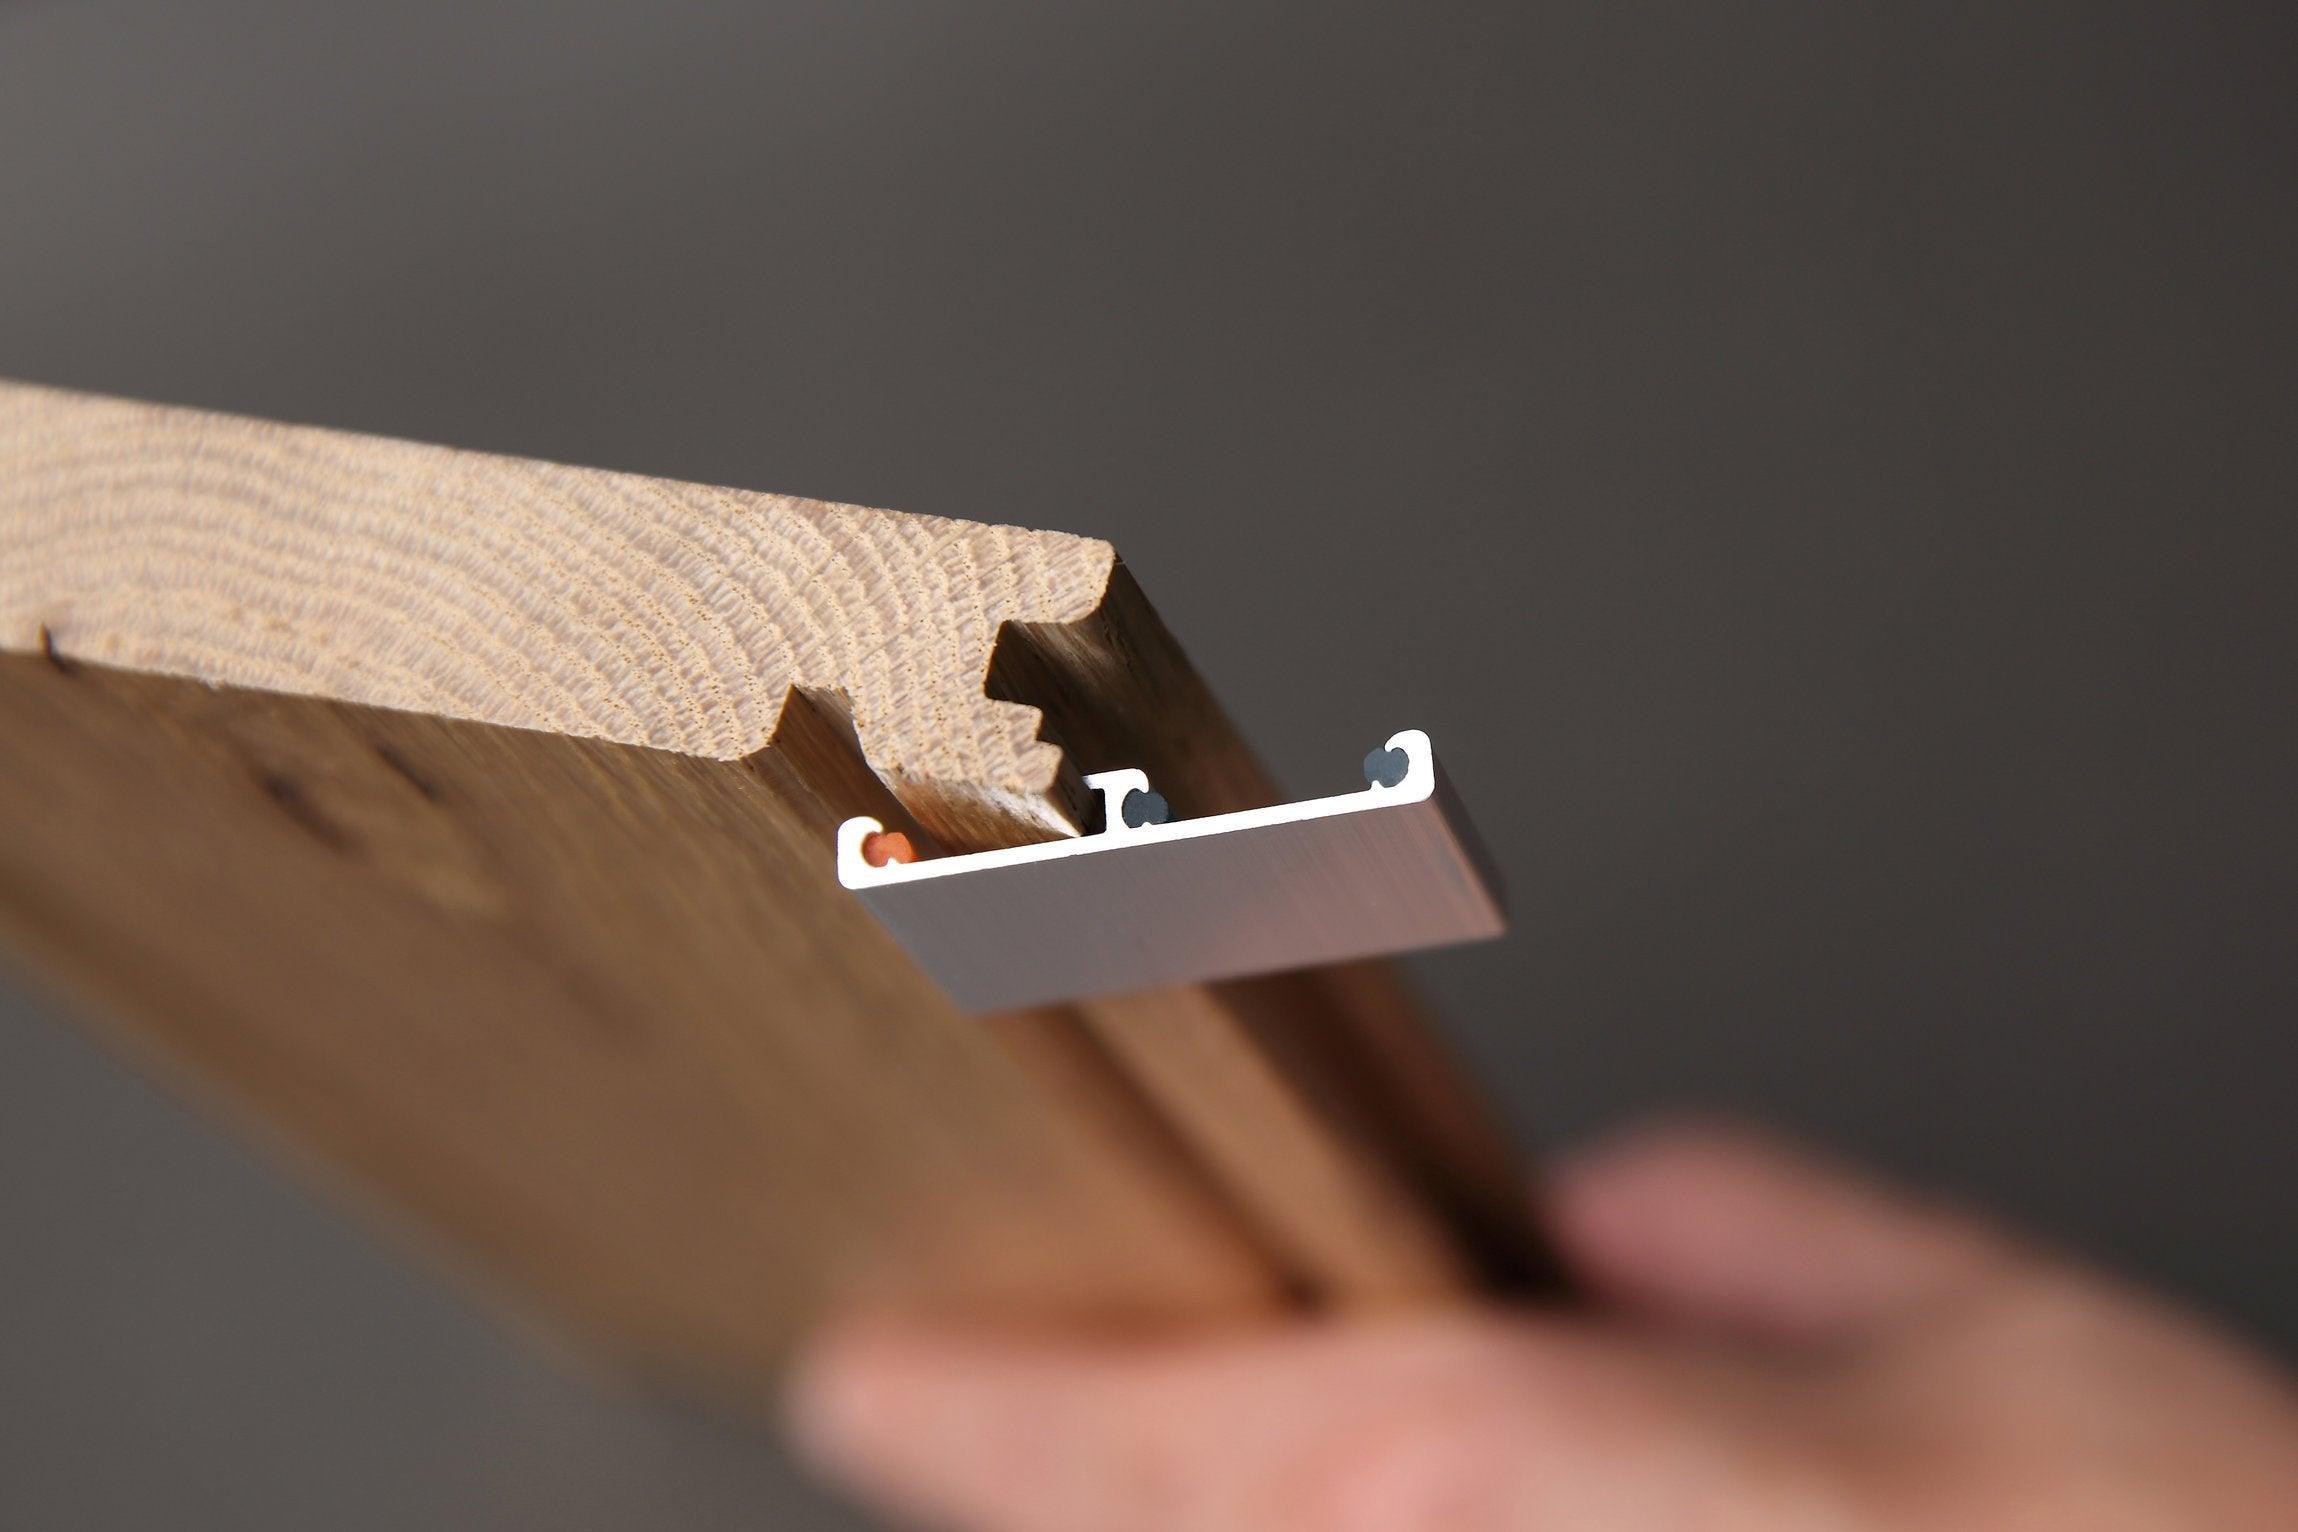
If you’re using Easiklip hardwood flooring, installing stair nose molding is as easy as clipping it into place. Our stair nose moldings are milled to perfectly match Easiklip’s tongue-and-groove profile, ensuring a smooth transition. You can install them in two ways:
-
For standard hardwood stair installations – Apply adhesive only, without clips, for a secure and permanent fit.
-
For floating hardwood floor landings – Use Easiklip’s patented clips to attach the stair nose molding, ensuring stability and flexibility. Apply glue to the edge of the landing for extra reinforcement.
To install on a hardwood floor landing, begin by attaching the clips under the stair nose first. Then, glue the stair nose molding to the landing edge for additional strength. From there, continue installing your hardwood flooring throughout the rest of the space.

Perfect Match, Every Time
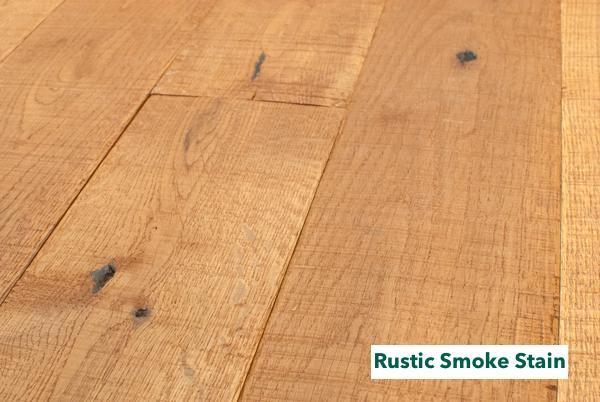
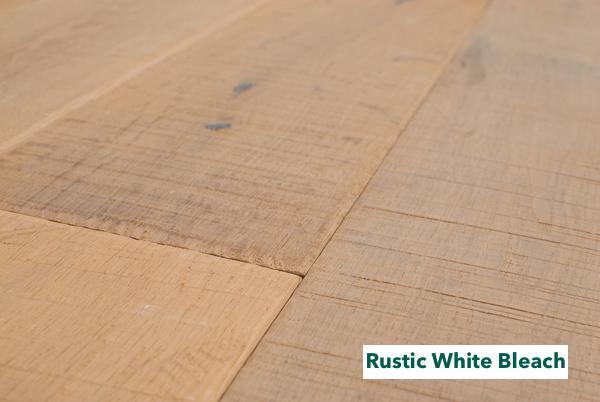
Easiklip stair nose moldings are designed to match the exact colors and finishes of our floating solid hardwood flooring. Even our Rustic collection features smooth stair noses—so while your flooring may have texture, the stair nose will always have a polished, smooth edge.

Since natural white oak varies from tree to tree, expect some slight color variations between moldings. This is a normal characteristic of real wood and only enhances the natural beauty of your floors.
Each Easiklip stair nose molding is 78 inches long and available for order here.
Elevate Your Staircase
A properly installed stair nose molding not only completes the look of your hardwood stairs or landing but also enhances safety, durability, and longevity. Whether you're transitioning from a floating floor or upgrading your stair treads, Easiklip makes the process seamless. Order your stair nose molding today and complete your flooring project with style and precision.
