

The Best Hardwood Flooring Nailers: A Buyer’s Guide to Speed and Precision
Choosing the right hardwood flooring nailer is essential for a smooth and secure installation. This guide compares the best flooring nailers, including pneumatic, manual, and stapler models, to help you select the ideal tool for your project. Learn about key features like nail size, compatibility with wood thickness, and ease of use. Discover expert tips on avoiding common mistakes, ensuring proper nail placement, and achieving a durable, professional finish. Whether you’re a DIYer or a professional installer, finding the right hardwood flooring nailer makes installation faster, easier, and more precise. Follow our step-by-step recommendations to ensure a seamless wood floor installation!

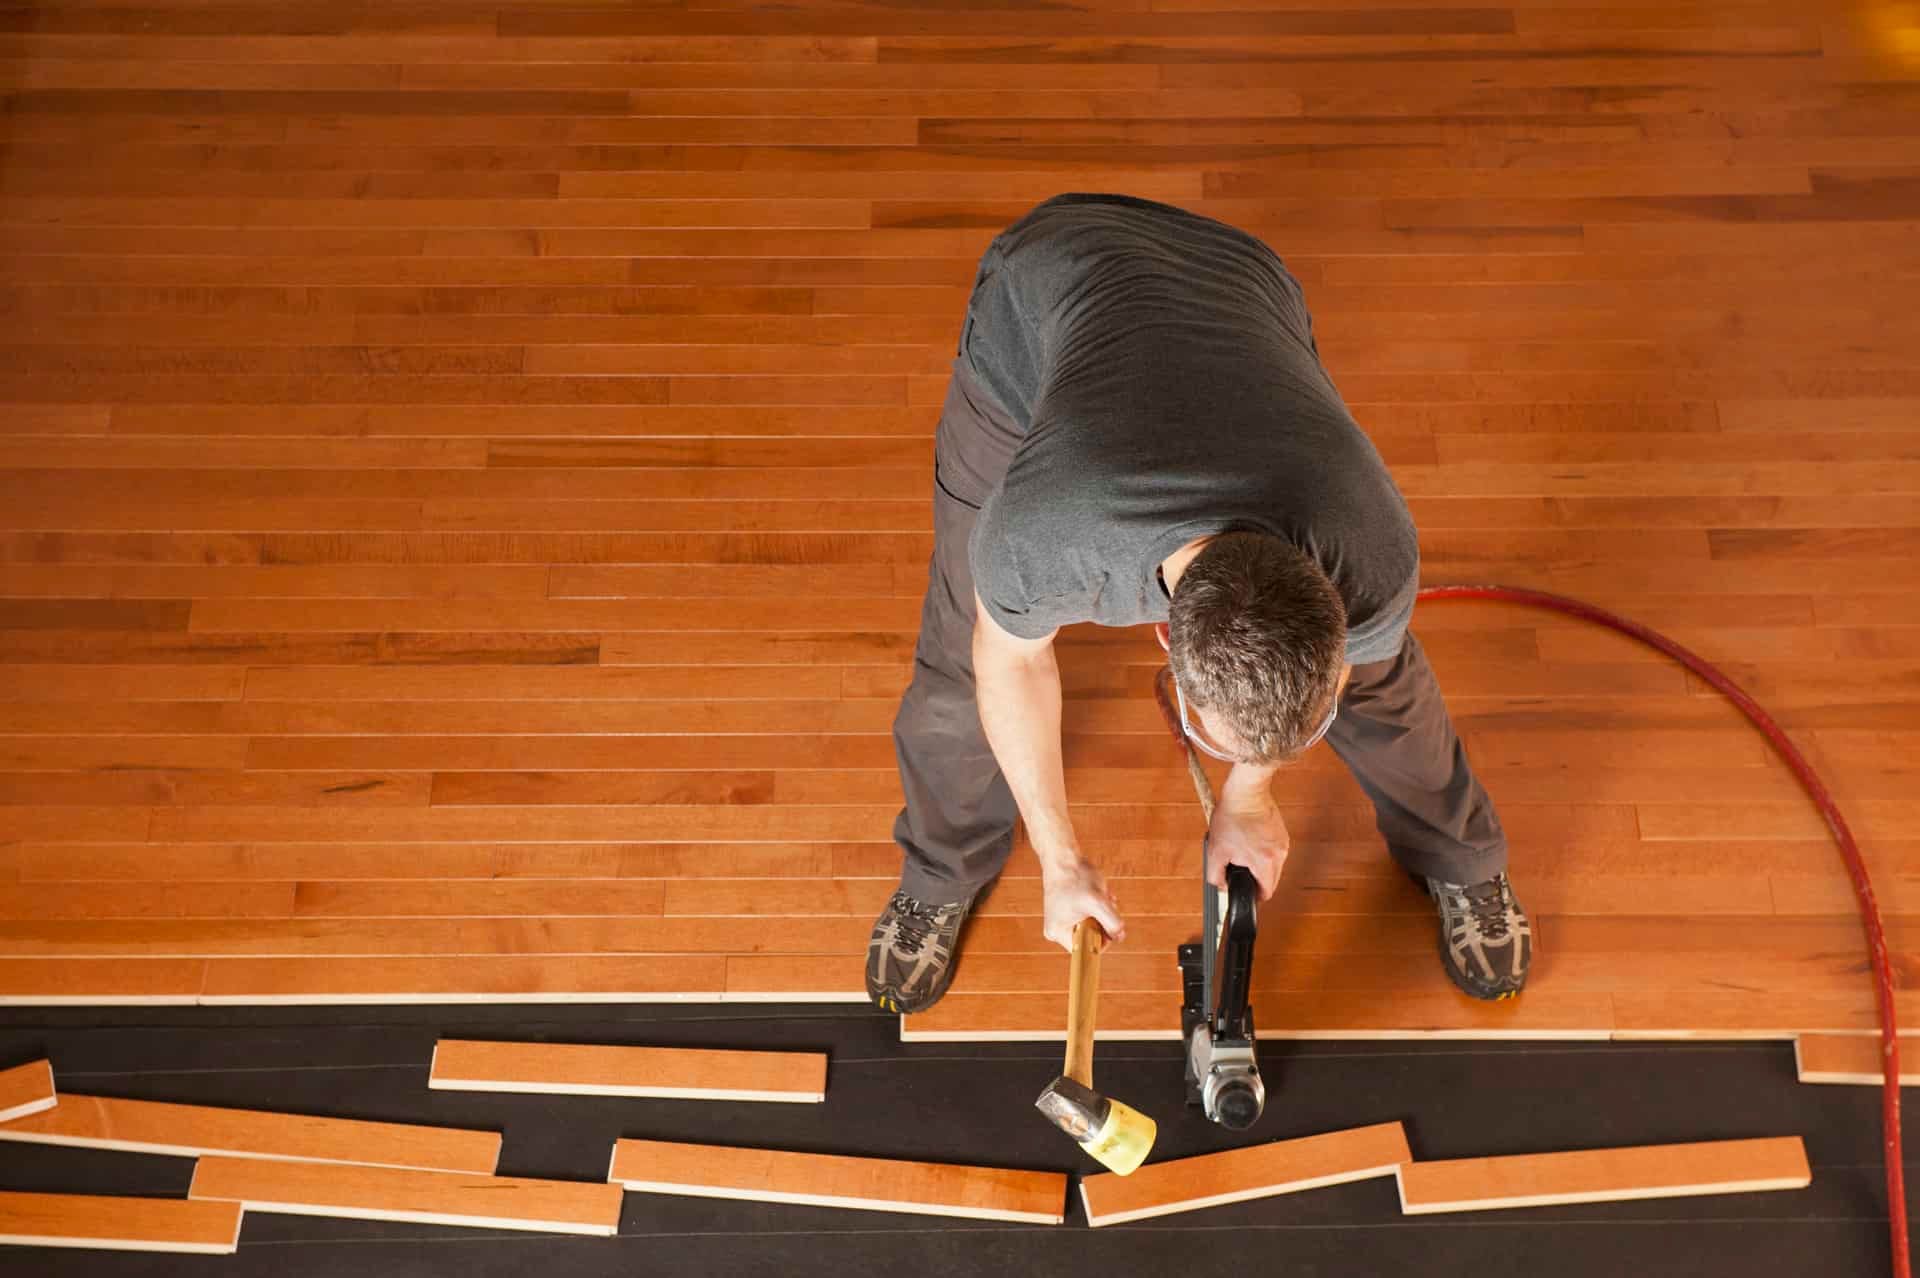
Installing a hardwood floor is faster and cleaner with the right hardwood flooring nailer. From manual mallet-activated tools to pro-grade pneumatics, the best nailers set cleats or staples at a perfect 45° into the tongue—tight seams, fewer gaps, and a rock-solid fit.
Here’s what to know before you buy — from types and fasteners to the features that set one model apart from another.
What Exactly Is a Hardwood Flooring Nailer?
A wood flooring nailer is unlike other nail guns that drive a nail at a 90° angle from the base. They have but one purpose, to drive a nail, a.k.a. cleat or staple at a 45° angle into a tongue and groove floorboard. It’s why they look so unique from other nail or staple guns.
A plunger forces the nail or cleats out of the end and into the board’s edge, fastening it to the sub-floor. It guarantees a perfect angle and depth every time. The angle helps the nail push the board firmly against the next one as well as fastening it to the floor. These tools work manually or pneumatically.
Manual vs. Pneumatic Nailers
Manual floor nailers are simpler but require more force on your part. Nailers work when you strike the hammer cap with a rubber mallet to set the nail. Pneumatic nailers also require a mallet to activate them. However, the plunger acts as a trigger, and the airpower drives the cleat. Some models use a trigger instead of a mallet. With a pneumatic nailer, you can adjust the air pressure to accommodate the hardness and thickness of the floor.
A word of caution. If a pneumatic nailer does not have dry fire protection, striking the hammer cap will fire a cleat, whether it’s on the floor or not.
Because pneumatic flooring nailers require compressed air, you’ll need to purchase or rent the air compressor and hose to make it work. It’s an additional expense, but it saves wear and tear on your arms and worth the added cost. Unlike the manual nailers, it takes only one hit to the bumper to shoot the nails into the wood.
For DIYers on a small budget, a manual nailer will suffice. For large jobs, you’ll need a pneumatic. It’s economical by saving time and your arms.
Cleats vs. Staples: Choosing Your Fastener
There are two types of fasteners for wood floors, cleats, and staples.
A cleat is a nail with the head shaped like an “L” or sometimes a “T.” They come in 15.5, 16, 18, and 20 gauges. For thin floors, the lightweight 20-gauge is best. The most common lengths of staples or cleats are 1 ½ inches and 2 inches. To give you a better idea, you can see a handy cleat depth chart here.
The shaft of a cleat has barbs, so it can dig into and hold the wood. A short part at the top of the cleat is smooth. It allows for the expansion of the wood without cracking the tongue.
Most contractors opt for the holding power of 16-gauge cleats for hardwood floors. It’s an excellent all-purpose fastener. Check with the flooring manufacturer for recommendations.
Pros of Cleats
- They are the most common fastener used for ¾ inch hardwood flooring.
- Best for harder woods on the Janka scale
- Allow for better natural expansion and contraction of the wood
Cons of Cleats
- Can take longer to install a floor
The other fastener is a staple. Being “U” shaped, they have two points of contact instead of one. They tend to hold boards down tighter than cleats. It can become a problem in areas with high fluctuations in humidity as they don’t allow for as much movement. The lack of expansion could crack the wood at the tongue.
It’s OK to use staples when installing a medium density wood like oak, but they are not the best choice for tough wood like maple or Brazilian cherry.
Pros of Staples
- Quite common and easy to find
- Easy to load
- Faster to install flooring
- About 20% cheaper than cleats
Cons of Staples
- More likely to split the tongue of a higher density wood
- May not grip as well as a cleat
As usual, experts disagree on which fastener is best. Check with your floor manufacturer for their recommendation.
Key Features to Look For
There are some design features that you should consider before settling on a wood floor nailer.
Weight, Ergonomics and Body Material
Nailers can range from 3.3 lbs up to 16 lbs. The body can be aluminum, steel, or both. If you can find all the features you want in a lighter model, it will save your arms in the long run.
Another factor is the ergonomic design of the handle. Handles with an energy-absorbing rubber grip are more comfortable and won’t wear out the hand at the end of a long day of nailing. Look for a longer handle because it means less stooping and bending.
Look for Versatility
Some nailers only use one specific fastener, while others can use both cleats and staples of varying lengths. If you can use the same tool for different jobs, then you save money from not buying a different nailer. 2-in-1 or 3-in-1 nailers have added value because they can adapt to a variety of fasteners.
If you plan to install several types and thicknesses of hardwood floors, then you should opt for a nailer with more versatility. Also, you’ll want one with adjustable base plates to accommodate both 1/2 inch and 3/4 inch floors. Some models come with additional base plates while you must order separately for others. Be sure you have the correct base plate for your flooring job.
Price Range for Our Purposes
For this article, we’ve grouped the pricing into three categories.
Low price - Under $100
Medium price - $101 to $180
Premium price - $181 and Above
The cost should only be one consideration of a quality floor nailer. Check the reviews and ask around to get the complete picture.
Safety Features You Want
Some pneumatic models come with a unique safety feature called Dry Fire Lock Out. It prevents accidental firing.
Always wear safety goggles when nailing. Some brands offer a free pair as part of the kit.
When working around compressors and compressed air, it’s still wise to use ear protection too. And, you’ll need work gloves to prevent a monster blister from using the mallet thousands of times.
Extras Tools and Features
Some nailers come with everything you need, while others are a la carte. Check to see if the model you want includes:
- A mallet – You’ll need it to align the boards and actuate the nailer
- Reload indicator – Helps keep the nailer from jamming by keeping it topped up
- Carrying case – Keeps everything organized
- Safety goggles – Don’t nail without them
- Oil – Most nailers need lubrication. Determine if you have the right oil before starting
- All Adjustment tools – Check the manual to see what tools are necessary and if they come with the nailer
A quality nailer should furnish everything you need to use the tool. Check before you order or leave the store. Having everything in one case is a definite plus when the job is miles from the nearest hardware store.
Length of Warranty
You’ll find limited warranties for workmanship from as little as 90-days (WEN) to as much as ten years (Porta-Nails). The companies that provide the longest extended warranties are apt to make the best quality tools.
By now, you should know the features that you want in a floor nailer. Here are seven models for your reference.
Seven Popular Flooring Nailers Worth Considering
1. BOSTITCH Flooring Nailer, 2-in-1 BTFP12569

- Fasteners – 15.5 GA flooring staples or 16 GA L cleats from 1 1/2 inch to 2 inches length
- Power - Pneumatic
- Weight – 10.2 lbs (4.6 kg)
- Warranty – 7 years
- Price Range – Premium
- Extra Features – Interchangeable non-marring base plates for 1/2 inch (12.7 mm) through 3/4 inch (19.1 mm) flooring, mallet, wrenches, and 1/4 inch (6.4 mm) air fitting with dust cover. It also features an ergonomically designed long handle with a comfortable rubber grip.
2. NuMax SFL618 Pneumatic 3-in-1Fasteners

- Fasteners – 16-gauge T-cleats and L-cleats and 15.5-gauge 1/2-inch crown staples. Accepts lengths from 1-1/2 inch to 2 inches for all three types of fasteners
- Power – Pneumatic, Operating Pressure 70 – 110 PSI
- Weight – 16 lbs (7.3 kg)
- Warranty – 1 Year limited tool warranty and 30-day wearable parts warranty
- Price Range – Medium
- Extra Features – Has a semi-quick release for easier access to the drive blade to clear jams, a magazine cover for smooth fastener feeding, and an improved base plate design. Magazine capacity 90 – 120 Staples
3. DEWALT Flooring Stapler, 2-in-1 tool
- Fasteners – 15.5ga Staples and 16ga “L” Cleats
- Power – Pneumatic, 70 – 100 PSI
- Weight – 10.2 lbs (4.6 kg)
- Warranty – 3-year, 1-year free service & 90-day money-back guarantee
- Price Range – Premium
- Extra Features – Magazine capacity – 100, Interchangeable, non-marring base plates (1/2 inch, 5/8 inch, 3/4 inch)
4. WEN 61741 4-in-1

- Fasteners – 18-gauge brad nails from 5/8 inch to 2 inches long, 1/4 inch, narrow-crown staples from 1/2 inch to 1-5/8 inch long
- Power – Pneumatic, 60 to 100 PSI
- Weight – 3.4 lbs (1.5 kg)
- Warranty – 2 years (90-days if for commercial use)
- Price Range – Low
- Extra Features – A 100-nail capacity magazine, rubber grip, can also use to install crown molding, an adjustable air exhaust, quick-release nose for easy jam clearing, carrying case, two hex keys, a removable non-mar tip for finishing applications, plus oil.
5. Freeman PFL618BR Pneumatic 3-in-1

- Fasteners – 16 Gauge Glue Collated Flooring T and L Cleats, and 15.5 Gauge Glue Collated 1/2” Crown Flooring Staples from 1-1/2 inch – 2 inch
- Power – Pneumatic, 70 – 110 psi
- Weight – 11.5 lbs (5.2 kg)
- Warranty – 7 years
- Price Range – Medium
- Extra Features – Magazine capacity; T and L Cleats: 100 pcs / Staples: 90 – 120 pcs, comes with a carrying case, no-mar white rubber flooring mallet, safety goggles, oil, and adjustment tools.
6. Estwing EFL50Q Pneumatic 2-in-1
- Fasteners – Compatible with generic brands of 15.5-gauge staples and 16-gauge L-cleats from 1-1/2 inch – 2 inches
- Power – Pneumatic, 70 psi – 115 psi
- Weight – 8 lbs (3.6 kg)
- Warranty – 5 Year Professional Tool Warranty, 90-day wearable parts
- Price Range – Premium
- Extra Features – Canvas carrying bag, tool-free quick jam release, ergonomically-designed handle, and light strike bumper helps reduce fatigue, Fiberglass mallet with a rubber head, and three, non-marring floor plates – 3/4 in, 5/8 in and 9/16 inch
7. Porta-Nails 402A, 16-Gauge Manual Hardwood Flooring Nailer

- Fasteners – Uses 2 inch and 1-1/2 inches T-Headed 16 Ga cleats
- Power - Manual
- Weight – 8 lbs (3.6 kg)
- Warranty – 10 year
- Price Range – Premium
- Extra Features – Extension handle, mallet, angled shoe for 5/8 inch to 3/32 inch tongue and groove flooring, wrenches, and a carrying case, ratcheting ram allows for single or multiple hits, 100 nail capacity. Additional shoes available: Face Nail Shoe, Thin Flooring Shoe (3/8” to 9/16 inch solid wood floors) and Bamboo Flooring Shoe (5/8 inch horizontal or vertical grain)
Using a wooden floor nailer is the best way to install a hardwood floor. The enormous advantage is that it drives the fastener in at a consistent angle every time.
Find the Nailer That Fits Your Floor
The right hardwood flooring nailer isn’t just about power — it’s about efficiency, comfort, and consistency. For occasional DIY projects, a manual model can get the job done. For larger spaces or professional work, a pneumatic nailer pays for itself in speed and precision.
Choose the tool that aligns with your project scale, flooring type, and budget, and you’ll save time while creating a flawless finish.
Ready to go beyond the tool and bring home hardwood flooring you’ll love for decades? Explore Easiklip’s collection of solid oak floating floors — the DIY-friendly system that clips together without nails or glue. See the full range here: https://easiklip.ca/collections/all


