The Cost of Tearing Out Your Hardwood Flooring
How to Remove Your Wood Floor
- Step 1: Tools to Remove Hardwood Flooring
- Step 2: Prepare the Area
- Step 3: Cut the Boards but Protect the Subfloor
- Step 4: Extract Nails as You Go
- Step 5: Clean-Up Time!
4 Pro Tips to Remove Hardwood Flooring
Removing Hardwood Flooring Saves Money for DIYers
Most hardwood floors last for generations. But there comes a time when the floor no longer looks good or is unsafe. Sometimes it’s easier and less expensive to tear it up and start fresh.
But don’t burn or throw the old hardwood floor away. Depending on its condition, you might be able to salvage or sell it and give it a second life. Some local flooring contractors may buy it from you, or you can sell the lot on Craigslist. Don’t expect to get much, maybe $1-$3 per square foot, but it’s better than nothing.
To salvage and remove hardwood flooring, you’ll need some tools and techniques that we are about to share with you.
The Cost of Tearing Out Your Hardwood Flooring
If you hire a professional to tear up and dispose of the old floor, you’re looking at an approximate range of $1.33 to $2.62 per square foot. There are additional costs to remove old hardwood floors because it takes more time to disassemble them. If the subfloor is damaged, you’ll need to add that cost as well.
You can save money by taking up the floor yourself as a DIY project. You probably already have the tools, or you can rent them. Don’t forget to factor in storage costs or a dumpster for disposal.
How to Remove Your Wood Floor
If you are salvaging hardwood floors, you’ll need to spend more time carefully removing them. Before you start tearing things up, you need a few tools.
Step 1: Tools to Remove Hardwood Flooring
|
Removal Tools |
Personal Protective Gear |
|
Circular Saw Pry Bar Mallet Hammer Chisel Nail Claw Curved Vice Grips Large Magnet |
Safety Glasses High-Quality Dust Mask Gloves with Padded Palm Construction Kneepads Long Pants Work Boots Tarps and tape Shop Vacuum |
A few pointers about the tools:
- Using a nail claw or pry bar helps get into tighter spaces by the wall instead of the claw hammer.
- A rubber mallet adds a bit more force than a claw hammer. It’s quieter and is easier on the pry bar.
- Use a reciprocating saw to cut into tight areas and extend your reach. Be careful that you don’t cut hidden wiring or pipes. It won’t cut as straight as a circular saw, so use it for rough cutting only.
Step 2: Prepare the Area
Once you have all the tools to do the job, you need to de-clutter the room.
- Clear everything from the floor, including furniture, rugs, and lamps.
- Take everything off the walls, the drapes, or blinds, and cover light fixtures to protect them from dust.
- Pull up any heating vents from the floor and remove the baseboards. Remove old baseboards carefully if you want to reuse them.
- Tape plastic over doorways and lay down tarps in adjoining rooms to prevent the dust from circulating throughout the home.
Typically the prep and cleanup take the most time. Once you get started tearing up the floors, it goes quickly.
Step 3: Cut the Boards but Protect the Subfloor
Most hardwood floors are attached to the subfloor, usually plywood. Typically, the boards were glued and nailed to prevent squeaking. Removing your hardwood floor without damage is tricky but vital to maintaining the subfloor’s integrity.
Set the circular saw to the same depth as the hardwood. That way, you won’t cut into the subfloor.
If you plan to dispose of the wood…
- Make cuts across the boards, perpendicular to their length about 12” to 24”. Cutting them into short pieces makes them easier to pry up.
- Sawing and prying create a lot of dust, so use eye protection and a quality respirator.
If you plan to salvage the wood…
- Sacrifice one board in the middle of the floor. Saw one board along the edge to separate the tongue and groove.
- Carefully pry up the boards one at a time, in the same direction as the nails.
- If necessary, use a second pry bar or a chisel to separate the board from the subfloor without cracking it.
Step 4: Extract Nails as You Go
Extract any remaining nails and staples from the floor and the boards using vice grips, nail claw, or a hammer. Curved vise-grips work wonders for removing short nails or broken staples. If you can’t pull them out for some reason, nail them flush to the surface.
Step 5: Clean-Up Time!
A large magnet works well for picking up stray nails and staples. Sweep up or use a shop vac to clean up the remaining debris. Keep a trash bin handy lined with a heavy-duty trash bag.
If you don’t plan to salvage the wood, rent a roll-off dumpster to save time and have a place to dump everything.
4 Pro Tips to Remove Hardwood Flooring
Follow these four tips from flooring professionals for a safer, smoother job.
Always Use Safety Gear!
Get the best goggles, padded work gloves, knee pads, and respirators. You’ll be working on your hands and knees in very dusty conditions. There will be plenty of splinters and nails waiting to get you, so don’t skimp on the quality of your PPE (Personal Protective Equipment).
Use Soft Cloth, Not Plastic
When covering doorways and lamps, opt for fabric sheets or tarps rather than plastic. Plastic creates plenty of static electricity and will attract tons of dust, making cleanup harder.
Check the Subfloor
Once the hardwood is gone, check the integrity of the subfloor. Make sure that it’s even and that it’s structurally sound. Neglecting any repairs now will mean a squeaky or uneven floor later on.
Be sure to double-check to see that no remaining nails or staples are sticking up.
Mitigate the Dust
Removing and replacing hardwood floors creates clouds of dust, and it gets everywhere. The dust from some flooring adhesives can be toxic, so wear your PPE and seal off the room as much as possible before you work. Use a shop vac as you go and clean the filter often.
Removing Hardwood Flooring Saves Money for DIYers
To remove 700 sq. ft. of hardwood flooring takes about 10 to 12 hours. It’s a straightforward job, even for a first-time DIYer. That’s the labor cost you won’t pay to a contractor, and it is a good workout.
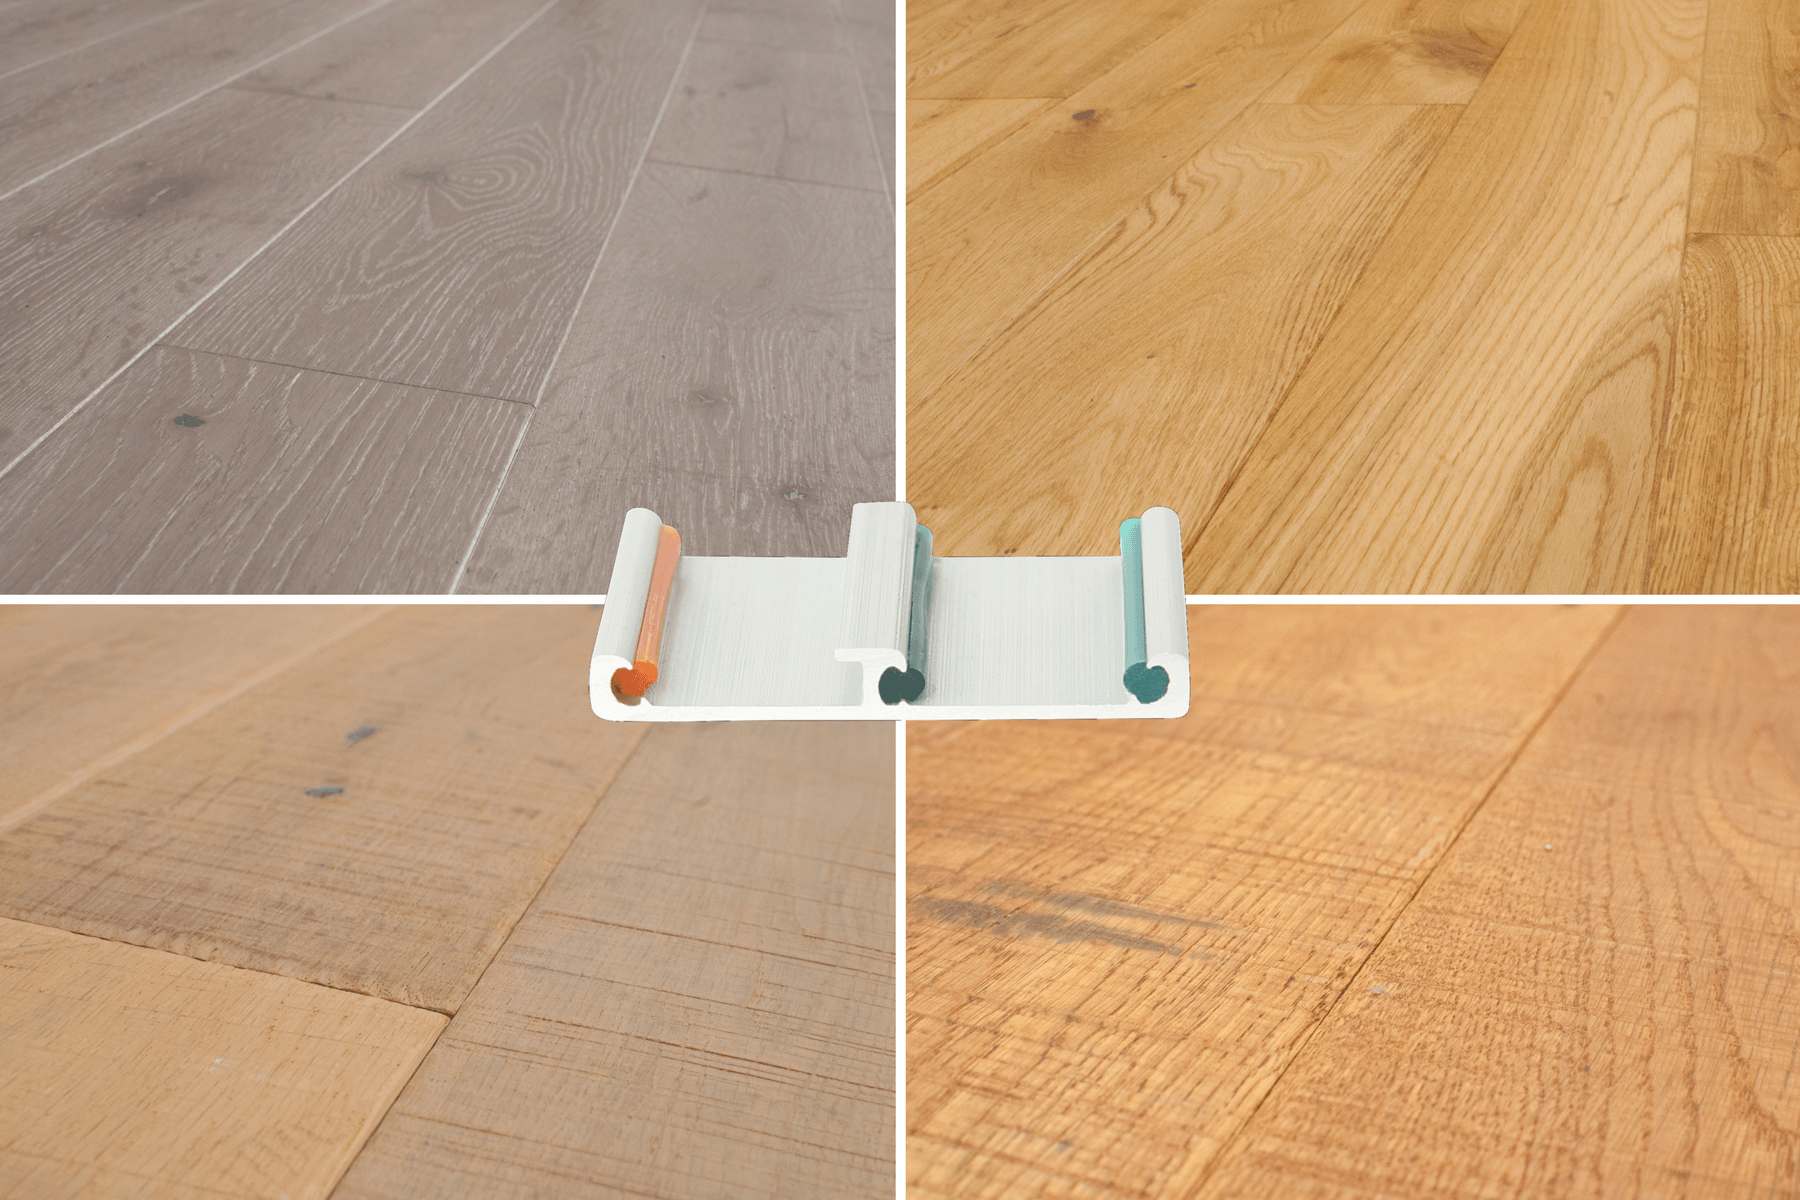
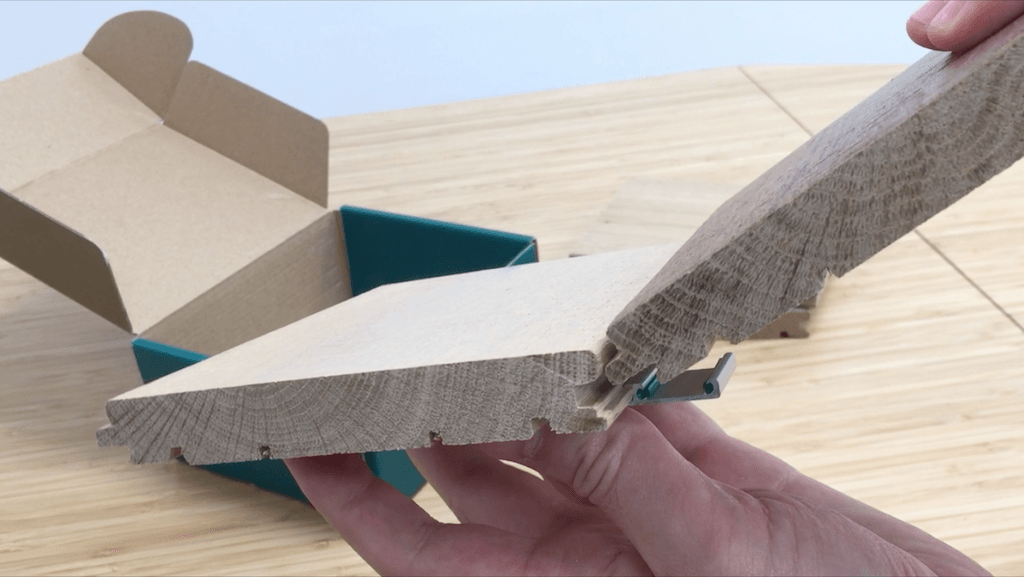
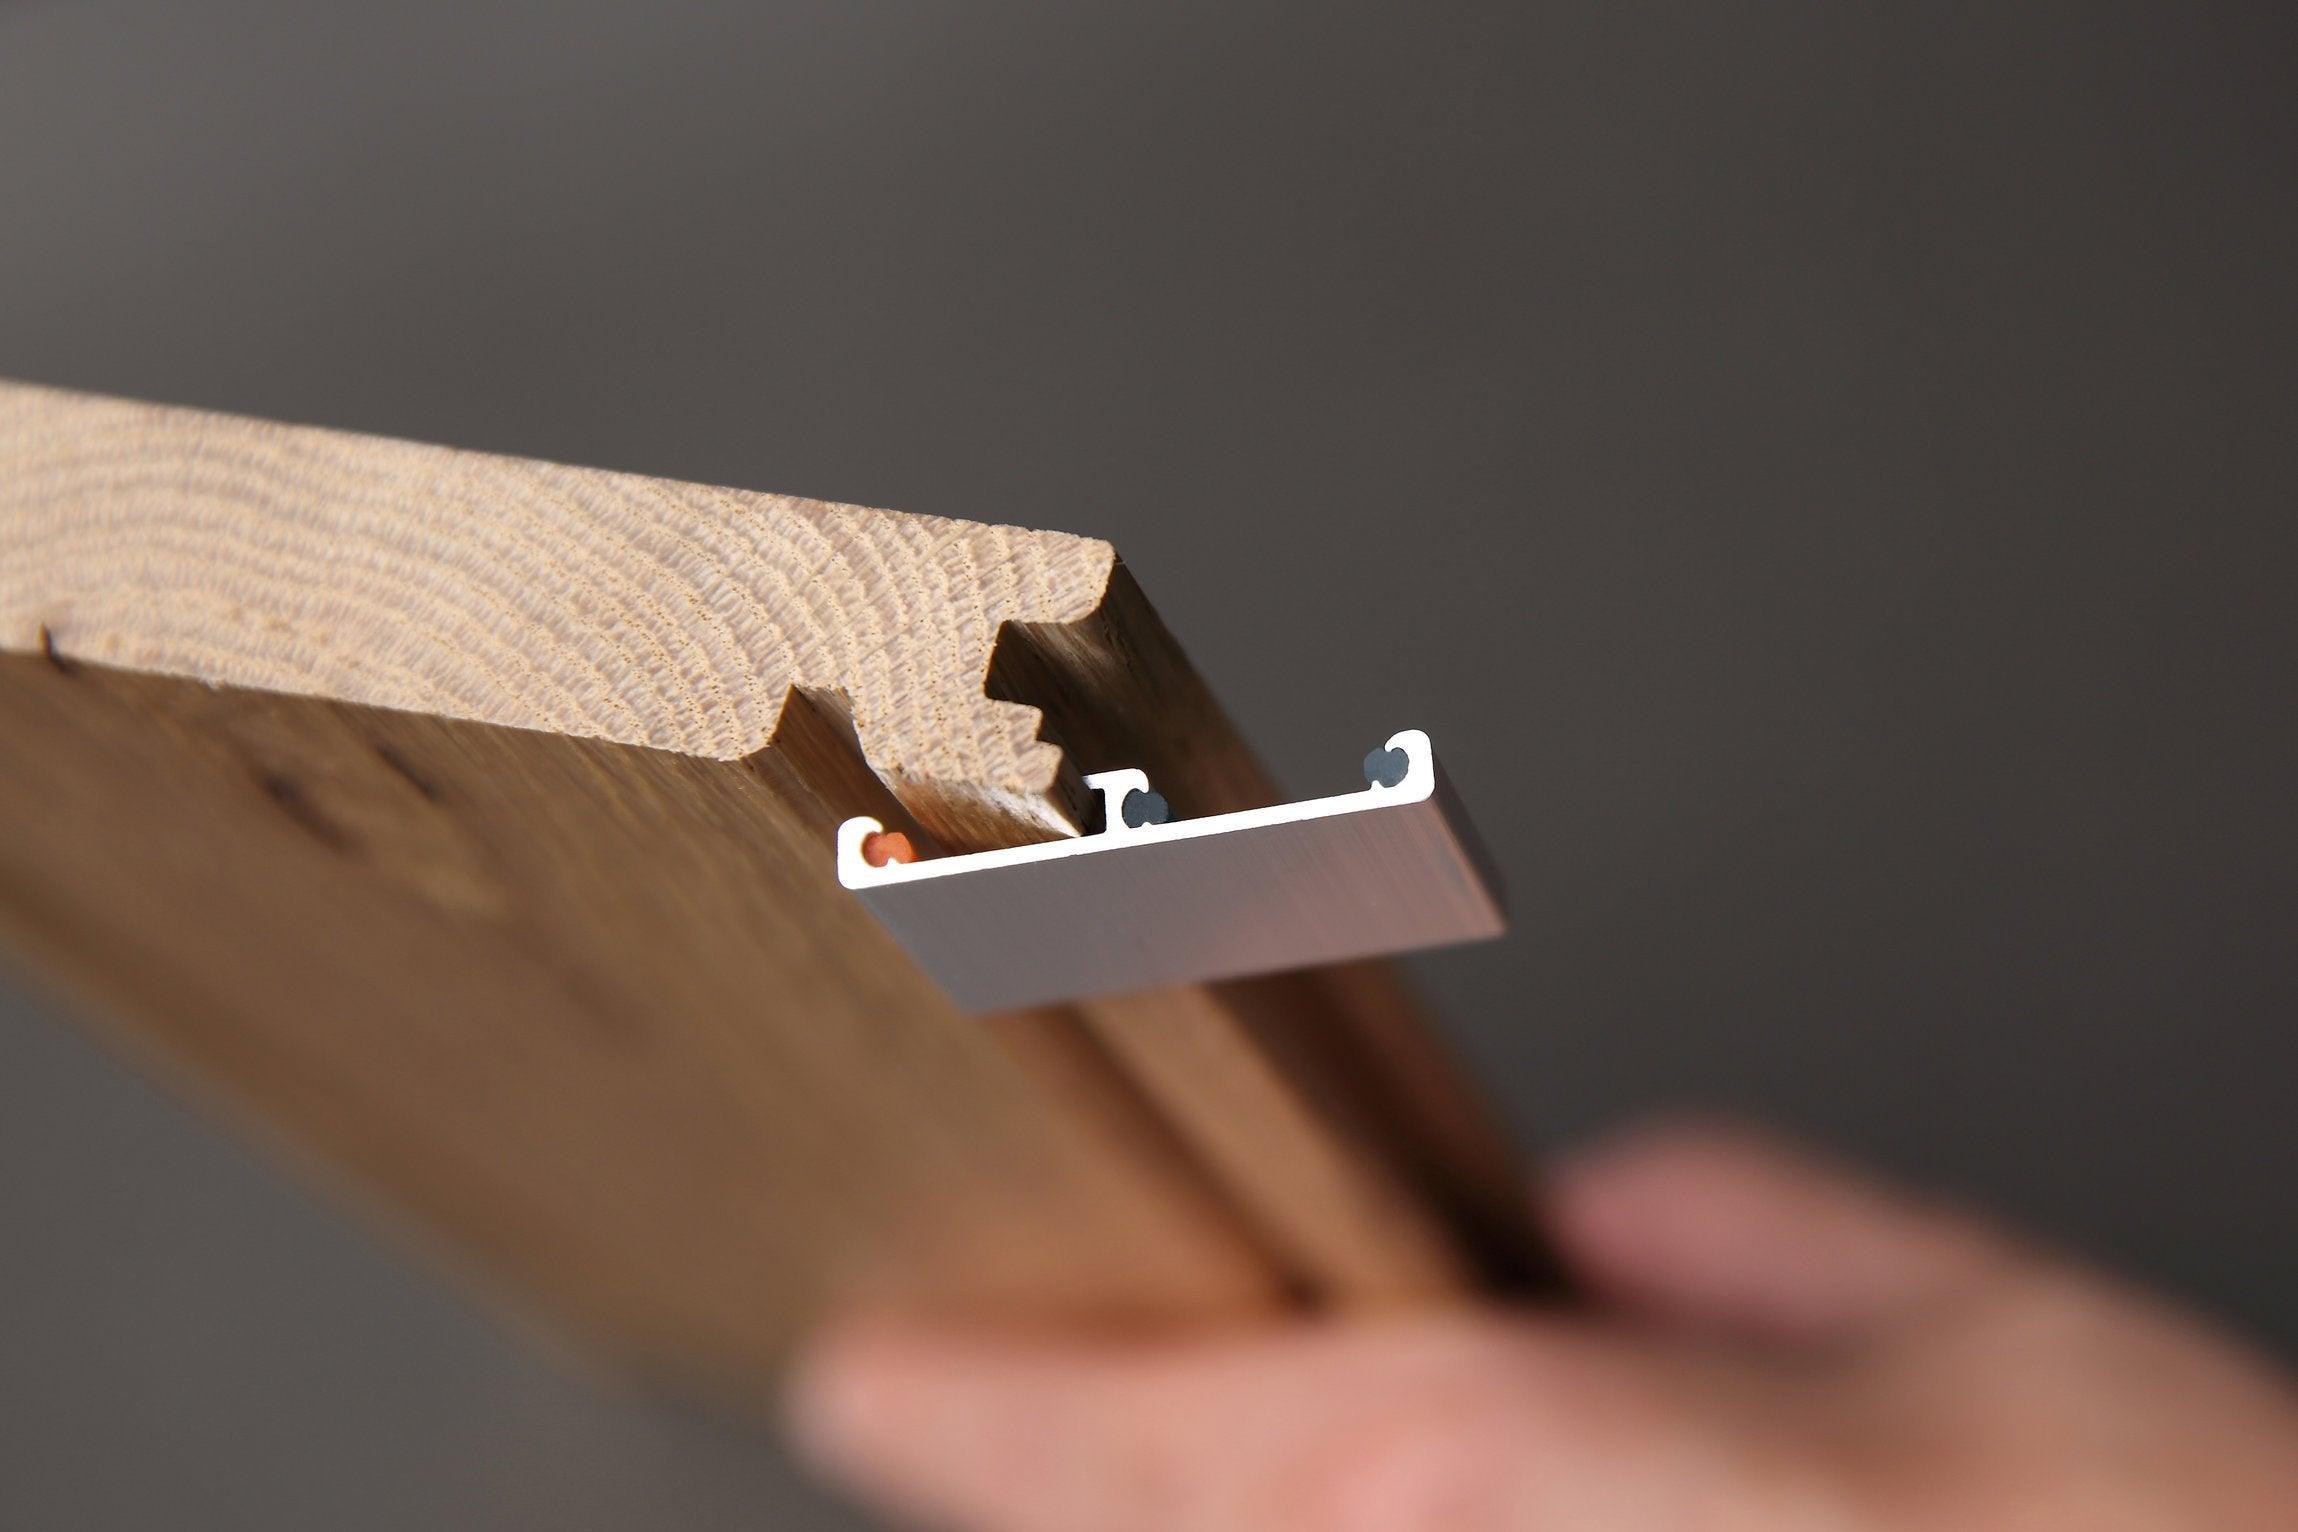
The easiest floor to uninstall is a floating floor. It is not attached to the subfloor. Instead, the boards lock together, and the weight holds them in place.
When replacing wood floors, consider Easiklip. It’s the easiest, solid hardwood floor to install. Any DIYer can install it because it snaps together using aluminum clips without glue, staples, or nails. If you ever need to repair or move the entire floor, you simply unclip it. To learn more, visit Easiklip.com.