

Top 5 Tips for a Smooth DIY Hardwood Floor Installation
Thinking about installing hardwood floors yourself? From subfloor prep to finishing touches, these five expert-backed tips will help you achieve a flawless DIY hardwood floor installation. Discover how Easiklip’s click-lock solid oak flooring makes it simple, fast, and beautifully professional.

Hardwood floors bring warmth and permanence to a home, but installing them yourself can feel intimidating, even for confident DIYers. The good news? With a bit of preparation and the right approach, you can achieve professional-looking results that last for decades.Today’s flooring systems make installation easier than ever. Floating floors like Easiklip’s click-lock solid oak planks eliminate the need for glue or nails, turning a complex renovation into a weekend project. And when properly planned, DIY hardwood floor installation can save homeowners anywhere from 30 to 50 percent of total labour costs compared with hiring a contractor (Home Guide Canada).
“Most installation issues aren’t about skill; they’re about preparation,” says Brett Miller, VP of Technical Standards at the National Wood Flooring Association. “When the subfloor, humidity, and layout are properly addressed, even first-time installers can succeed.”
Before diving in, take time to understand what matters most, the conditions beneath your floor, the acclimation process, and how each plank connects. The following five tips will help you avoid costly mistakes and ensure your new hardwood floor looks and performs beautifully.
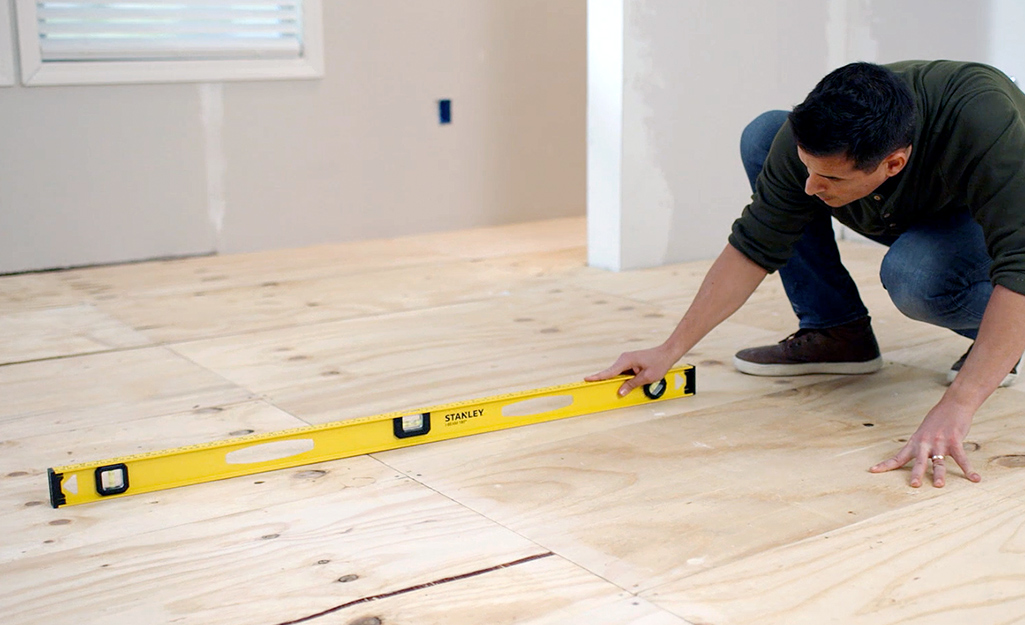
Tip 1: Prep and Test Your Subfloor
Every beautiful hardwood floor begins with an invisible foundation: a clean, level, and dry subfloor. Before you unpack a single box of planks, check the surface that will support them. Even a few millimetres of unevenness can cause boards to creak, shift, or separate over time.
Wagner Meters, a leader in flooring moisture diagnostics, explains that unseen vapour from concrete can damage hardwood long before visible signs appear. They recommend using a relative humidity test (ASTM F2170) or calcium-chloride method (ASTM F1869) before installation, especially on slabs or basements.
If you discover dips or high spots, correct them before proceeding. Easiklip’s detailed guide, How to Use Floor Shims to Level a Wood Subfloor and Remove Squeaky Floors, shows how simple adjustments can create a smooth, stable base.
You’ll also want to ensure the subfloor is dry, no more than 12% moisture content for wood substrates, and that the room’s temperature and humidity reflect normal living conditions. As the National Wood Flooring Association notes, “Moisture imbalance between the flooring and subfloor is the single greatest cause of failure in new installations.”
A little time spent on preparation now saves hours of repair later and ensures your floor feels as solid as it looks.

Tip 2: Acclimate Your Hardwood Before You Start
One of the most common DIY hardwood floor installation mistakes is skipping acclimation. Hardwood is a natural, hygroscopic material; it expands when humidity rises and contracts when it falls. Without time to adjust to the room’s environment, even the best-installed floors can buckle or gap.
National Floors Direct identifies failure to acclimate as the number-one installation error homeowners make. The fix is simple but essential: store the unopened boxes of flooring in the installation space for three to five days before laying them.
Maintain indoor conditions between 18 and 24 °C and 35–55% relative humidity, the range recommended by the Canadian Wood Council for long-term stability. Use a hygrometer to confirm.
For floating hardwood systems such as Easiklip’s clip-lock solid oak floors, proper acclimation also ensures the planks click together cleanly without pressure gaps. In spaces like kitchens or basements where humidity fluctuates more dramatically, regular monitoring can prevent seasonal movement issues, a topic explored further in Easiklip’s article, Hardwood Floors in the Kitchen.
Think of acclimation as your floor’s rehearsal period, letting it adjust quietly before the final performance begins.
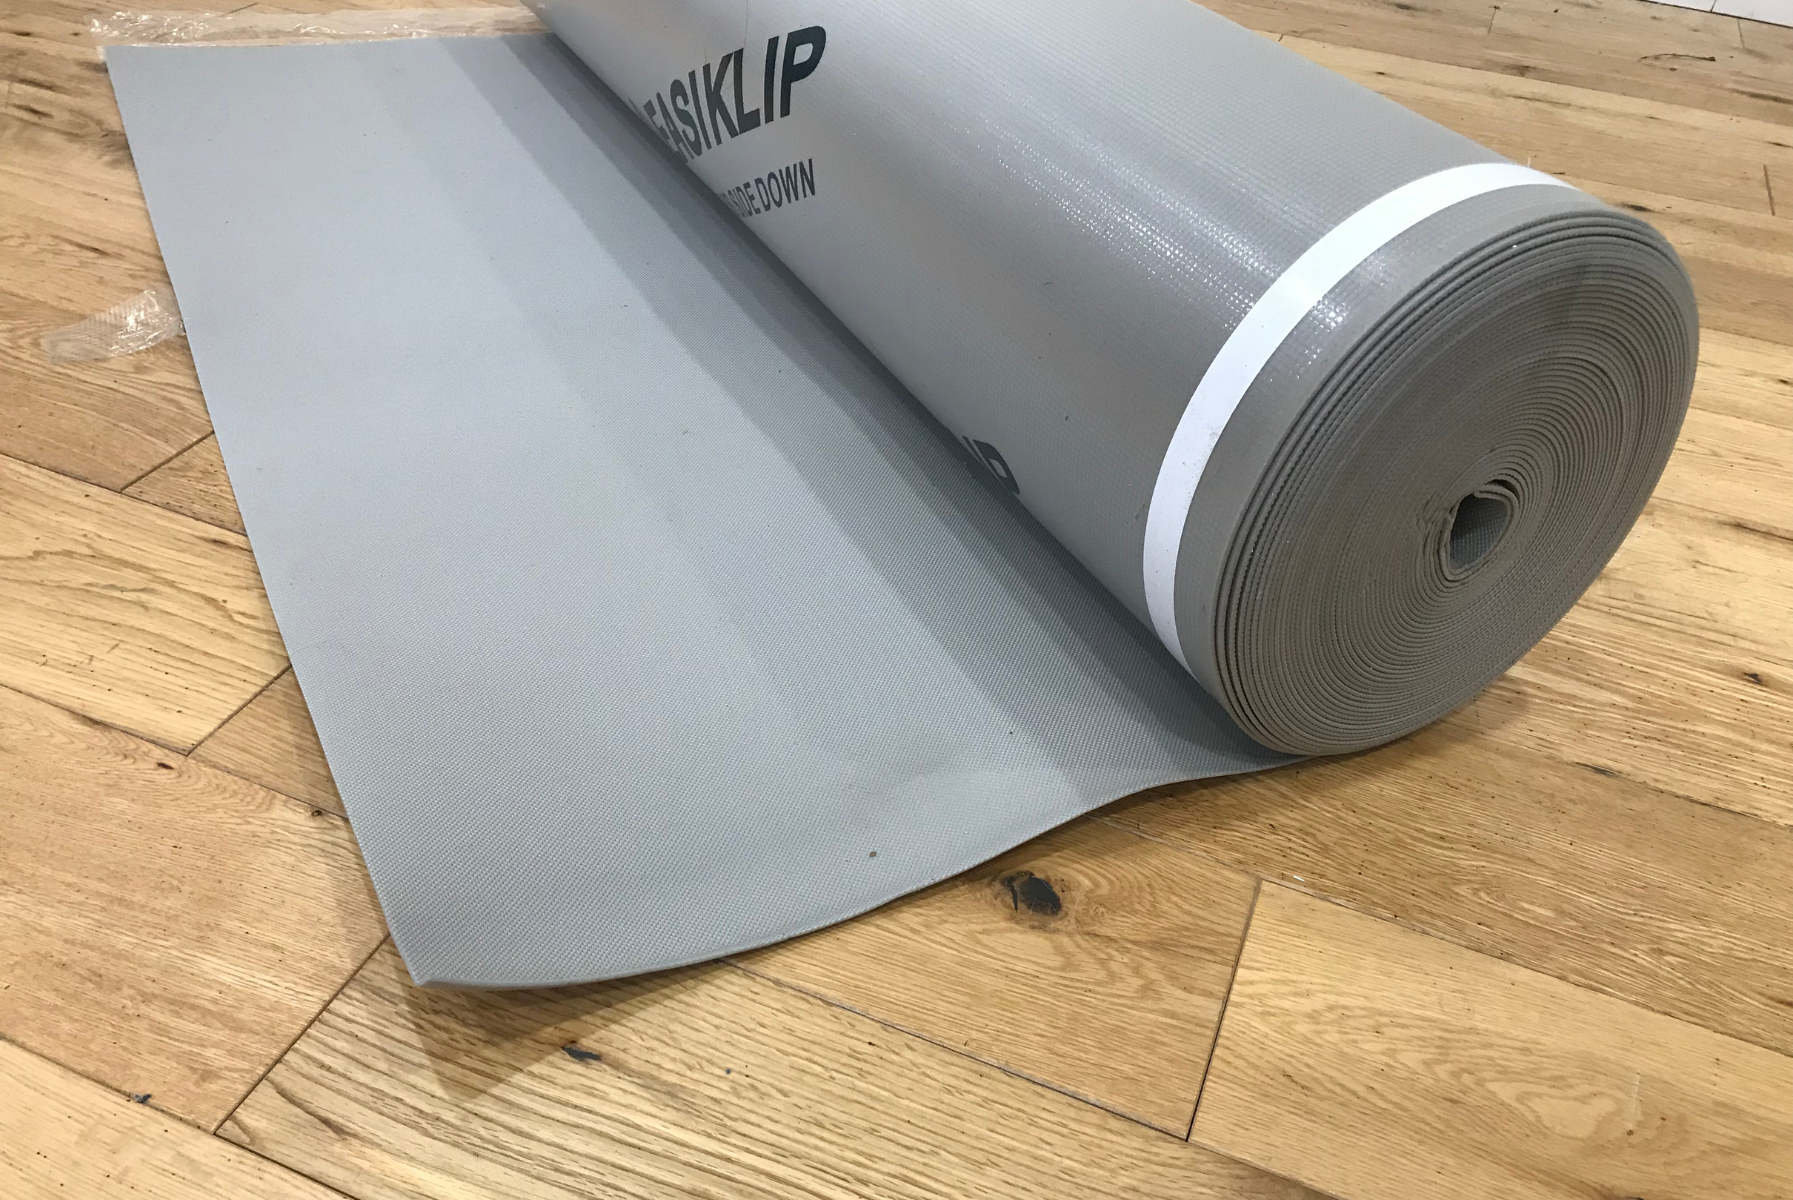
Tip 3: Choose the Right Underlayment
A quality underlayment is the unsung hero of every smooth hardwood floor installation. It cushions footsteps, dampens sound, adds warmth, and protects against hidden moisture, especially important in Canadian homes where humidity can fluctuate seasonally.
For floating hardwood systems like Easiklip’s click-lock solid oak flooring, underlayment is essential. It supports movement while maintaining a quiet, stable surface. Home Depot Canada’s Flooring Underlayment Buying Guide recommends choosing a vapour-resistant option in basements or on-grade areas to prevent long-term moisture damage.
If you’re working over concrete, consider a combination product like QuietWalk Plus Underlayment, which pairs recycled fibres with a built-in vapour barrier for dual sound and moisture protection.
For wood subfloors or upper levels, Easiklip’s 2 mm foam underlay with integrated vapour film delivers excellent comfort and acoustic control. You can view installation steps in their full guide: How to Install an Easiklip Floating Hardwood Floor.
As flooring expert Brett Miller of the National Wood Flooring Association notes, “The right underlayment allows hardwood to perform the way it was designed: stable, quiet, and responsive underfoot.”
Choosing wisely here means fewer squeaks, a smoother finish, and a floor that feels refined from day one.

Tip 4: Plan Your Layout and Leave Expansion Gaps
Before you lay the first plank, take time to plan your layout; it’s the difference between a floor that looks custom and one that feels uneven or rushed.
This Old House advises beginning along the straightest wall in the room and dry-fitting several rows before fastening or clicking anything together. This preview helps you avoid narrow end pieces or awkward seams that can draw the eye once furniture is in place.
Don’t forget the expansion gap. Hardwood naturally expands and contracts with seasonal humidity, so maintaining a 10–15 mm perimeter gap (roughly the width of a spacer) around walls and fixed objects prevents buckling.
If you’re transitioning between rooms or flooring types, Easiklip’s resource Floor Transition Strips & All Your Options for Wood Floor Transitions offers practical ways to maintain that clean, seamless look without compromising flexibility.
Take the extra hour to mark your layout lines with a chalk reel, measure twice, and confirm alignment with doorways and focal points. As the saying goes, a flawless floor is built one careful row at a time.
:max_bytes(150000):strip_icc()/GettyImages-72665845-2000-71315d9a5ff04c47a4f5619eb6e7bb16.jpg)
Tip 5: Take Your Time with Finishing Touches
The last few planks often determine whether your floor looks handcrafted or hurried. A calm, methodical finish makes all the difference.
Start by checking your seams every few rows; boards should fit snugly without force. Use a tapping block or pull bar only when needed, and vacuum debris regularly to keep joints clean. Skipping this simple step can lead to gaps later, as dust and grit prevent planks from locking fully.
The team at Functional Floors notes that improper cleanup during installation is one of the most common DIY hardwood floor installation mistakes, often compromising adhesion and finish durability.
Once the floor is complete, replace baseboards or add quarter-round moulding to cover expansion gaps for a polished edge. Use felt pads under furniture legs to prevent scratches, and maintain a consistent indoor humidity of 35–55 percent to keep the wood stable year-round.
Take your time, admire the grain, and remember: installation isn’t about speed; it’s about precision.
Final Takeaway: Confidence Comes from Preparation
Every smooth DIY project starts long before the first plank clicks into place. From moisture testing and acclimation to underlayment and layout, each step builds a foundation for success.
“DIY hardwood installation is less about muscle and more about mindfulness,” says flooring expert Brett Miller of the National Wood Flooring Association. “When you understand how wood behaves, every board tells you what it needs.”
If you’re new to flooring, a floating system like Easiklip’s solid oak click-lock design simplifies the process—no glue, no nails, just precision-fit planks and a clean finish.
Ready to start your project? Explore Easiklip’s European oak collections and download the complete installation guide.
Order your flooring sample and discover how simple professional-grade results can be—one plank at a time.


