Is your floor sounding like a freight train when you walk on it? Tripping on dips, battling slants—coffee tray in hand, you feel like Indiana Jones navigating a temple of doom? That’s your subfloor crying for help.
In this guide, you'll discover:
-
How to uncover the hidden highs and lows with pro-level tests
-
Why shims (and contractor secrets) beat messy leveling compounds for good
-
What tools you'll need to prep like the pros
-
Step-by-step shim strategies to eliminate squeaks and stabilize your Easiklip floor
If you're committed to a flawless, solid, squeak-free Easiklip hardwood floor—and the kind of confidence that makes guests ask “Did you install this?”—keep reading.
👉 First step? Order your free Easiklip sample pack today and see (and feel) how easy a level, lasting floor can be.
How to Tell If Your Floor Is Uneven
Before you even think about laying your new floor, you need to ask yourself one critical question: Is your subfloor actually level and flat? Because if it's not, you’ll end up fighting gaps, squeaks, lifted edges, and a whole lot of frustration that could’ve been avoided in the first place.
Here’s how to find out:
Test #1 – The Marble Method
Drop a few marbles on your hardwood floor. If they roll toward one wall—or pool in a dip near the center of the room—your floor isn’t just out of level, it’s out of plane. In the flooring world, we call those "heaves" (high points) and "dips" (low spots). And they’re your enemy when installing any rigid flooring material.
Test #2 – The Carpenter’s Level
Grab a 6- or 8-foot level. Lay it across the surface at multiple points across the room. See a gap under the level? That’s a dip. If the level rocks back and forth, there’s a heave. Mark the trouble spots—you’ll be revisiting them during prep as a crucial part of the leveling process.

Now, why does this even happen?
Why Your Floor Isn’t Level?
Before you can fix an uneven floor, you need to find the root cause, which often involves addressing issues with floor joists. You can’t just slap down leveling compound or lay plywood over a bigger structural problem. That’s like putting fresh paint on a crumbling wall.
Here’s what might be going on:
-
A cracked or bowed floor joist (usually from years of stress or poor lumber)
-
A rotted sill plate (the beam that supports your joists)
-
A delaminated subfloor (plywood or OSB that’s swollen, split, or soft from moisture)
-
Structural issues or foundation shifts (especially common in older homes)

You’ll likely need to get under the floor—through a crawlspace or basement—or pull up a section of the subfloor to see what’s really happening.
If you spot insect damage, major cracks in the foundation, or joists that look like driftwood, stop and call a pro. No leveling compound or nail down floor trick will fix a failing structure.
When Bad Construction or a Weak Foundation Is to Blame
Some older homes weren’t built to today’s standards. Builders cut corners—undersized joists, too much spacing, cheap materials—and now you’re paying the price with a bouncy, sagging, or sloped floor.
Other times, the house itself has shifted. Foundation footings sink. Basement walls crack. Soil pressure shifts over time. That’s real-life wear and tear—and it can wreak havoc on your subfloor’s level surface.
Bottom line: If you even suspect foundation trouble, don’t guess. Call a foundation expert before investing time, tools, or materials into your new floor.

Smart Methods to Level a Wood Subfloor
Once you’ve pinpointed the dips, humps, or slopes in the room, it’s time to level the battlefield. These techniques are tried-and-true ways to prep a level floor that won’t squeak, buckle, or fail under pressure. Best part? You can do them yourself. Using leveling compounds to achieve a flat and smooth surface is crucial for ensuring proper flooring installation and avoiding complications in the future.
Start with Shims and Construction Adhesive
Got low spots? Shims are your best friend. Use construction adhesive to secure the shims in place and boost holding power. It creates a rock-solid foundation under your flooring material—especially when prepping for a nail down floor or floating installation.
Plane a Bowing Floor Joist
If your marble rolled away, chances are you’ve got a joist bowing upward. That raised spot needs to go.
Pop a chalk line from wall to wall across the joist. The high point will jump out at you. Use a planer or a belt sander to take it down until the edge is flat and level. This gives you a smooth surface to lay plywood or install new flooring over.
Replace a Delaminated Subfloor
Here’s where many jobs go sideways—ignoring water damage. If your plywood or OSB subfloor has delaminated or swelled from a past leak, it’s no longer structurally sound. Rip it out and install a new subfloor to ensure a flat and stable surface.
First, fix the source of the water—no exceptions. Then lay fresh plywood at regular intervals and secure it using nails or screws. Want to get fancy? Hit it with a layer of construction adhesive first for better grip and longevity.
Self-Leveling Compound: Great for Concrete, Not Wood
When dips are widespread, a cement-based self-leveling compound can help. It flows across the surface, finding low spots and filling them in automatically.
But remember—this method works best on a concrete subfloor, like a basement or ground-level room. It’s heavy, it’s wet, and it doesn’t play nice with wood.
For Minor Fixes, Shims Still Win
If you’ve just got a few dips or low points to deal with, don’t overcomplicate it. Hardwood floor shims are still the simplest, most cost-effective tool in the box. Just tack them down with construction adhesive or screws before you lay your finished floor. Done right, they’ll hold up for decades.
What Is a Flooring Shim (And Why You Should Never Start Without One)?
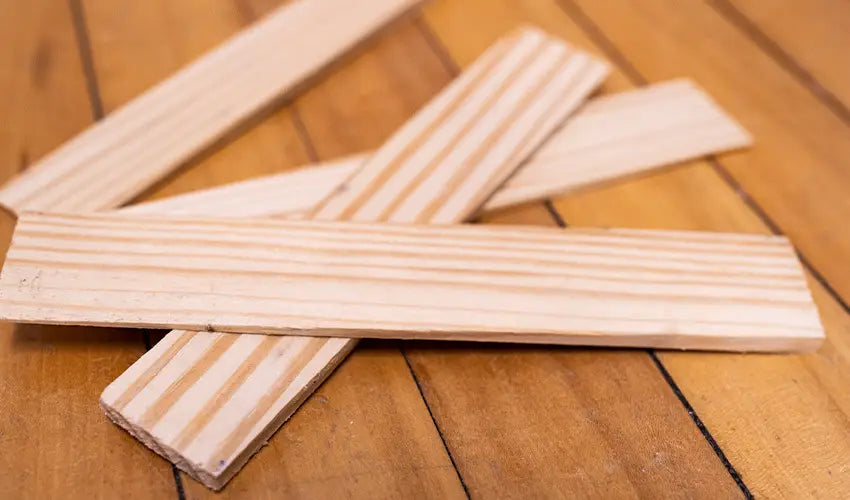
A flooring shim is a thin, tapered wedge—usually made of wood or plastic—that looks like a mini doorstop. But don’t let its size fool you. This little piece packs a punch when it comes to getting a level floor.

Think of shims as the secret weapon pros use to dial in precision. Whether you’re adjusting subfloor height, smoothing out low spots, or prepping a nail down application, shims help create a flat, stable base across the entire surface.
Before laying new flooring material, make sure you’ve removed the old floor completely. You want a clean slate—no leftover debris, no uneven layers. Only then can you begin to properly lay plywood or insert floor shims where needed.
Contractors wedge floor shims between the subfloor and joists or between the subfloor and the new flooring to fix dips, align the plane, and reduce squeaks. In tight spaces or under furniture-heavy zones like living rooms, that level of precision matters. A few well-placed shims can mean the difference between a job that holds up for decades—or one that starts groaning the moment you walk on it.
Can You Shim Hardwood Floors? Absolutely—And Here’s Why You Should
Yes, shimming hardwood floors is not only common—it’s essential in many installs. Especially in high-traffic zones like a dining room or hallway, shims help ensure a level floor that’s safe, smooth, and built to last.
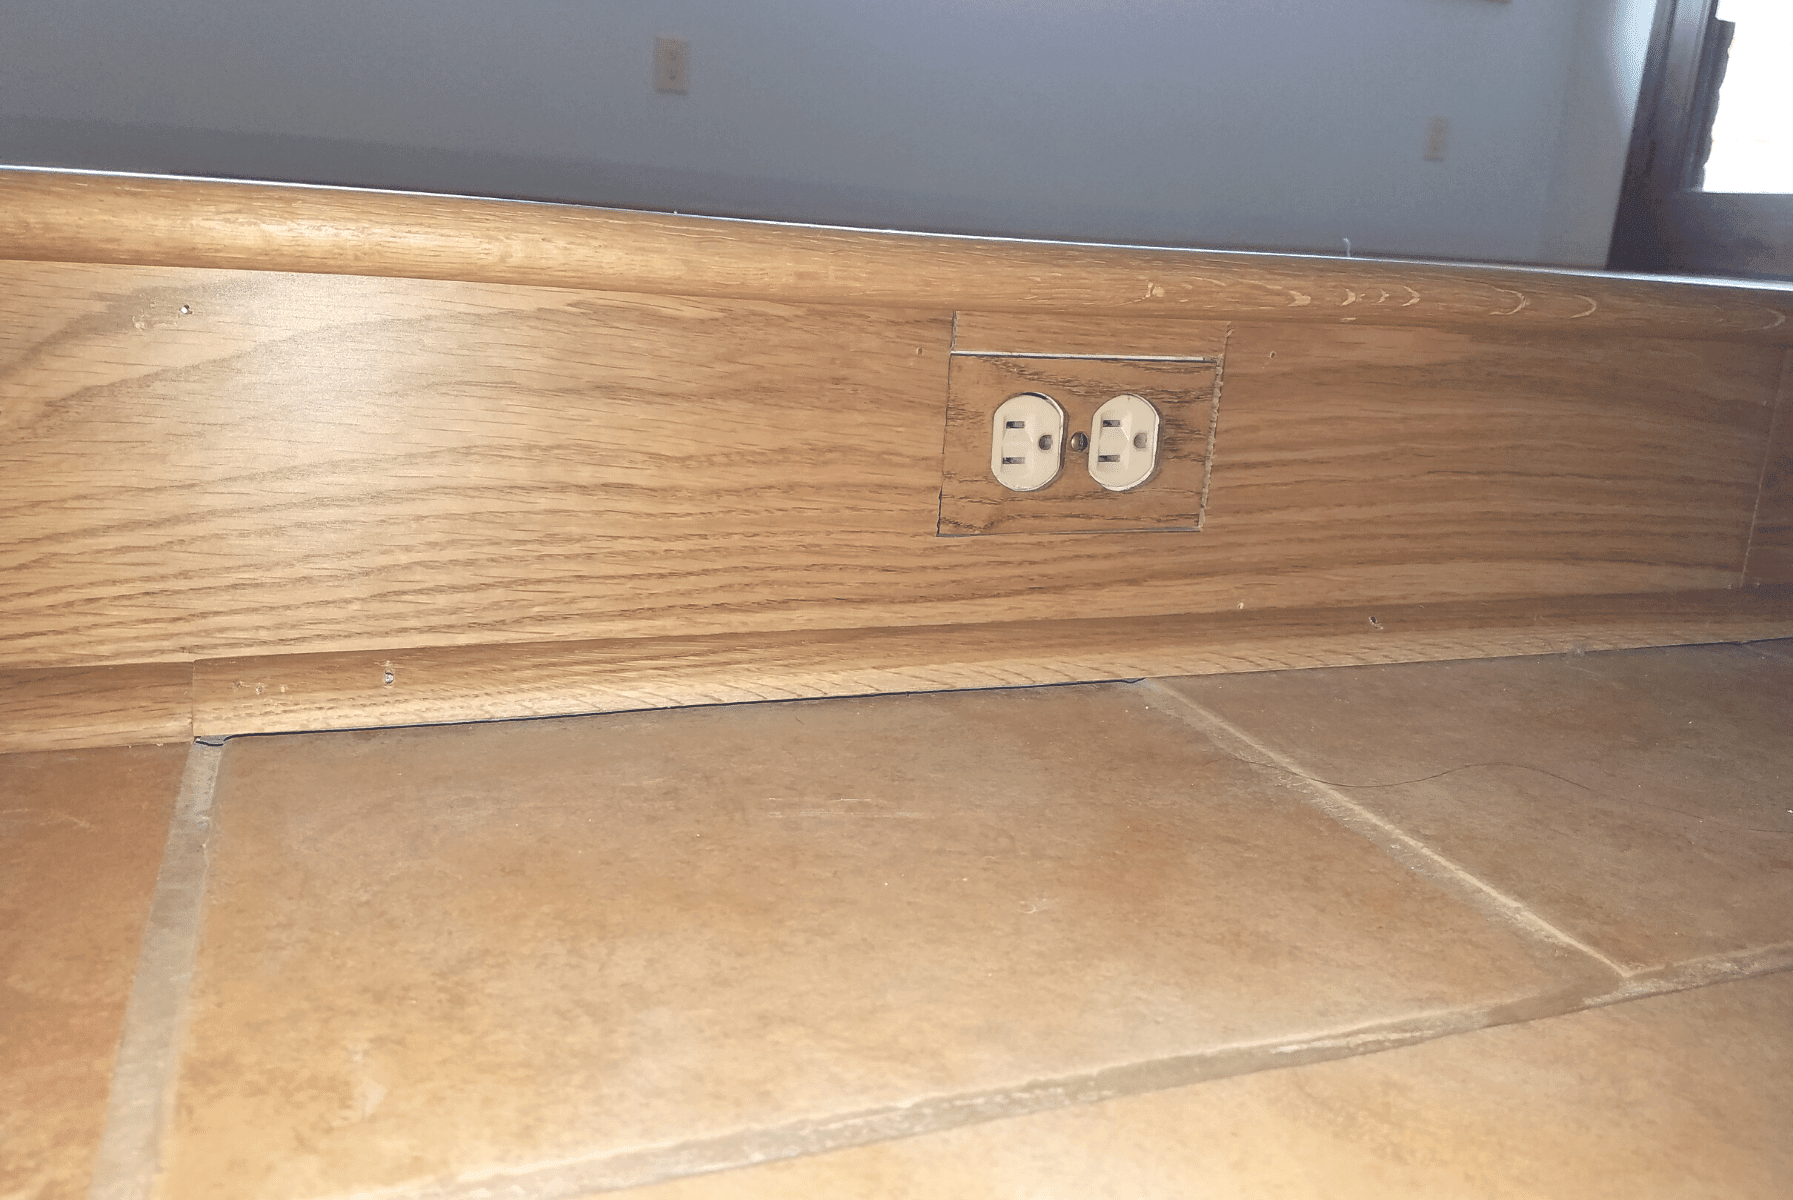
Any time your hardwood meets a different flooring material—say, tile, carpet, or laminate—you’re going to run into height discrepancies. This is where shims come in. They help raise the sub floor or the hardwood itself during the nail down application, eliminating trip hazards and creating a clean, flush surface between rooms.
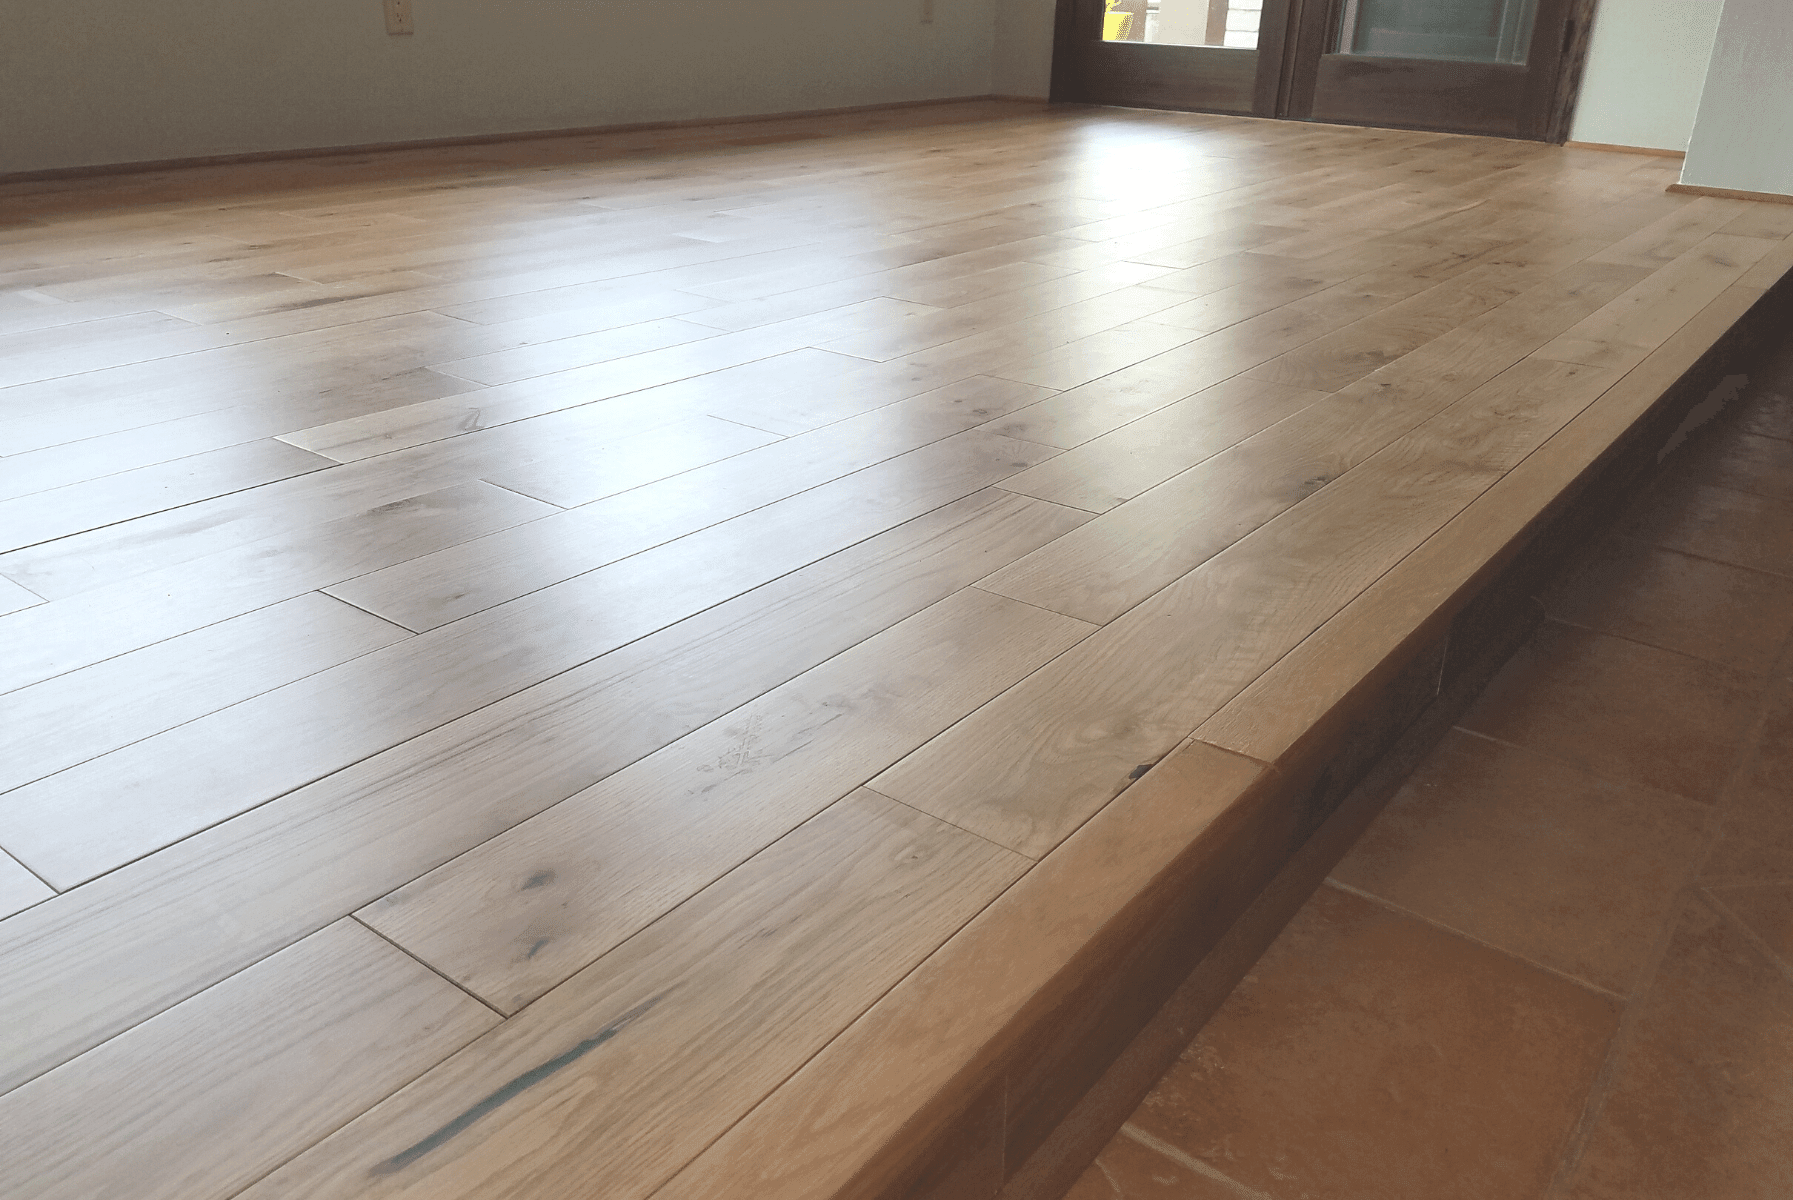
Let’s say you’re laying a ¾" solid oak Easiklip floor next to an older ceramic tile floor. Nine times out of ten, the tile sits higher. Without shims to level that transition, you’re left with an awkward bump or a jarring drop between surfaces—not exactly a seamless flow through the house.
Smart installers shim the floor so the edge of the hardwood sits perfectly in line with the tile. No threshold, no toe-stubs, no eyesores. Just a smooth transition that looks and feels like it was built that way from day one.
Want to see all your transition options? Read: “Floor Transition Strips & All Your Options for Wood Floor Transitions.”
How to Shim a Hardwood Floor Like a Pro
Leveling a wood subfloor or hardwood floor all comes down to the extent of the issue. If your entire floor slopes toward one side of the room, you’re looking at a full-scale correction. In that case, you’ll need to cut long shims from 2x4s, lay plywood over top, and use a straight edge to ensure you’re getting a level floor from wall to wall. These long shims attach directly to the old floor and create a solid base for your new flooring material. Want to see how it’s done? Watch this quick how-to video on cutting floor shims with a circular saw.
Got localized dips or low spots instead of a full slope? Then plywood flooring shims are your best bet. Just slide them under the new sub floor and secure them using construction adhesive for extra holding power. Here’s a great example in action: “How to level sagging floor in an old house using shims.”
Now, if the subfloor is mostly fine but you’ve got scattered dips, use thin wood veneer or door skins to bring those low areas up to level. These flexible wood shims work great when installed at regular intervals, and help you maintain a smooth surface across the job.
Before laying your Easiklip floating floor, take the time to get the sub floor dialed in. As you lay each board, double-check levelness using a chalk line or long straight edge. If a board lifts or rocks slightly, insert a thin wood shim and secure it in place with construction adhesive or staples. A shim that slips causes squeaks later—lock it in now and forget it for decades.
5 Fast Tips to Avoid Floor Failures:
-
Before you lay a single board, walk the floor. If you see nail or screw heads sticking up, drive them flush.
-
Inspect the joists and plywood. Warped? Cracked? Delaminated? Fix it or replace it.
-
Use a 6-foot carpenter’s level to check in both directions—length and width of the room.
-
Work in one-foot increments. Don’t assume the far end of the room is as level as where you started.
-
Remember: Your floor doesn’t have to be laser-level. But it must be flat—no dips, no humps, no excuses.
Get this part right, and your Easiklip floor will look flawless, feel solid underfoot, and stay squeak-free for years to come. It’s one of the smartest DIY investments you’ll make.
Want to see how simple it really is?
Learn how to install Easiklip solid oak flooring right here.
The Last Word: A Flat Subfloor = A Floor That Lasts
Installing hardwood flooring isn’t just about the visible surface. The real success of the job comes from the foundation—your subfloor. Whether you use leveling compound, shims, or lay new plywood, the goal is the same: a level, flat, solid base with no squeaks, no bounce, and no regrets.
With Easiklip’s floating solid hardwood floors, you can install your new floor over a properly prepared subfloor faster, easier, and without the mess of glue or the hassle of nails.

