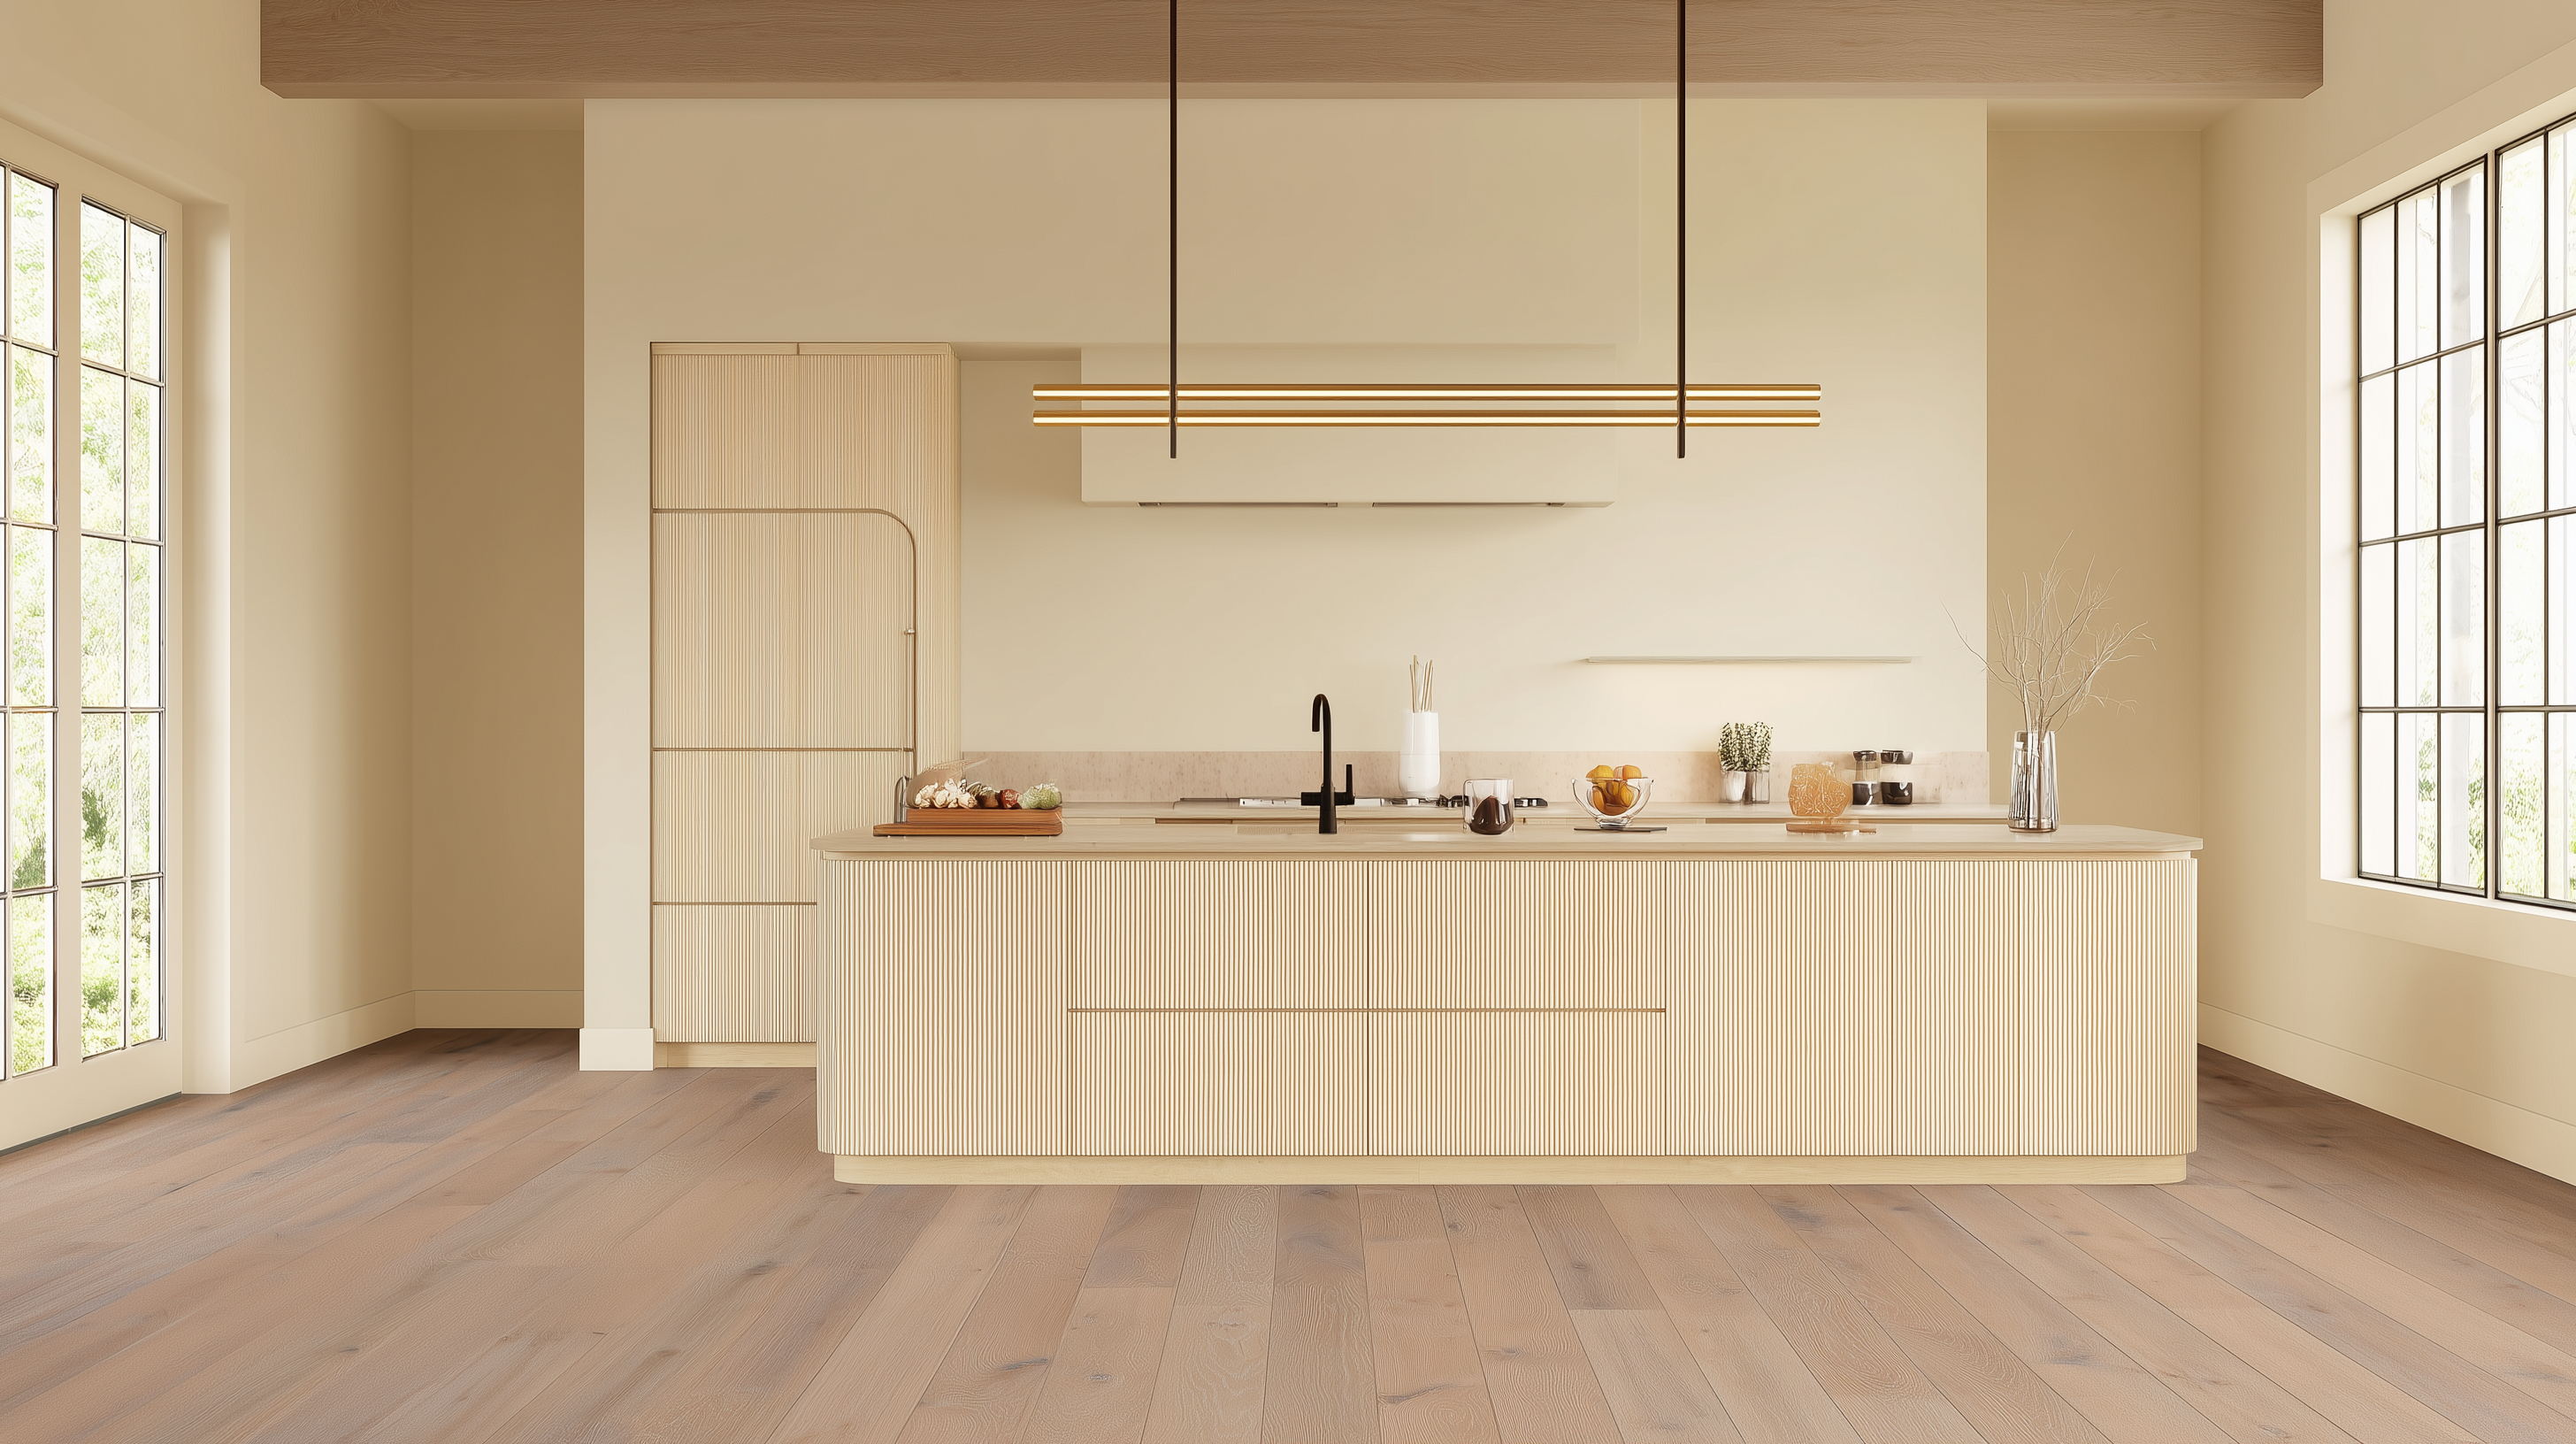
There’s a certain poetry in the way light plays across a well-worn oak floor. Each mark tells a story, but too many stories can dull its beauty. When wear turns from character to concern, it’s time to act. This guide on hardwood floor scratch repair walks you through every stage of renewal, from simple surface fixes to full refinishing and replacement.
Whether it’s pet claws, sunlight, or decades of footsteps, you’ll learn what’s repairable, what’s not, and how to give your hardwood floor new life.

Signs Your Hardwood Floor Is Asking for Help
The more layers of the floorboards that are damaged, the more difficult it is to repair.
If you look at a stained hardwood floor from the side, there are three layers.
- The Finish – Usually a hard, clear coating of polyurethane that protects the wood stain and wood below.
- The wood Stain – A lighter colored pigment applied on top of the bare wood.
- The Hardwood – These are the floorboards cut from certain varieties of hardwood trees, the most common is oak. There are many species of hardwoods, including exotic hardwoods.
Damage to solid hardwood floor is inevitable. It can be from humans, pets, wear and tear, temperature and humidity, or the natural settling of your home.
Here are some of the typical problems with hardwood flooring:
Moisture, Movement, and the Trouble They Cause

The Daily Wear and Tear We All Live With

What Happens When Sunlight Settles In
If your hardwood floor is in a room with direct sun exposure, the UV light will fade your hardwood floor making it look worn out, old, and unattractive.

Warped Wood: A Basement’s Silent Battle
This issue usually occurs in the basement where the hardwood floor is exposed to high humidity and water, causing the hardwood floors to swell and warp.

Gouges from Life Lived Loudly (And How to Fix Them)
Accidents happen. Sometimes someone might drop or drag something heavy across the floor. How about your overly enthusiastic dogs? Those scratches are usually deeper and can go all the way into solid hardwood flooring.

From Fire to Food: Damage That Goes Beyond the Surface
Fire and liquids are two enemies of hardwood floors. Burns can occur on hardwood flooring near kitchen stoves, wood stoves, and fireplaces. This kind of damage can penetrate deep into the hardwood.
Pet accidents and food spills are a common problem. The damage is usually to the finish unless it goes unnoticed and seeps in between the seams and gets absorbed by the hardwood flooring.
Visit this post on Choose Toolbox for some more tips on how to fix common scratches in your hardwood floor.
Now that we’ve covered the common problems let's find solutions.
Surface-Level Scratch Fixes That Work
For light wear, start with basic hardwood floor scratch repair using steel wool or wax. Depending on the type of damage, hardwood floor scratch repairs can be quick and easy or complicated and costly. We’ll work our way from surface scratches to deep gouges.
The three methods are Recoating, Refinishing, and Replacement.
1. Recoating – For Light Wear and Covering Hardwood Floor Scratch Repair
When there is no damage to the hardwood flooring, just surface wear or one large scratch that you’ve had to fix, we recommend recoating. Recoating removes or repairs surface scratches by adding a fresh top coat of polyurethane.
You may need to take care of noticeable hardwood flooring scratches by gently rubbing with fine steel wool over the scratch parallel to the hardwood grain. Ask for 0000 or 000-grade steel wool, and a package should cost around $4. Here's a link to get it from Amazon...

Then, add new polyurethane to make the repair blend in. It costs about $12 for a 32 oz. can. Make sure you know whether your hardwood floor is satin, semi-gloss or high-gloss. You’ll want to use a lamb’s wool applicator or natural bristle brush. Never use a foam brush, or you’ll have air bubbles. Expect to pay $8 for a quality brush.
Another quick repair for light hardwood flooring scratches is to apply wax on the area and buff it smooth. If it’s a slightly deeper scratch, use the steel wool method described above before applying the wax and buffing.
While recoating is generally for light surface damage, occasionally you’ll have a deeper scratch that penetrates the hardwood flooring. You don’t have to refinish the entire room for one big scratch. You just need to sand the scratch, fill the hole, stain it, and recoat it.
We really should just name this section “How to fix scratches in hardwood floors from a dog.” Many of the significant scratches in hardwood flooring come from big dogs putting on the brakes or going crazy watching a squirrel from the window. Those big claws do the same damage as dragging unprotected pieces of furniture. The scratches can go deep into the hardwood flooring. Here are the steps to fill any large scratch or gouge.
- Use lightweight, 160 grit sandpaper to sand along the scratch. Always sand in the direction of the hardwood grain, even if the scratch runs perpendicular.
- Rub the sanded area with a rag and mineral spirits to pick up the fine dust.
- Fill the scratch with a wood filler that matches the color of the hardwood floor. You can find lighter colored wood filler at the hardware store. Use a plastic putty knife to press the wood filler into the scratch gently. Follow the directions to ensure it’s dry before sealing.
- Sand the wood filler with 180 grit or finer sandpaper. If you don’t have a wood filler that matches the color of the hardwood stain or wood, you can buy stain markers that closely match the color of your floor. Merely stain the wood filler once it’s dry. You can also use regular lighter colored markers in a pinch.
- Seal with the correct polyurethane.
For gouges, you’ll use the same products and techniques above except you may have to apply the filler in two or three layers to allow for proper drying.
Assuming you already have a brush and polyurethane, here are the additional DIY costs for repair gouges in solid hardwood flooring.
- Sandpaper -$10
- Mineral Spirits - $9
- Plastic Putty Knife - $1
- Wood Filler - $6
- Stain Marker - $6
If the damage to the hardwood floor is widespread, not just one scratch, you’ll need to refinish the hardwood floor. It’s not a job for amateurs.
However, if you are going to refinish the hardwood floor yourself, add the cost of a respirator for $40. You’ll also need to plan on renting a heavy floor sander, hand sander and buy a shop vac and various grits of sandpaper and wire sanding discs.
Before we move on, let’s take a moment to understand the difference between recoating and refinishing.
Recoating or buff and recoat is a process that gently sands and buffs the surface marks and general wear. Recoating involves utilizing a buffer and a mesh sanding screen to roughen the current surface of the floor so that a new coat of finish will adhere to it. The long-lasting polyurethane preserves and renews the finish like new. You can do it to just one board after the scratch and gouge repair.
It’s more of a facelift than major surgery because it does not affect the wood or the color. However, the hardwood flooring needs to be in good shape with no bare wood or gap between the two. Deep scratches or gouges should be sanded and filled before recoating.
To watch a short demonstration of the process, check out this short video on buff and recoat.
Refinishing is labor and equipment intensive. You're sanding the entire floor until it is smooth and even. It creates a lot of dust as you remove old finish and some of the hardwood’s surface. For older solid hardwood floors with substantial wear or damage, it’s the best option, if there is enough hardwood left to sand.
Refinishing is a difficult and complicated process that should only be undertaken by a professional or very experienced DIYers. It’s very easy to ruin your floors from over sanding or applying the wrong finish.
2. Refinishing – Making Old Solid Hardwood Floors Look New
If the hardwood flooring is old or has damage that caused buckling, crowning, and cupping, you’ll need to refinish the hardwood floor. It involves sanding the entire floor surface down to bare wood until the floor is even. But, it can also include plank replacement and reinforcement of the hardwood floor joists if the problem is severe. With refinishing, you need experience, time, and the right equipment to do a proper job.

If the hardwood floor is so bad, such as termites or dry rot where resurfacing is not possible, you need to replace the floor.
3. Replacing – Installing New Hardwood Floors
Replacing floors is a drastic step. In most cases, it’s not something for a DIYer. You’ll need a professional unless you install Easiklip solid hardwood flooring.
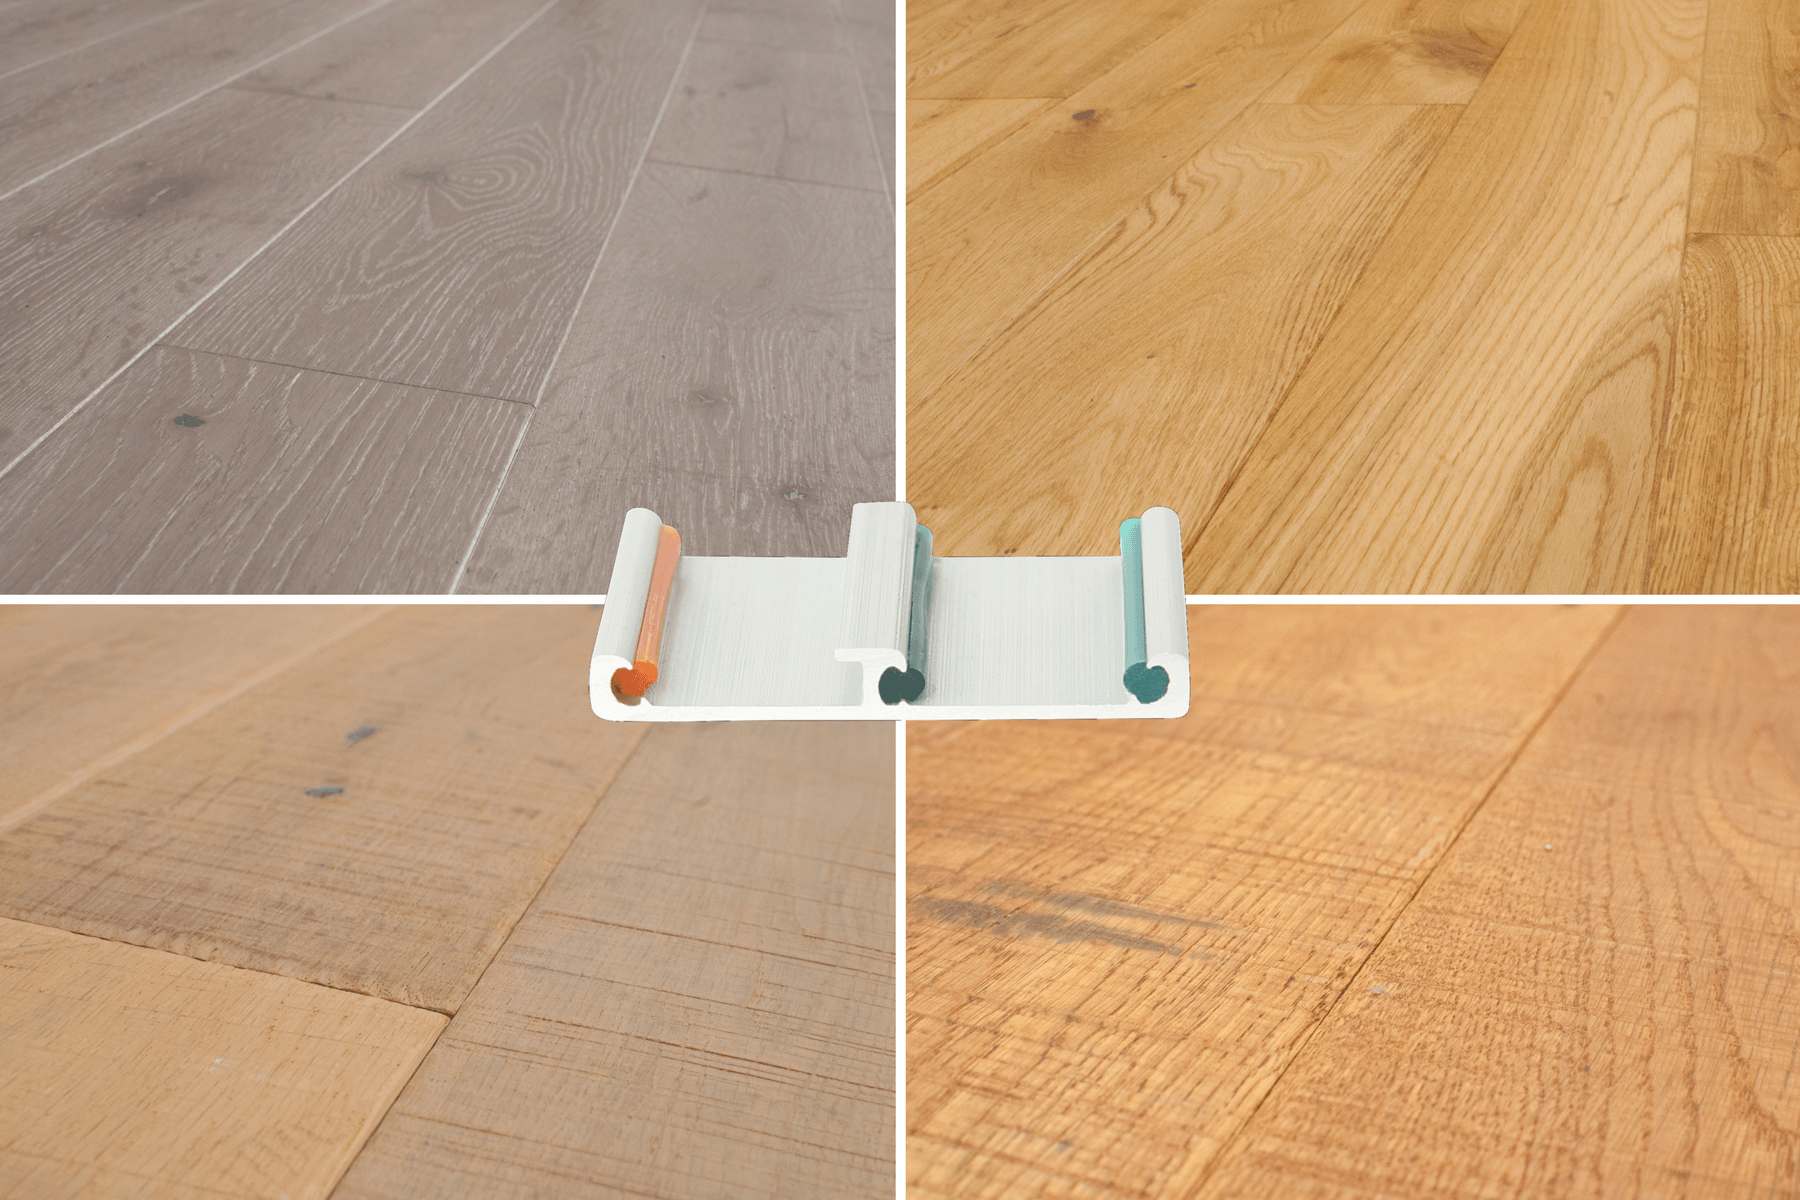
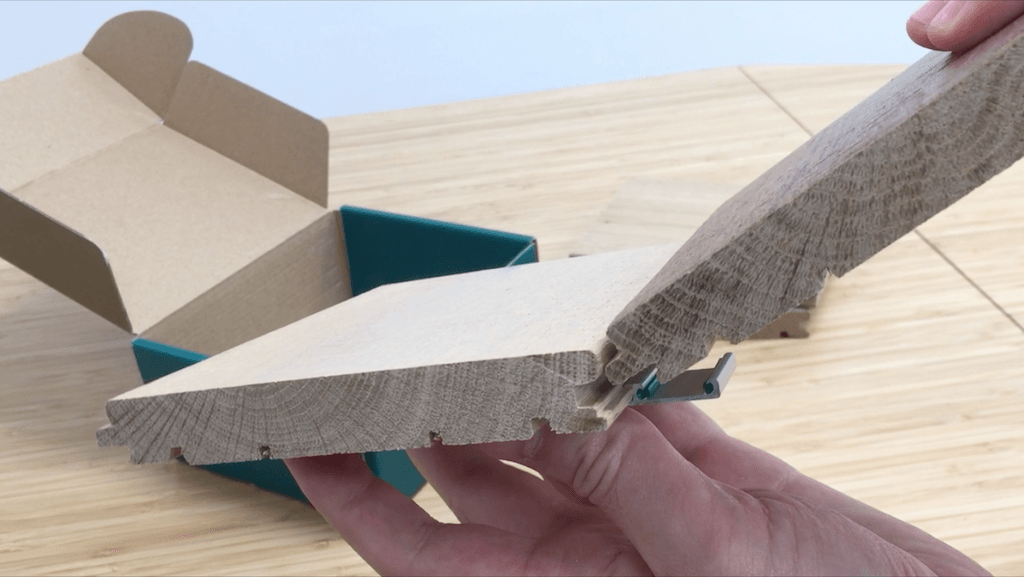
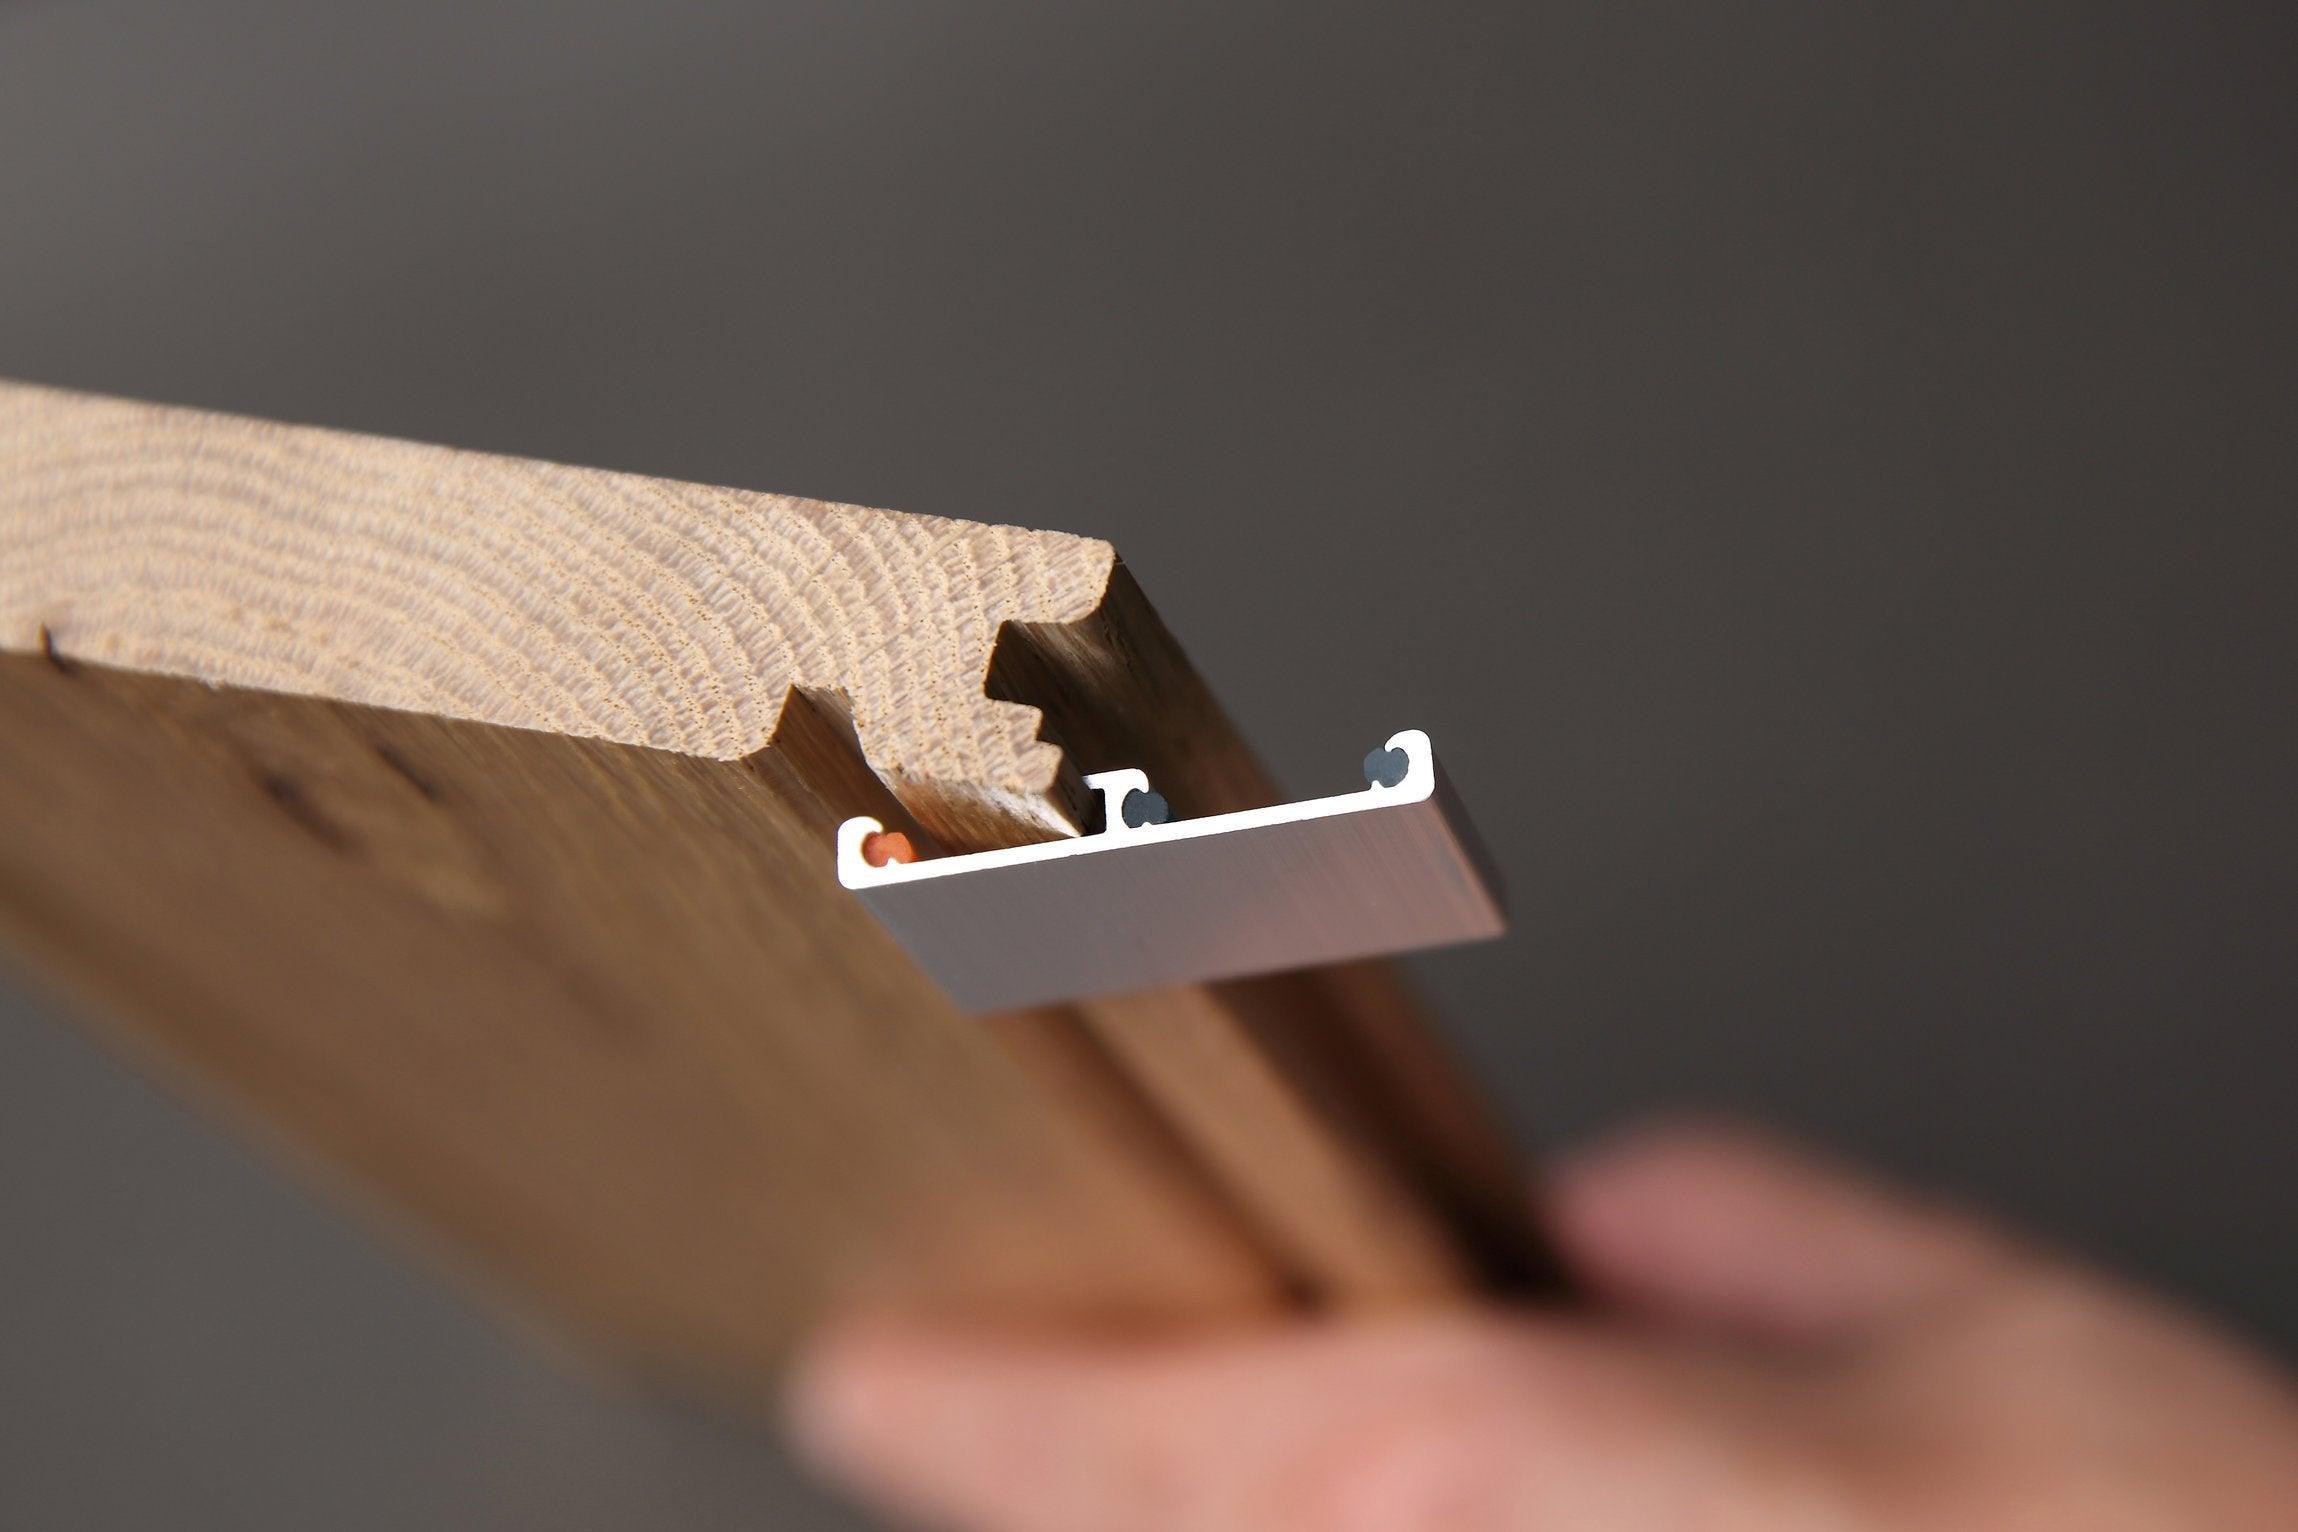
Easiklip is DIY hardwood flooring on a budget. It installs without glue or nails. You can number each board as you install them. If you ever need to replace a board (assuming you purchased extra and kept them), you simply unclip the boards in order until you reach the damaged floor boards. Just replace them and reassemble your floor like a hardwood puzzle, good as new. For more detailed info, check out this article on how to easily repair your Easiklip hardwood floor.
Worried about paying someone else TOO MUCH MONEY to install your hardwood floor?
Do you want to know how much it REALLY costs to install hardwood? Check out this case study of a DIY hardwood installation with costs, timeline and list of materials:
If you have a traditional hardwood flooring that’s permanently attached to the subfloor, be prepared for some expensive inconvenience. Unless you are in the hardwood flooring business, to replace one or two damaged boards requires experience and more tools than you probably have. Without getting involved with a lot of detail, this is what you’ll need to do.
- Remove the Damaged Floor Boards
To do this job, you’ll need the following tools:
- Circular Saw
- Hammer
- Cat’s Paw/Trim Pry Bar
- Wood Chisel
- Multi-Tool (recommended)
- Brad Nailer
Make sure you mark the floor boards, so you don’t remove the wrong one(s). You need to know the thickness of the floorboards to set the depth of the saw. Most old floors will be ½ to 1 inch thick. Cut the boards lengthwise into strips and remove the ends with the multi-tool or chisel. Now remove the pieces and vacuum any saw dust.
- Insert the Replacement Boards
Cut the boards, so they fit snugly in length. Remove the bottom half of the groove with a table saw, chisel or plane. Be extra careful not to damage the top. Insert the tongue into the other floorboard. Use a piece of scrap lumber as a beater board to coax it in. Face nail it into position using 1 ½ in. brads.
Here's a great video that demonstrates how to repair a damaged plank in a real wood floor: Now you can refinish the rest of the floor.
How Much Hardwood Floor Gouge Repair Cost?
Hardwood floor scratch repair costs vary by the type of repair, size of the floor and the geographic area in which you live. You can find some companies that can recoat a hardwood floor for as little as $1 per square foot, but plan for at least $2 per sq. ft. Because it is just the surface, the job can be finished in as little as one day. The cost to buff and recoat a room measuring 15x15 feet or 225 square feet should cost around $200 to $250.

Cost to Have Hardwood Floors Refinished
The cost to have a wood floor refinished depends on a lot of variables. For example, California has strict laws on VOCs, Volatile Organic Compounds, or the fumes you smell in paint and polyurethane. As a result, the cost of floor finishes in that state have doubled, dramatically increasing wood floor repair cost there.
One of the best answers to this question comes from a wood flooring contractor who wrote a response to this question on the real estate website, Zillow.
“In North Carolina to have your floors refinished properly which means have them sanded with 2 or 3 different grits, have the shoe mold removed and replaced, have the floors stained or sealed (for natural) and have them finished with 3 coats of polyurethane or waterborne floor finish and use low dust protocols in both cases, the price should be between $3.75-$4.00 per sq foot for oil based and between $4.00-$4.50 for waterborne. Oil-based should take four days and water-based 2-2½ days depending on square footage.
The operator and quality of the products do matter a lot! With that said you can find hacks on Craigslist to it for $2.50, but you will have wear through, color loss, may not get your three coats and or have peeling and have to re-do it anyway. The products and sandpaper alone cost almost $1.75 per square foot if you use the good stuff so how can someone do it for $2?”
The prices quoted above dated to 2014. They may be slightly higher where you live.
The Home Advisor website lists the average cost to refinish a 300-sq. ft. hardwood floor between $970 and $1,250. However, those costs can rise due to variables such as the number of coats, quality of the materials, the condition of the floor and other things.
You can do it yourself and possibly save some money. But, if you make mistakes, you may have to do it all over again.
For another view of pricing, watch this demo video. You can see how this DIYer refinished a 60-year-old floor in a 480 sq. ft. garage apartment for about $200.
The man admits he was more interested in reducing cost over quality, but you’ll see all the equipment, techniques, costs and labor involved.
If you’re set on refinishing a hardwood floor yourself, here are some excellent tips in this video by Lowes.
When the damage to the floor is too deep, such as pet urine or water damage that sat for too long, your repair can be more extensive. You’ll need to replace one board or all of them.
How to Avoid the Worst: Smart Floor Habits for the Long Run
“An ounce of prevention is worth a pound of cure” is appropriate when preserving your precious hardwood floor. Here are a few maintenance and preventative tips to keep your floor looking gorgeous and new.
- Always use felt pads under all chair and furniture legs
- Use throw rugs at entrances and hallways to catch debris
- Common in most countries, remove shoes when entering the home
- Use runners or mats in high traffic areas such as hallways and kitchens
- Have pet’s nails manicured regularly
- Clean and buff floors regularly to avoid grit from ruining the finish.

A Fresh Take: Budget-Friendly, Stylish DIY Flooring Solutions
From small scuffs to deep gouges, hardwood floor scratch repair is about more than maintenance, it’s about preserving the beauty and history of your home. With the right tools, techniques, and care, even worn floors can shine again.
Whether your floors have survived decades of dinner parties, pets, or just life in motion, restoration is always within reach. Sometimes it’s a light touch. Other times, it’s a full reset. But the point is this: wood can be reborn. With the right materials, tools, and timing, you don’t just fix your floor—you renew your home’s character. And if you're ready to skip the mess and start fresh, Easiklip offers a simpler, smarter path forward.
See how beautiful your floor could be.
Order your FREE Easiklip Sample Pack today and get a feel for real hardwood, no glue or nails required. A new floor is closer than you think.
