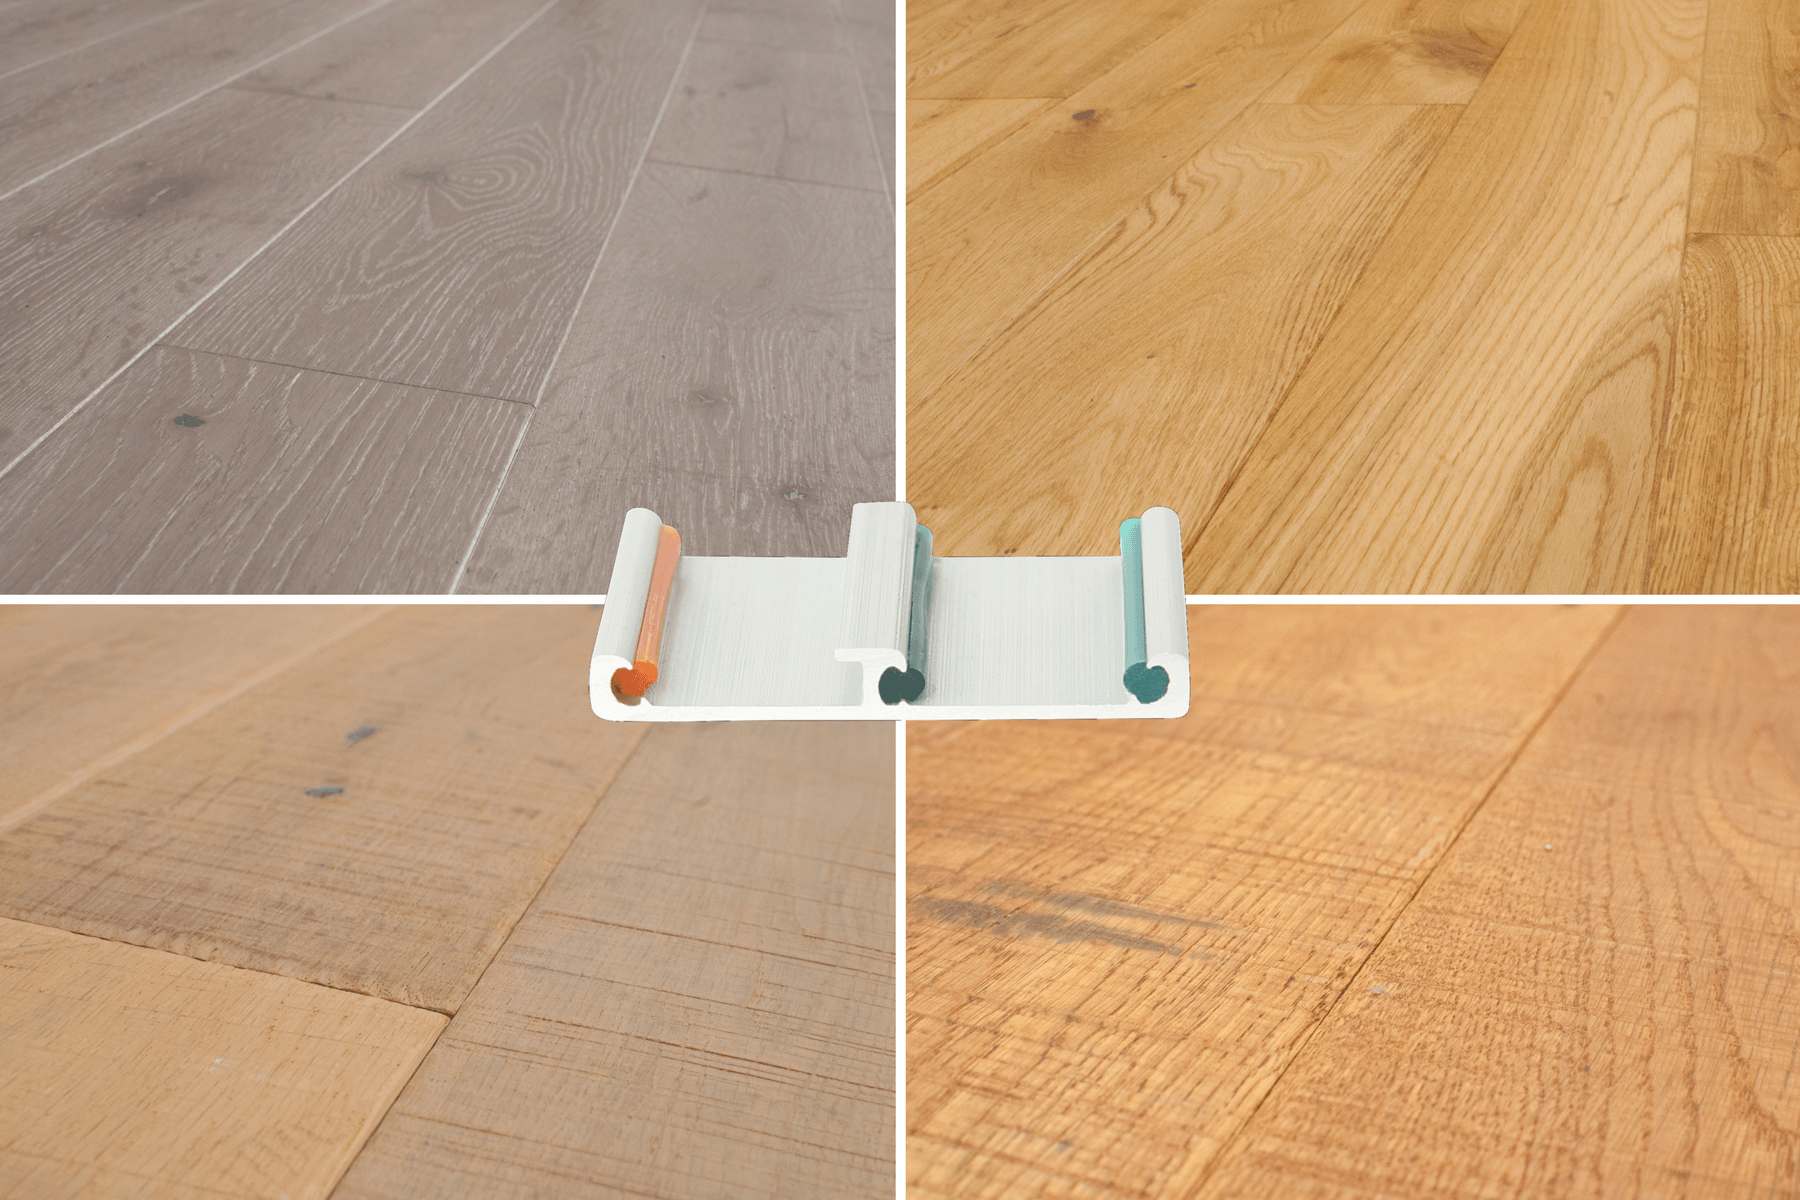
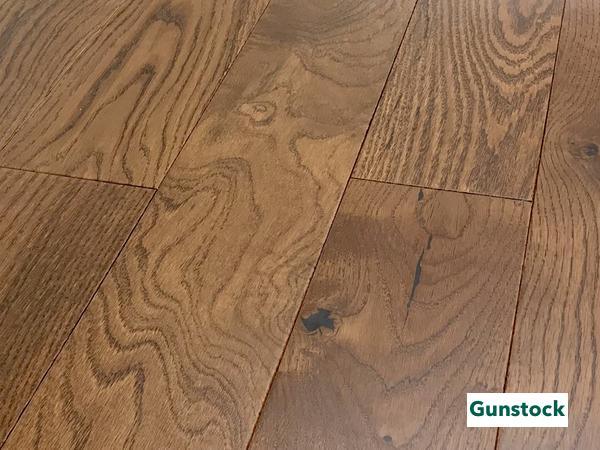
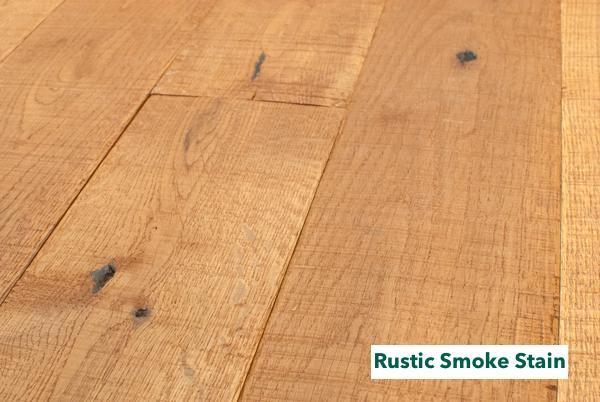
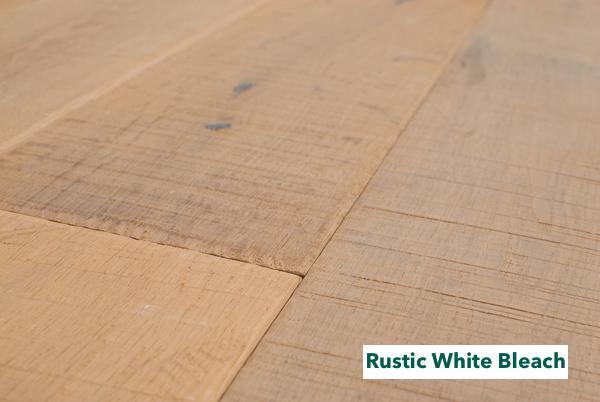
There’s something unmistakably honest about an oiled hardwood floor. The texture of the grain. The warmth of a matte finish that feels more organic than engineered. Unlike polyurethane, which seals wood beneath a glossy plastic layer, oil soaks in—revealing the wood’s true character and enhancing it over time. It’s tactile. It’s breathable. It’s beautiful.
Whether you're restoring a heritage floor or finishing fresh planks, oil offers a natural alternative that prioritizes feel, longevity, and air quality. In this guide, we’ll show you how to oil your wood floors properly—step by step. You'll learn what tools you need, how to prepare the surface, and why this timeless technique is making a quiet comeback in modern interiors.
Prefer less hands-on? You can always skip the oiling altogether with Easiklip’s prefinished solid oak floors—ready to install, no extra steps required. View the collection here.
Getting Your Floor Ready: Prep Makes Perfect
If the hardwood floor was oiled previously or is unfinished, you can apply the oil directly to it.
For best results, it’s best to go over it with fine sandpaper or screen using a buffer. The objective is to loosen the grain in the wood to help the oil penetrate. However, it’s not necessary.
If your floor has a coating of varnish or polyurethane, you will need to sand it down to the bare wood before applying oil. If you must sand the floor, read this article, “How to Use Wood Floor Sander Machine.”
Here are the preparation steps before oiling a wood floor:
- Ensure the room is well ventilated.
- Sweep or vacuum any dirt or dust.
- Use a wood floor cleaning spray and microfiber cloth to clean the floor.
- Let dry thoroughly with a moisture content between 5% and 12%. Check with an electronic moisture meter if possible.
How to Apply Oil Like a Pro
Before you get started, gather a few tools to make the job go easier.
- Clean cotton cloths – For cleanup
- A paint roller with a short nap or foam with extendable handle – For the second coat
- Angled 2” paintbrush – To spread oil along the edges of the wall
- Painter’s tape - To protect the baseboard from overpainting
- Flexible metal or plastic trowel – For applying and spreading the first coat of oil
- Microfiber pads and mop – To remove excess oil from the floor
Some people prefer to get down on the floor and spread the oil with a trowel. Others prefer to use a roller. In one of our videos below, they use a trowel first and the roller for a second coat. It’s a personal preference.
Now you’re ready to oil your wooden floor:
Start by stirring the can of oil thoroughly. Please don’t shake it like paint, or you’ll end up with foamy bubbles.
Begin brushing the oil at the corner farthest from the door, starting with the edges. Pour a small puddle on the floor, then use the trowel or roller to spread it evenly. Work in small sections until you coat the entire floor.
Oil Drying Times
Let it dry using the manufacturer’s recommended time before adding a second coat. Typically, you want to let each coat dry for up to 12 hours. The extra time helps the oil to penetrate deeper into the wood’s pores, resulting in a longer-wearing finish.
To apply the second coat of oil, follow the same steps as above.
Buffing: The Secret to a Silky Finish
It’s a good idea to rent a floor buffer. Use it to work in the oil, remove excess, and bring out a lovely sheen. Check with the dealer to see which pad to use. Typically, you’ll use a red or tan buffing pad to smooth and push the oil into the pores of the wood. A white pad works best for the final buffing to make an even, satin shine.
Once buffed, don’t walk on the floor for at least six or seven hours.
Other Tips for Oiling a Wood Floor
- Keep the oil at room temperature and apply when the floor is between 15°C and 25°C (60°F to 77°F). If you have floor heating, turn it on while applying the oil but turn it off for the final buffing. Otherwise, the oil may bleed out into the buffing pad.
- Do not apply oil to areas that are larger than 20 m² (215 sq. ft.) at one time. It may dry unevenly. Also, unabsorbed oil may dry, causing glossy spots on the surface.
- Never leave puddles of oil to dry.
Anyone can oil a wood floor. It just takes a little time.
The Benefits of a Wooden Floor Oil Finish
There are a few reasons to consider a hardwood oil finish.
It’s Safer for Your Family
As we mentioned above, floor finishes like polyurethane or varnish require solvents to work. Solvents, like mineral spirits, give off VOCs or Volatile Organic Compounds as they dry, creating both a fire and health hazard. You need to move the family and pets out of the home temporarily if applying these finishes on-site.
Oils for wood floors don’t contain petroleum distillates and have very low VOCs, if any.
Easier to Repair
If a polyurethane finish gets scratched, it’s challenging to repair and hide. With oil, it’s much easier to make spot repairs and have them blend in naturally. Oil won’t crack, peel or flake, and won’t show the wear like polyurethane.
Hard Wax Oils Don’t Turn Yellow
Synthetic floor finishes like varnish or polyurethane have petroleum products in them, which can turn yellow over time. It happens gradually, but there is a noticeable difference between a recently finished floor and one that’s eight years old or older.
Oil Won’t Make the Floor Look Fake
A wooden floor oil finish enhances the beauty of the wood grain on every board. Polyurethane can give the floor an artificial look. With oil, there is no question that the floor is genuine wood, not engineered or vinyl.
The Downside of Oiling
Oiled floors need more maintenance than polyurethane. They can stain easily, especially with ammonia cleaners, colorful spices like turmeric or red wine. Because oil is not as hard as polyurethane, dirt and sand can scratch the finish.
To keep up the floor’s appearance, plan to re-apply the oil every two years in high traffic areas. Otherwise, it will look like the Oregon Trail runs through your home.
Why Maintenance Is Part of the Magic
For your reference, here are some preventative maintenance tips for a hardwood floor oil finish:
- Sweep or vacuum often to remove fine dirt.
- As needed, lightly damp mop using an approved wood floor cleaner.
- Remove shoes before walking on the floor.
- Avoid scratches by applying felt pads to the bottom of all furniture legs.
- Wipe up spills immediately.
Plan to re-apply a hard-wax oil for maintenance about every six to ten months, but no longer than two years. Follow the manufacturer’s recommendations for re-coating.
Cost Breakdown: What Oil Finishes Really Cost
There is a product by Rubio, called Mono Coat 2C. It has two components that you mix, Part A is the oil, and Part B is an accelerant and hardener. A 1.3-liter container with both components cost around $163.
A 32 oz. bottle of Pure Tung Oil Finish Wood Stain & Natural Sealer costs about $20.
Another option by Conrads is a wood floor oil made from nuts, plants, roots, herbs, and seeds. It penetrates the wood and leaves a pleasing scent. This product sells for $20 per pint.
Still Deciding? Watch These First
This video about oiling a wood floor with wood oil uses a specific 2-part product. You’ll see some professional techniques and sound advice about oiling a floor.
Our next video answers the question, Should You Use Oil or Varnish to Finish Your Flooring? The hard wax oil section starts at 3:35 in this 7:45 minute video.
Why Oil Is Trending Again
More homeowners are turning to the natural look of oiling a wood floor over varnishes and polyurethane finishes. They avoid the smell and plastic look in favor of an ecologically friendly finish.
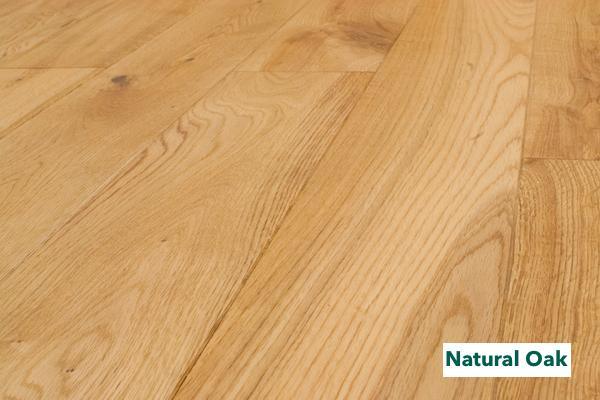
The oil offers more colors than clear. It comes in natural oak, walnut, white, grey, and black. Oiling is an excellent opportunity to create a new, unique look for an unfinished floor or revive the original appearance if you already have an oiled hardwood floor.

It takes more maintenance, but oil can wear better and protect longer than polyurethane or varnish. It enhances any wood species, including exotic wood. It’s suitable for reclaimed, new wood and engineered wood floors too.
A wooden floor oil finish requires maintenance oil treatments approximately every one to two years. But the project is relatively simple, and the results are worth your time and effort. You have beautiful wood floors that look like new every time.
If oiling your wood is too much hassle for you, there’s an easy solution. Easiklip offers prefinished solid oak floors that are easy to install and look good in any room. Check out the flooring selections here.


