T-Molding Transitions: Where Function Meets Finish
Installing T-molding strips is essential for creating smooth transitions between different flooring types, such as hardwood to tile or laminate. This guide walks you through the step-by-step process of measuring, cutting, and securing T-molding for a flawless finish. Learn expert tips on choosing the right materials, ensuring proper expansion gaps, and using adhesives or tracks for secure installation. Discover common mistakes to avoid and how to achieve a polished, professional look. Whether you’re upgrading your home or completing a new flooring project, these easy-to-follow instructions will help you install T-molding like a pro and enhance the durability and aesthetics of your floors.

The space between rooms should never interrupt the flow of your home. Done well, a T-molding hardwood floor transition disappears into the design, quietly balancing function and form. More than just a trim piece, T-molding protects expansion gaps, keeps foot traffic safe, and unifies flooring from room to room. But placement and installation matter. This guide walks you through when to use T-molding, how to color-match it to your hardwood, and the steps for a professional installation.
What Is T-Molding, and Why Does It Matter?
Hardwood and laminate floors require at least a 1¼ inch (3.2 cm) gap to allow for natural expansion and contraction due to seasonal changes in temperature and humidity. Covering this gap to create a trip-free, transition that is visually appealing is the job of T-molding.
Although the most common transition for T-molding is doorways, another function of T-molding is joining hardwood floors in large areas. Long runs of hardwood floors need to allow for expansion and contraction. Any floor longer than 40 feet (12.2 meters) should have an expansion gap, and this is where a T-molding would do the job.


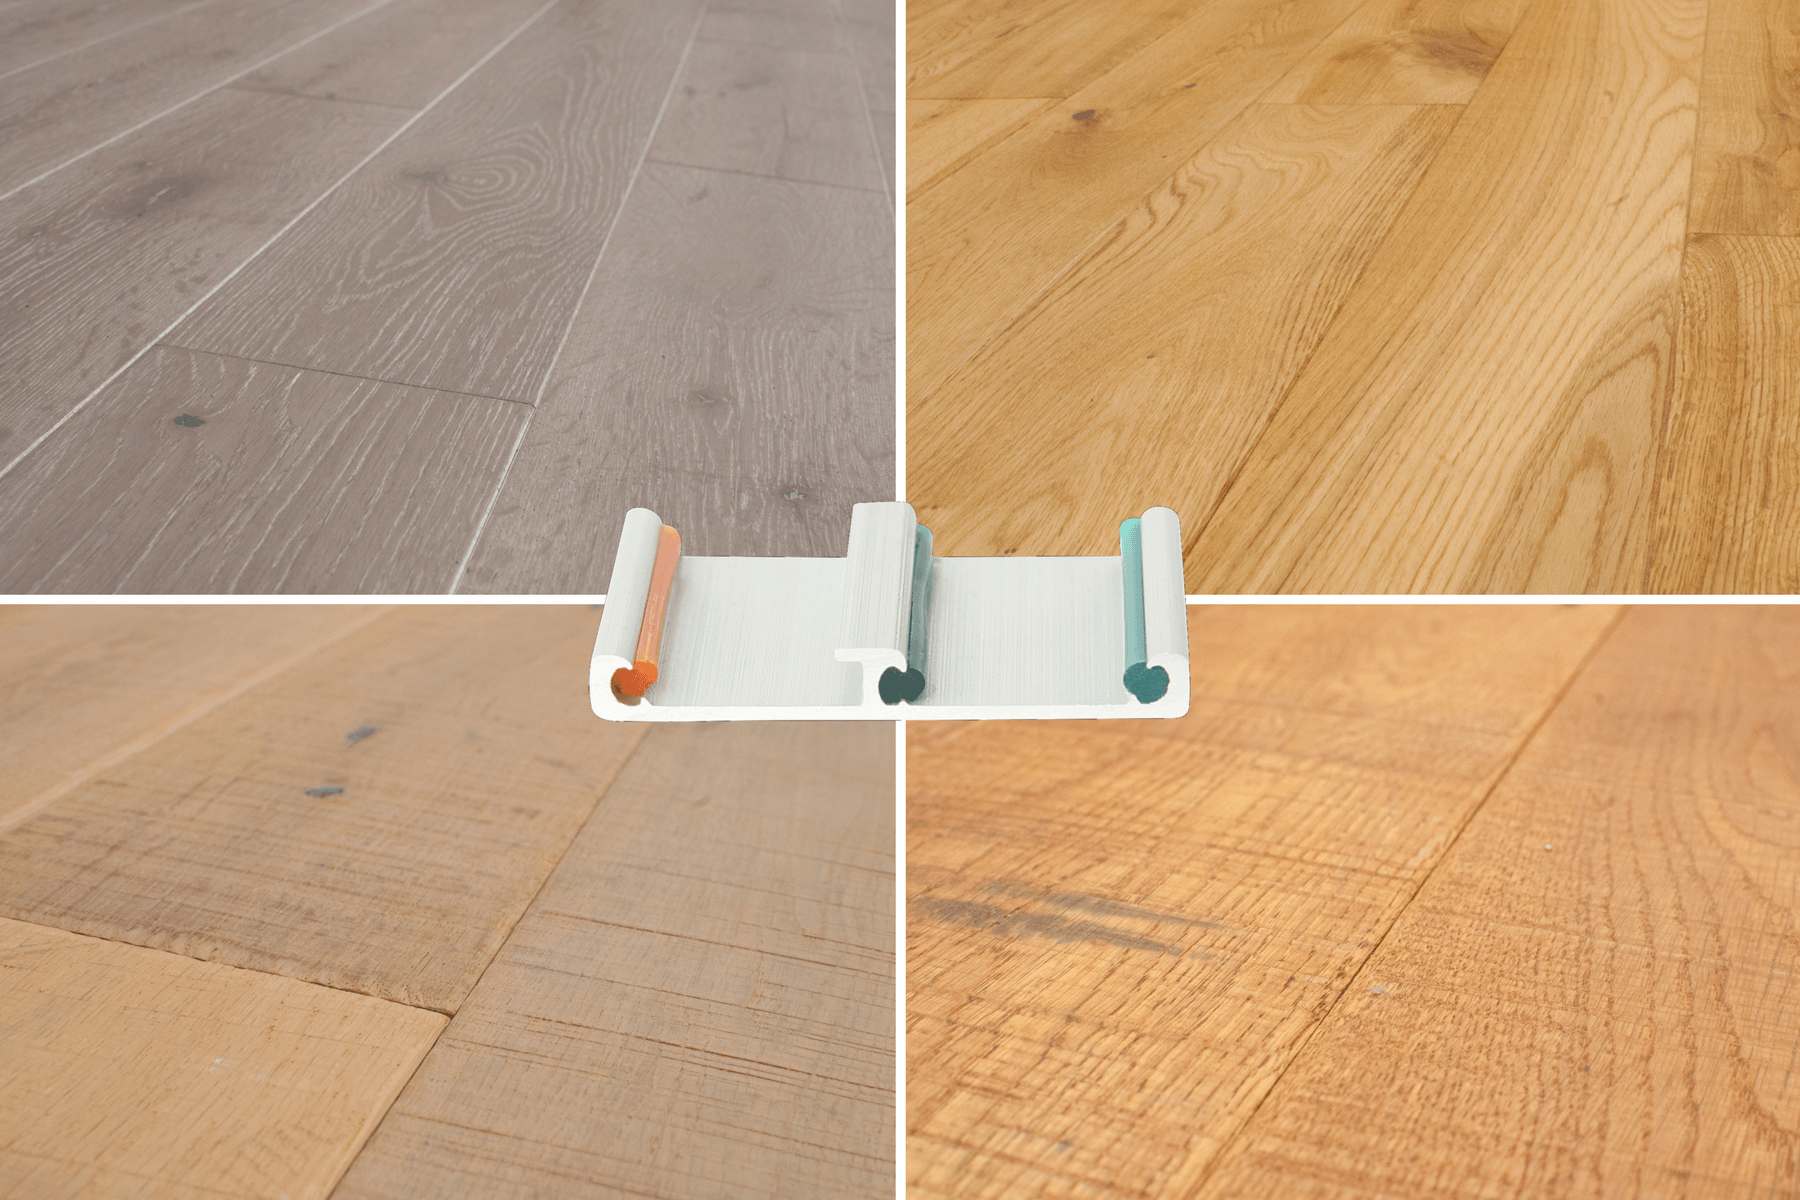
Colour Matching T-Molding to Your Floor
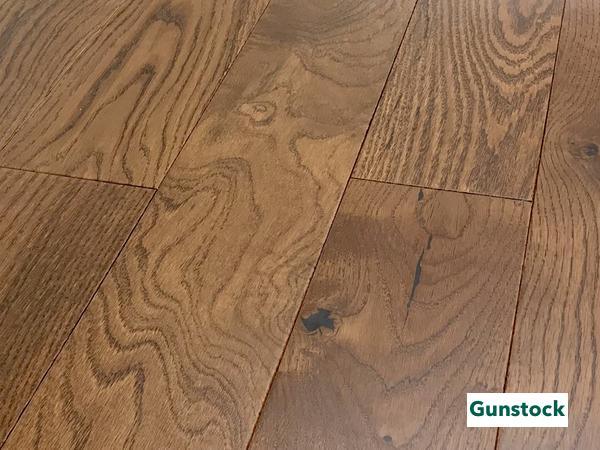
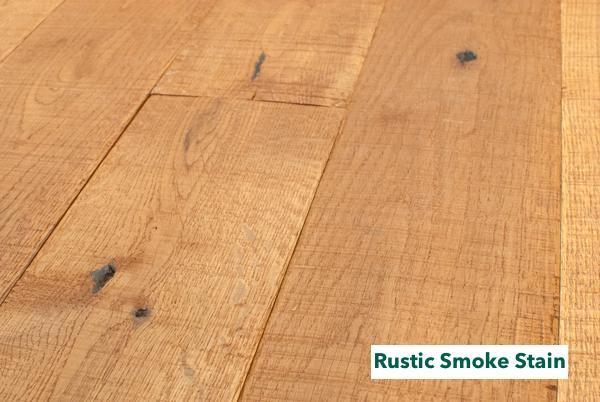
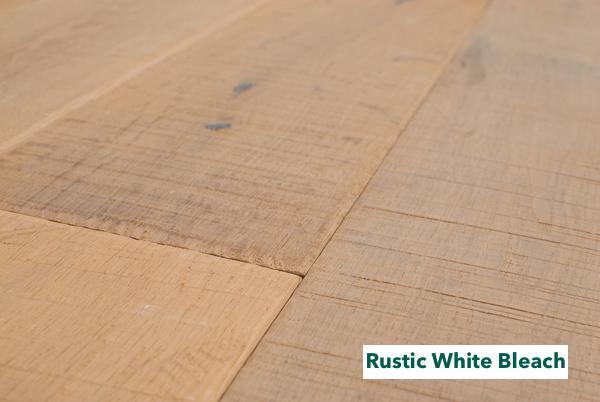
It seems obvious: you want your t-moldings to match your hardwood flooring. However, like with your pre-finished solid hardwood flooring, there will be slight color variations from board to board. This is because wood is a natural material and like humans, each tree has different genes and therefor, different colors in its fibres. Only laminate floorings with printed-on finishes or wood flooring with painted finishes can be the exact same color throughout.
That is why t moldings are often sold as a "complimentary color" and not a direct color match. Having your moldings match the natural variations in your flooring exactly would be impossible.
For this reason, it's important to plan you moldings and place them in your flooring is such a way that they compliment the boards they are touching, or match them closely.
For example, if you are installing a t-molding in a doorway, first lay out all the flooring planks you intend to install leading up to the door. The floor plank that touches the t-molding should most closely match the color of the t-molding for the smoothest transition, so dig around in your boxes of flooring planks until you find one that matches best. Set it aside and make sure you use it when you get to the door. Your transition strip into the next room will be barely noticeable!
Different Types of Transitions Hardwood Floor Transitions
There are different types of molding for different flooring transitions. Here is a quick overview.
- Square Nose Molding – Also called an End Cap, when the flooring runs up to a vertical object where a base molding or quarter round molding won't work such as a hearth, sliding glass doors or oversized thresholds, use this.
- Reducer Moldings – Used to transition from a hardwood floor to a lower floor such as vinyl or low pile carpet.
- T-Molding – The right piece for doorways of 48 inches or less.
You'll want to use the right molding for the correct type of transition. This article will focus only on T-molding. Are you ready to start?
How to Install T-Molding Like a Pro
Before you jump into the project, you will need to gather a few tools and supplies. Here's the list:
- Measuring Tape
- Tin Snips
- Power Saw or a Miter Saw
- Low-Residue Masking Tape
For the Glue Down Method:
For the Screw Down Method
Once you have gathered your supplies, let's decide how you'll attach it. There are a couple of ways to install your T-molding, screwing or gluing. If you're putting together a full installation, our installation tools guide covers everything you need from start to finish.
The Glue Down Method
Step 1 - Measure the width of the doorway between the floors. If your T-molding uses a metal track, measure and cut it with tin snips.
Step 2 – Always measure twice before cutting the T-molding strip. Use a miter saw or power saw for a cleaner cut.
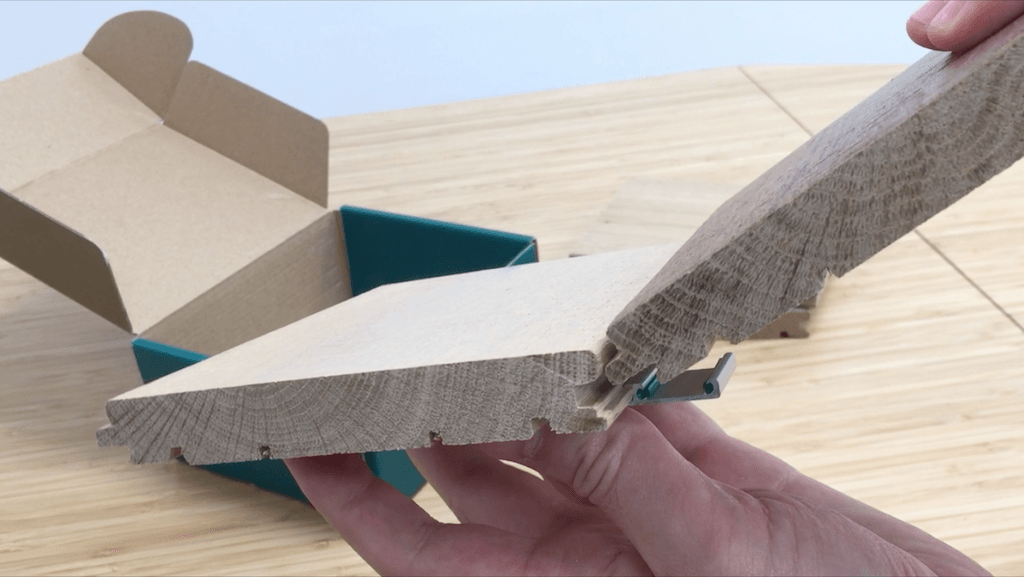
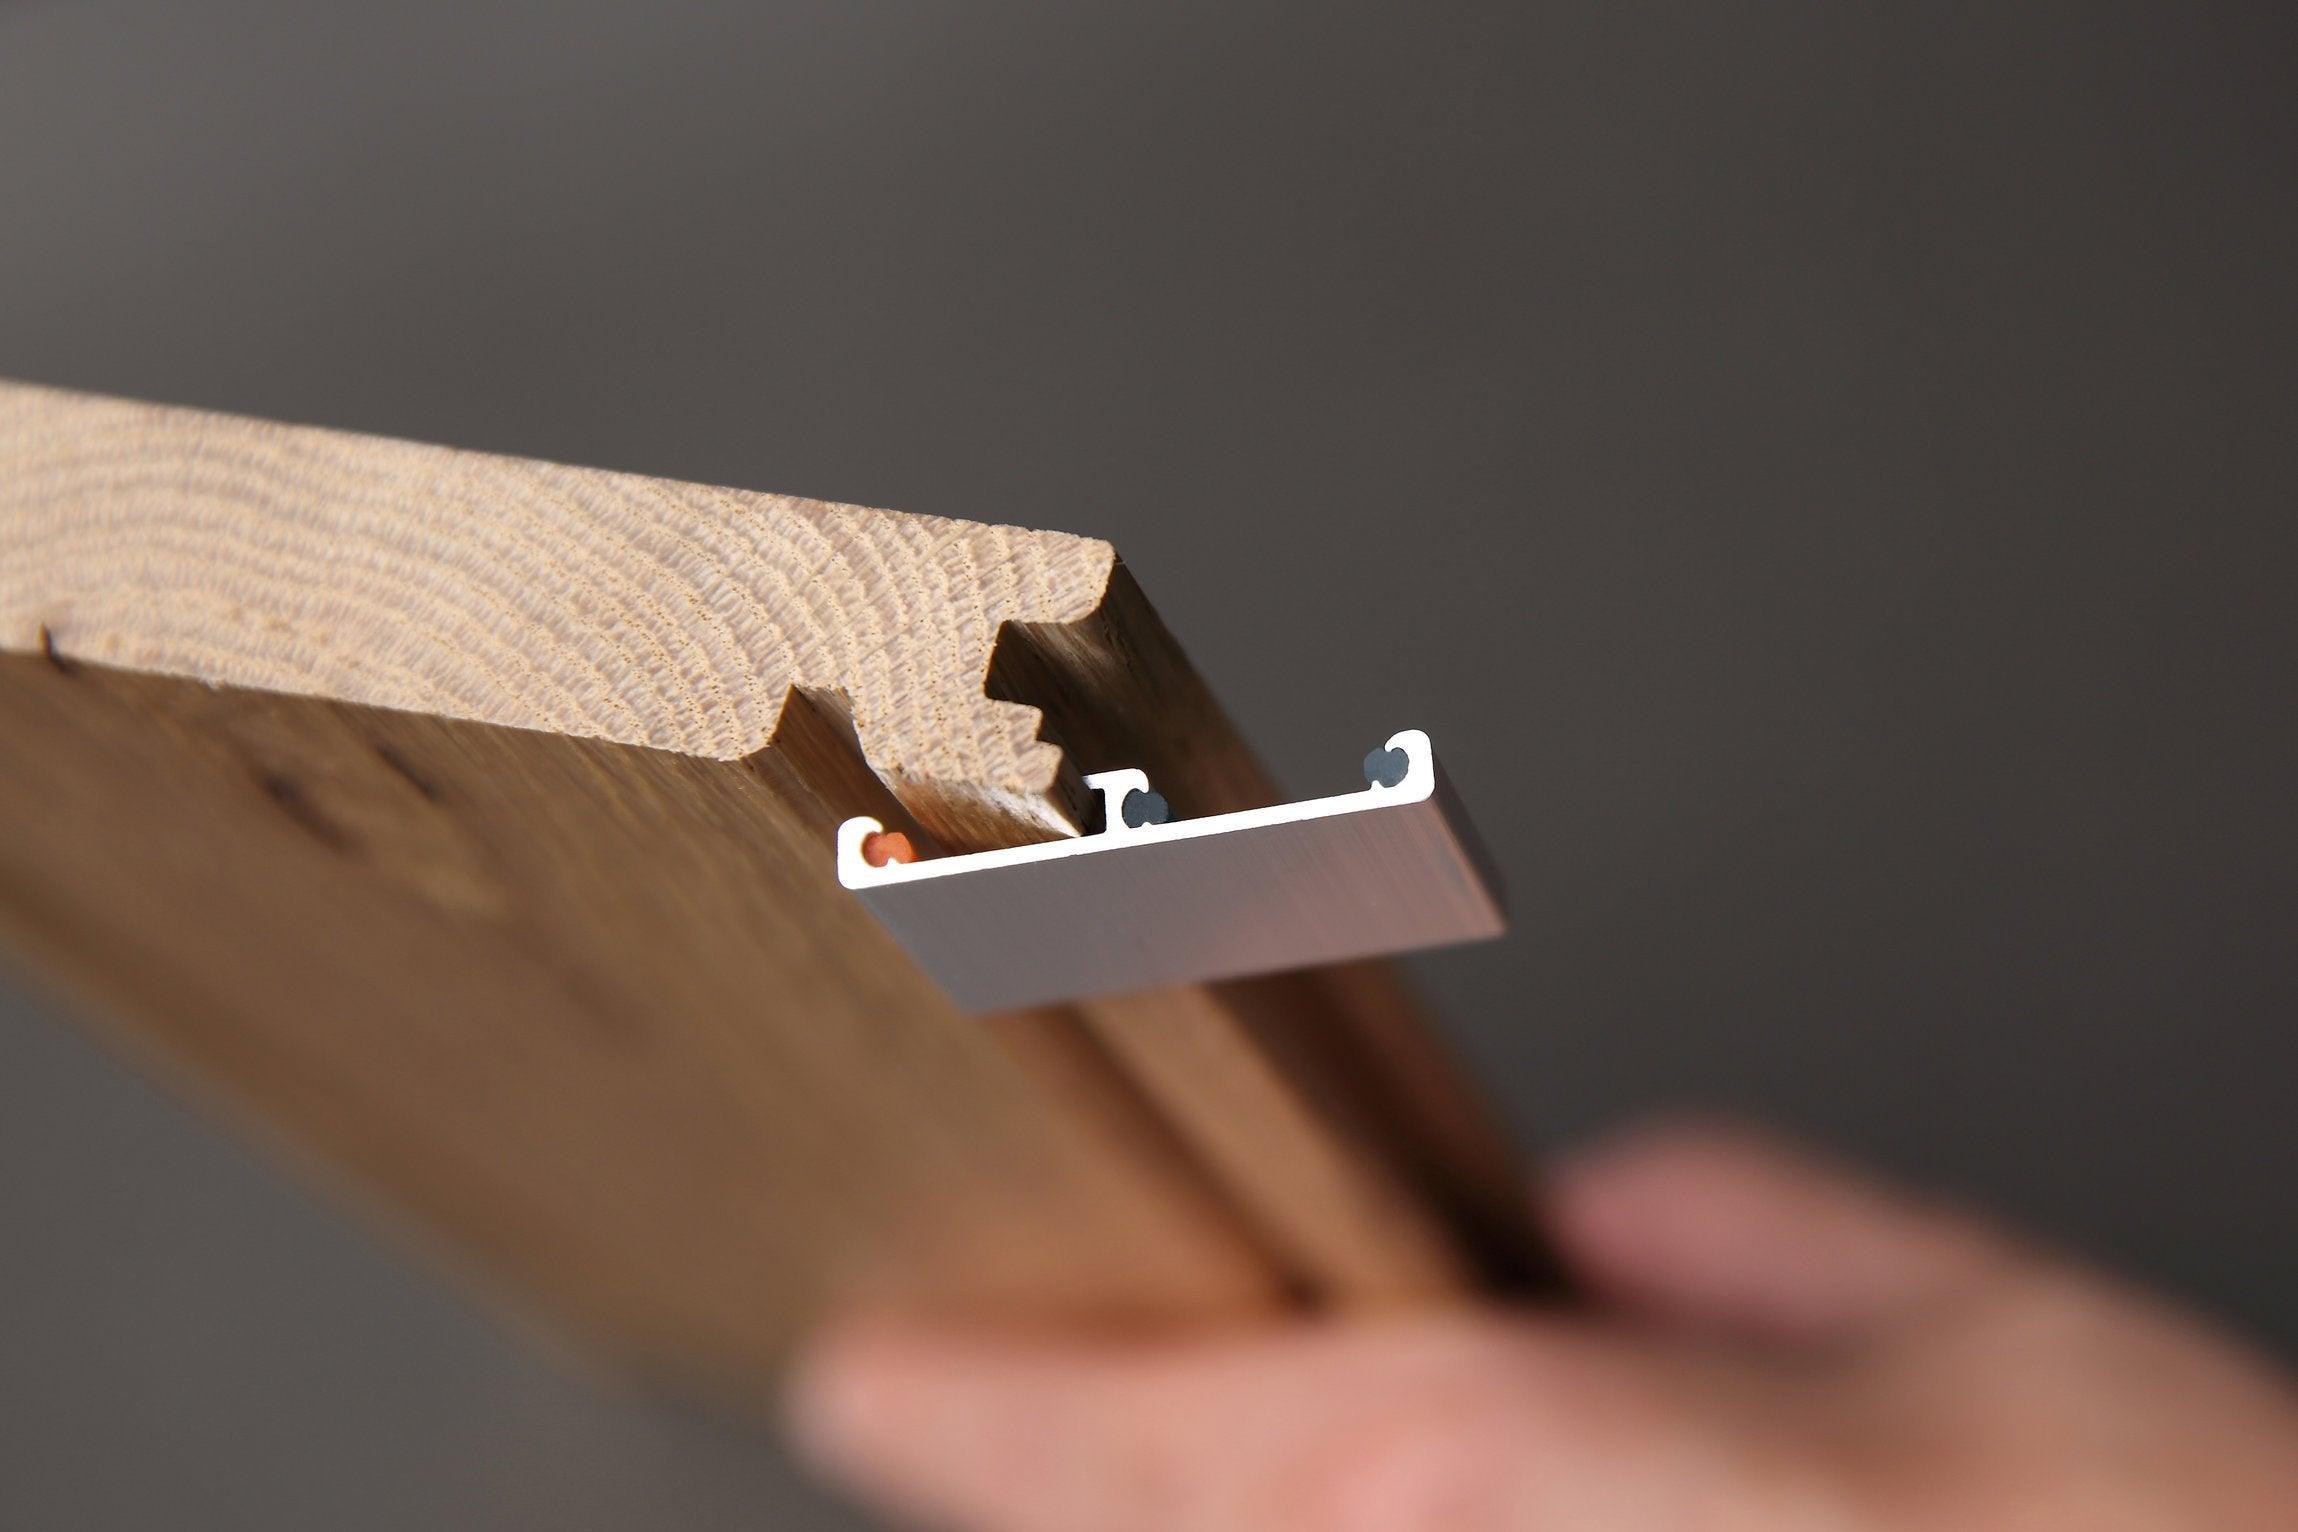
Step 3 – Attach the metal track onto the bottom part of the "T." It should snap in place. If not, add a dab of construction adhesive to hold it. The track should hold onto the T-molding securely.
Step 4 – Apply a thin bead of construction adhesive along the bottom of the gap between the two floors.
Step 5 – Press the T-molding into the gap firmly ensuring that the top of the molding rests firmly on each floor with no gaps. Do not glue the lips to the floor.
Step 6 – Use a damp cloth to remove any excess glue.
Step 7 – Place several large strips of painter's tape across the T-molding to hold it down while the glue dries. Keep the tape in place overnight. Alternatively, you can weigh the molding down with a few heavy objects provided that no one trips over the obstacles.

The Screw-Down Method
Steps 1 and 2 – They are the same as for the glue down method above.
Step 3 – The track should have pre-drilled holes in the bottom. If not, drill three holes for the screws. Place the metal track into the gap. Make sure the spacing is even on each side. Attach the track using the pre-drilled holes as a guide.
Step 4 – Snap the T-molding into the track. It's best to start at one end of the T-molding and work your way to the other end. Press it down to ensure that the lips of both sides of the molding rest on the floor.
If the track does not hold the molding securely, remove it and add a small bead of construction adhesive to the bottom. Press it back in place and follow step 7 above.
Installing Over Concrete
You will need to use the proper concrete bit and concrete screws.
Here is a quick video highlighting how to Install T-Molding transition on a hardwood floor.
When to Use T-Molding vs. Other Transition Strips
Choosing the wrong transition strip is one of the most common DIY flooring mistakes — and it's easy to do when you're staring at a wall of molding options at the hardware store. The good news is that the decision comes down to one key factor: the height difference between your two floors.
T-molding is the right choice when both floors sit at the same height. This typically means hardwood-to-hardwood transitions across a doorway, or hardwood-to-laminate where the two surfaces are level with each other. The T shape bridges the gap cleanly without creating a raised edge that could catch a toe. Most doorways under 48 inches wide are perfect candidates. You'll also use T-molding mid-room whenever a hardwood run exceeds 40 feet and needs a built-in expansion break.
When there's a height difference between floors, you need a different profile. A reducer molding guide is the standard fix when one floor sits noticeably lower than the other — think hardwood stepping down to vinyl plank or low-pile carpet. The tapered shape of a reducer creates a ramp rather than an abrupt edge, which is both safer and better looking. For even larger height differences, an overlap reducer slides over the lower surface rather than fitting between the two, giving you more coverage without the need for a perfectly cut gap.
Special situations call for specialty profiles. If your hardwood runs up against a fireplace surround or raised hearth, an end cap (square nose molding) is typically the right call — you can read more in our guide to fireplace hearth transitions. Similarly, where hardwood meets stairs, you'll want a dedicated stair nose rather than any of the flat-profile strips. Our stair transition guide walks through that process in detail.
When in doubt, match the profile to the height — not the look. You can always color-match or stain a molding to blend with your floor, but you can't fix a reducer installed where a T-molding belongs, or vice versa.
How to Install T-Molding: A Quick 5-Step Overview
The detailed glue-down and screw-down methods above cover every angle, but if you want a clear mental map before you start, here's the whole job condensed into five straightforward steps. This works for doorways and mid-room expansion breaks alike.
- Measure the opening. Measure the width of the doorway or expansion gap from wall to wall (or from the edge of one floor plank to the other). Write it down — you'll use this number twice.
- Cut the track. Use tin snips to cut the metal track to your measured length. If the track has pre-drilled holes, keep them evenly spaced so fastening is easy. A clean cut here means the molding sits level later.
- Secure the track. Set the track into the gap and fasten it — screws into wood subfloor, concrete screws into a slab, or construction adhesive if you prefer no hardware showing. Check that it's centered and sitting flat before moving on.
- Cut the molding. Measure the T-molding strip to match the opening, then cut it with a miter saw or power saw. Measure twice. A clean, square cut makes snapping in the final step much easier.
- Snap it into place. Starting at one end, press the T-molding strip down into the track and work toward the other end. Both lips should rest flush on the floor surface with no rocking or gaps. If it won't stay put, a small bead of adhesive in the track will hold it.
That's it. Most doorway installations take under 30 minutes once you have the right installation tools ready. Before you get started, it's worth weighing the full scope of your project — our breakdown of DIY installation costs can help you decide what to tackle yourself and where it might be worth calling in help.
T-Molding Materials: Wood, Metal, and Vinyl Compared
T-molding comes in three main materials, and each has a sweet spot. Picking the right one upfront saves you from replacing a strip that warps, corrodes, or just looks out of place a year later.
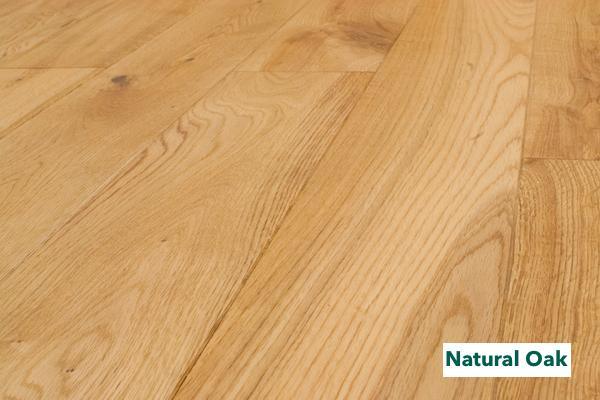
Wood is the most popular choice for hardwood floors, and for good reason. It stains and finishes to match your flooring closely, giving you the most natural-looking transition. Solid wood and wood-composite strips hold up well in low-to-moderate traffic areas. The downside: wood is the most vulnerable to moisture. Avoid it in bathrooms, laundry rooms, or anywhere the subfloor might get damp. If you're exploring all your wood-to-tile transition ideas, note that wood T-molding is rarely the right call where tile meets hardwood — the height difference usually calls for a reducer instead.
Metal (aluminum or stainless steel) is the go-to for high-traffic zones and anywhere moisture is a concern. Metal T-molding is durable, easy to clean, and won't warp or swell. The trade-off is aesthetic: a silver or brushed-nickel strip can look industrial against warm wood tones. It works best in commercial settings, mudrooms, or utility spaces where durability outweighs appearance. Some metal strips come with a wood-grain vinyl overlay, which gives you the durability of metal with a warmer look.
Vinyl hits the middle ground. It's affordable, moisture-resistant, and available in dozens of finishes that mimic wood convincingly. Vinyl T-molding is a solid choice for budget-conscious projects or rooms with occasional moisture exposure. It won't match the depth and warmth of real wood up close, but from a standing position most people won't notice the difference. If you're exploring Easiklip's collection, you'll find molding options matched to each flooring line so the guesswork is already done for you.
Frequently Asked Questions About T-Molding
What is T-molding?
T-molding is a transition strip shaped like the letter T that covers the expansion gap between two floor surfaces at the same height. It's used most often in doorways and in long runs of flooring that exceed 40 feet, where the floor needs a built-in break to allow for seasonal movement. Beyond function, it gives the transition a clean, finished appearance that blends into the rest of the room.
When should you use T-molding instead of another transition strip?
Use T-molding when both floor surfaces sit at the same height — for example, hardwood meeting hardwood or hardwood meeting laminate across a doorway. If one floor sits higher than the other, a reducer is the better choice. For more complex transitions like tile-to-hardwood or stair-to-hardwood, check our wood-to-tile transition ideas and stair transition guide for the right profile.
Can you glue down T-molding instead of screwing it?
Yes, the glue-down method works well — especially on concrete subfloors where drilling isn't practical. Apply a thin bead of construction adhesive in the gap, press the T-molding in firmly, and secure it with painter's tape overnight while the adhesive cures. One important rule: don't glue the lips of the molding to the floor surface itself. The molding still needs a small amount of flex to move with seasonal changes in the floor.
How wide should the gap be for T-molding?
Leave at least 1¼ inches (3.2 cm) between the two floor edges to fit the T-molding track and give the floors room to expand and contract. Never fill this gap with caulk or glue — a sealed gap can buckle the floor when it swells in humid weather. If you're not sure how to plan expansion gaps through your whole floor layout, our DIY installation costs article covers the planning decisions that affect the whole project.
Final Tips on Installing T-Molding
When connecting two floors or two rooms via a doorway, leave a 1¼ inch (3.2 cm.) gap for the T-Molding. Be sure to purchase the correct height and width of the molding. A molding that's too high will make unsightly gaps and a tripping hazard. Always leave a gap between the base of the molding and the floors on each side. Don't fill the void with caulk or glue. The voids allow for expansion and contraction between the T-molding and the floor.
If you can't find a molding in the same finish as your floor, purchase unfinished molding and stain it yourself. The T-molding will give your floor a professional look, transitioning from one room to the next.
Want prefinished hardwood and matching moldings that blend effortlessly?
Explore Easiklip's solid oak flooring collections — with click-together convenience and naturally elegant transitions.
Browse Flooring Options →