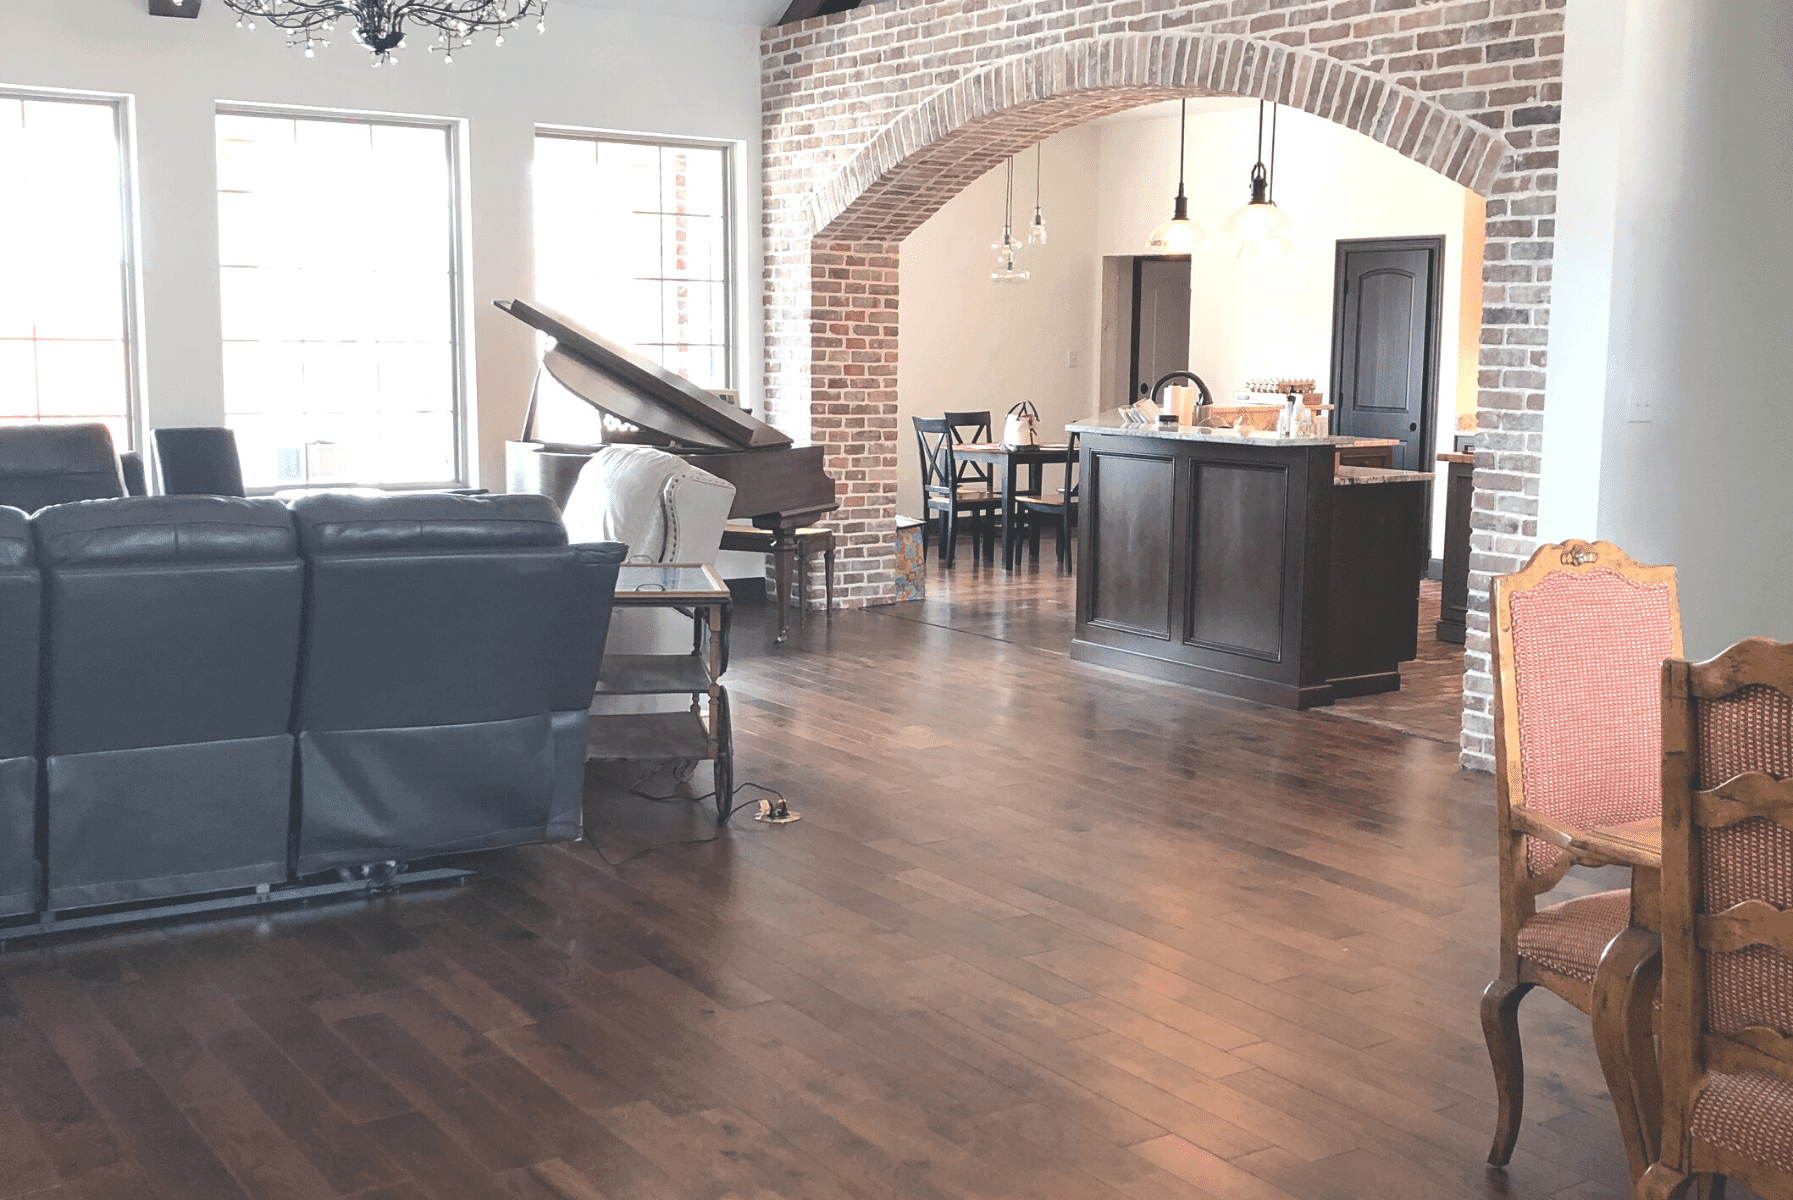
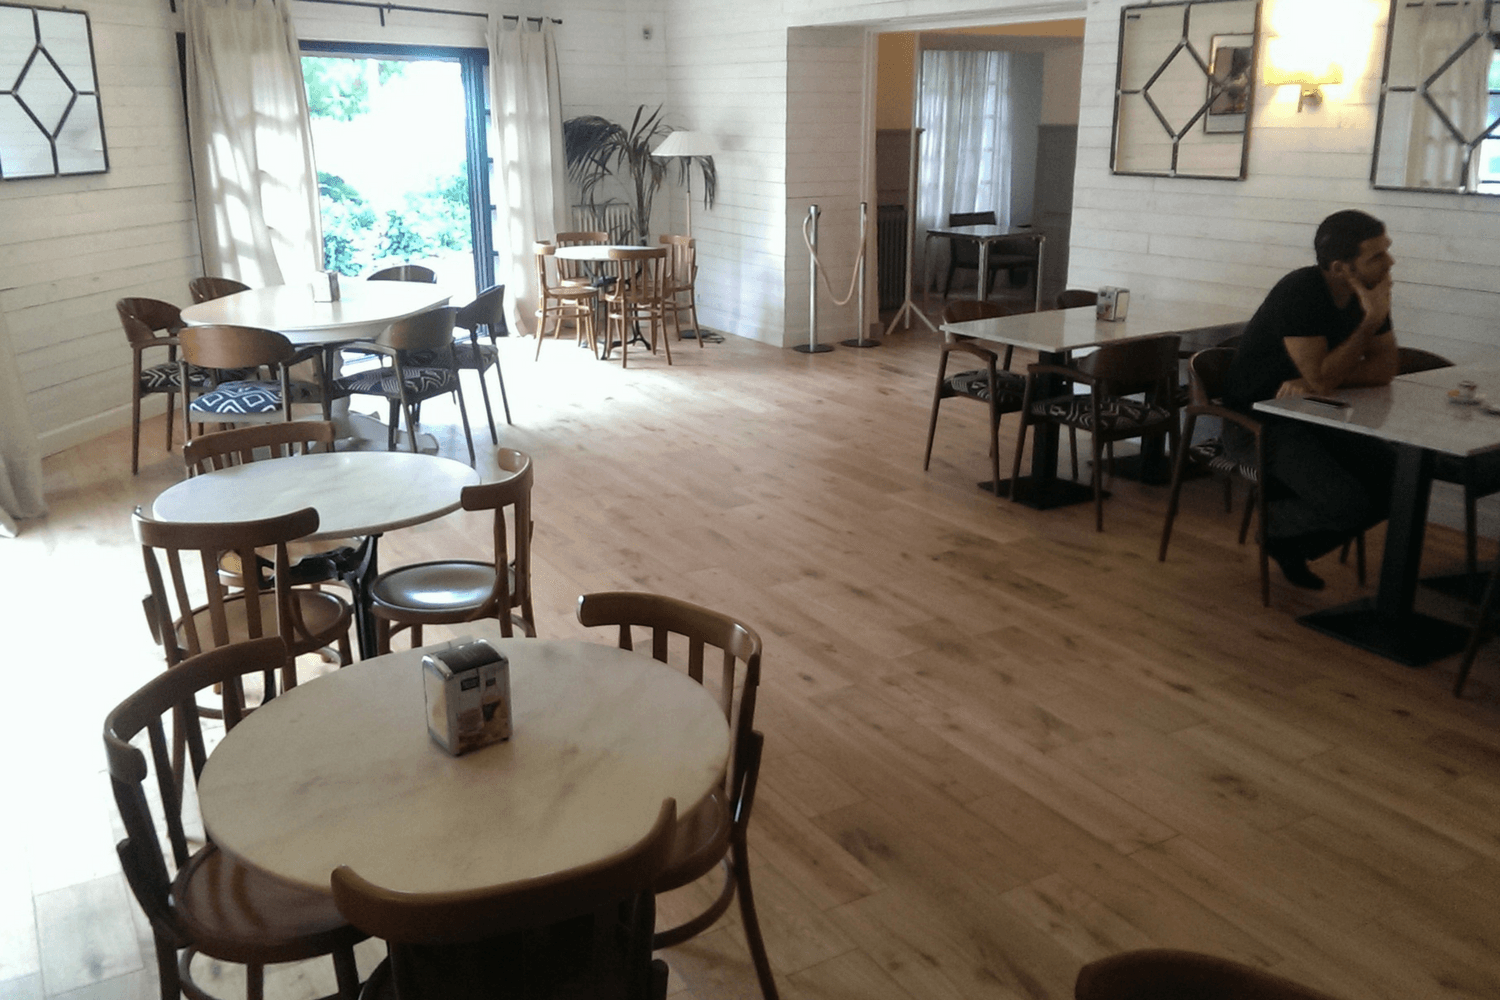
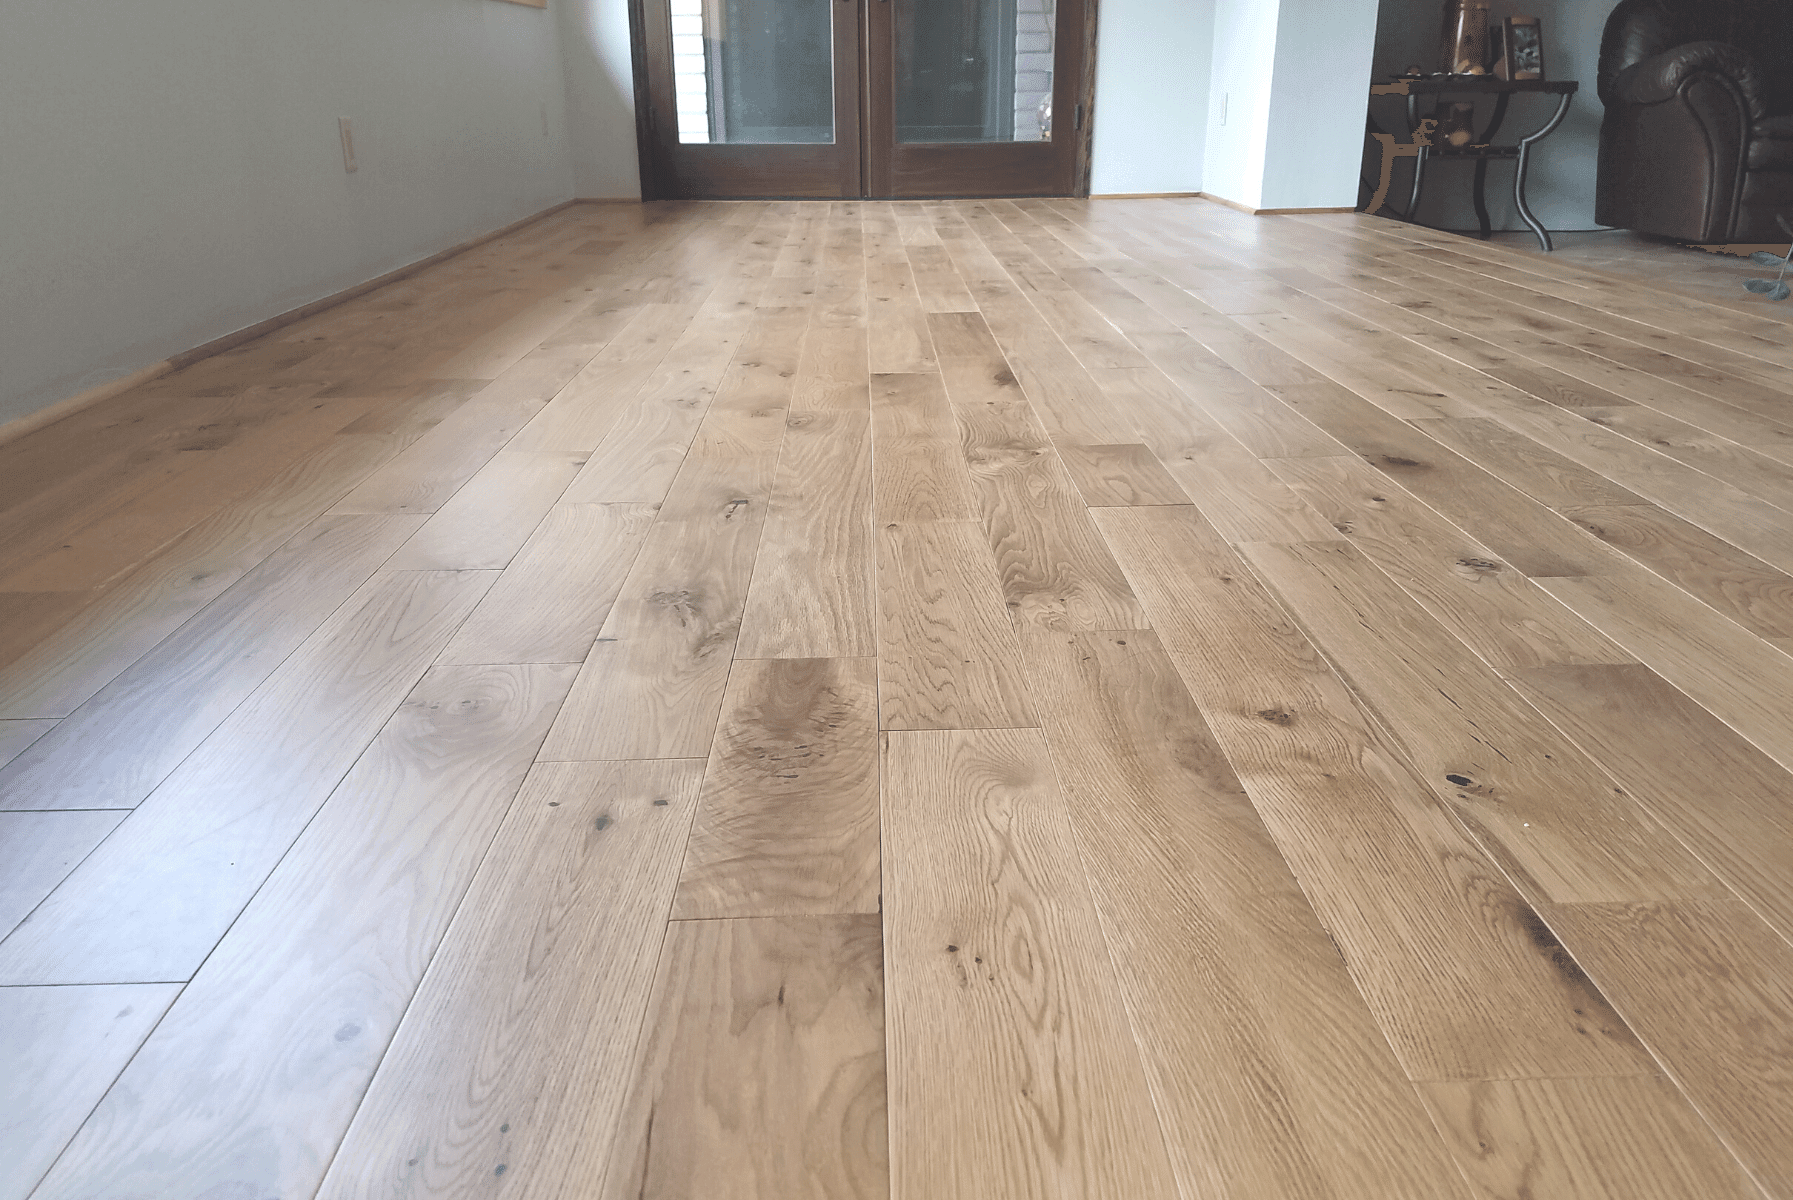
Swapping out tile for hardwood is more than a visual upgrade—it’s a sensory one. Tile may be practical, but hardwood brings depth, warmth, and texture that tile can only try to mimic. If you’re ready to transform a cool, echoing space into something grounded and glowing underfoot, this guide will walk you through how to do it yourself—smartly, cleanly, and confidently.
Before You Begin: Plan with Purpose
Before diving into this DIY flooring project, you need a solid plan in place. A good plan ensures a smooth process and a beautiful result.
Evaluating the Surface: Is Your Tile Ready for Change?
Start by taking a good look at your existing tile floor. Is it in good condition, or are there loose or cracked tiles? Understanding the state of your current flooring will help you determine the amount of prep work needed for your DIY flooring project. The options are to cover the tiles with hardwood or remove it first.
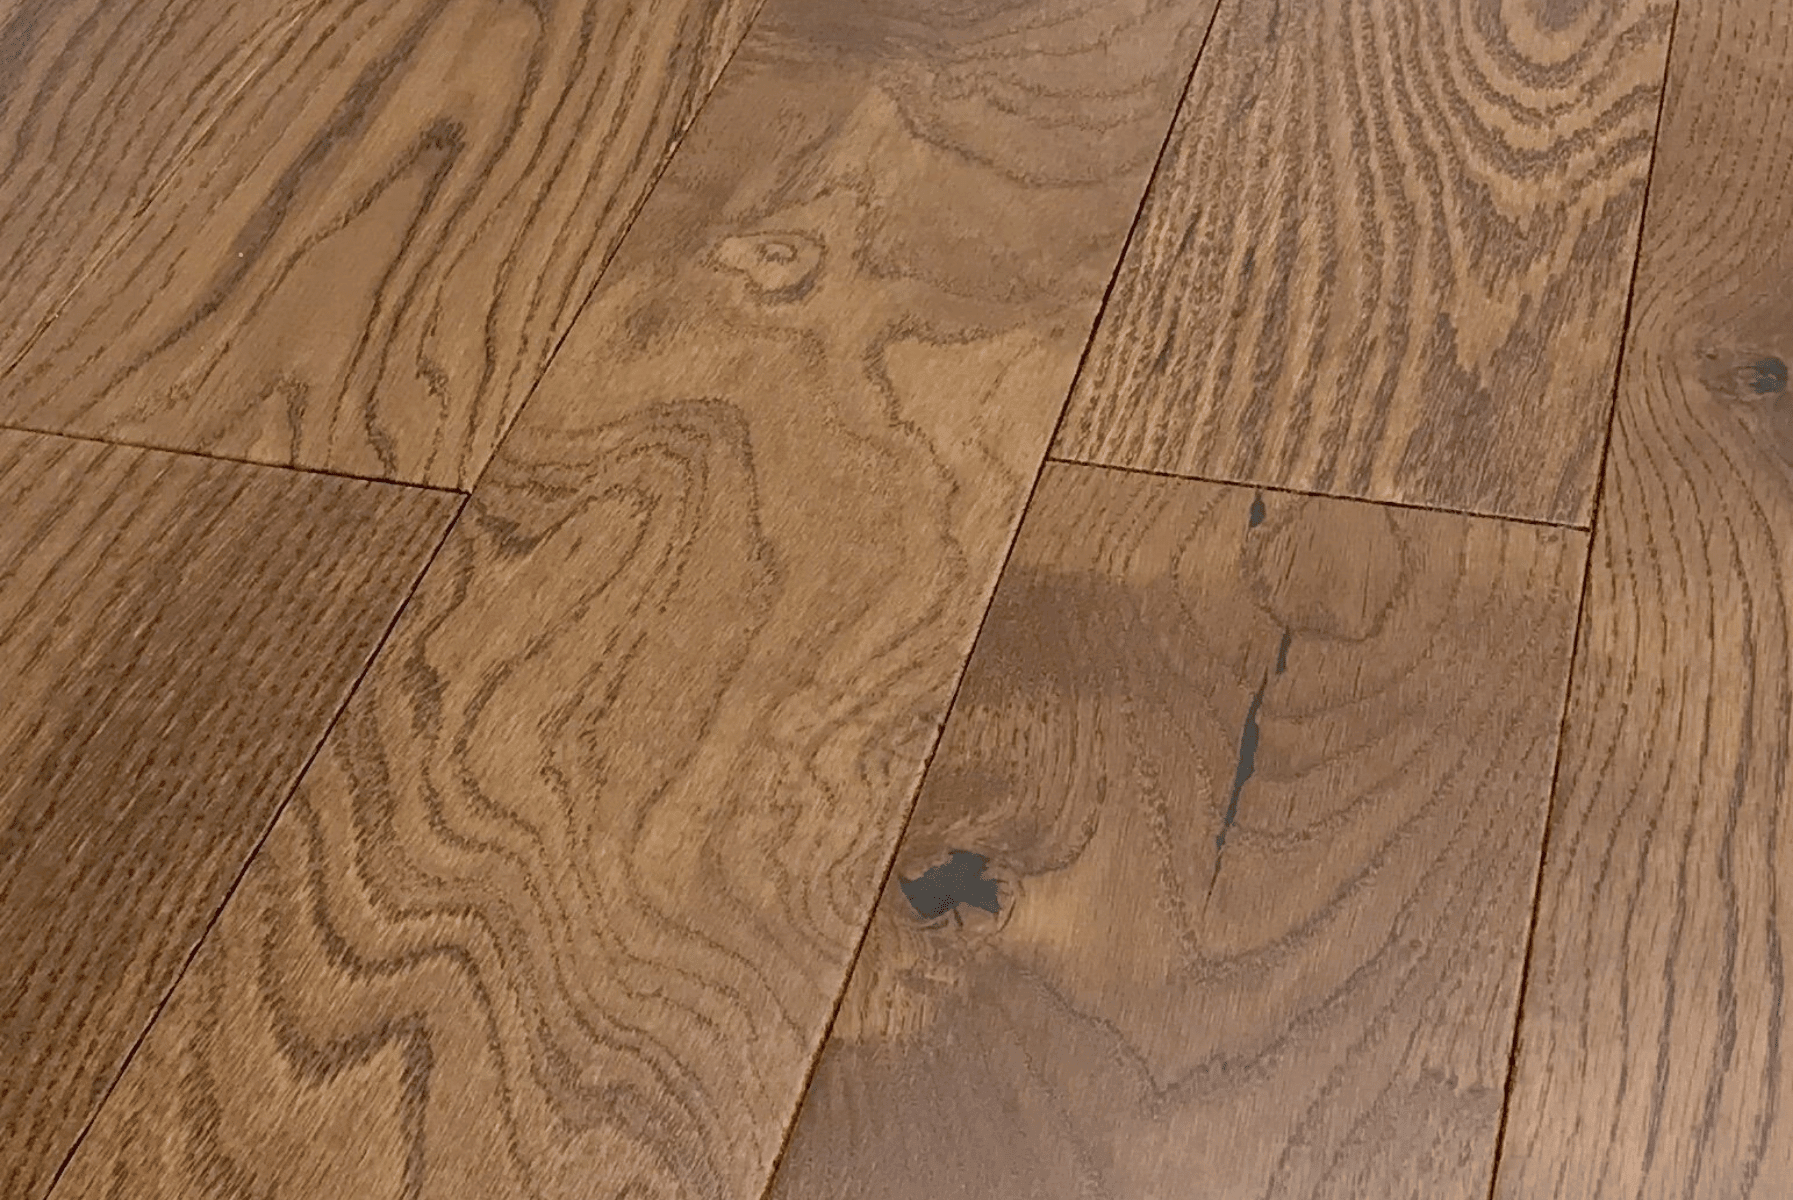
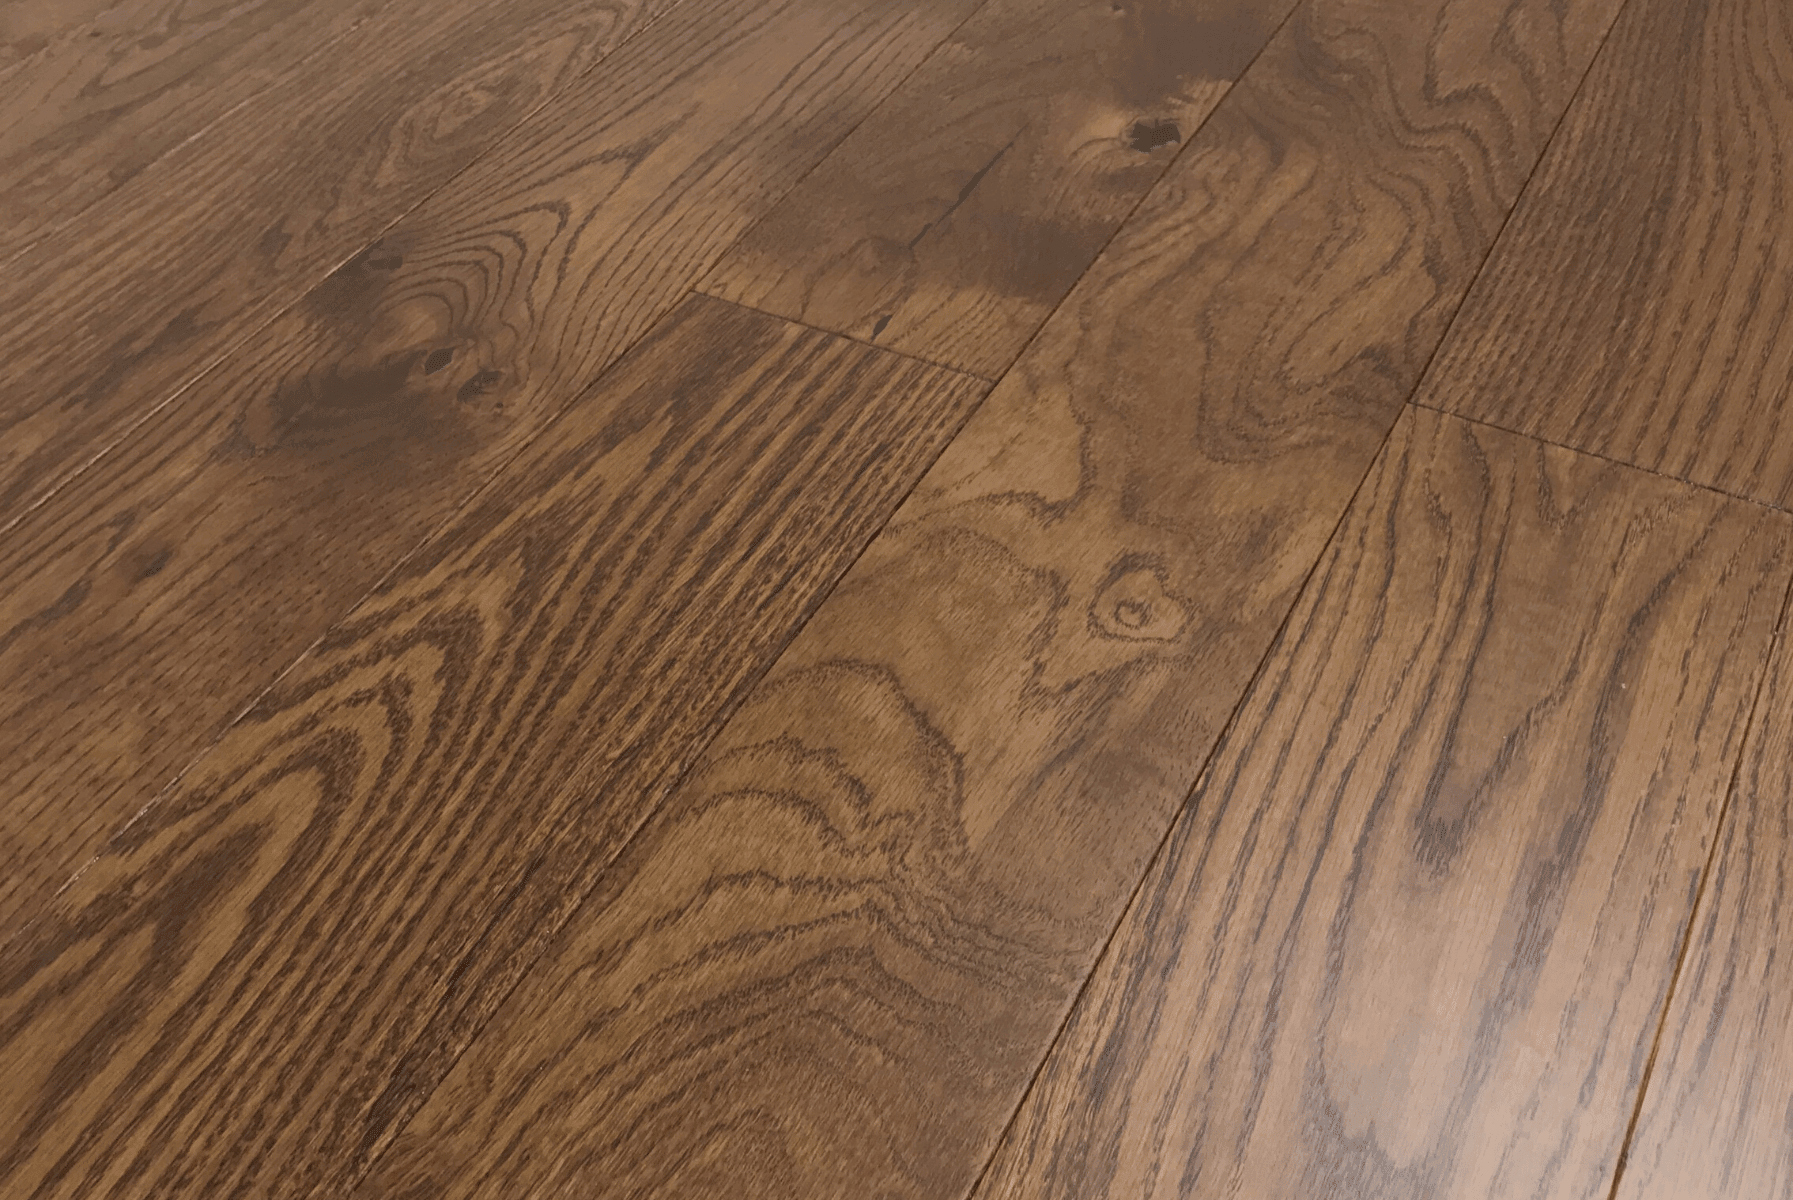
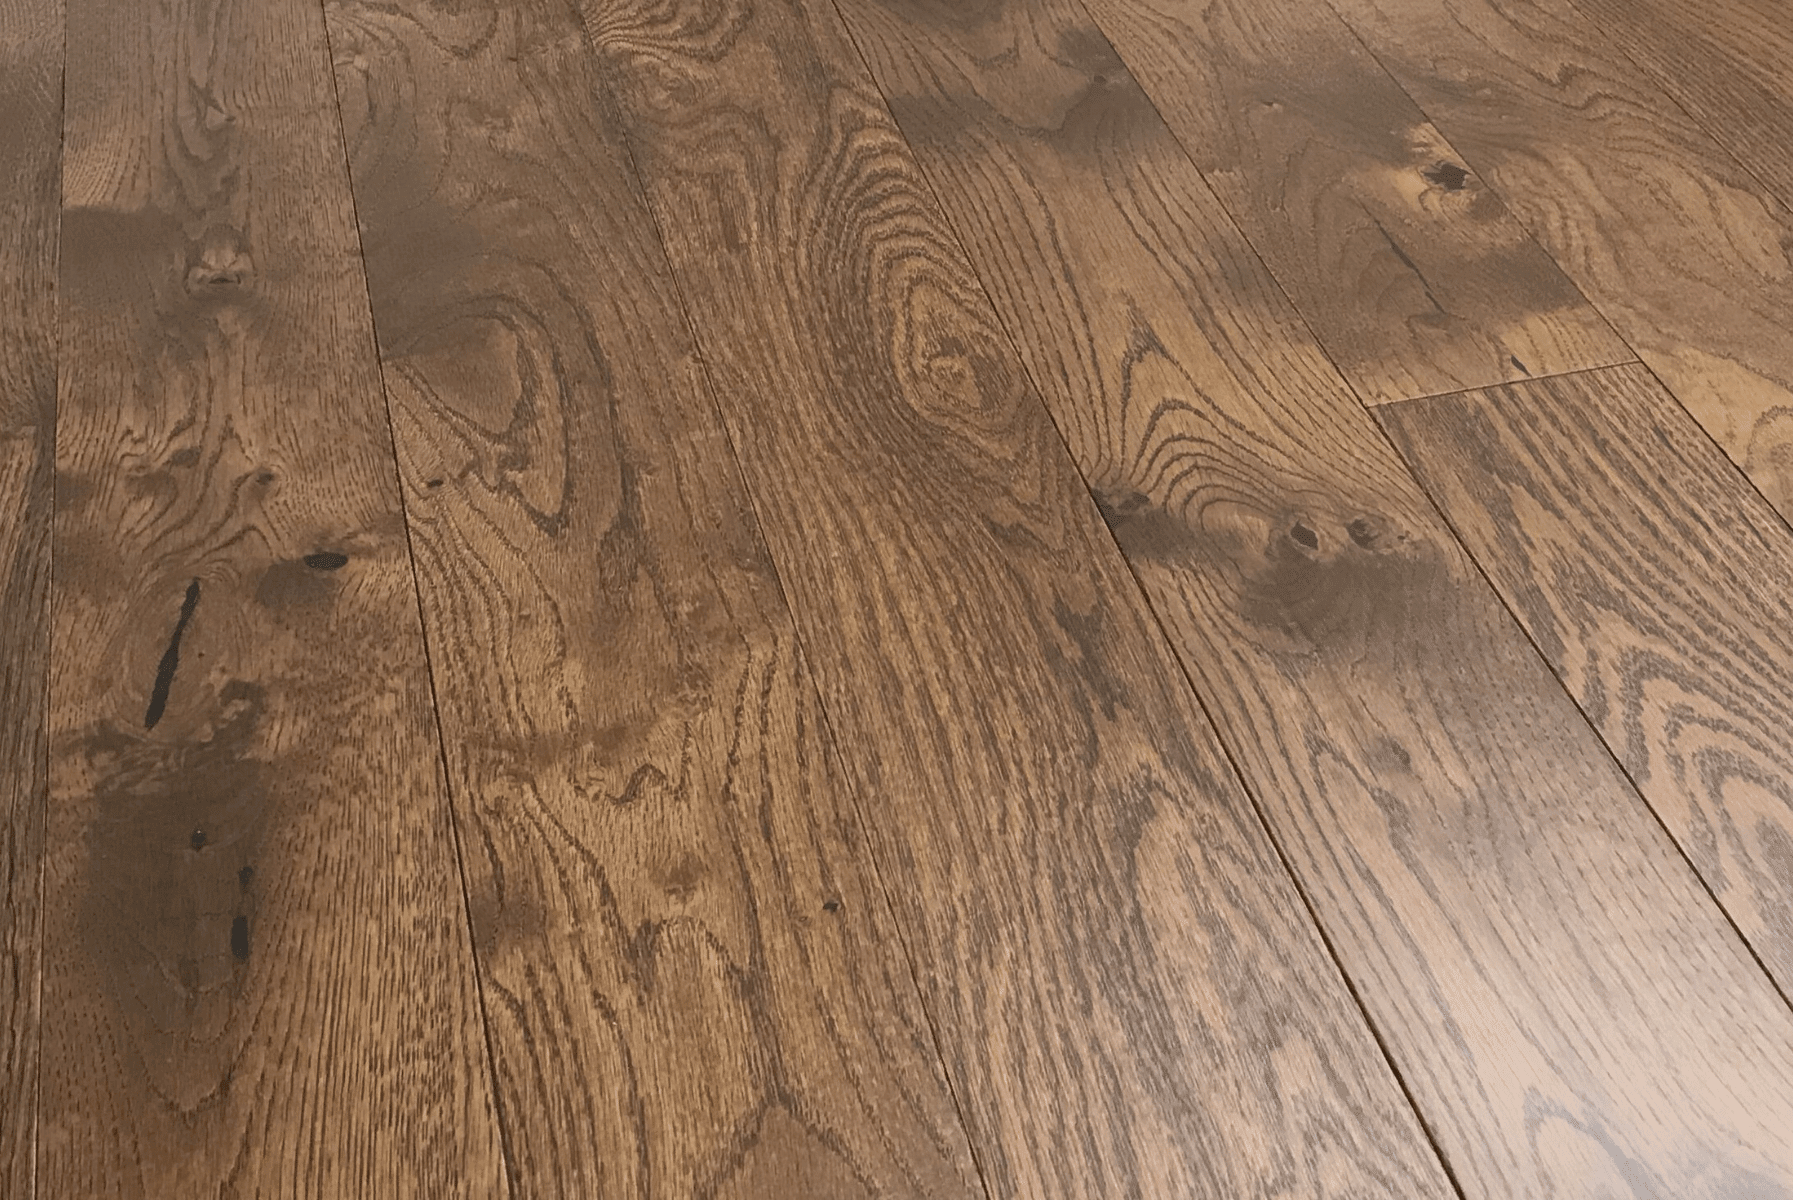
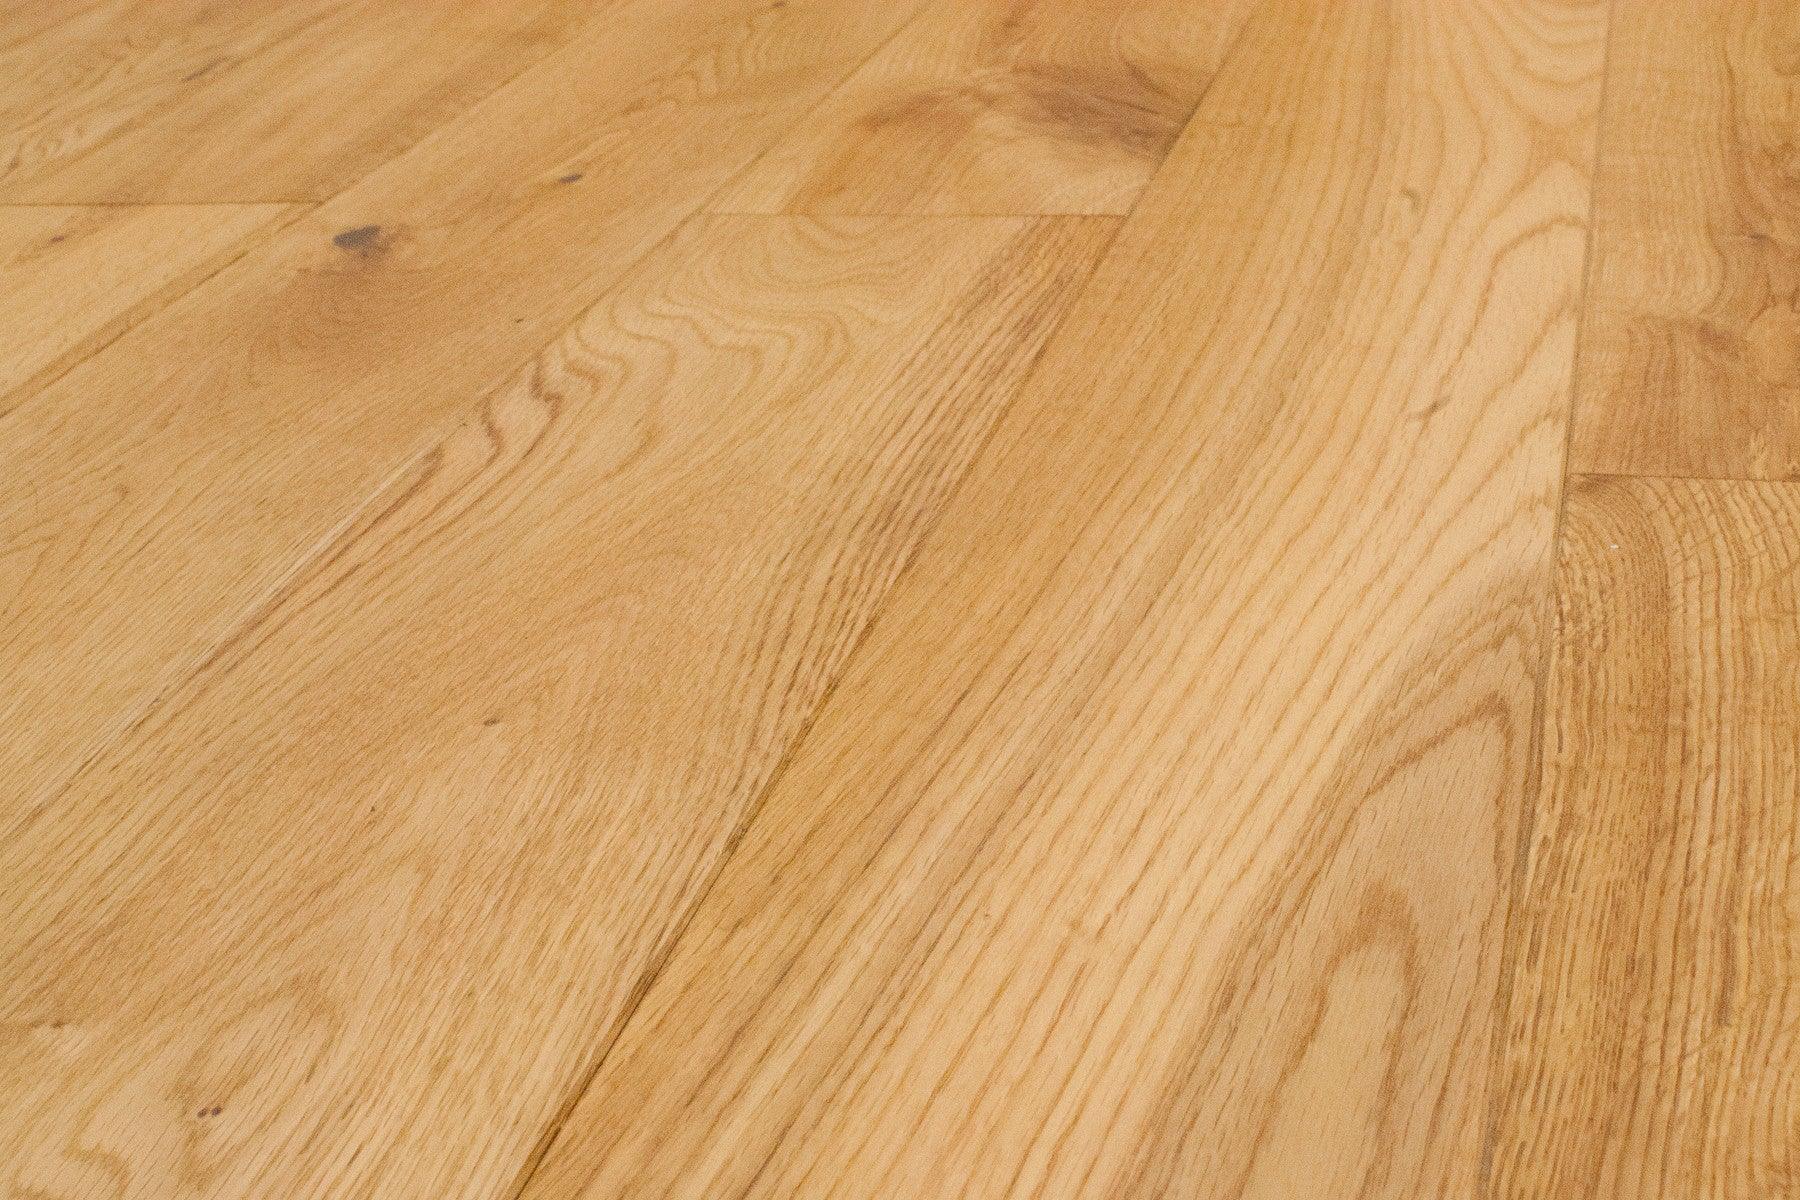
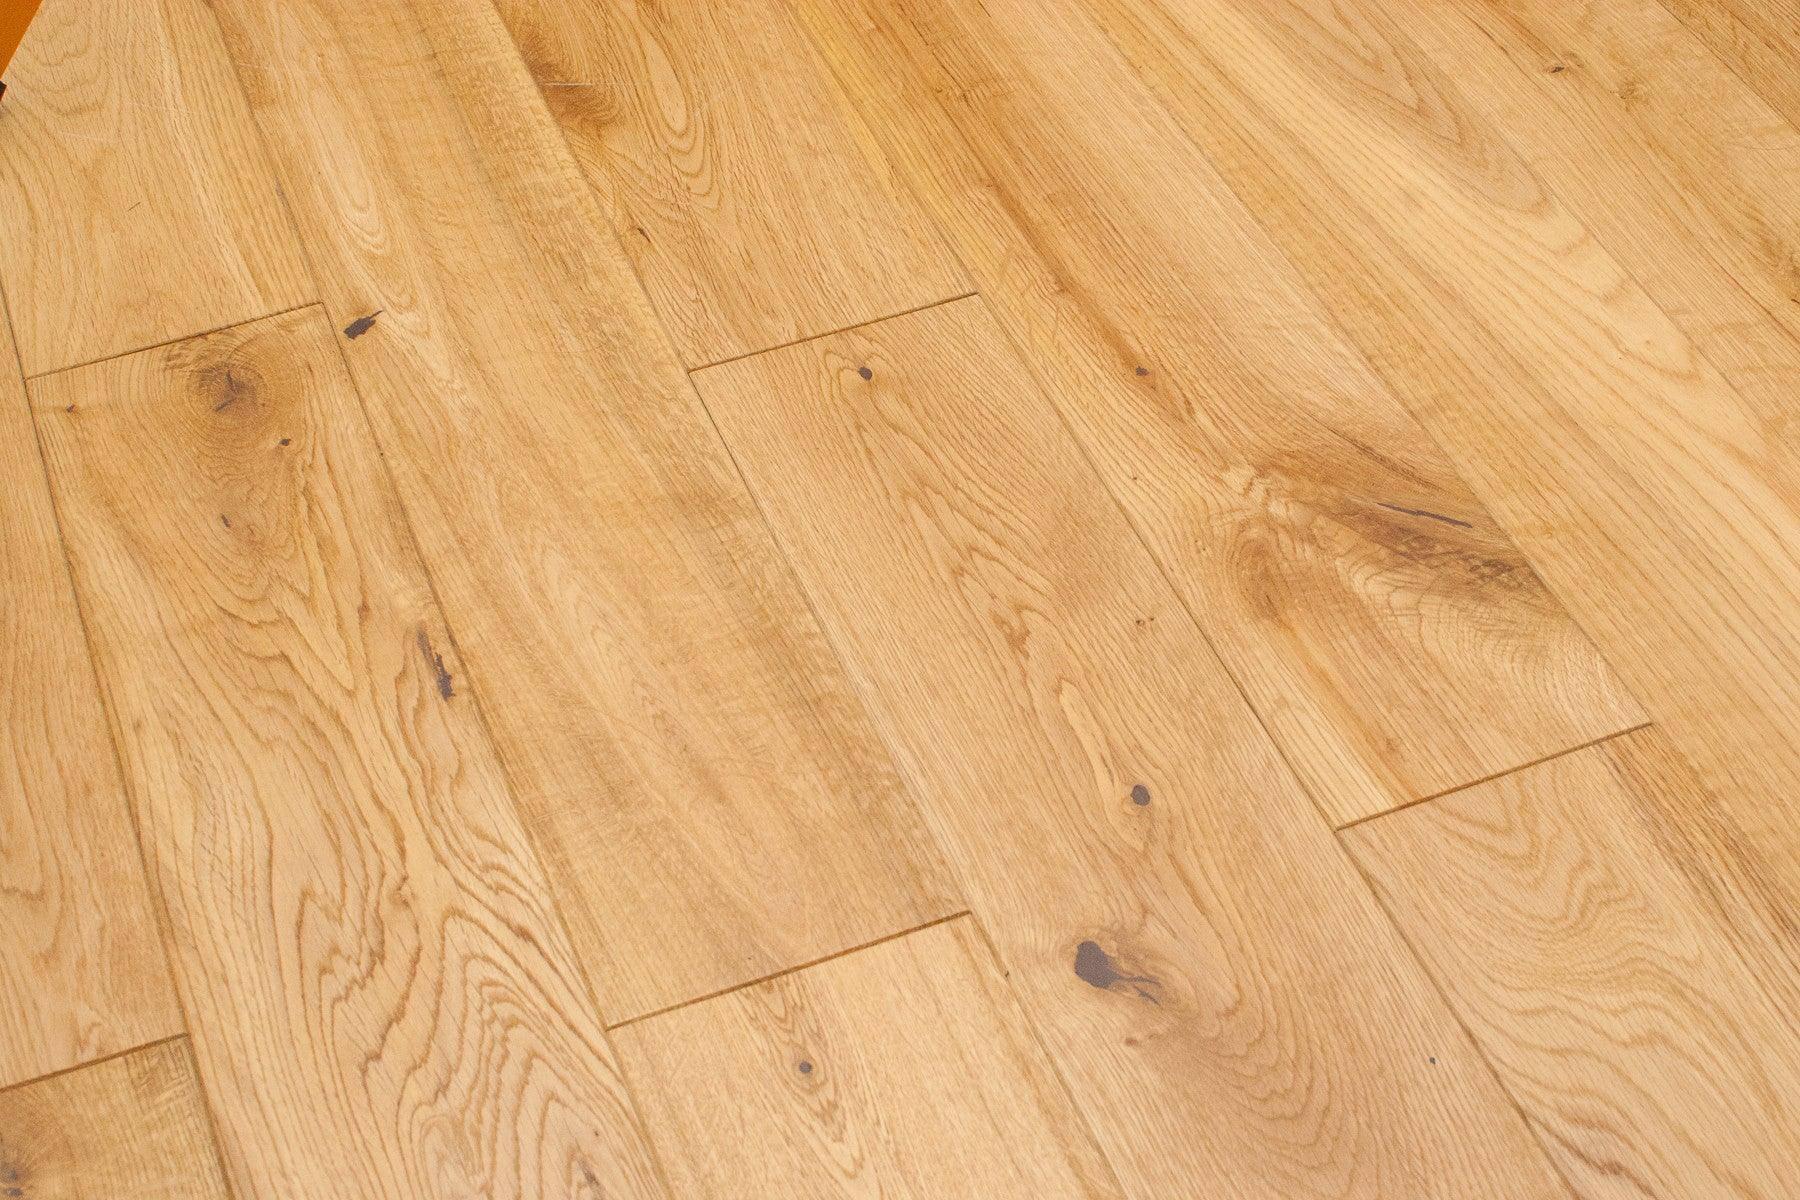
Finding the Right Fit: Hardwood That Speaks to Your Space
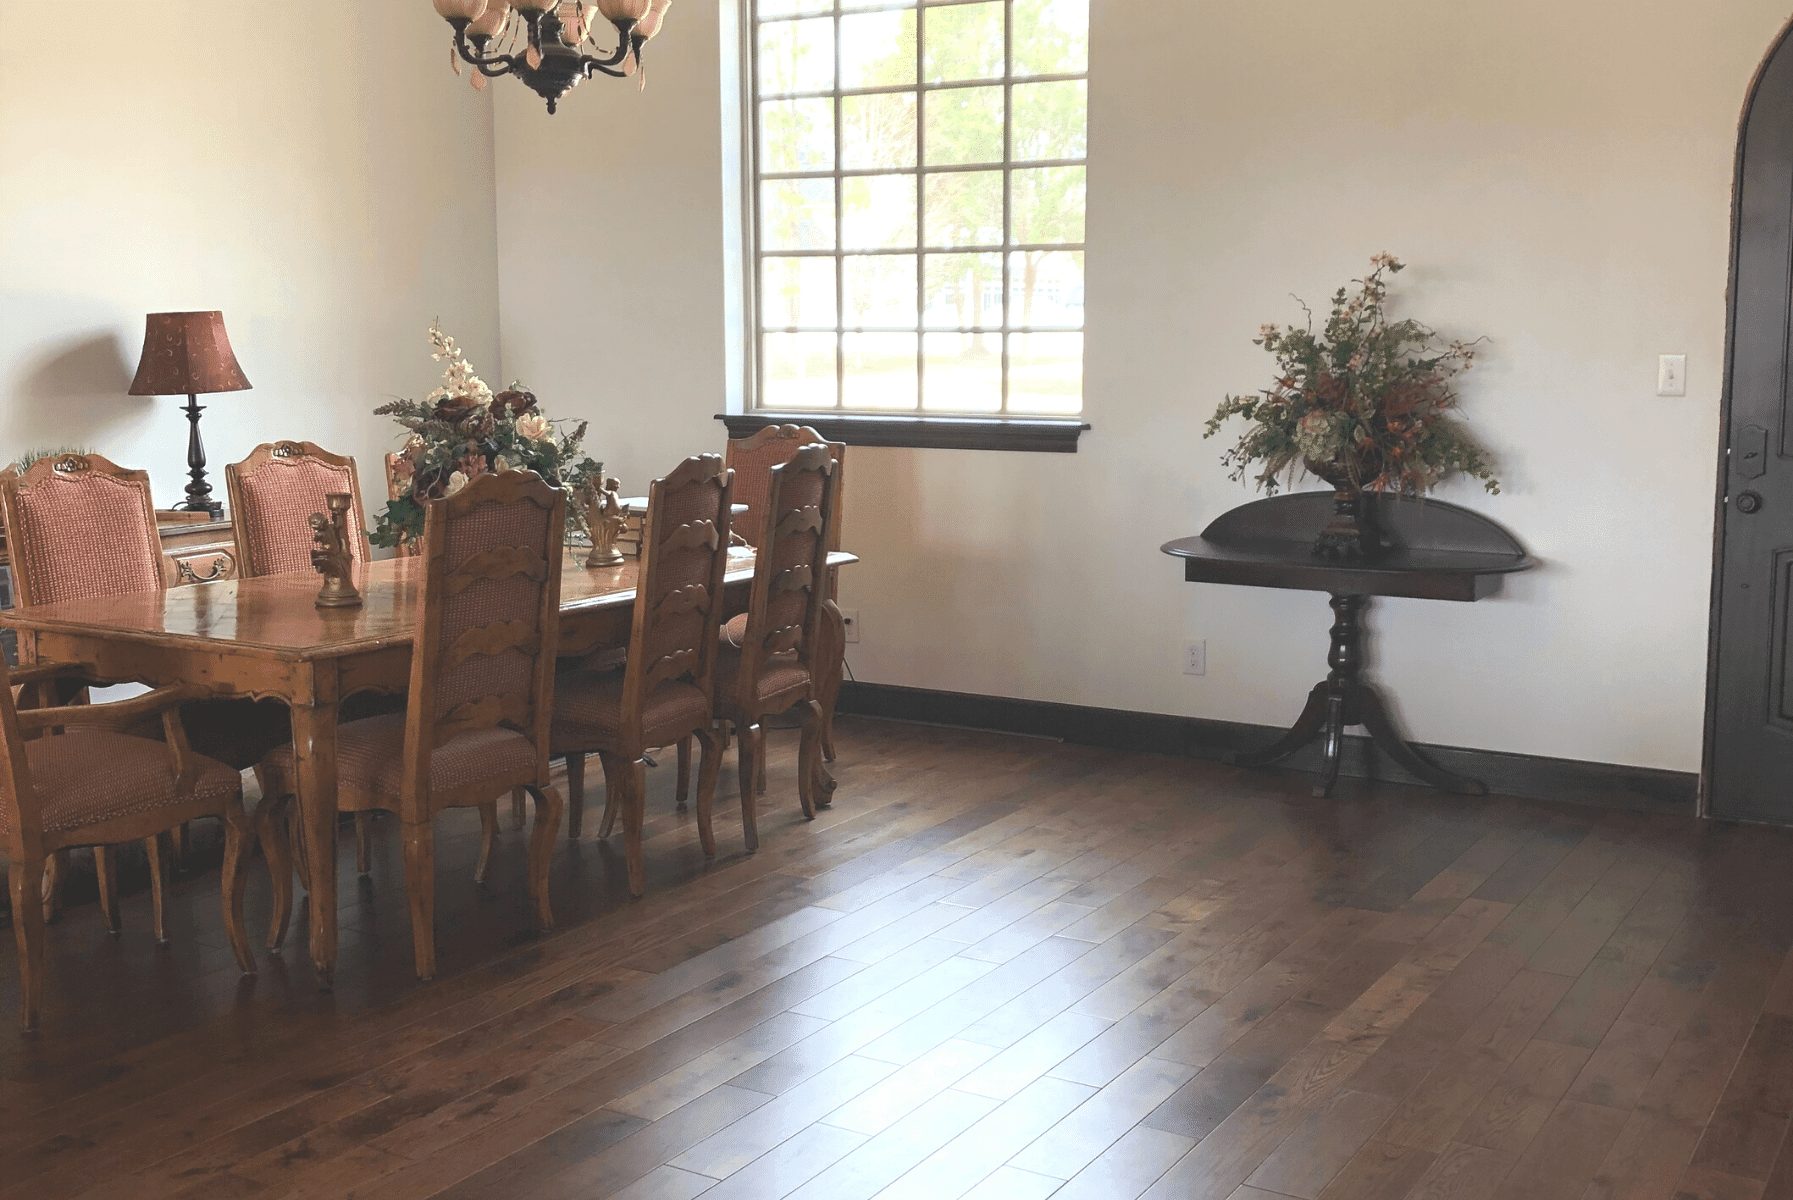
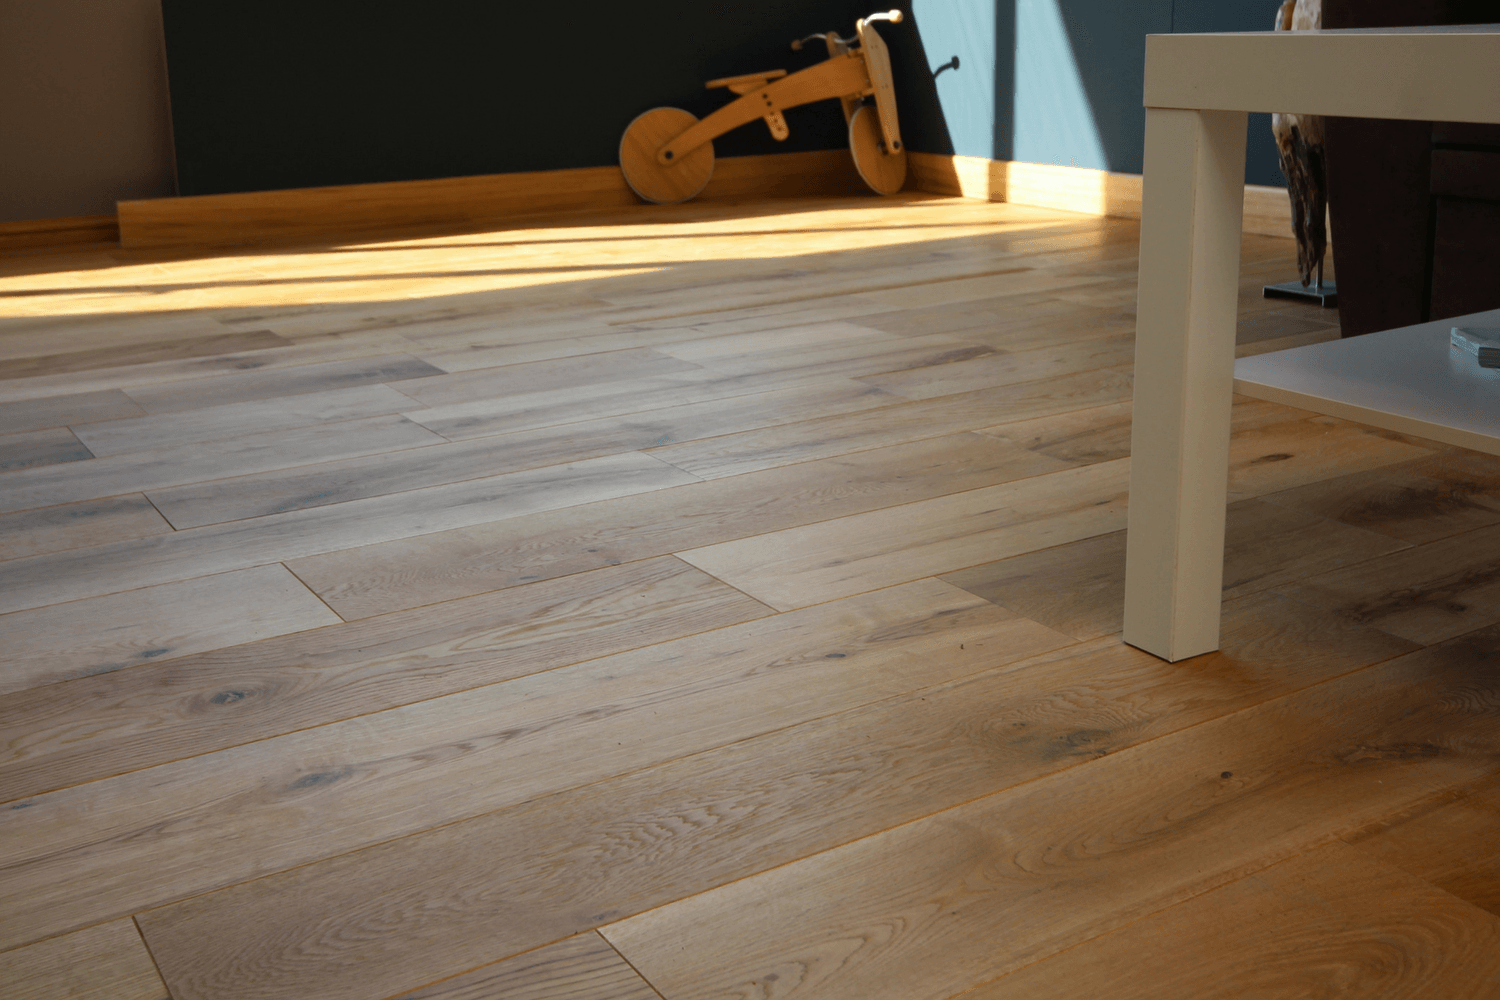
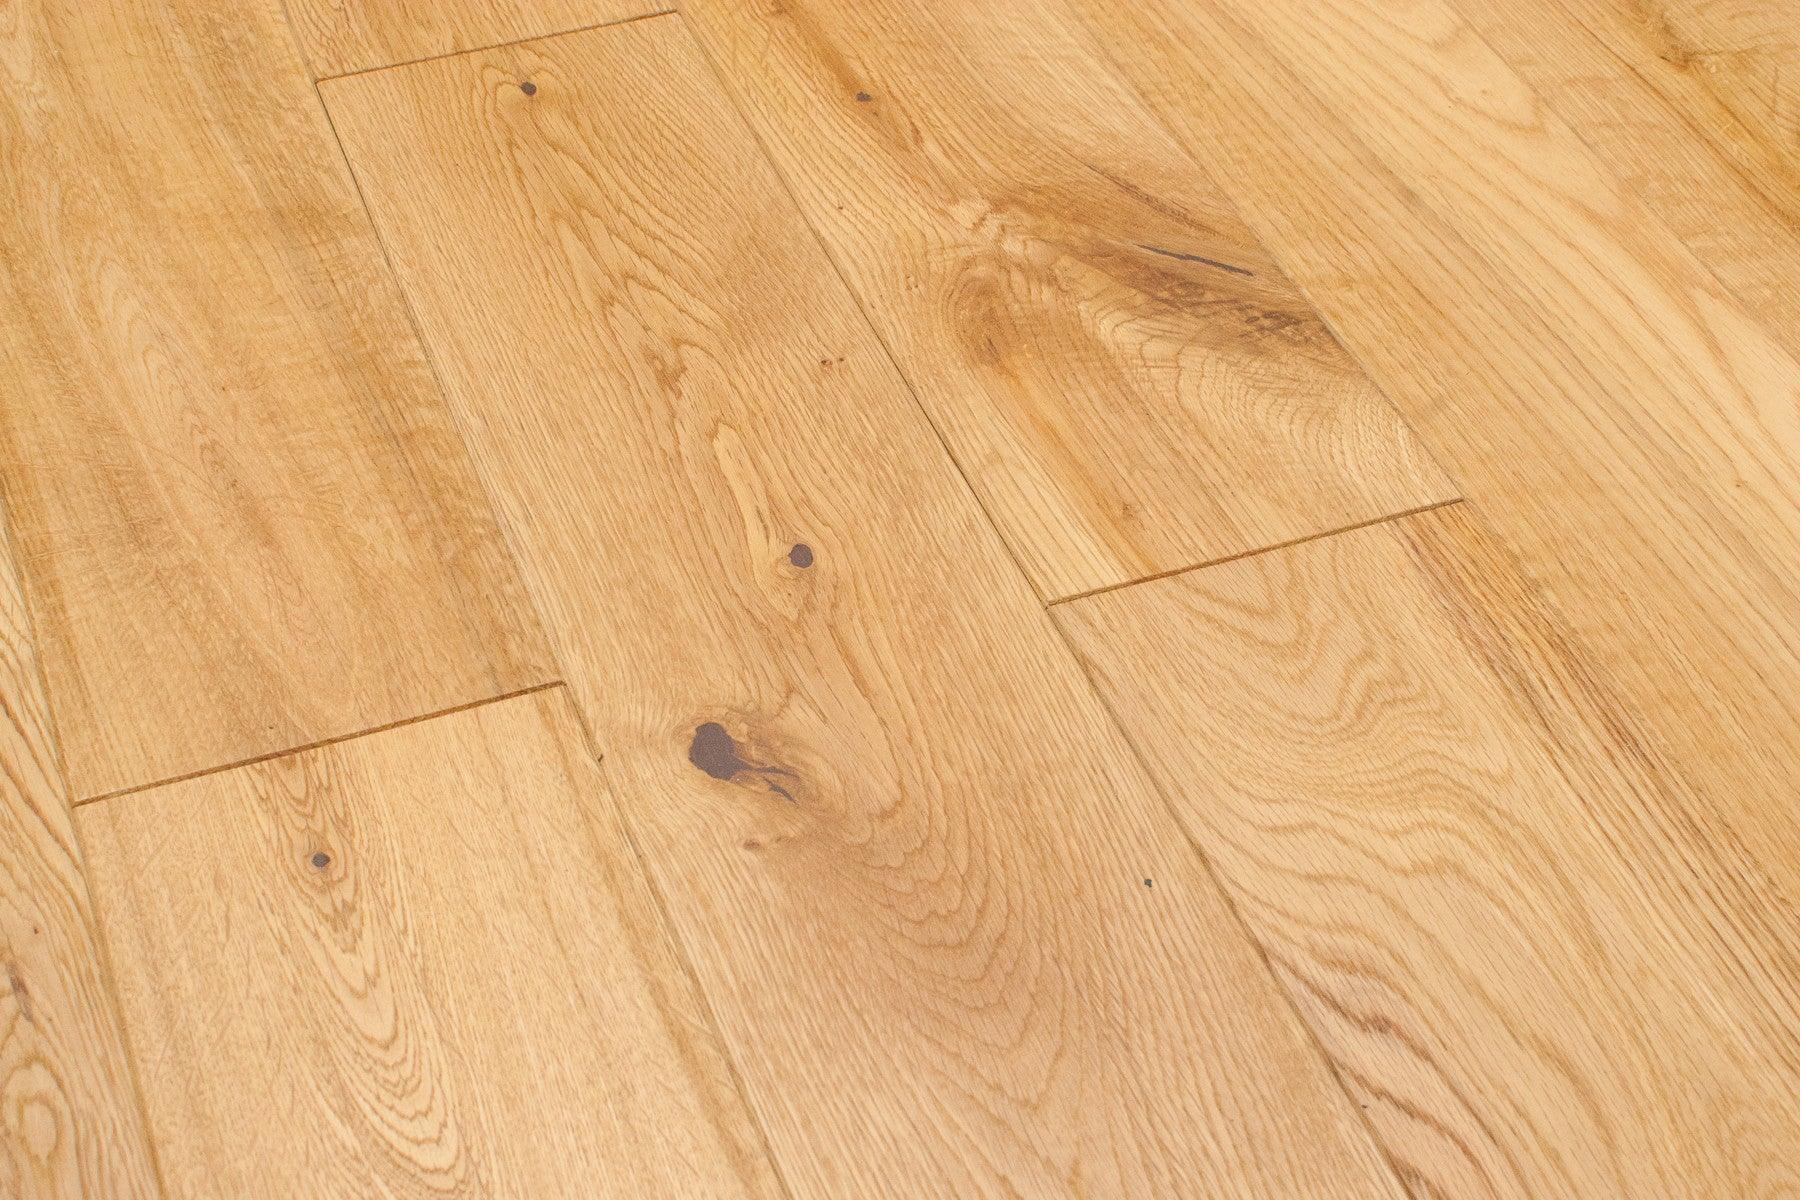
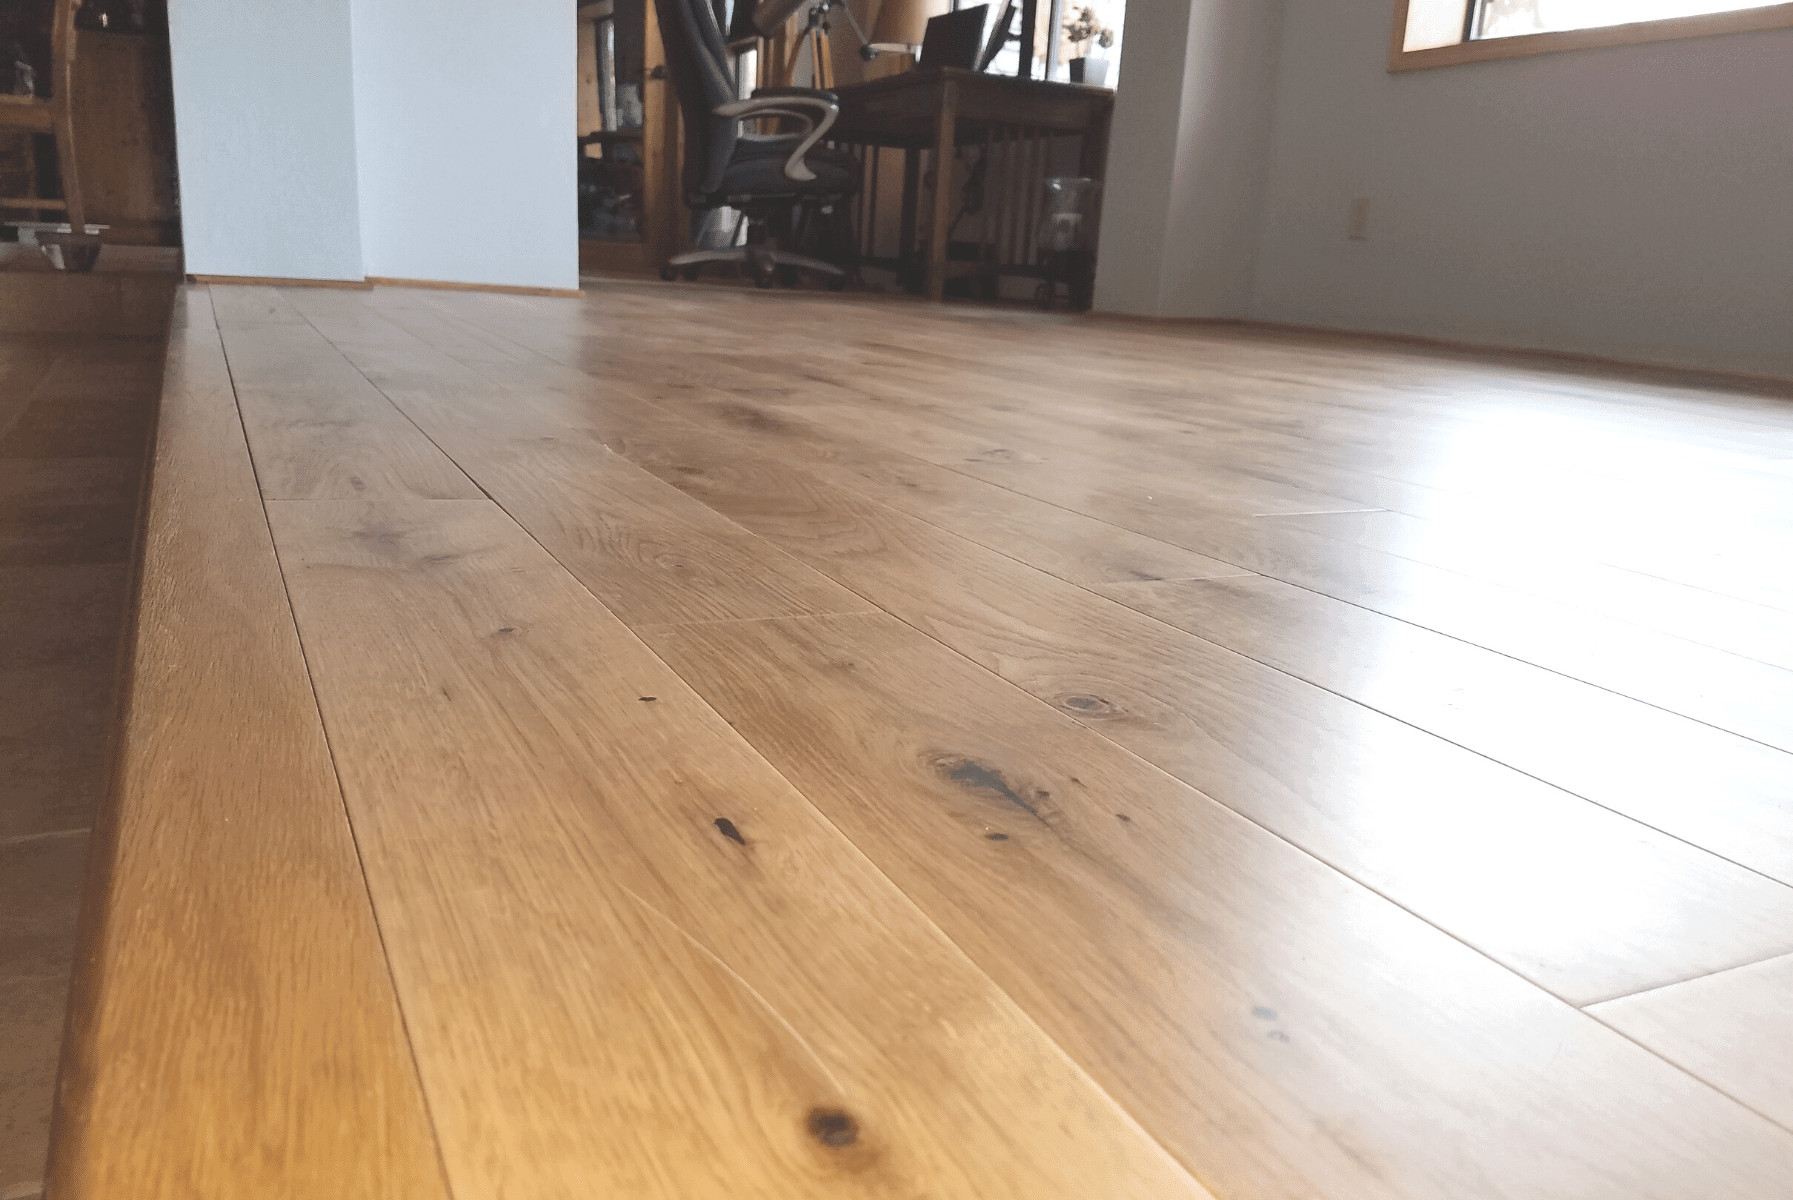
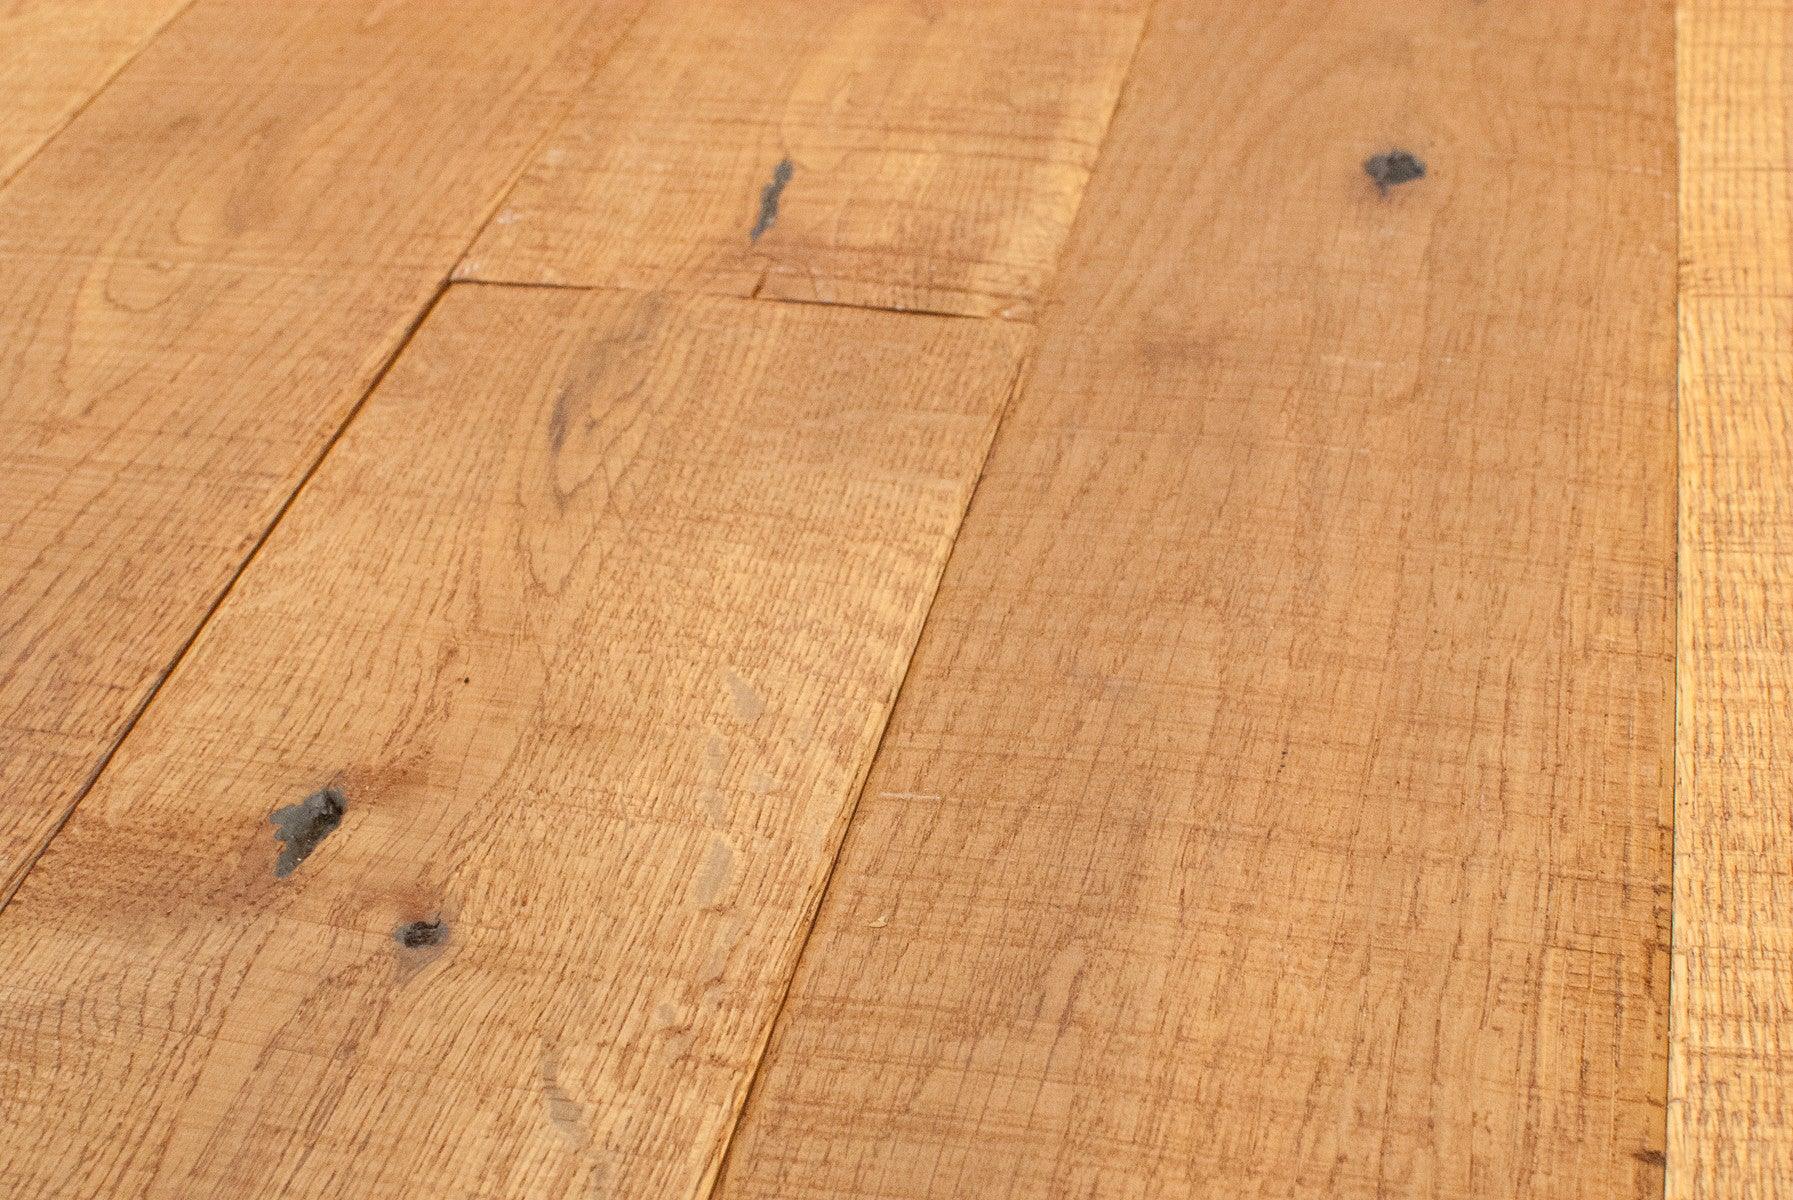
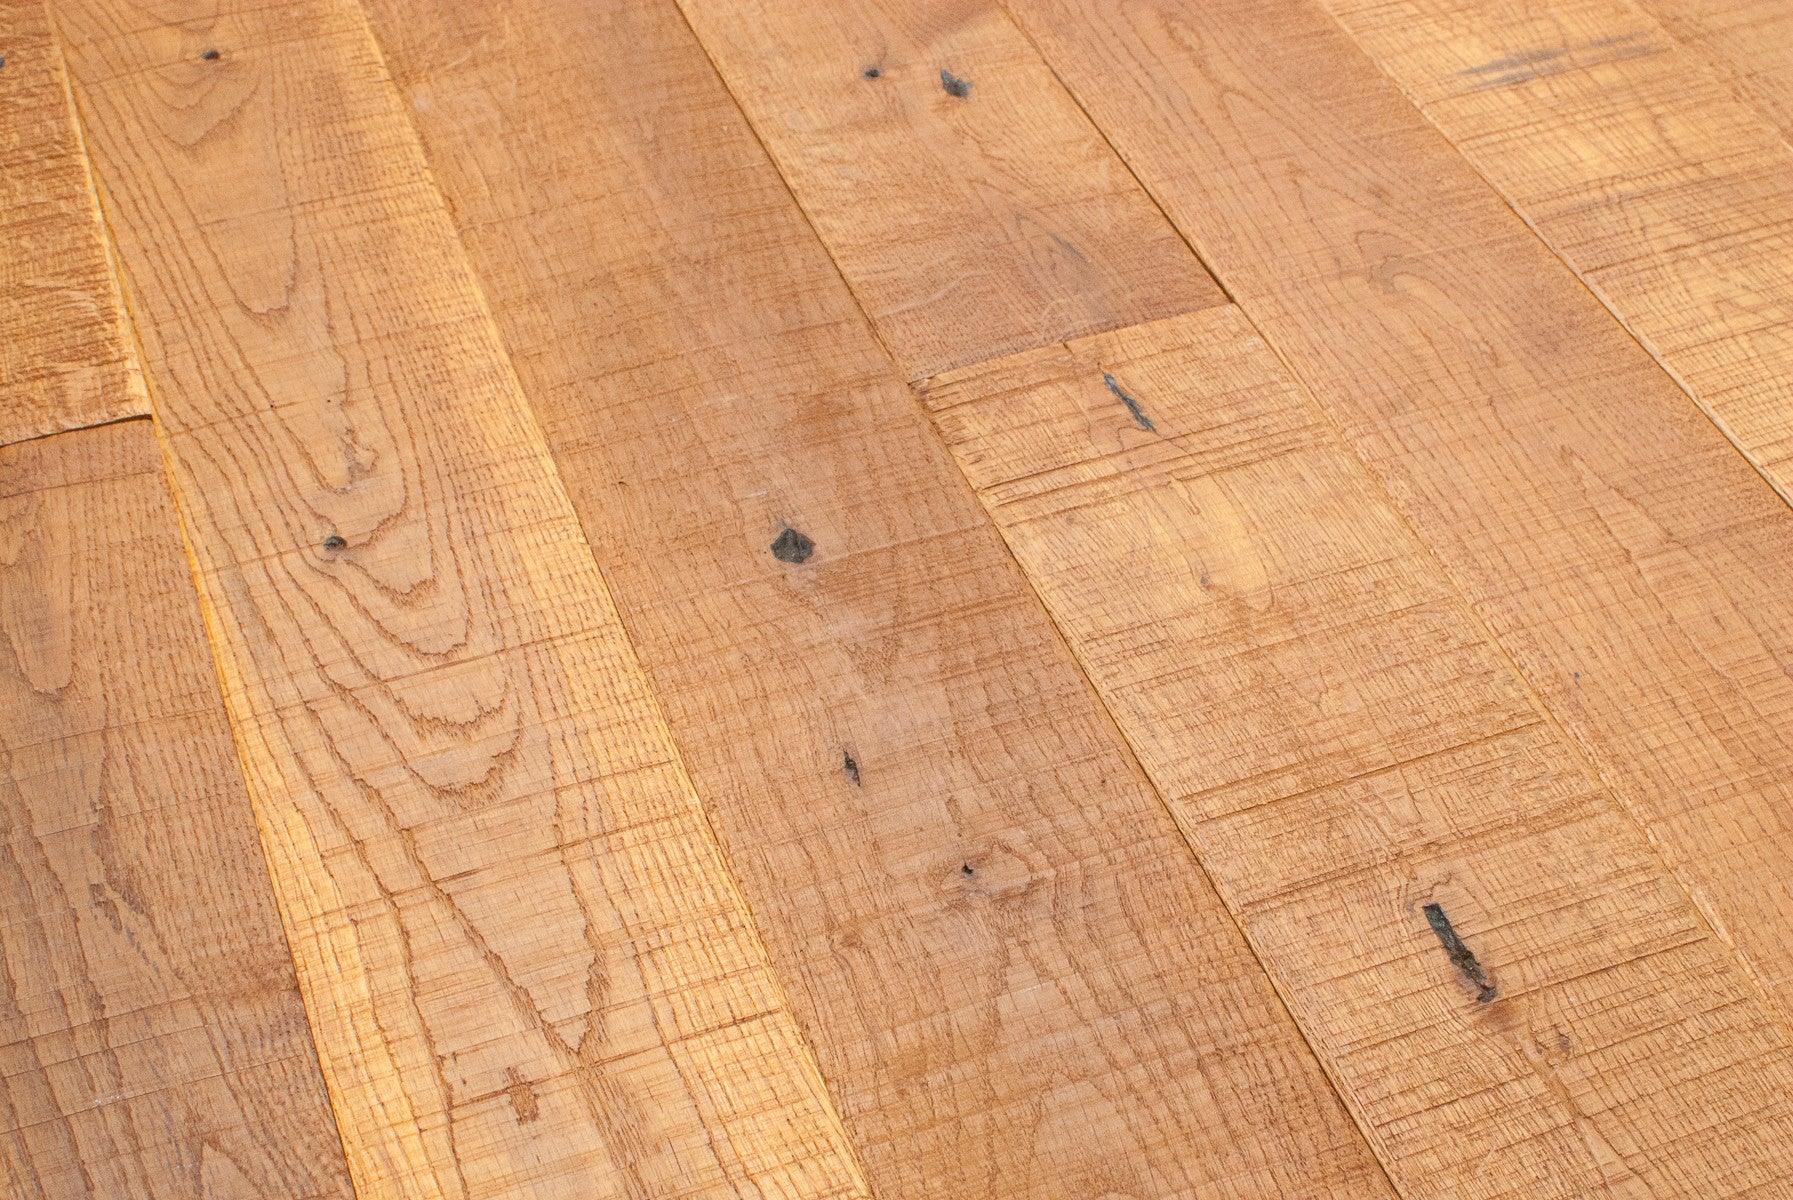
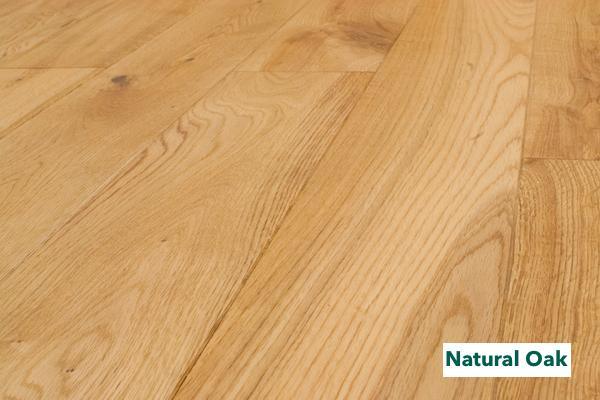
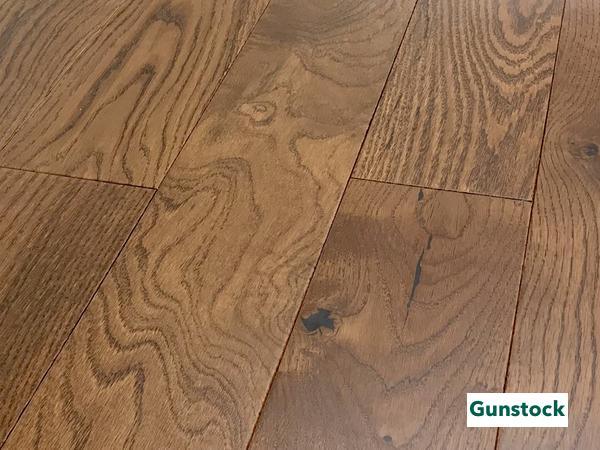
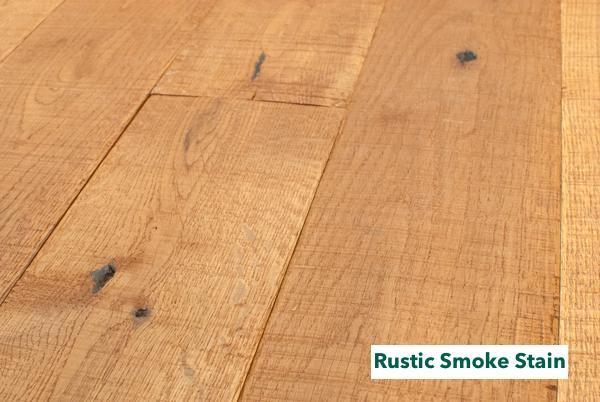
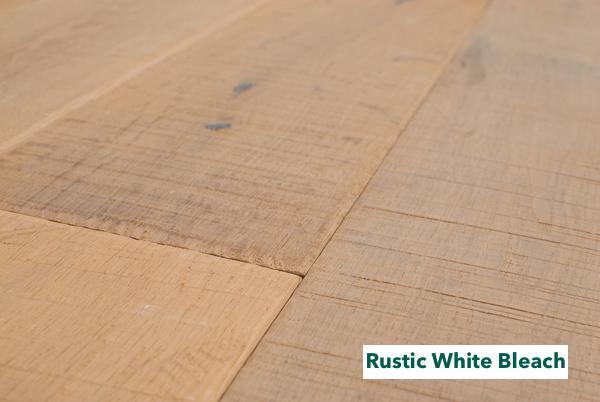
Next, it's time for the fun part: selecting your new hardwood flooring! Consider factors like the wood species, color, and finish. Remember to choose hardwood flooring materials that complement your home's interior design and can match your lifestyle.

Budgeting with Intention: What to Expect Before You Begin
Measure your space carefully and calculate the square footage. Add about 10% extra for cuts and waste. Don't forget to factor in additional flooring materials like underlayment and transition strips.
When you choose Easiklip Floors, we can provide you with a customized flooring quote. Just use our 'instant quote' tool on the website, choose the style of flooring, and enter the square footage you plan to install, along with your name and contact information. We will get back to you with the total cost, including the freight cost.
Tools of the Trade: What You’ll Need
Gather all the necessary tools before you start your DIY flooring project. You'll likely need:
-
Pry bar and hammer for tile removal
-
Circular or miter saw for cutting boards
-
Tapping block and pull bar for flooring installation
-
Moisture meter
-
Safety gear (goggles, knee pads, dust mask)
-
Level and a tape measure
Now that you've gathered your tools, it's time to roll up your sleeves and get your hands dirty. The preparation phase ensures a smooth home renovation.
Wait! You Don’t Have To Rip Up the Old Tile Floor!
You have another, easier and less messy option than removing the entire tile floor. It’s called a Floating Floor.
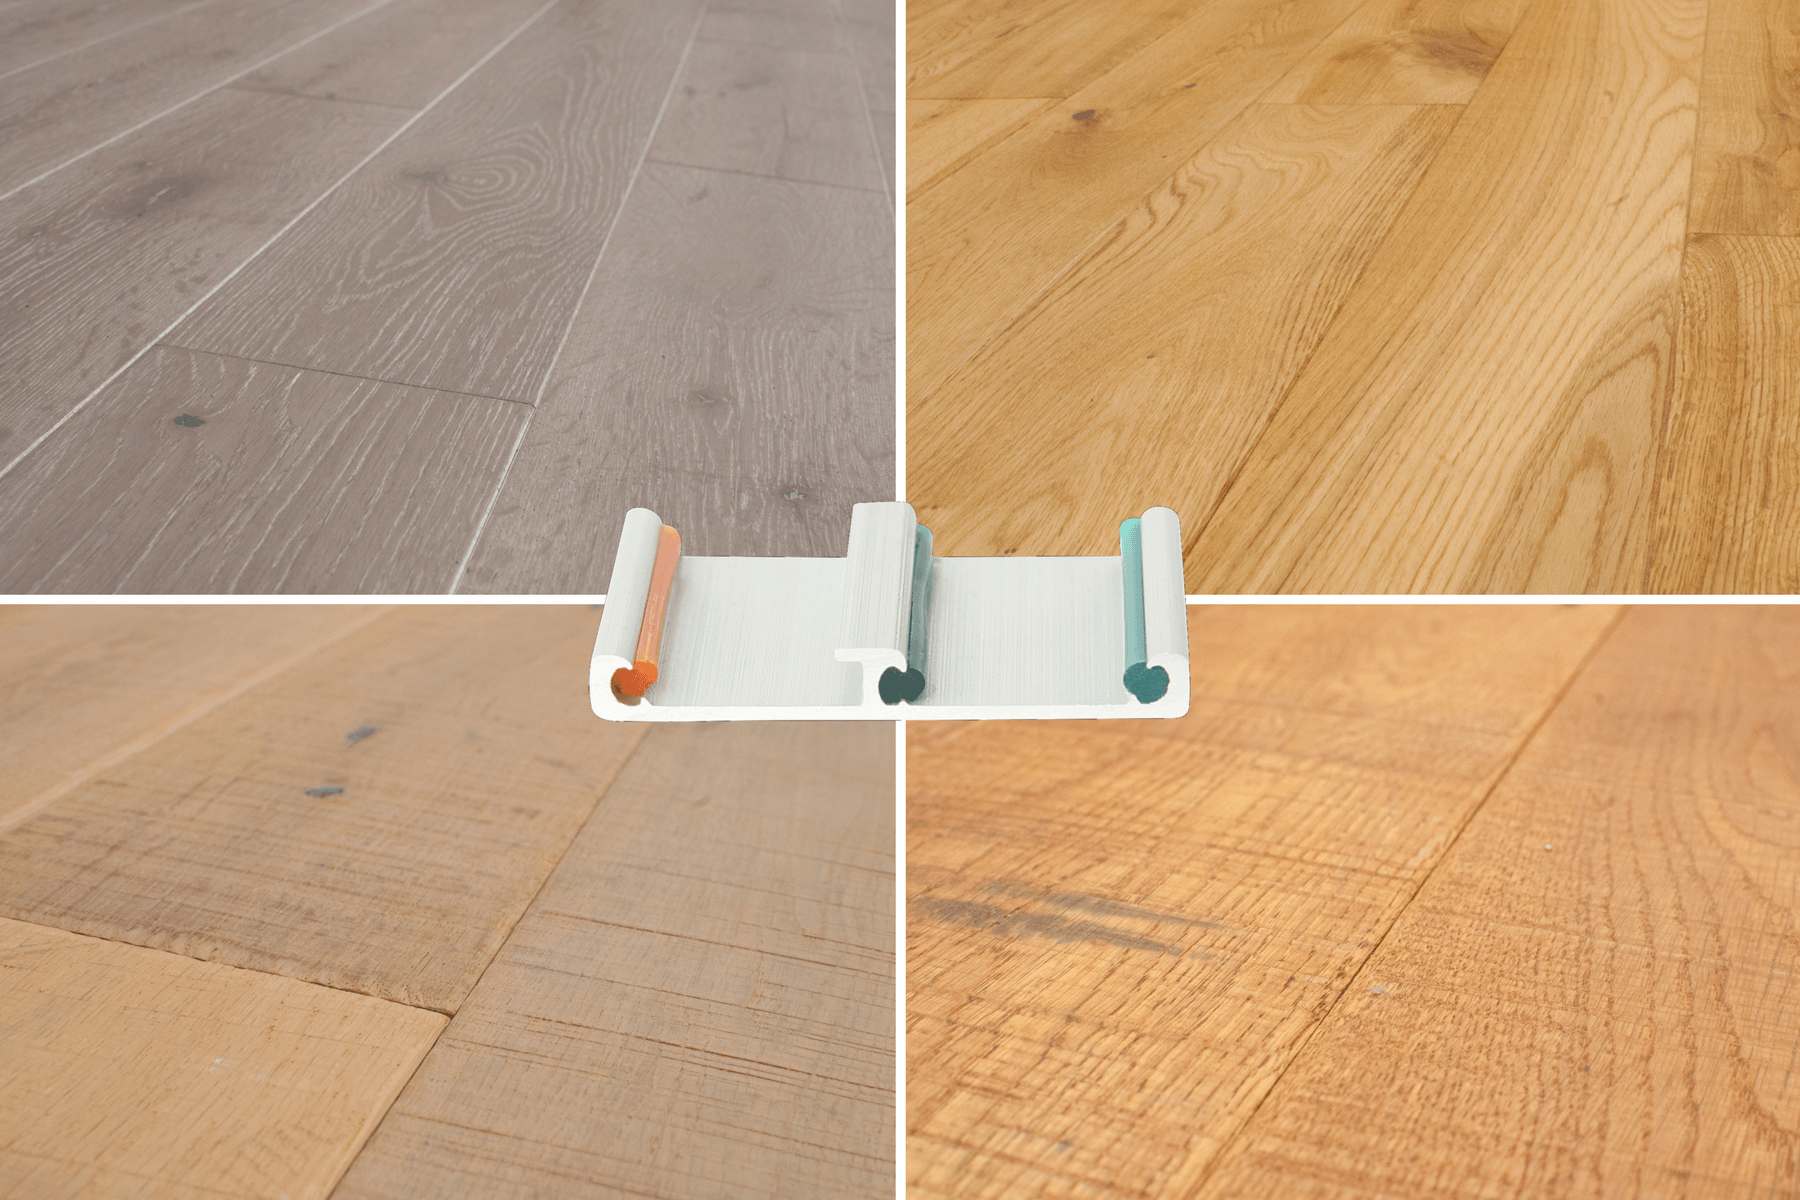
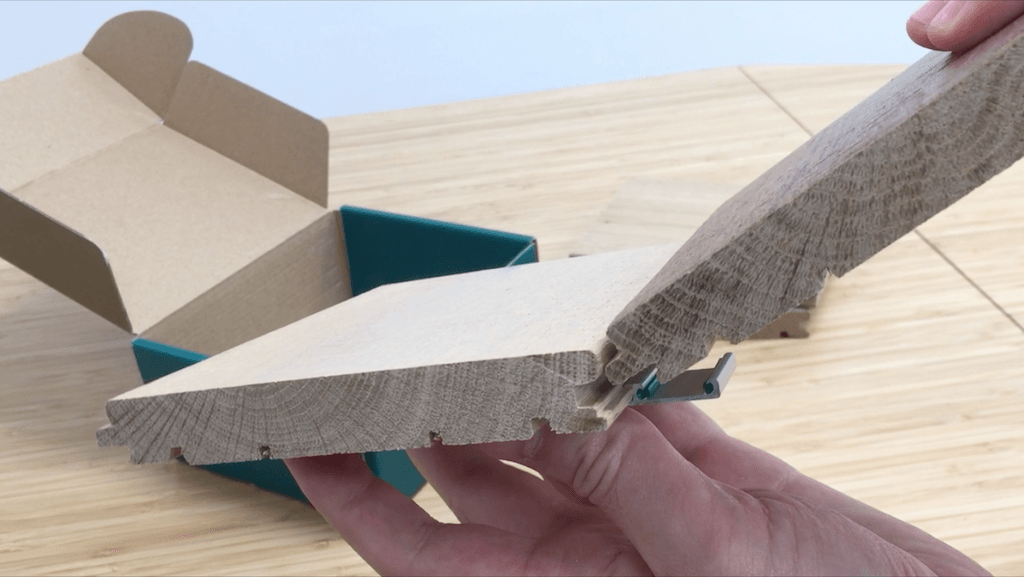
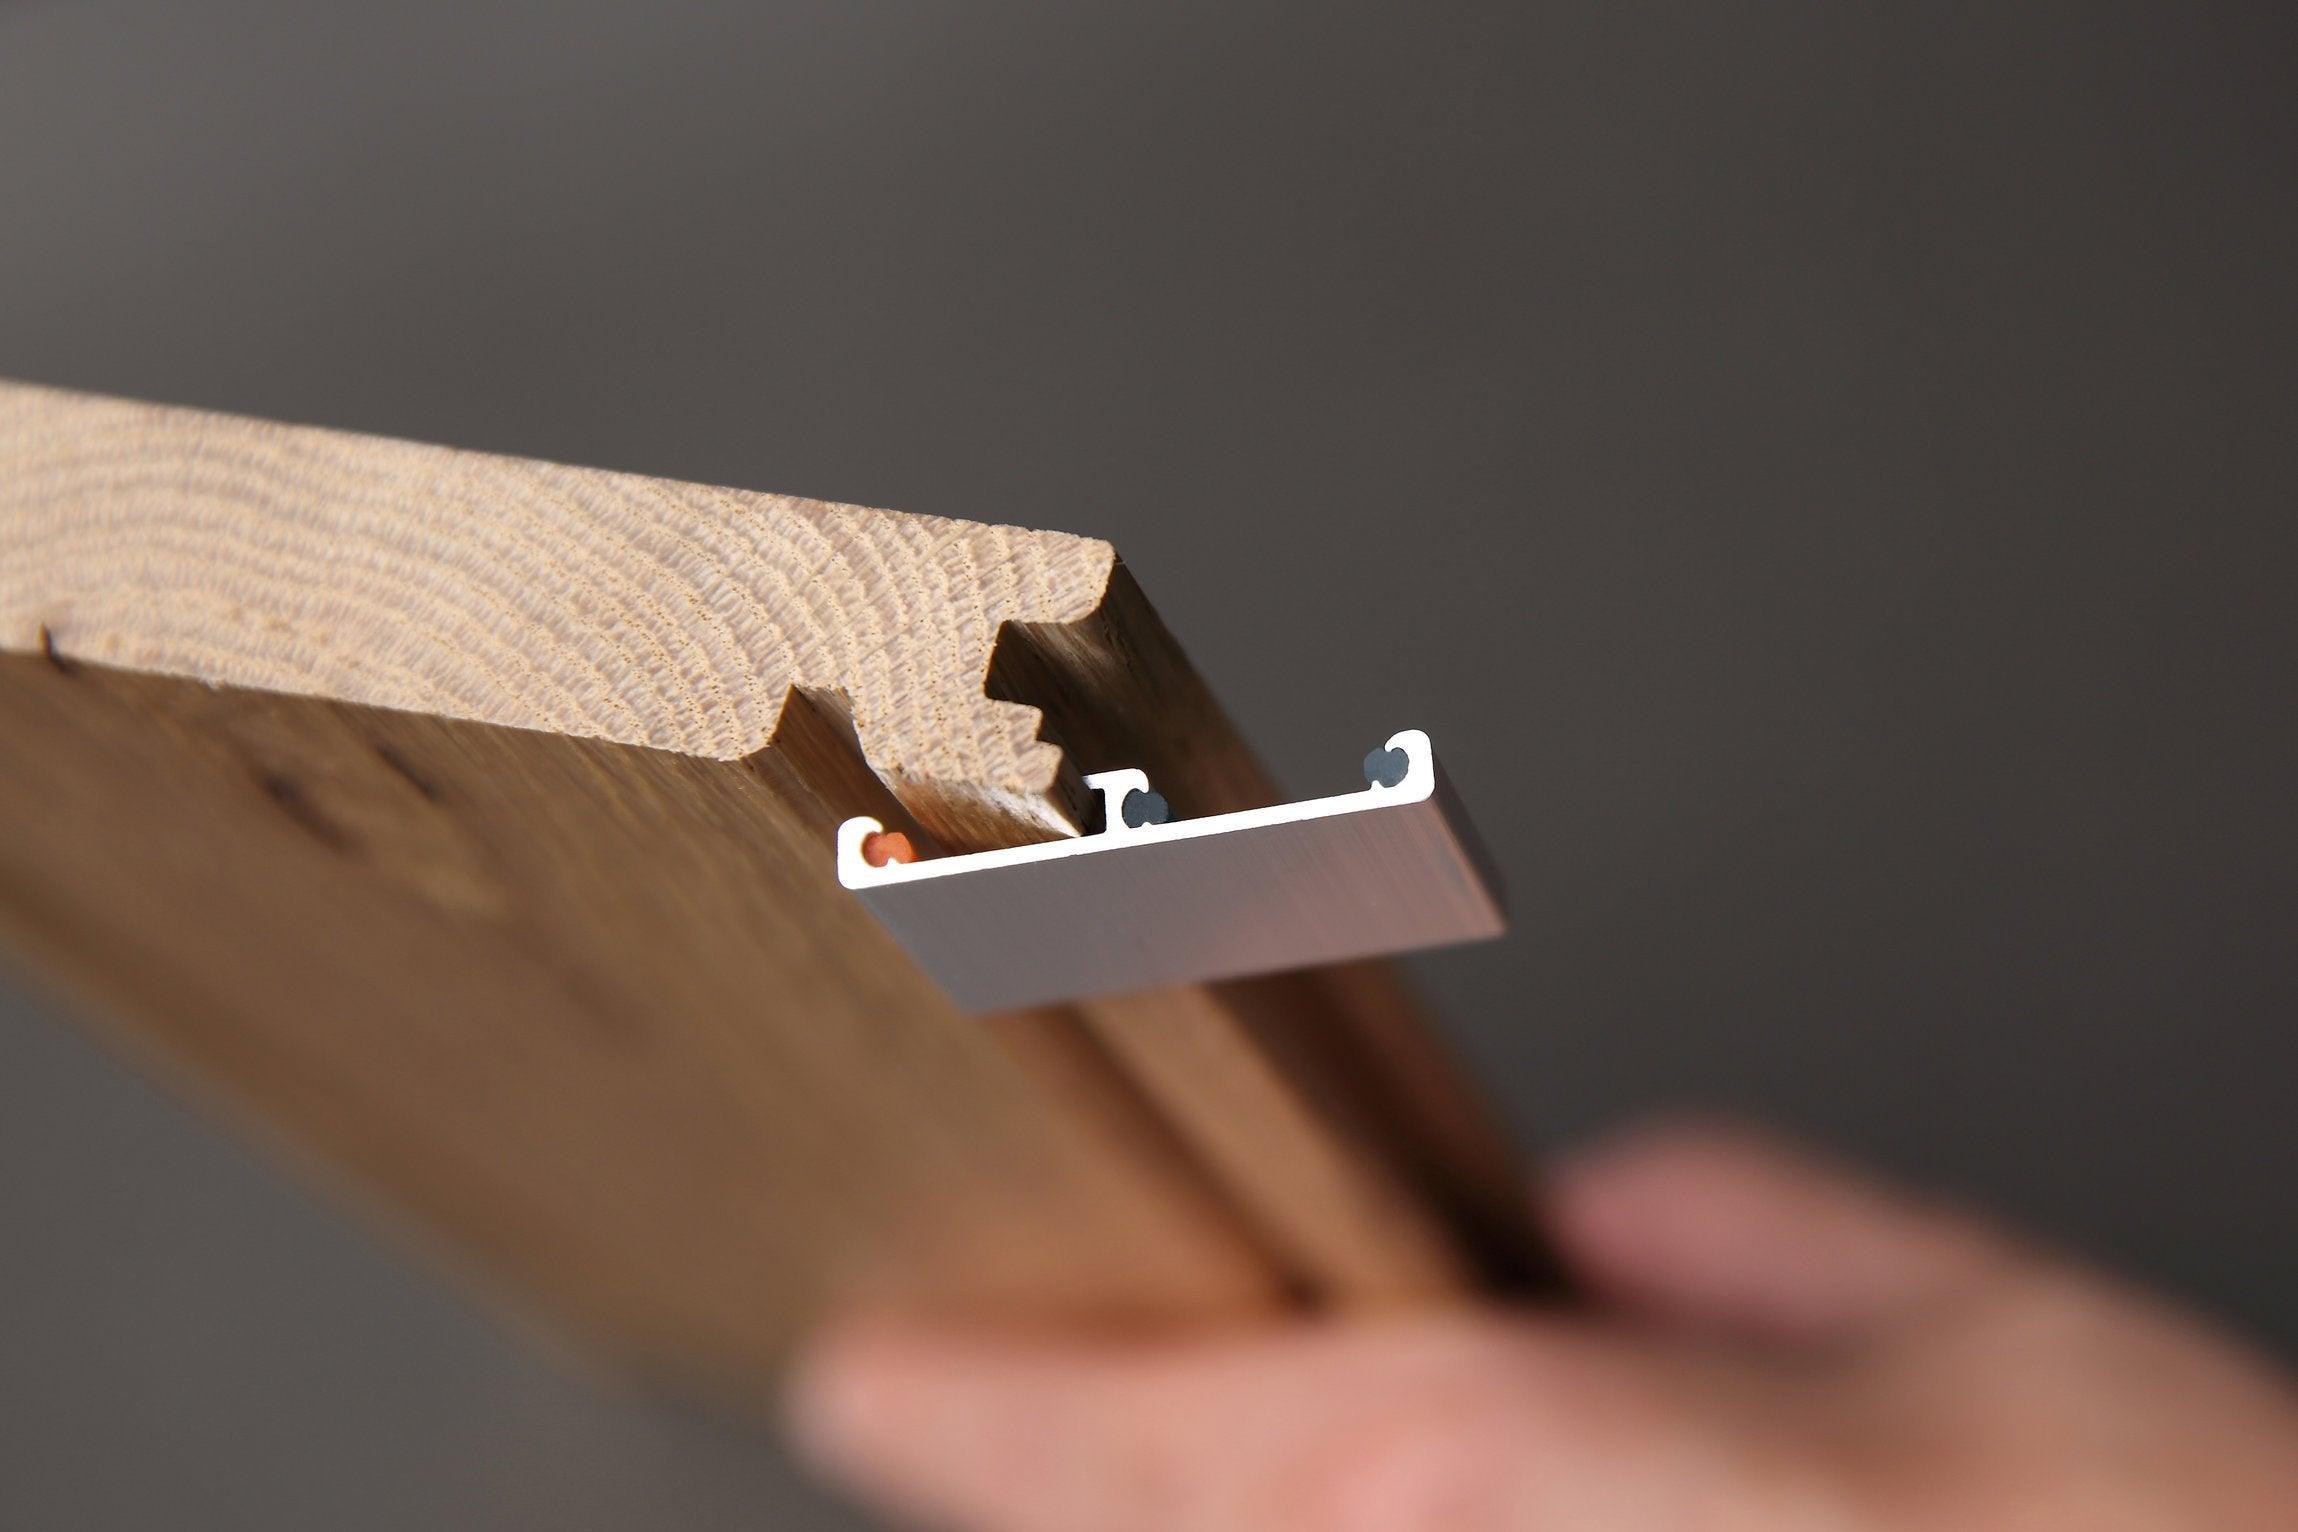
Easiklip offers a range of eco-friendly hardwood options that are perfect for DIY flooring installation. This unique hardwood flooring installs without screws, glue, or nails. They simply clip together with patented aluminum clips, enabling you to install 'floating floors' over existing tile flooring.
Since it’s not glued down, the good news is that if you decide to go back to the tile floors in the future, you can take them apart without the hassle!


Preparation Steps: Clearing the Way for Hardwood
If you still plan to go through the hassle and mess of tearing out the old tile, here's a breakdown of the essential steps to get your space ready for its hardwood makeover.
-
Removing Existing Tile Flooring
Clear the room of all furniture and remove any baseboards or trim. Begin at a corner or edge, using a pry bar to lift the first tile. Work your way across the room, removing all tiles and adhesive. It’s dusty work, so wear protective goggles and a mask. Keep the area well-ventilated.
-
Preparing the Subfloor
Once the tiles are removed, inspect your subfloor. Remove any remaining adhesive and ensure the surface is clean, dry, and level. If you have a concrete subfloor, you might need to grind it smooth. For wood subfloors, check for any loose or squeaky areas and secure them with screws.
-
Addressing Moisture Concerns
Moisture is hardwood's enemy. It can cause mold and warping. Address any potential issues, especially for below-grade or slab applications. Use a moisture meter to test both the subfloor and the hardwood planks. They should have similar moisture content to prevent future problems. If you're installing over concrete, you'll need to put down a vapor barrier.
-
Floor Leveling Techniques
A level floor is essential for a professional-looking hardwood installation. Use a long level or straight edge to check for any dips or high spots. For minor unevenness, you can use a floor-leveling compound. For more significant issues, you might need to sand down high spots or use shims in low areas. Check out our blog, “How To Level An Unleveled Floor With Floor Leveling Compound,” for more details.
Installation Process - Bringing Hardwood to Life
Now that you have prepped the space, it's time for the main event: installing your beautiful new hardwood floor.
-
Laying a Moisture Barrier
If you're installing over a concrete subfloor, start by laying down a moisture barrier. Typically, it involves rolling out sheets of plastic and taping the seams. For wood subfloors, you'll use a combination of underlayment and moisture barrier.
-
Installing the First Row of Hardwood
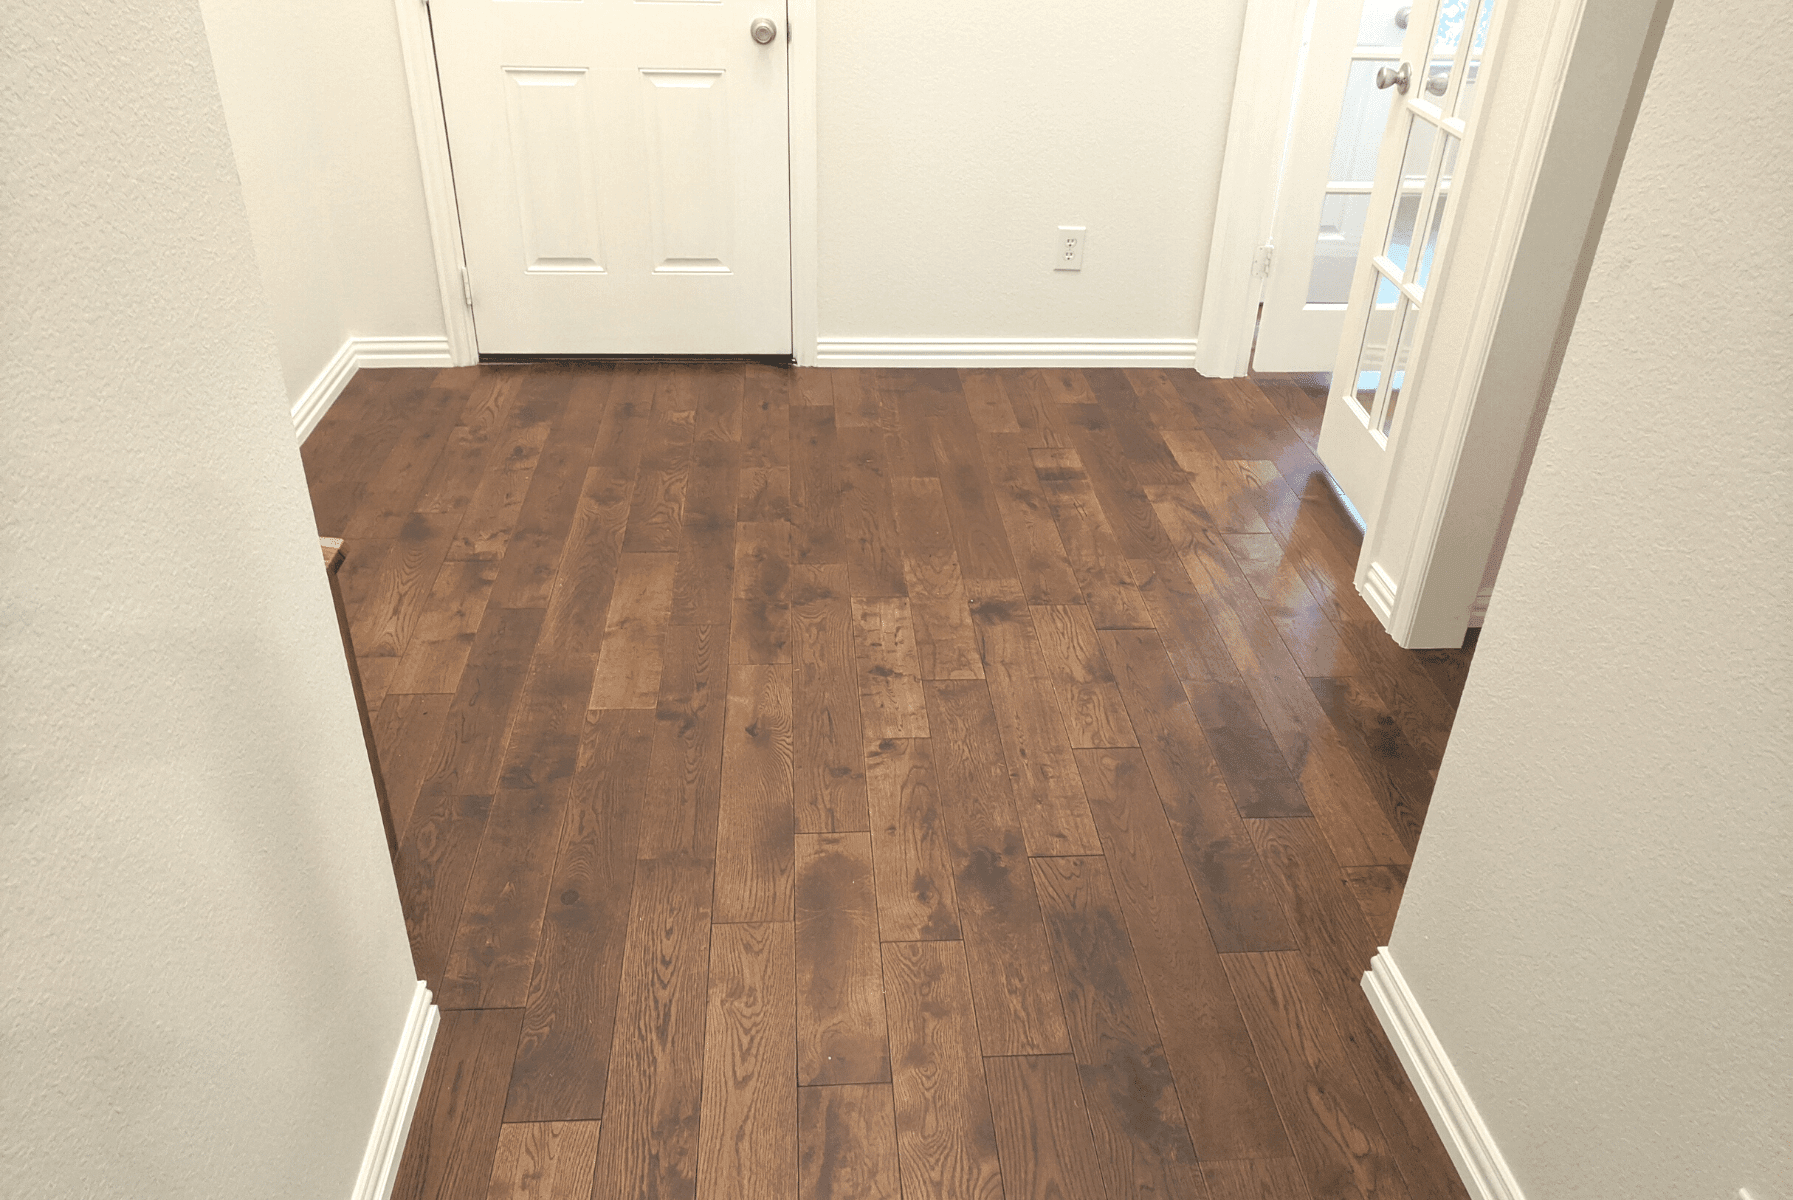
The first row sets the tone for your entire DIY flooring installation, so take your time to get it right. Start along the straightest wall, leaving a 7/8-inch expansion gap. If you're using Easiklip flooring, you'll appreciate the user-friendly click-lock system that makes alignment a breeze.
-
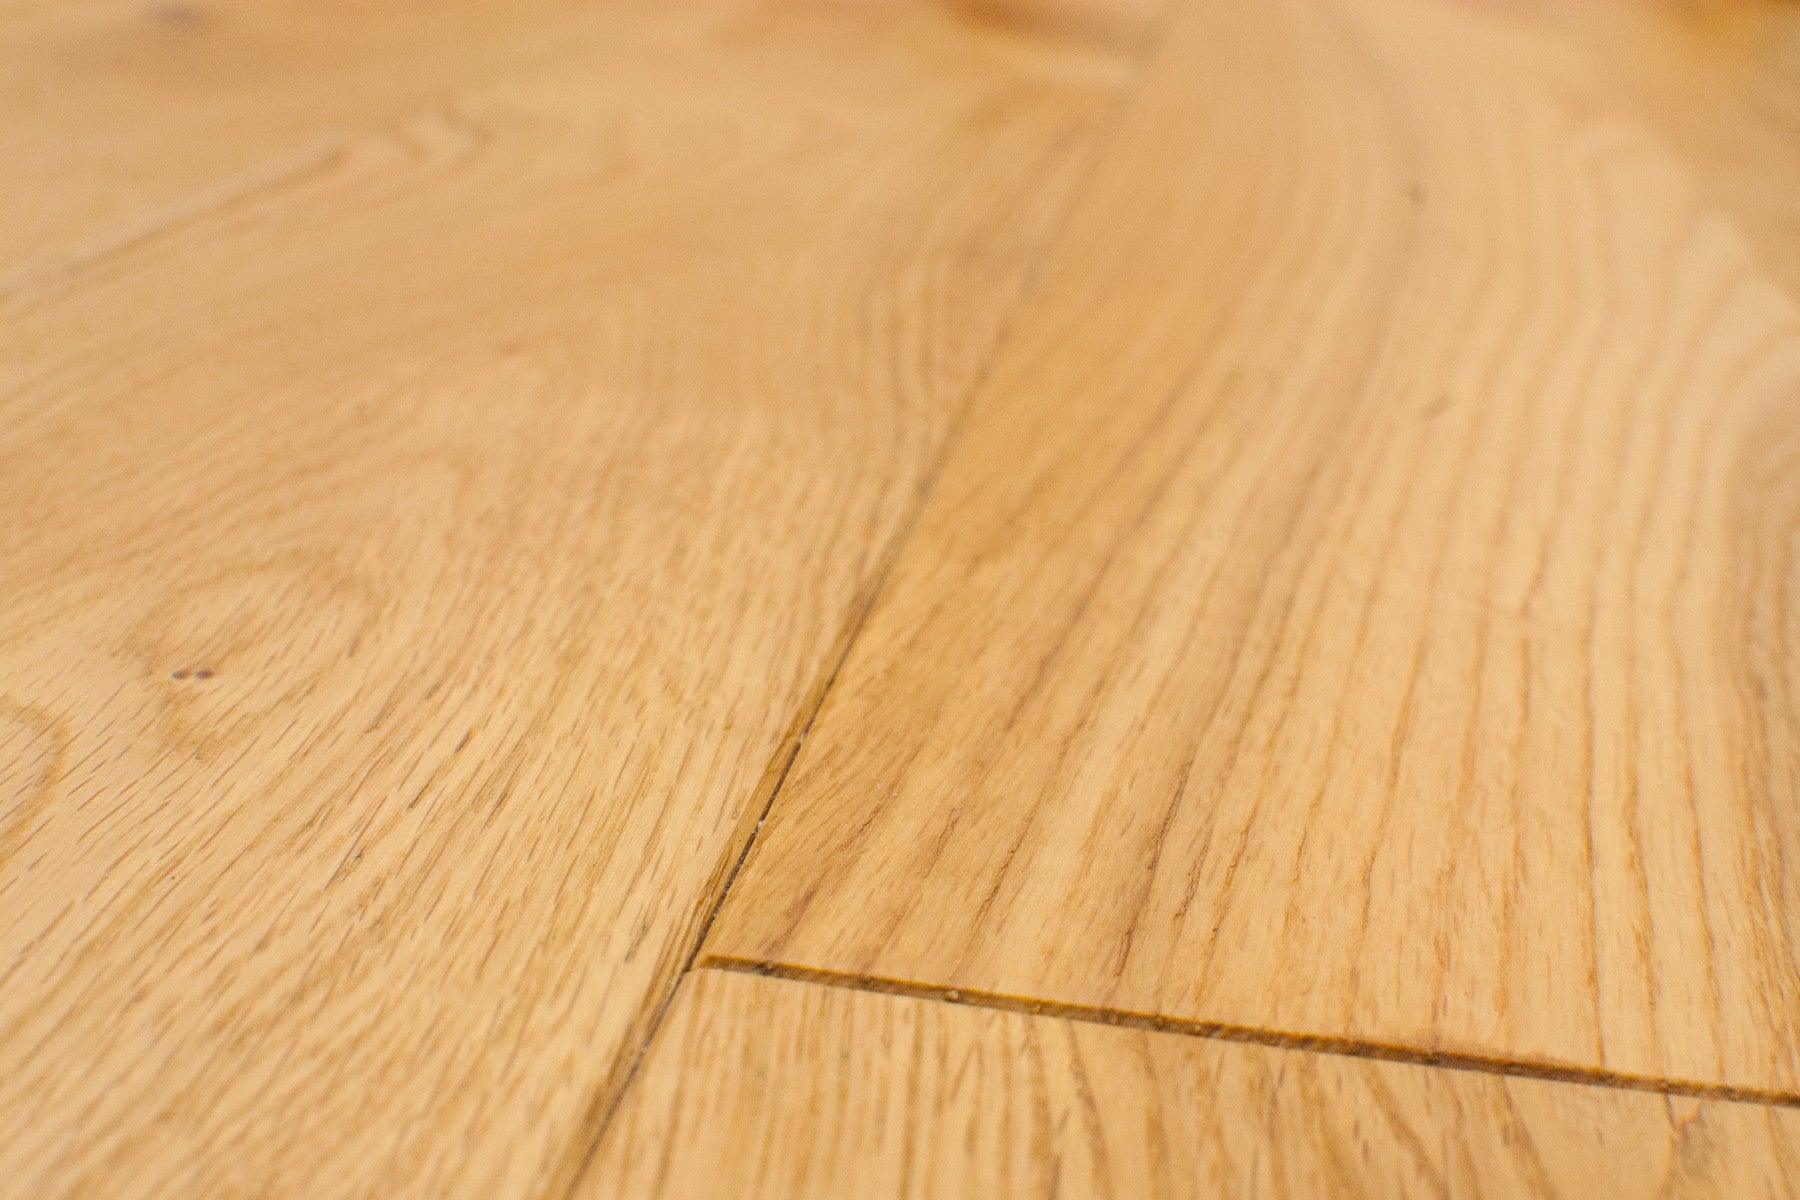
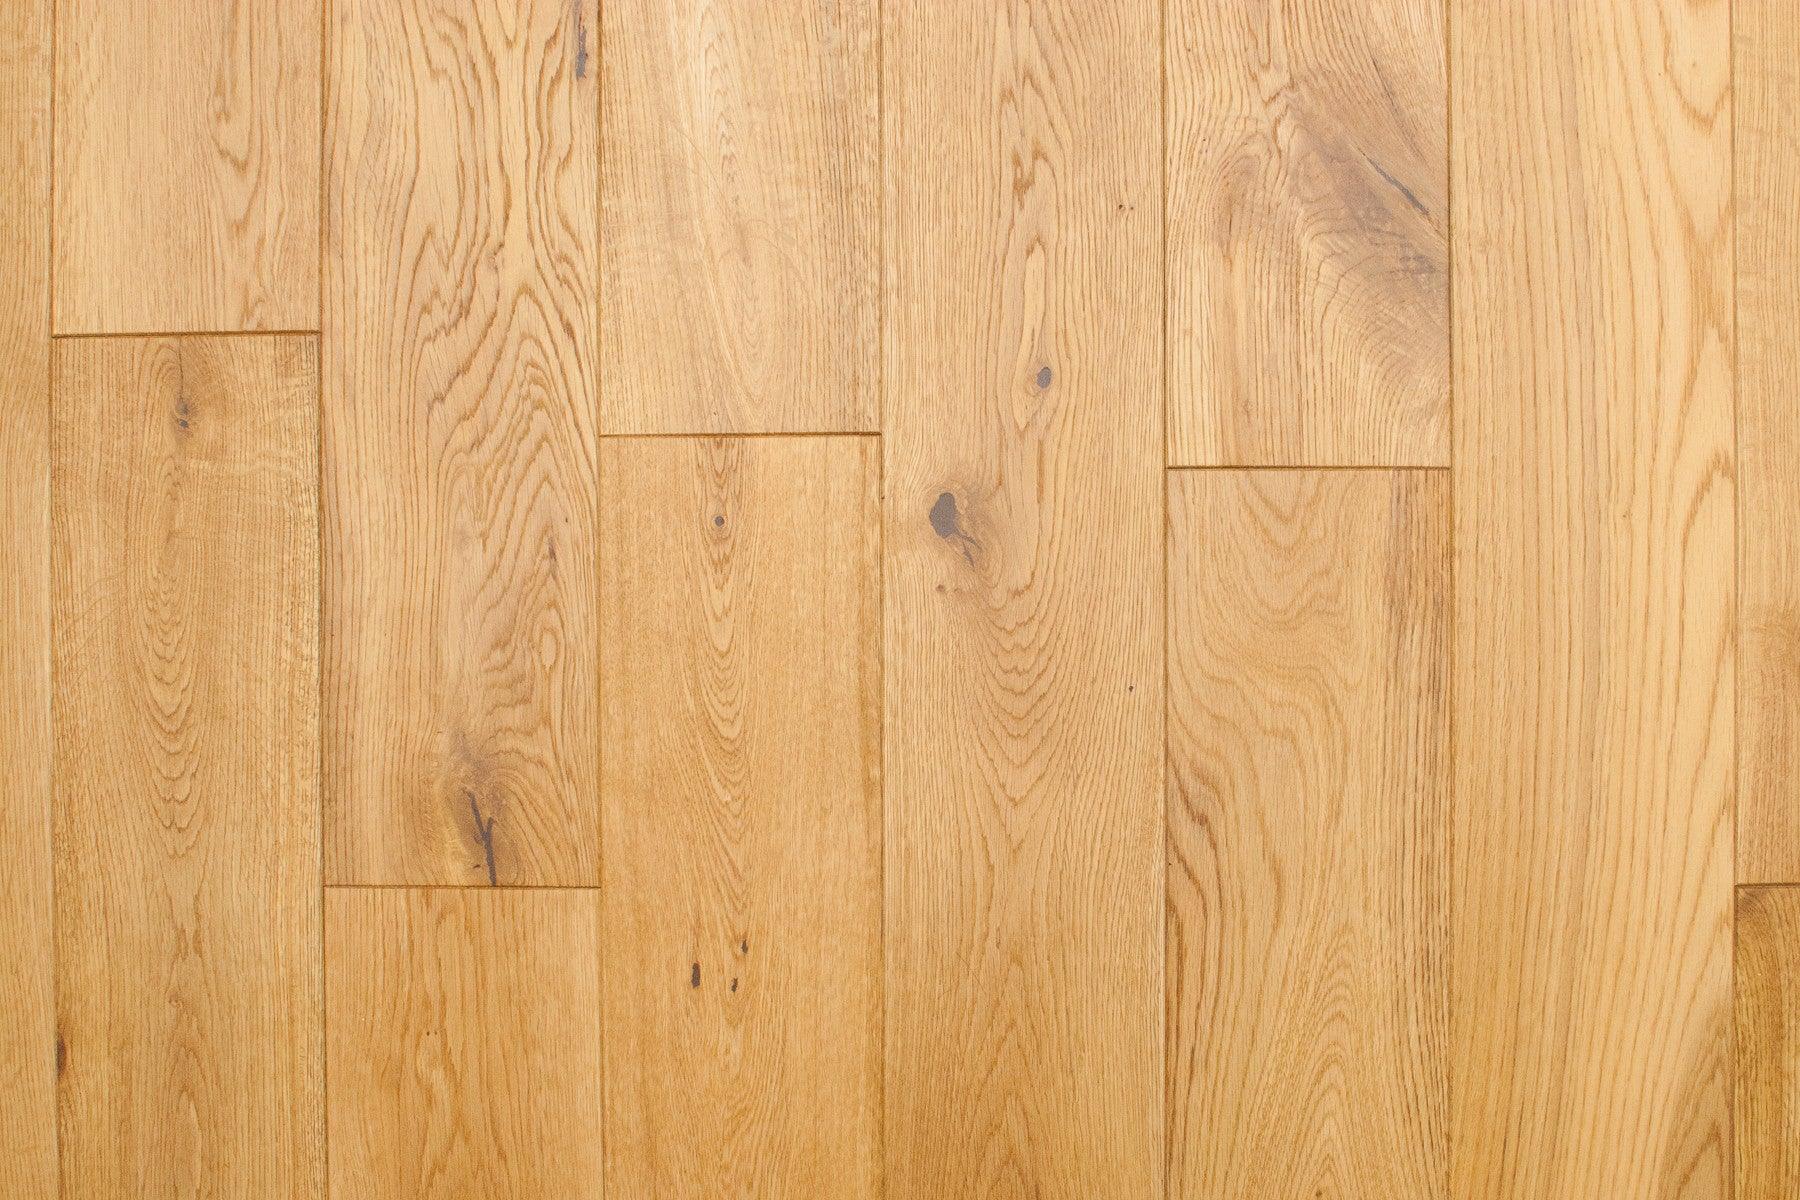
Continuing the Installation
Once your first row is in place, continue working your way across the room. Stagger the ends of adjacent rows by at least 5 inches for a natural look. Use a tapping block to ensure tight seams between boards, but be gentle to avoid damaging the edges.
-
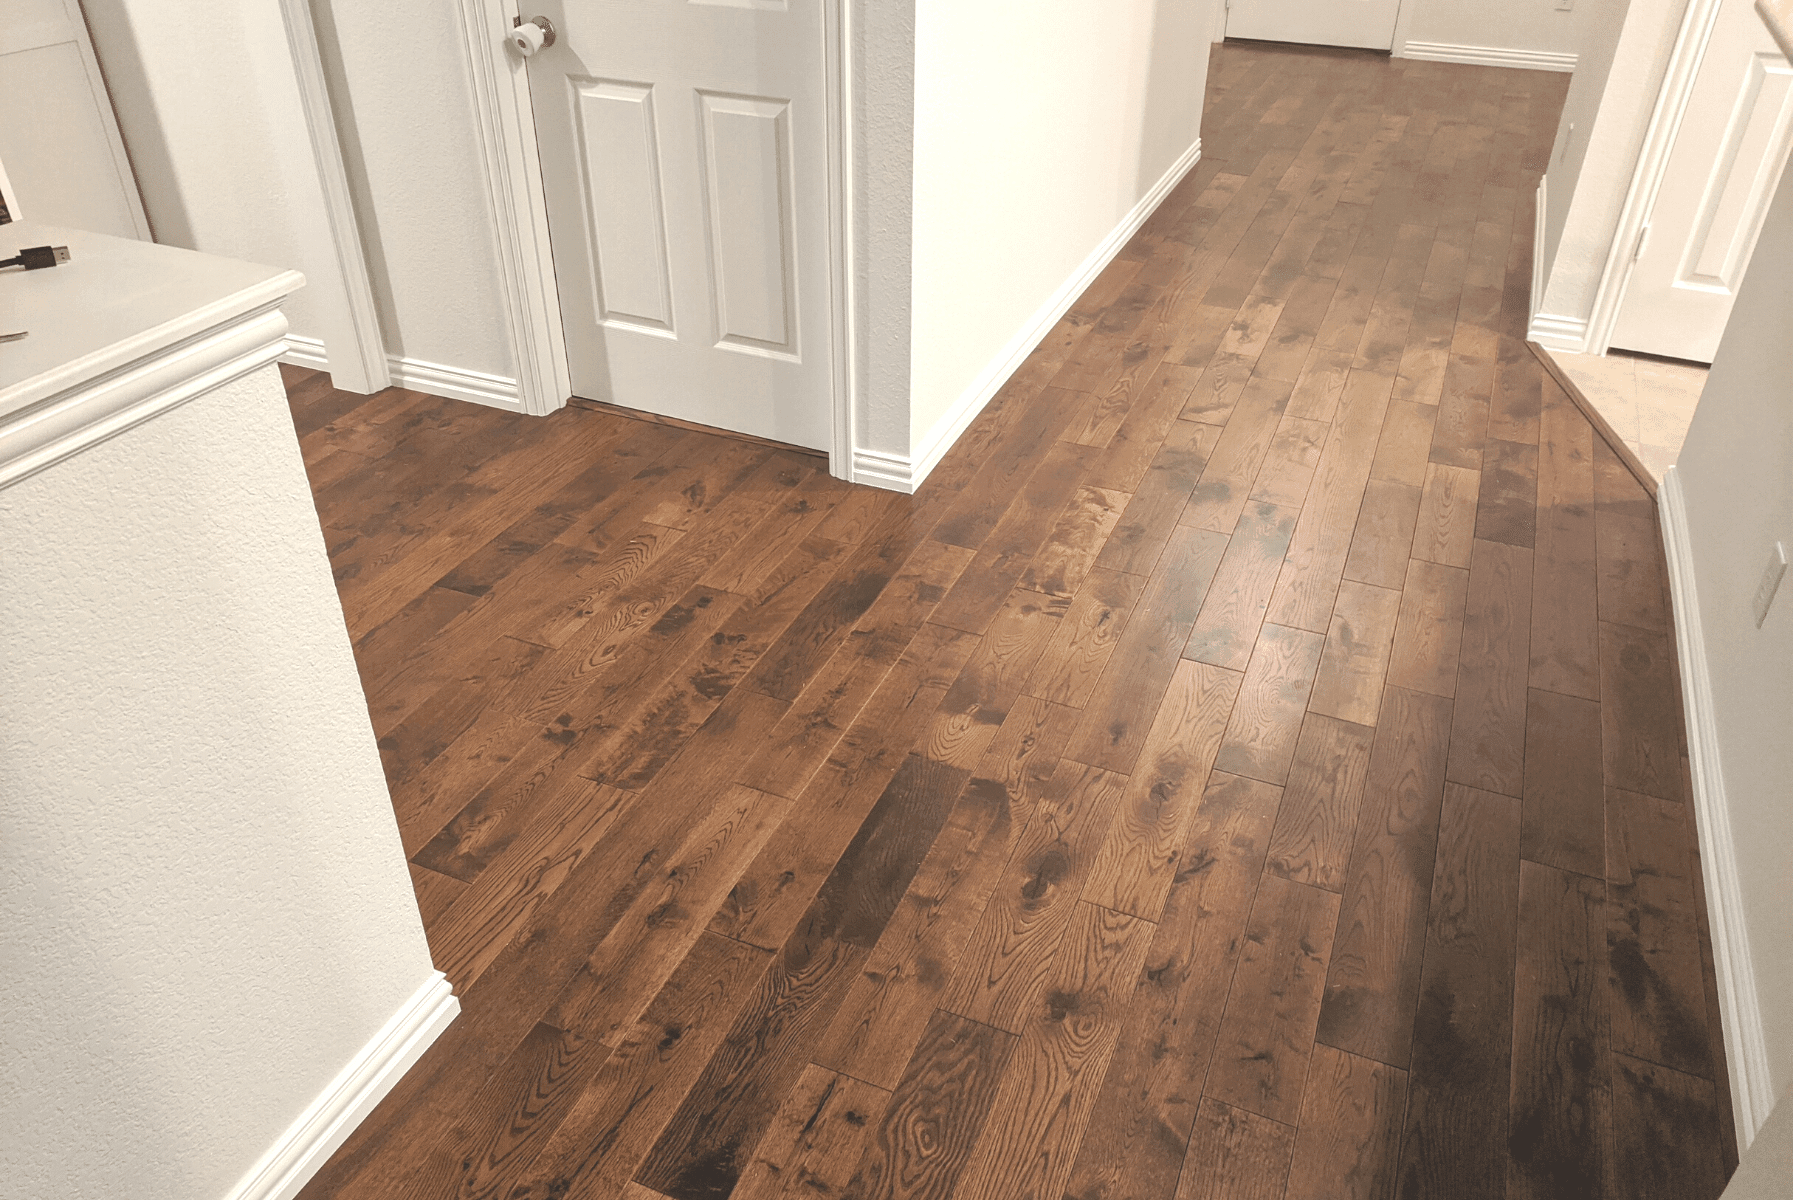
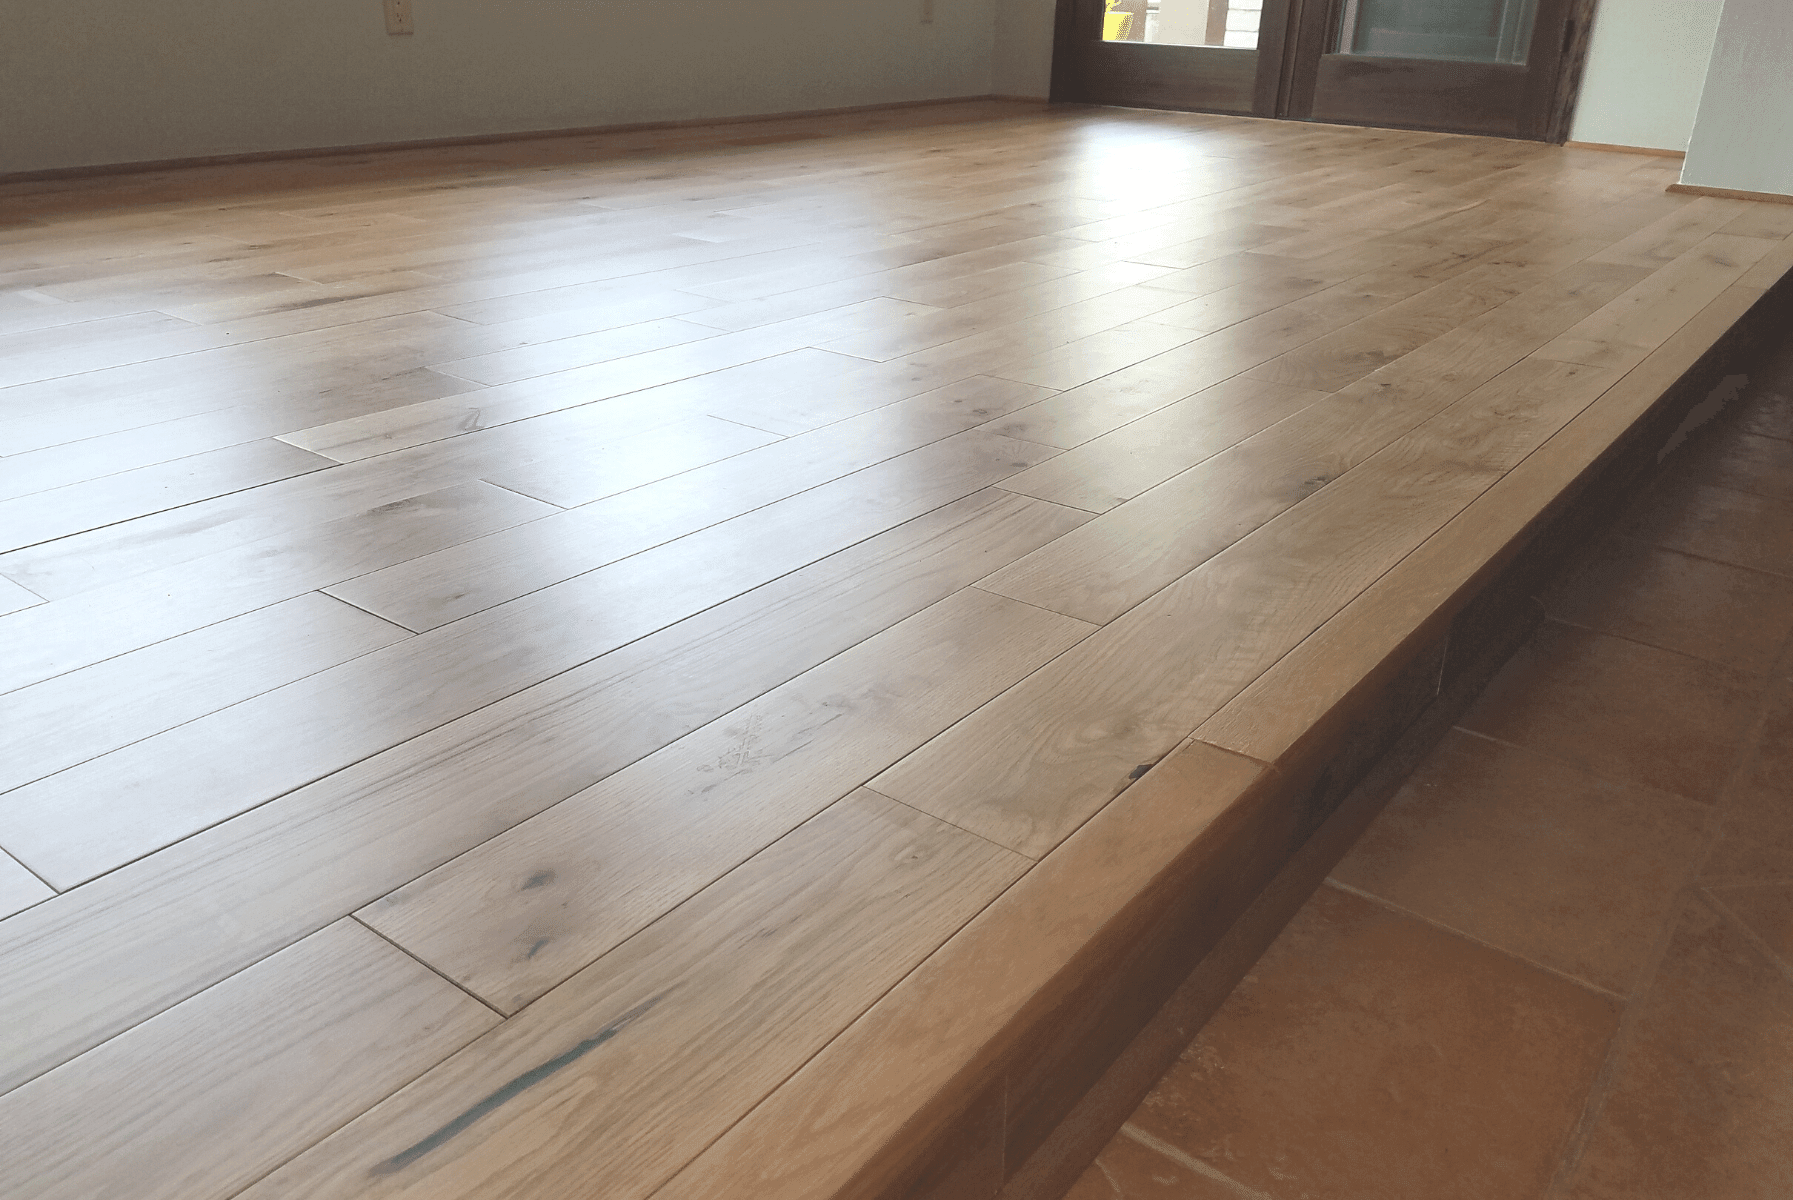
Dealing with Doorways and Transitions
When you reach a doorway, you'll need to undercut the door frame to allow the flooring to slide underneath. For transitions to other flooring types, you'll install a transition strip. We'll cover this in more detail in the next section.
-
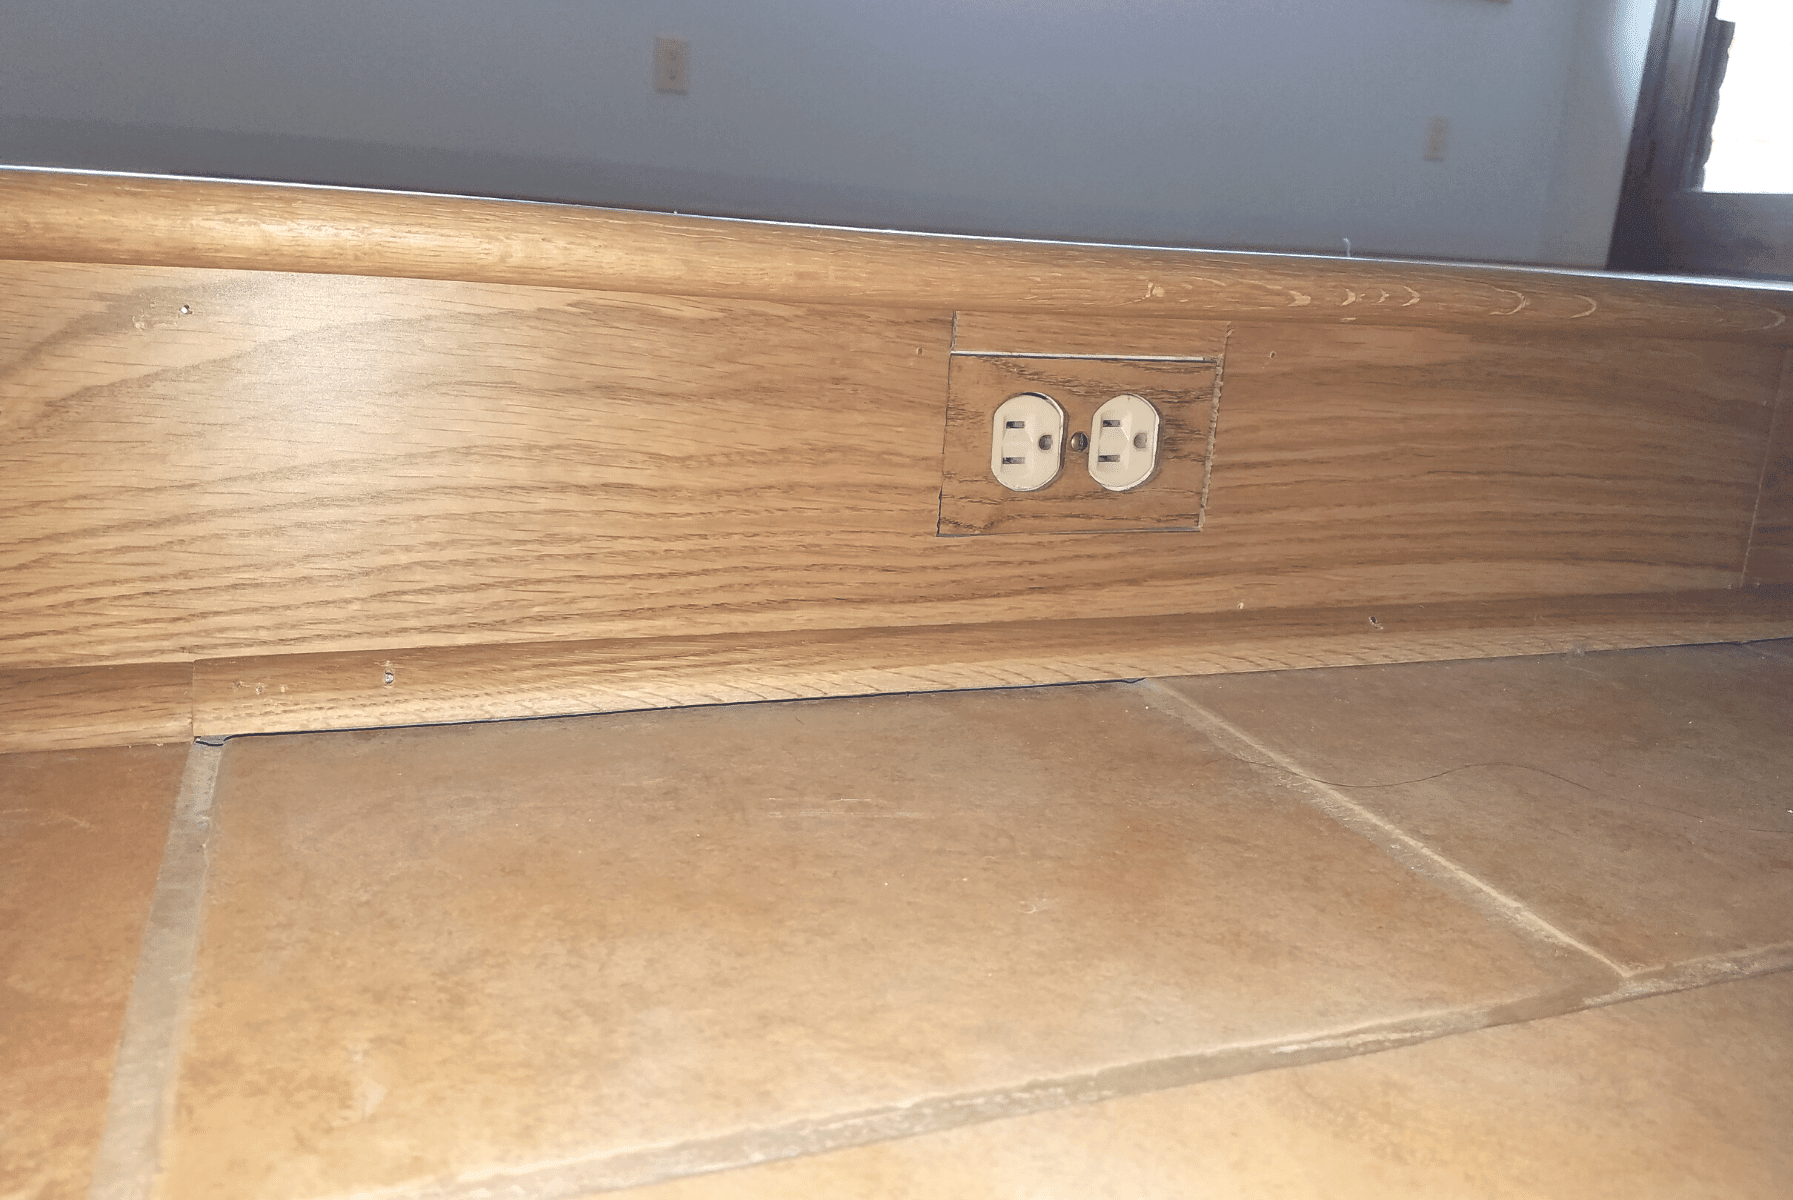
Cutting and Fitting Boards
As you work, you'll need to cut boards to fit at the ends of rows and around obstacles. A power miter saw is ideal for straight cuts, while a jigsaw works well for cutting around pipes or other irregularly shaped obstacles. Always measure twice and cut once!
Seamless Floor Transition Techniques
Creating a smooth transition between your new hardwood and other flooring types is crucial for both aesthetics and functionality.
Types of Transition Strips
There are several types of transition strips to choose from:
-
T-molding: Used between floors of equal height
-
Reducer: Bridges floors of different heights
-
Threshold: Used in doorways or between rooms
-
Stair nose: For transitions at the edge of steps
Choose a transition strip that matches or complements your new hardwood flooring.
Installing Transition Strips
Most transition strips come in two parts: a metal track that's screwed to the subfloor and the visible strip that snaps into the track. Install the track first, ensuring it's centered between the two flooring types. Then, snap the top piece into place.
Tips for a Smooth Transition Between Rooms
For a seamless floor transition, try to align the direction of your hardwood planks with the transition. If possible, use a threshold that's the same thickness as your hardwood to create a flush transition. And remember, a little caulk can go a long way in filling any small gaps for a polished finish.
Position the transition under the door to cover the seam for a finished look.
Finishing Touches: Polishing Your Hardwood Masterpiece
You're in the home stretch of your DIY flooring project! These final steps will take your hardwood floor from good to great.
Sanding (if necessary) - If you've installed unfinished hardwood, you'll need to sand the entire floor to create a smooth surface. Start with a coarse-grit sanding belt to remove the old finish. Work your way up to fine grit for a smooth finish.
Staining and Sealing - If you're working with unfinished wood, now's the time to apply your chosen stain color. Once it’s dry, apply several coats of a high-quality polyurethane sealer to protect your new floors. If you've installed prefinished Easiklip flooring, you can skip this step and start enjoying your new floors!
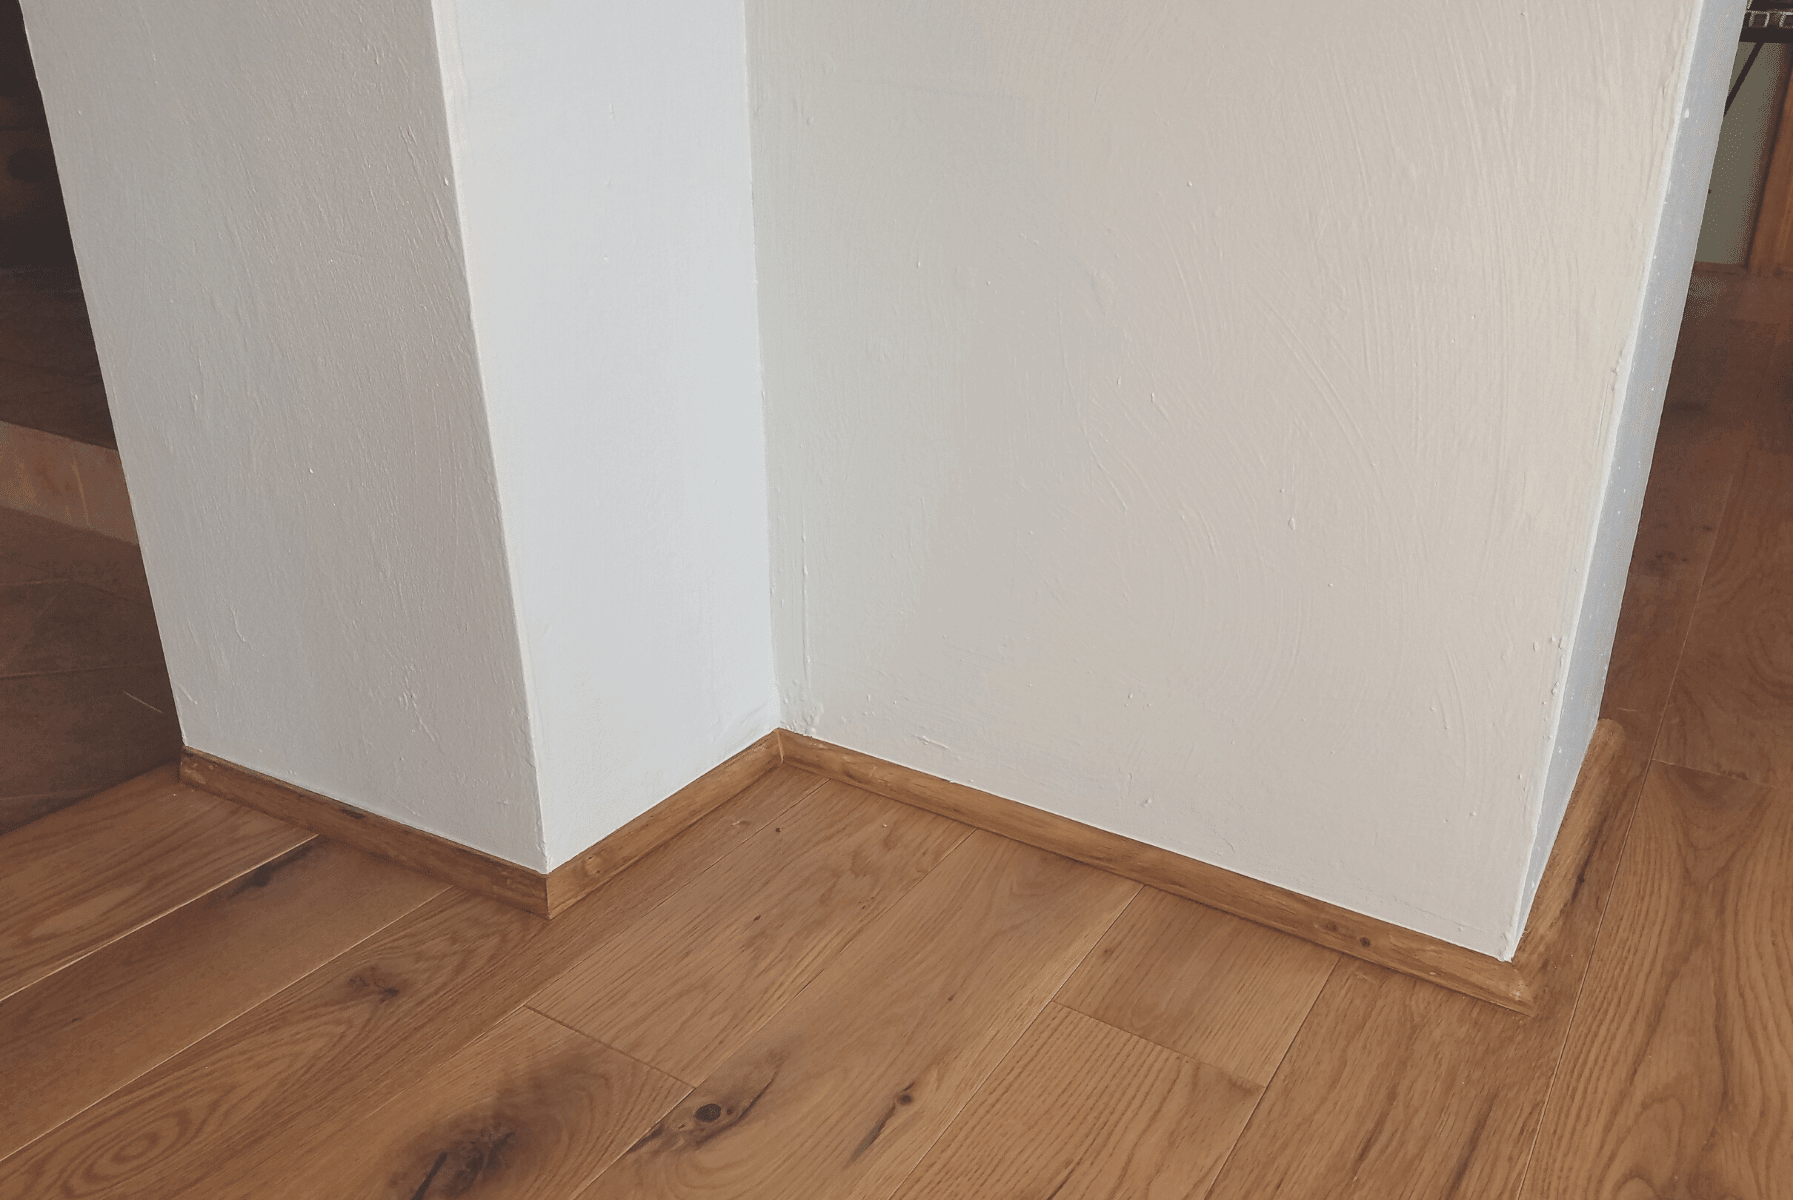
Installing Baseboards and Trim - Finally, cover the expansion gap by reinstalling the baseboards or installing new ones around the edges of the room. Add any additional trim, like quarter-round molding, for a polished look that complements your interior design.
Common Challenges and Solutions
Even the most prepared DIYer can encounter a few bumps along the way. Here are some common challenges and how to overcome them.
Dealing with Uneven Subfloors
If you discover significant unevenness after removing your tiles, don't panic. For minor issues, a self-leveling compound can work wonders. For more severe problems, you might need to install a plywood underlayment to create a level surface.
Addressing Gaps Between Boards
Small gaps can occur due to wood shrinkage or improper installation. For minor gaps, wood filler matching your floor color can be a quick fix. For larger gaps, you may need to replace the affected boards.
One way to avoid this is by acclimating the boards before installing them. Acclimation allows the hardwood floor planks to adjust to the temperature and humidity in the new environment. This article will explain and show you how.
Managing Expansion and Contraction
Natural wood flooring expands and contracts with changes in humidity. Ensure you've left adequate expansion gaps around the perimeter of the room. Use spacers during installation to maintain these gaps.
Long-Term Care: Keeping Your Hardwood Beautiful
Congratulations on your new hardwood floor! To keep it looking beautiful for years to come, follow these simple care tips:
-
Vacuum the floor regularly to prevent scratches from dirt and debris.
-
Use a damp (not wet) mop for deeper cleaning.
-
Place felt pads under each leg of the furniture to prevent scratches.
-
Use area rugs in high-traffic zones to reduce wear.
For long-term care, consider reapplying a coat of finish every few years to keep your floors looking fresh and protected.
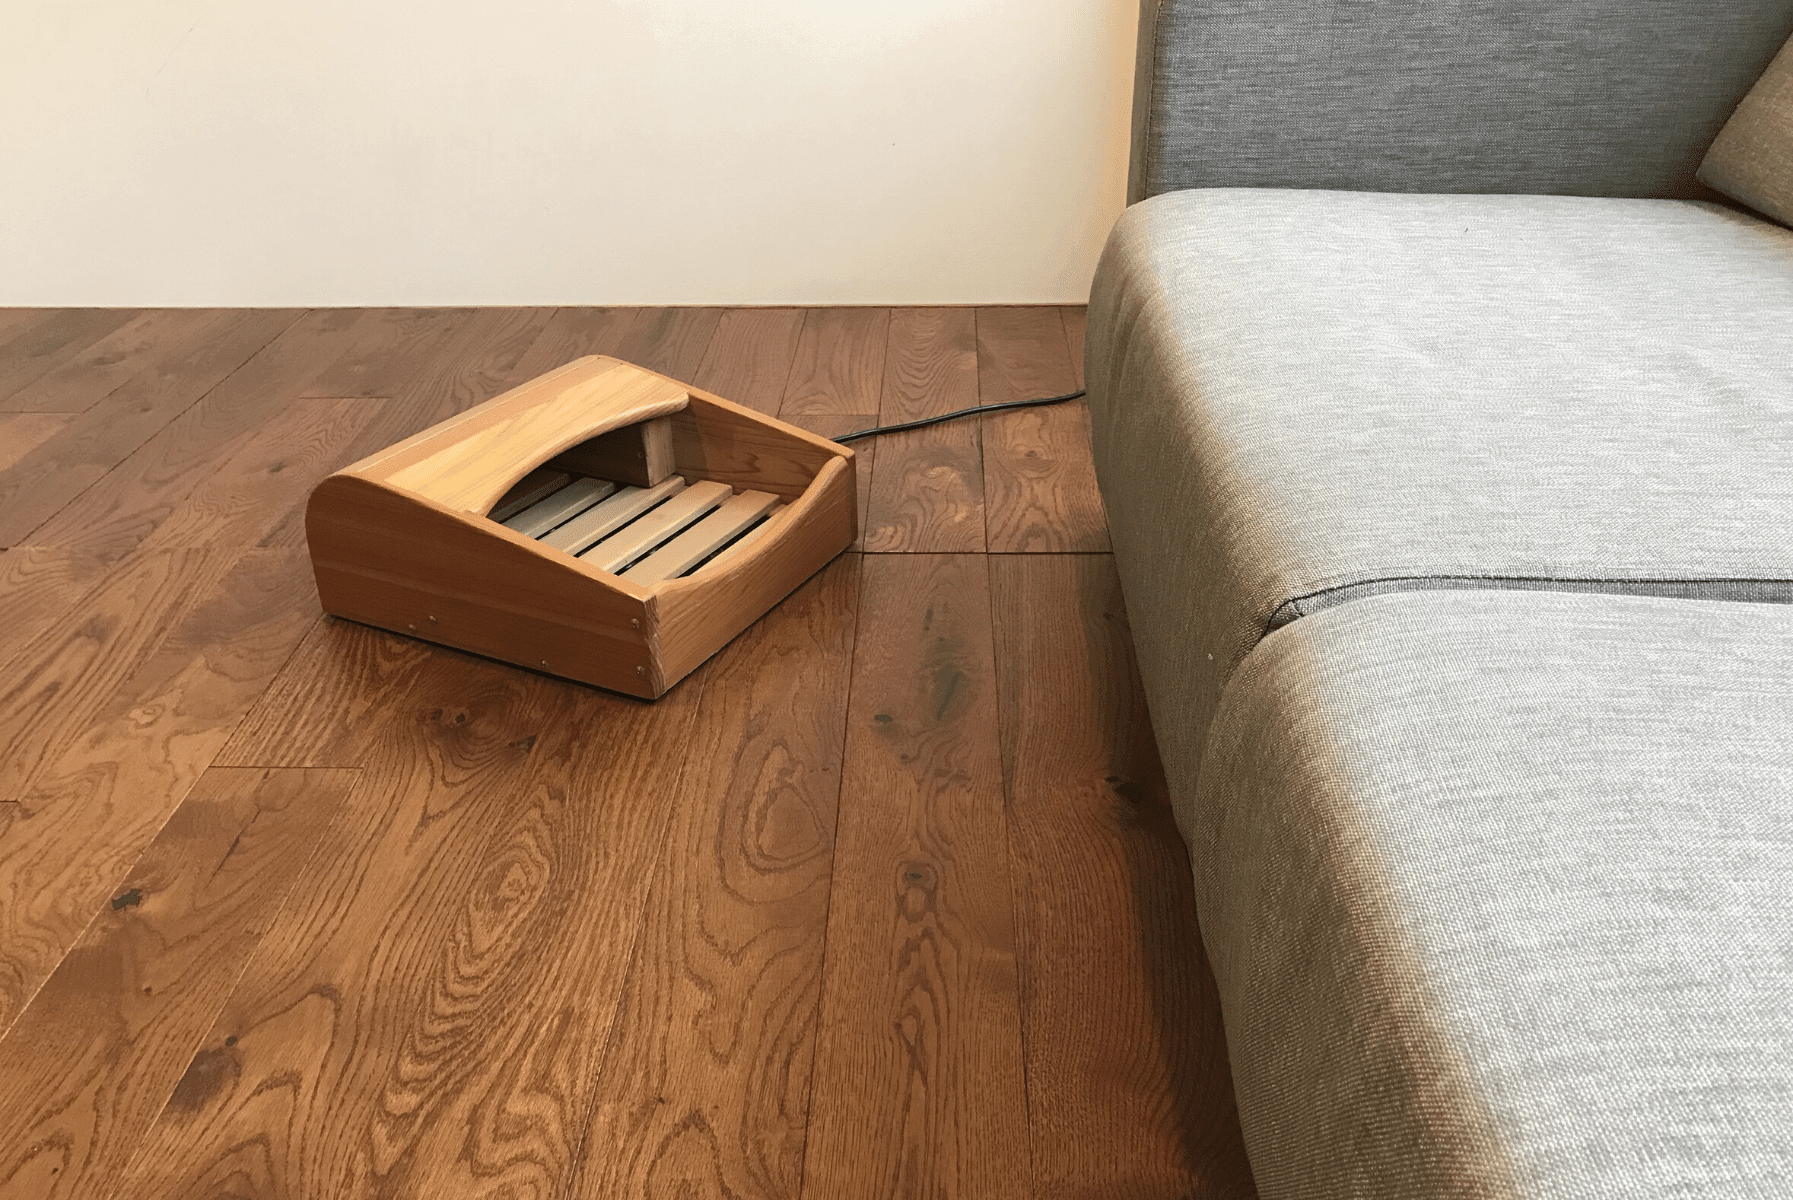
From Cold to Crafted: The Floor That Changes Everything
Transitioning from tile to hardwood is more than an upgrade — it’s a complete mood shift. You’re not just improving the value of your home, you’re reshaping its tone, its acoustics, its energy. Whether you’re laying every plank yourself or calling in expert hands, the result is a surface that stands the test of time and trend. With Easiklip’s floating hardwood system, it’s never been easier to bring your vision to life — no mess, no nails, no compromise.
Explore Easiklip’s collection of solid hardwood floors made for DIYers with a designer’s eye.
Visit: https://www.easiklip.com/collections
or use our Instant Quote tool to see how easy it is to get started.