Hardwood is more than a surface—it’s a natural material that responds to its environment. That means temperature shifts and humidity swings can trigger subtle (or severe) changes beneath your feet. Skip the acclimation process and your floor could twist, buckle, or crack. Give it time to adjust, though, and you’ll enjoy a flawless installation that holds its shape season after season. Here’s how to do it right.
What Is Floor Acclimation, Really?
Hardwood flooring isn’t just another building material—it’s a living, breathing thing. Just like wood expands in the heat and contracts in the cold, your flooring will react to changes in temperature and humidity. And if you don’t let it adjust before installation, you’re inviting trouble—warping, buckling, and gapping that will make your floor look like it was installed by a blindfolded amateur.
Acclimation is the process of letting your hardwood planks adjust to their new environment before they’re installed. The goal? To match the moisture content of the wood with the surrounding air and subfloor, reaching what is known as equilibrium moisture content. This prevents your floor from swelling up like a sponge in the summer or shrinking like a dried-out riverbed in the winter.
Here’s the golden rule: Your hardwood’s moisture content should be within 4% of the subfloor. And if you’re installing planks wider than 3 inches, that margin shrinks to just 2%.
Skip this step, and you’re playing a high-stakes game with your investment. But get it right, and you’ll have a rock-solid, long-lasting hardwood floor that stays beautiful for decades.
The Science Behind Moisture and Movement
Wood flooring isn’t just a pretty surface—it’s alive. No, it won’t grow legs and walk away, but it will expand and contract with shifts in temperature and humidity. Skip acclimation, and you’ll be dealing with warped boards, unsightly gaps, and a floor that looks like it belongs in a dilapidated saloon rather than your home.
Before installation, hardwood needs to reach moisture equilibrium with its surrounding environment. This means it must adjust to the humidity and temperature of your home—not the climate of the warehouse or factory where it was stored. If the wood goes in too dry, it will absorb moisture and expand, leading to cupping or buckling. If it’s too wet, it will shrink and create ugly gaps between planks. Either way, you’ll be staring at a costly disaster.
Think of it like this: Imagine you live in Tucson, Arizona, where it’s dry as a bone. Now, let’s say your hardwood floor was shipped from Chicago in January, where it’s freezing and damp. That’s about a 30-degree difference and a 30% swing in humidity. If you install that wood immediately, you’re setting yourself up for a warped mess.
Hardwood flooring is hygroscopic, meaning it absorbs and releases moisture based on its environment. This is why homes with proper HVAC systems that maintain stable humidity levels experience fewer issues.

For reference, fully acclimated hardwood should have about 6.9% moisture content at 70°F with 35% RH (relative humidity). If humidity increases to 50%, the wood’s moisture content will rise to 9.2%. The Maple Flooring Manufacturers Association (MFMA) rejects kiln-dried maple that falls outside of the 6%-9% moisture content range—because anything outside that is asking for trouble.
Bottom line: If you want a hardwood floor that stays beautiful for decades instead of looking like a mistake, acclimate it properly.
Why Skipping This Step Costs You
Here are a few of the symptoms that can occur.

Buckling – In extreme cases, the wood plank pulls away from the subfloor.
Cupping – As the name implies, the edges curl up higher than the center, creating a cup-like appearance.
Crowning – This symptom is the opposite of cupping. The center is higher than the edges creating a speed bump.
Warping – This results in a twisted board with raised edges that are no longer straight.
If the moisture content is too high while installing the floor, the boards will eventually shrink, causing unsightly gaps and making the floor look unfinished.
By acclimating the floor, you create a balance of moisture in the wood flooring and the room’s environment. This way, the wood floor stays straight and flat all year long. Proper hardwood acclimation is crucial to prevent issues like dimensional distortion or structural damage, especially in solid hardwoods.
How Long Should You Wait?
The short answer? At least three days—but don’t just set a timer and call it good. The real key is moisture balance, not just time.
Before installing hardwood floors, always check the manufacturer’s recommendations. Some flooring types, especially solid wood flooring, require a full week or more to adjust, while others—if they meet certain criteria—may not need acclimation at all.
You can skip acclimation if all the following conditions are met:
-
The moisture difference between the subfloor and hardwood is within 2% to 4%
-
Both the wood and subfloor have moisture levels of 12% or less
-
The room temperature is between 60°F and 80°F
If these numbers check out, you’re good to go. But if they don’t? Rushing the process could lead to gaps, cupping, or warping—problems that will cost far more time and money to fix later.
Not sure if your conditions are right? Consult a professional or use a moisture meter to be certain. Better safe than sorry.
A Step-by-Step Guide to Acclimating Hardwood
Your hardwood flooring needs the same temperature and humidity stability as you do. If your home’s climate fluctuates, so will your floors—leading to expansion, contraction, and potential warping. Keep the humidity between 30-50% and the temperature steady at 60°-80°F year-round to ensure your flooring stays in top shape.
But how do you actually acclimate wood flooring before installation? Follow this six-step process to get it right.
Step 1: Get the Room Climate Under Control
If you’re installing in an unoccupied home or new construction, turn on the heating or air conditioning at least five days before your flooring arrives. This stabilizes the environment to match normal living conditions.
No HVAC yet? Rent a portable heater or A/C unit to prevent drastic temperature and humidity swings.
Step 2: Receive and Inspect Your Shipment
Once the home’s humidity and temperature have stabilized, accept delivery of your flooring materials. Before anything else, check for damage and remove any inner plastic wrapping from the flooring boxes to ensure proper acclimation. Then, grab a moisture meter (buy, rent, or borrow one) and measure the wood’s moisture content as soon as it arrives.
Step 3: Check the Subfloor Moisture Levels
(Big box flooring retailers don’t want you to see this: Affordable solid hardwood flooring you can install yourself…)
The subfloor moisture content must be 12% or lower and within 2-4% of your new flooring before installation. If the subfloor is too damp, you must dry it out first—otherwise, your flooring is doomed to buckle, warp, or cup.
Testing methods vary based on subfloor type (concrete vs. wood). Watch this video, “Subfloor Moisture & Hardwood,” to learn the best techniques for your situation.
Step 4: Install or Acclimate?
If your subfloor and flooring moisture levels already match, you’re good to install! If not, you must acclimate until they do.
Stacking Techniques That Actually Work
DON’T leave planks in sealed boxes or tall, compressed stacks—that traps moisture and slows down the process.

Instead, follow these best practices to acclimate solid hardwood:
-
Spread out the boards in layers to ensure even airflow.
-
Use spacers between layers (cross-stack planks) to maximize circulation.
-
Monitor with a moisture meter until the wood reaches equilibrium with the subfloor.
Acclimation can take up to three days, but breaking the shipment into smaller lots speeds it up. Want to see the proper technique? Watch “Flooring Preparation - How To Acclimate Hardwood Flooring” for a quick demo.
Get this step right, and your hardwood floor will look flawless and last a lifetime.
Can You Acclimate in the Box?
Yes, but it’s not ideal—and it will take much longer.

Hardwood flooring needs proper air circulation to adjust to the temperature and humidity of the installation space. When kept in a box, airflow is restricted, meaning moisture transfer happens at a much slower rate.
If you must acclimate flooring while it's still boxed, follow these steps to maximize airflow and reduce wait time:
-
Remove the Plastic Wrap & Open Both Ends of the Box – This allows moisture to escape and prevents condensation buildup.
-
Cross-Stack the Boxes – Create small gaps between each layer to promote even exposure to air.
-
Store in the Installation Room – Keep the flooring in the same room where it will be installed so it adjusts to the local humidity and temperature conditions.
While this method works for both solid and engineered hardwood flooring, it’s still best to lay the planks out individually for faster and more even acclimation.
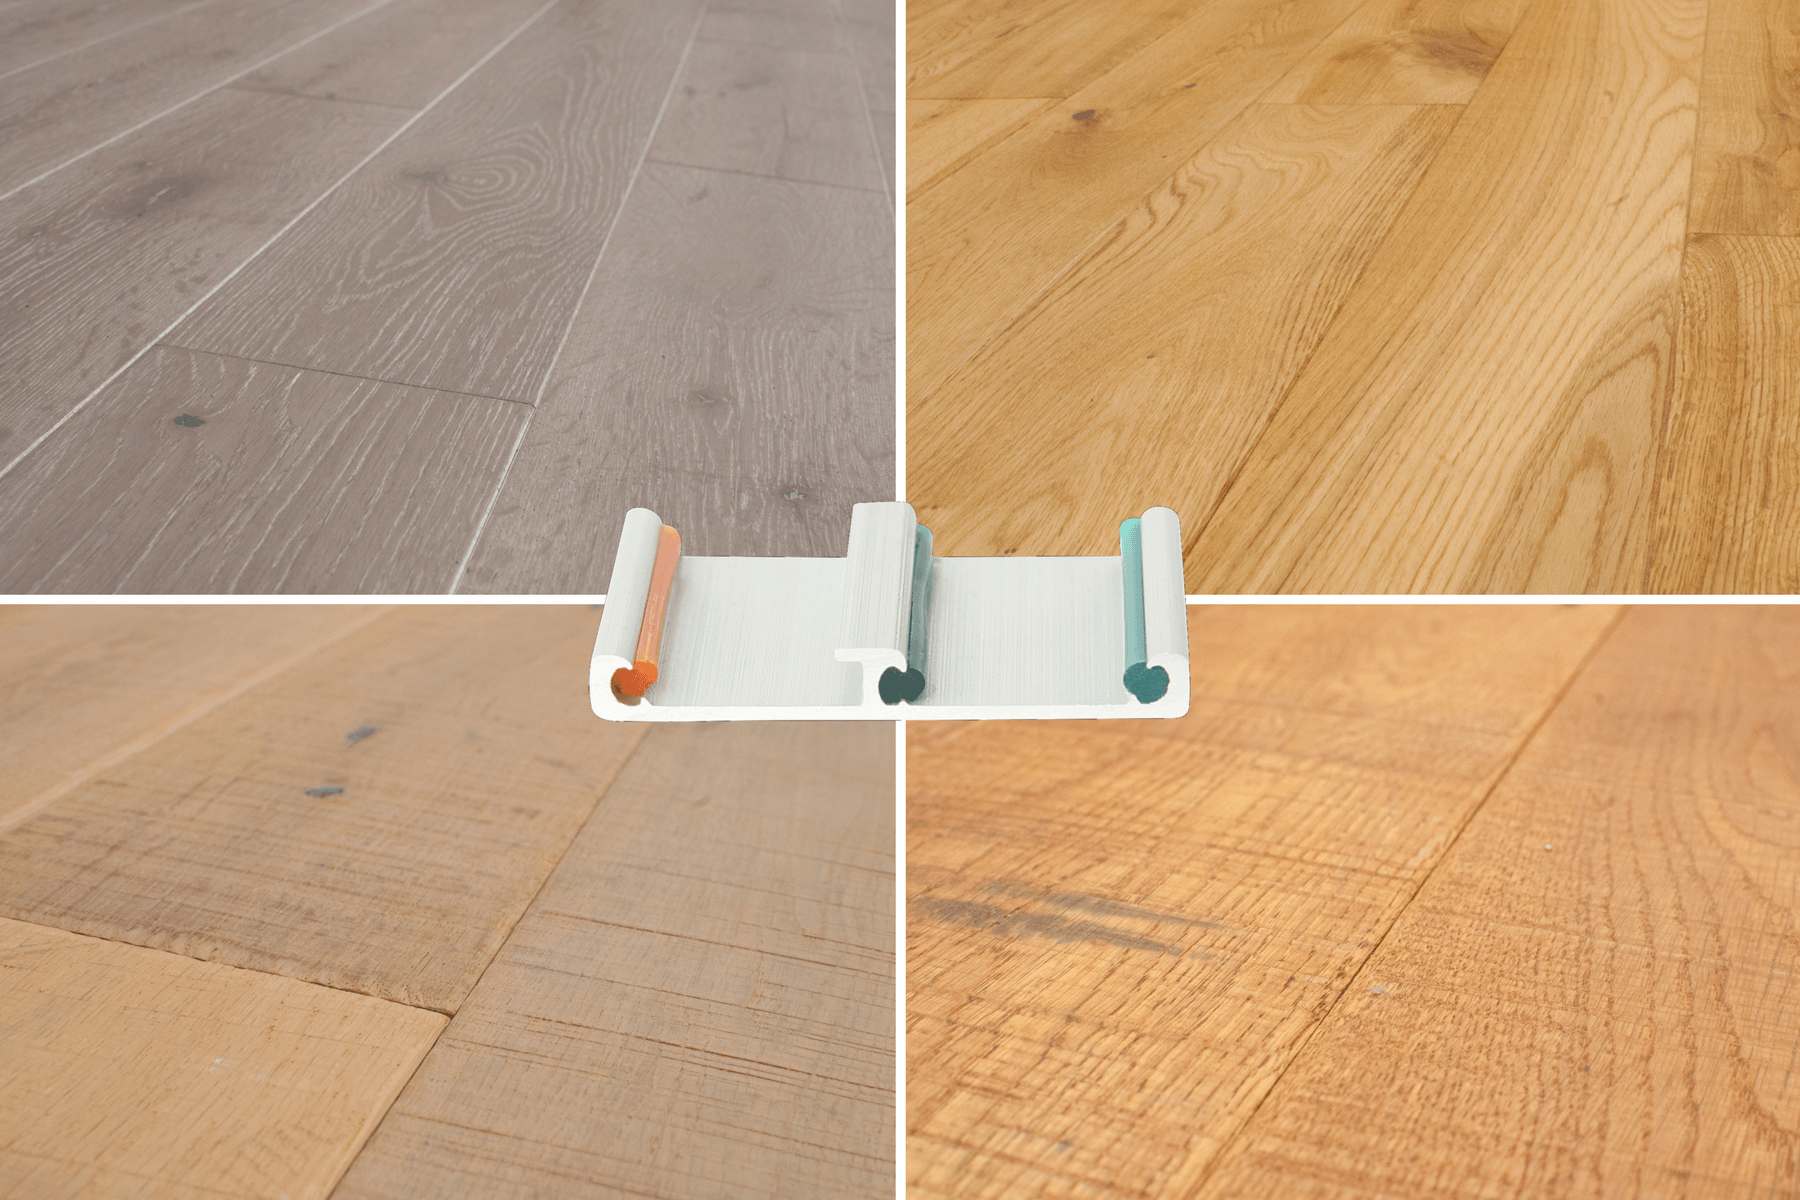
For DIYers looking for a faster, hassle-free option, consider Easiklip’s floating hardwood flooring system—easy to install and pre-acclimated, so you can skip the wait and get straight to installation!
How Engineered Hardwood Handles Humidity
If you want perfect flooring, you need to acclimate solid hardwood the right way—not just leave it in the box and hope for the best.
The most efficient acclimation process starts weeks prior to flooring installation, with proper airflow, cross stacking, and constant monitoring using a thermo hygrometer. This helps each of the individual boards adjust to average normal living conditions, preventing excessive shrinkage, loose boards, or worse—adhesive failure and costly rework. When flooring contains too much moisture, or is installed while losing moisture, even minor temperature changes or excessive moisture changes at the job site can lead to gapping, warping, or other moisture related problems.
While some climates may allow for geographic exceptions, most homes require a steady acclimation period within the acceptable range to prevent movement after install. A bit of common sense goes a long way—like opening the cardboard flap of each box and spacing planks out to allow airflow.
Whether you’re a homeowner or a flooring contractor, if your flooring isn’t finally acclimated, don’t install it. It’s not worth the risk.
How Do You Acclimate Engineered Hardwood Flooring?
Engineered hardwood may be more dimensionally stable than solid wood, but that doesn’t mean you can skip acclimation. Changes in humidity still affect the top wood veneer and the plywood or synthetic core, so proper acclimation is essential for engineered wood flooring.
The Right Way to Acclimate Engineered Hardwood:
-
Follow Manufacturer Recommendations – Always check the specific guidelines for your flooring brand.
-
Allow at Least 48 Hours – While engineered wood is less prone to expansion and contraction, a minimum of two days in the installation space ensures the wood reaches moisture stability.
-
Keep the Room Climate-Controlled – Maintain a consistent temperature between 60-80°F (15-27°C) and a relative humidity of 30-50% for best results.
-
Open the Boxes – Remove plastic wrapping and stack planks to allow airflow on all sides.
Does Engineered Hardwood Expand and Contract?
Yes—but not as much as solid hardwood.
The plywood core construction minimizes movement, but engineered floors still respond to seasonal humidity changes. Over time, fluctuations can cause slight expansion and contraction, which is why proper acclimation is critical to prevent warping, gaps, or cupping.
The Bottom Line:
Even though engineered hardwood is less sensitive to moisture than solid wood, skipping acclimation is a gamble. Taking just two days to let your flooring adjust can save you from costly issues down the road.
How to Know Your Wood Flooring is Ready: Measuring Acclimation Success
Getting hardwood flooring to properly acclimate isn’t just a waiting game—it’s about knowing exactly when it’s ready for installation. Here’s how to measure success and avoid costly mistakes:
1. Check the Moisture Content
Use a moisture meter to compare the moisture levels of both the flooring and subfloor. They should be within 2% of each other for a stable installation. Ignoring this step? Expect gaps, buckling, or warping down the road.
2. Confirm Dimensional Stability
Your hardwood should no longer be expanding or shrinking. If it is, it’s not ready. Wait until the wood fully adjusts to the room’s temperature and humidity.
3. Inspect for Visible Issues
Take a close look at the boards. Are there signs of warping, cupping, or crowning? If so, don’t install. If the planks appear flat and stable, you’re good to go.
4. Follow Manufacturer’s Guidelines
Every type of wood flooring has specific acclimation requirements. Check the manufacturer’s recommendations to ensure you’re following the correct process. Skipping this could void warranties and lead to preventable issues.
5. Get a Pro’s Opinion (If in Doubt)
Still unsure? A flooring professional can check for hidden issues and give you the green light (or a warning) before you start installation.
Final Check: Ready to Install?
Once your flooring has adjusted to the environment, passed all moisture and stability tests, and meets manufacturer standards, it's time to install with confidence. A properly acclimated floor is a floor that lasts—so don’t rush this step!
The Smarter, Simpler Option: Prefinished Floating Floors
If you're short on time but still want the beauty and durability of real hardwood, a prefinished floating floor is your best bet. Unlike traditional hardwood that requires sanding, staining, and sealing—adding days or even weeks to your project—a prefinished floor is ready the moment you install it.
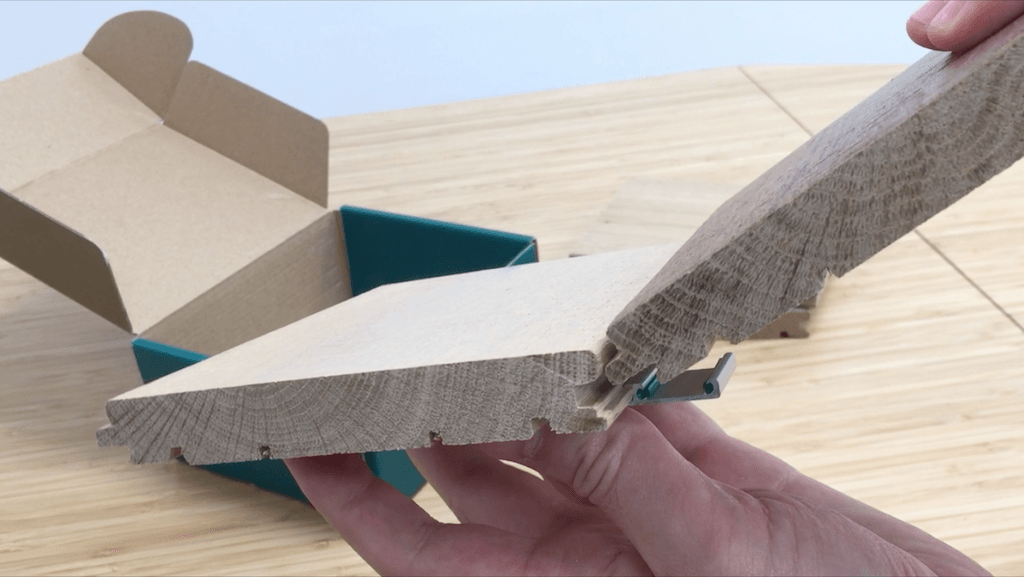
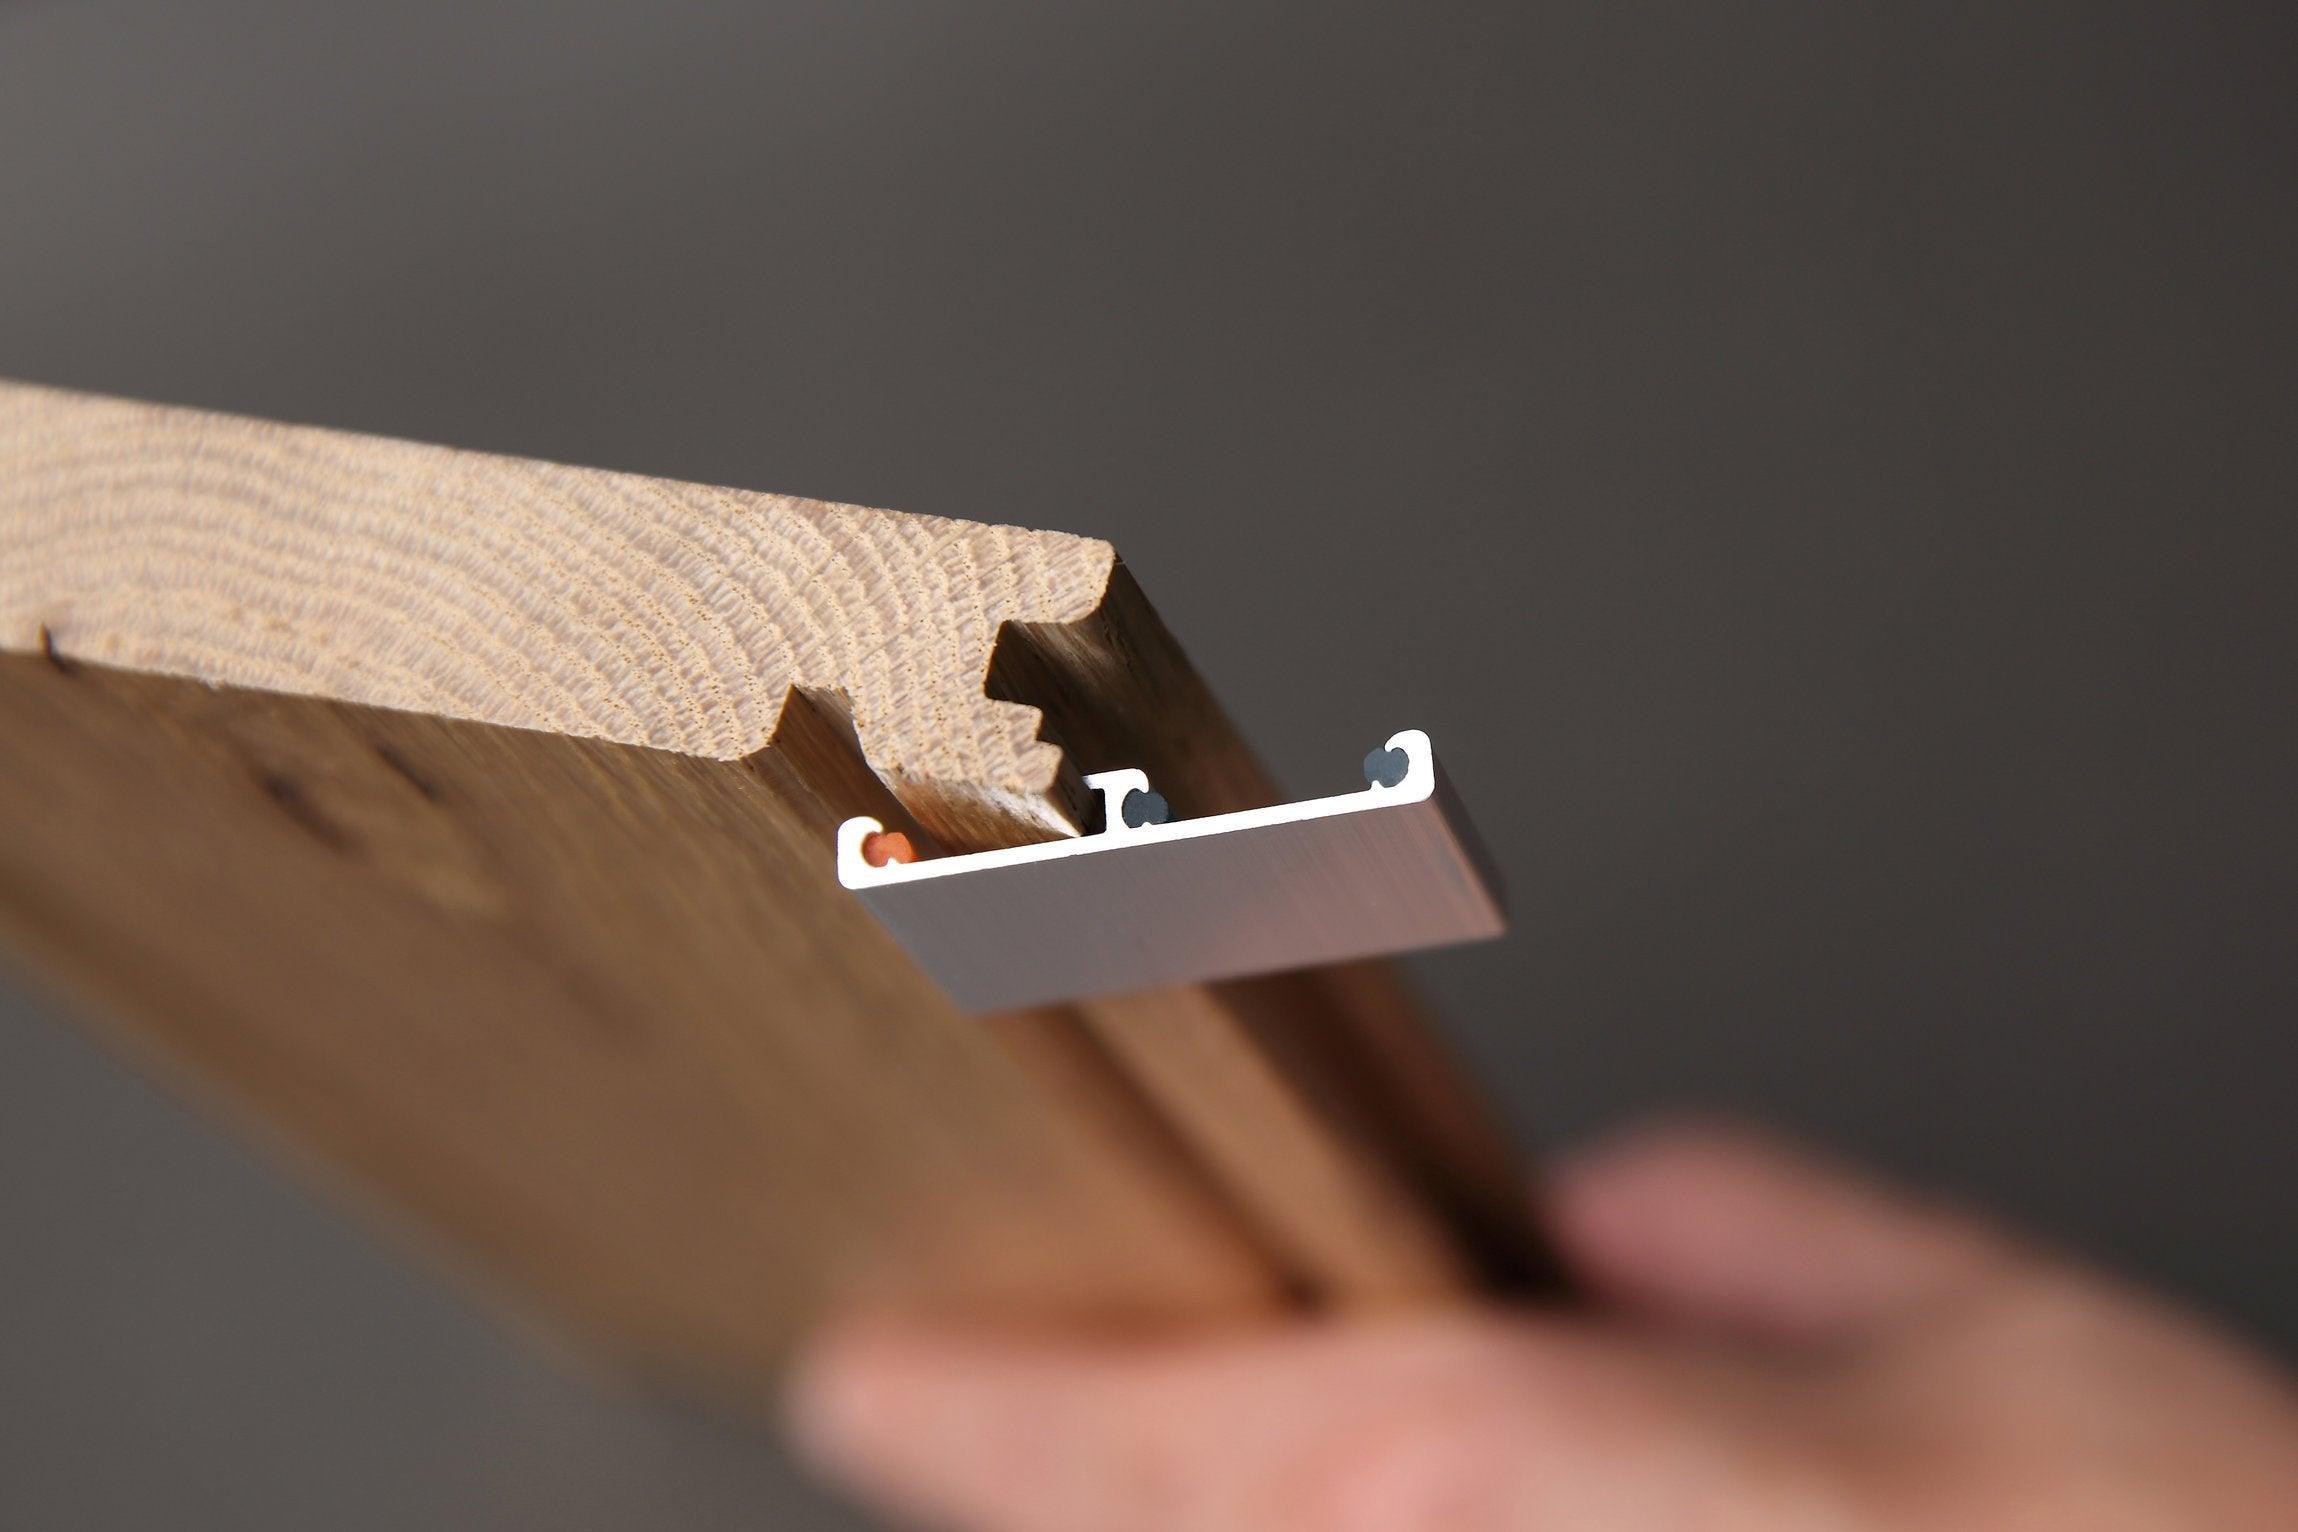
With EasiKlip floating floors, there’s no glue, screws, or nails—just precision-milled solid ¾-inch white oak that clips together effortlessly. No messy adhesives, no waiting for finishes to dry—just snap it in place and start enjoying your new floor immediately.
But don’t skip the acclimation process! Even floating floors need time to adjust to their new environment before installation. Follow the steps outlined above to ensure a flawless fit that lasts for decades.
Want a faster, stress-free hardwood flooring solution? Check out EasiKlip today and experience the easiest DIY installation on the market!
